
CubieTruck Metal Case is a kit comprised of CubieTruck (aka CubieBoard 3), a 128GB SSD, a 5,300 mAh battery, a power adapter, and various cables. In case you are not familiar with CubieTruck, it’s a development board by CubieTech, based on Allwinner A20 dual core ARM Cortex A7 processor with 2GB RAM, 8GB NAND flash, a SATA connector, HDMI & VGA outputs, Gigabit Ethernet, 2 USB host ports, and a mini USB OTG port. CubieTech decided to sent me a kit, as it was featured on CNX Software, and today, I’ll show what’s exactly is inside the kit since the product description is not 100% clear. I’ve been told it’s pre-installed with Lubuntu, so in a separate post next week, I’ll try Linux, report on the SSD performance, and check the battery UPS function, and possibly life on a charge.
CubieTruck Metal Case Unboxing
I’ve received the kit in a cardboard box by Fedex. It’s mostly a blank box so I skipped the picture. Contrary to what I believed, the kit comes mostly pre-assembled.
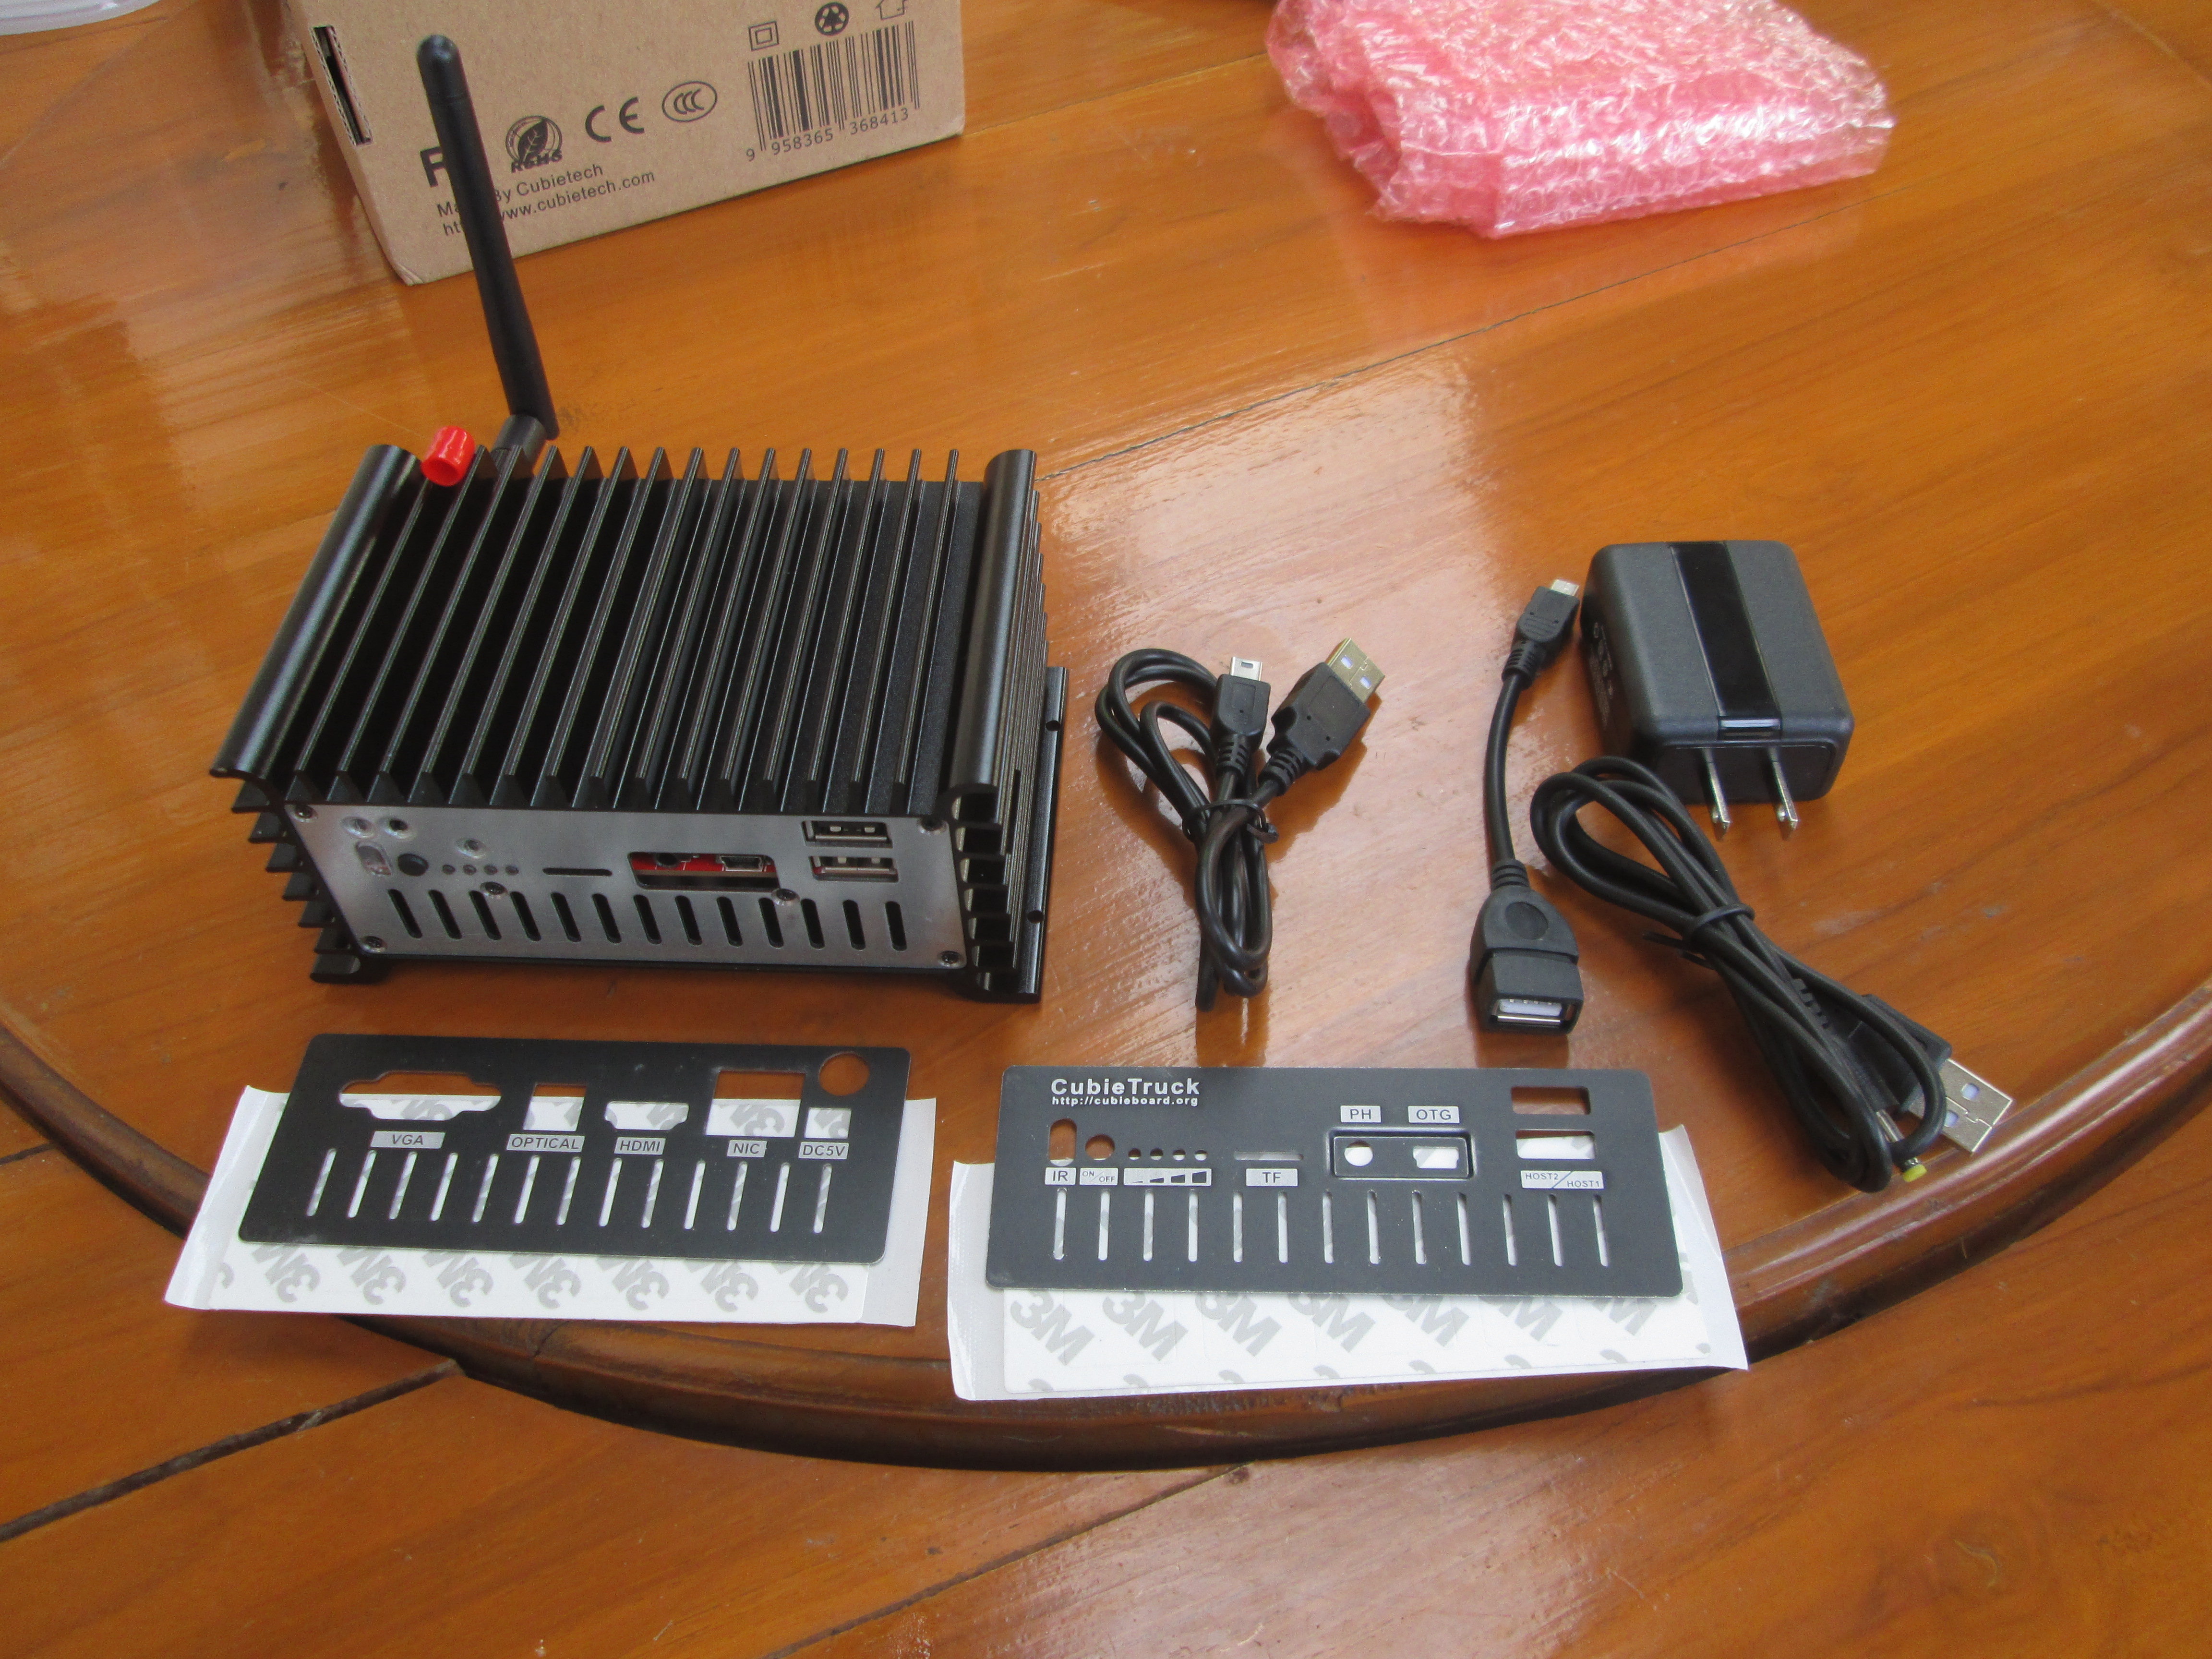
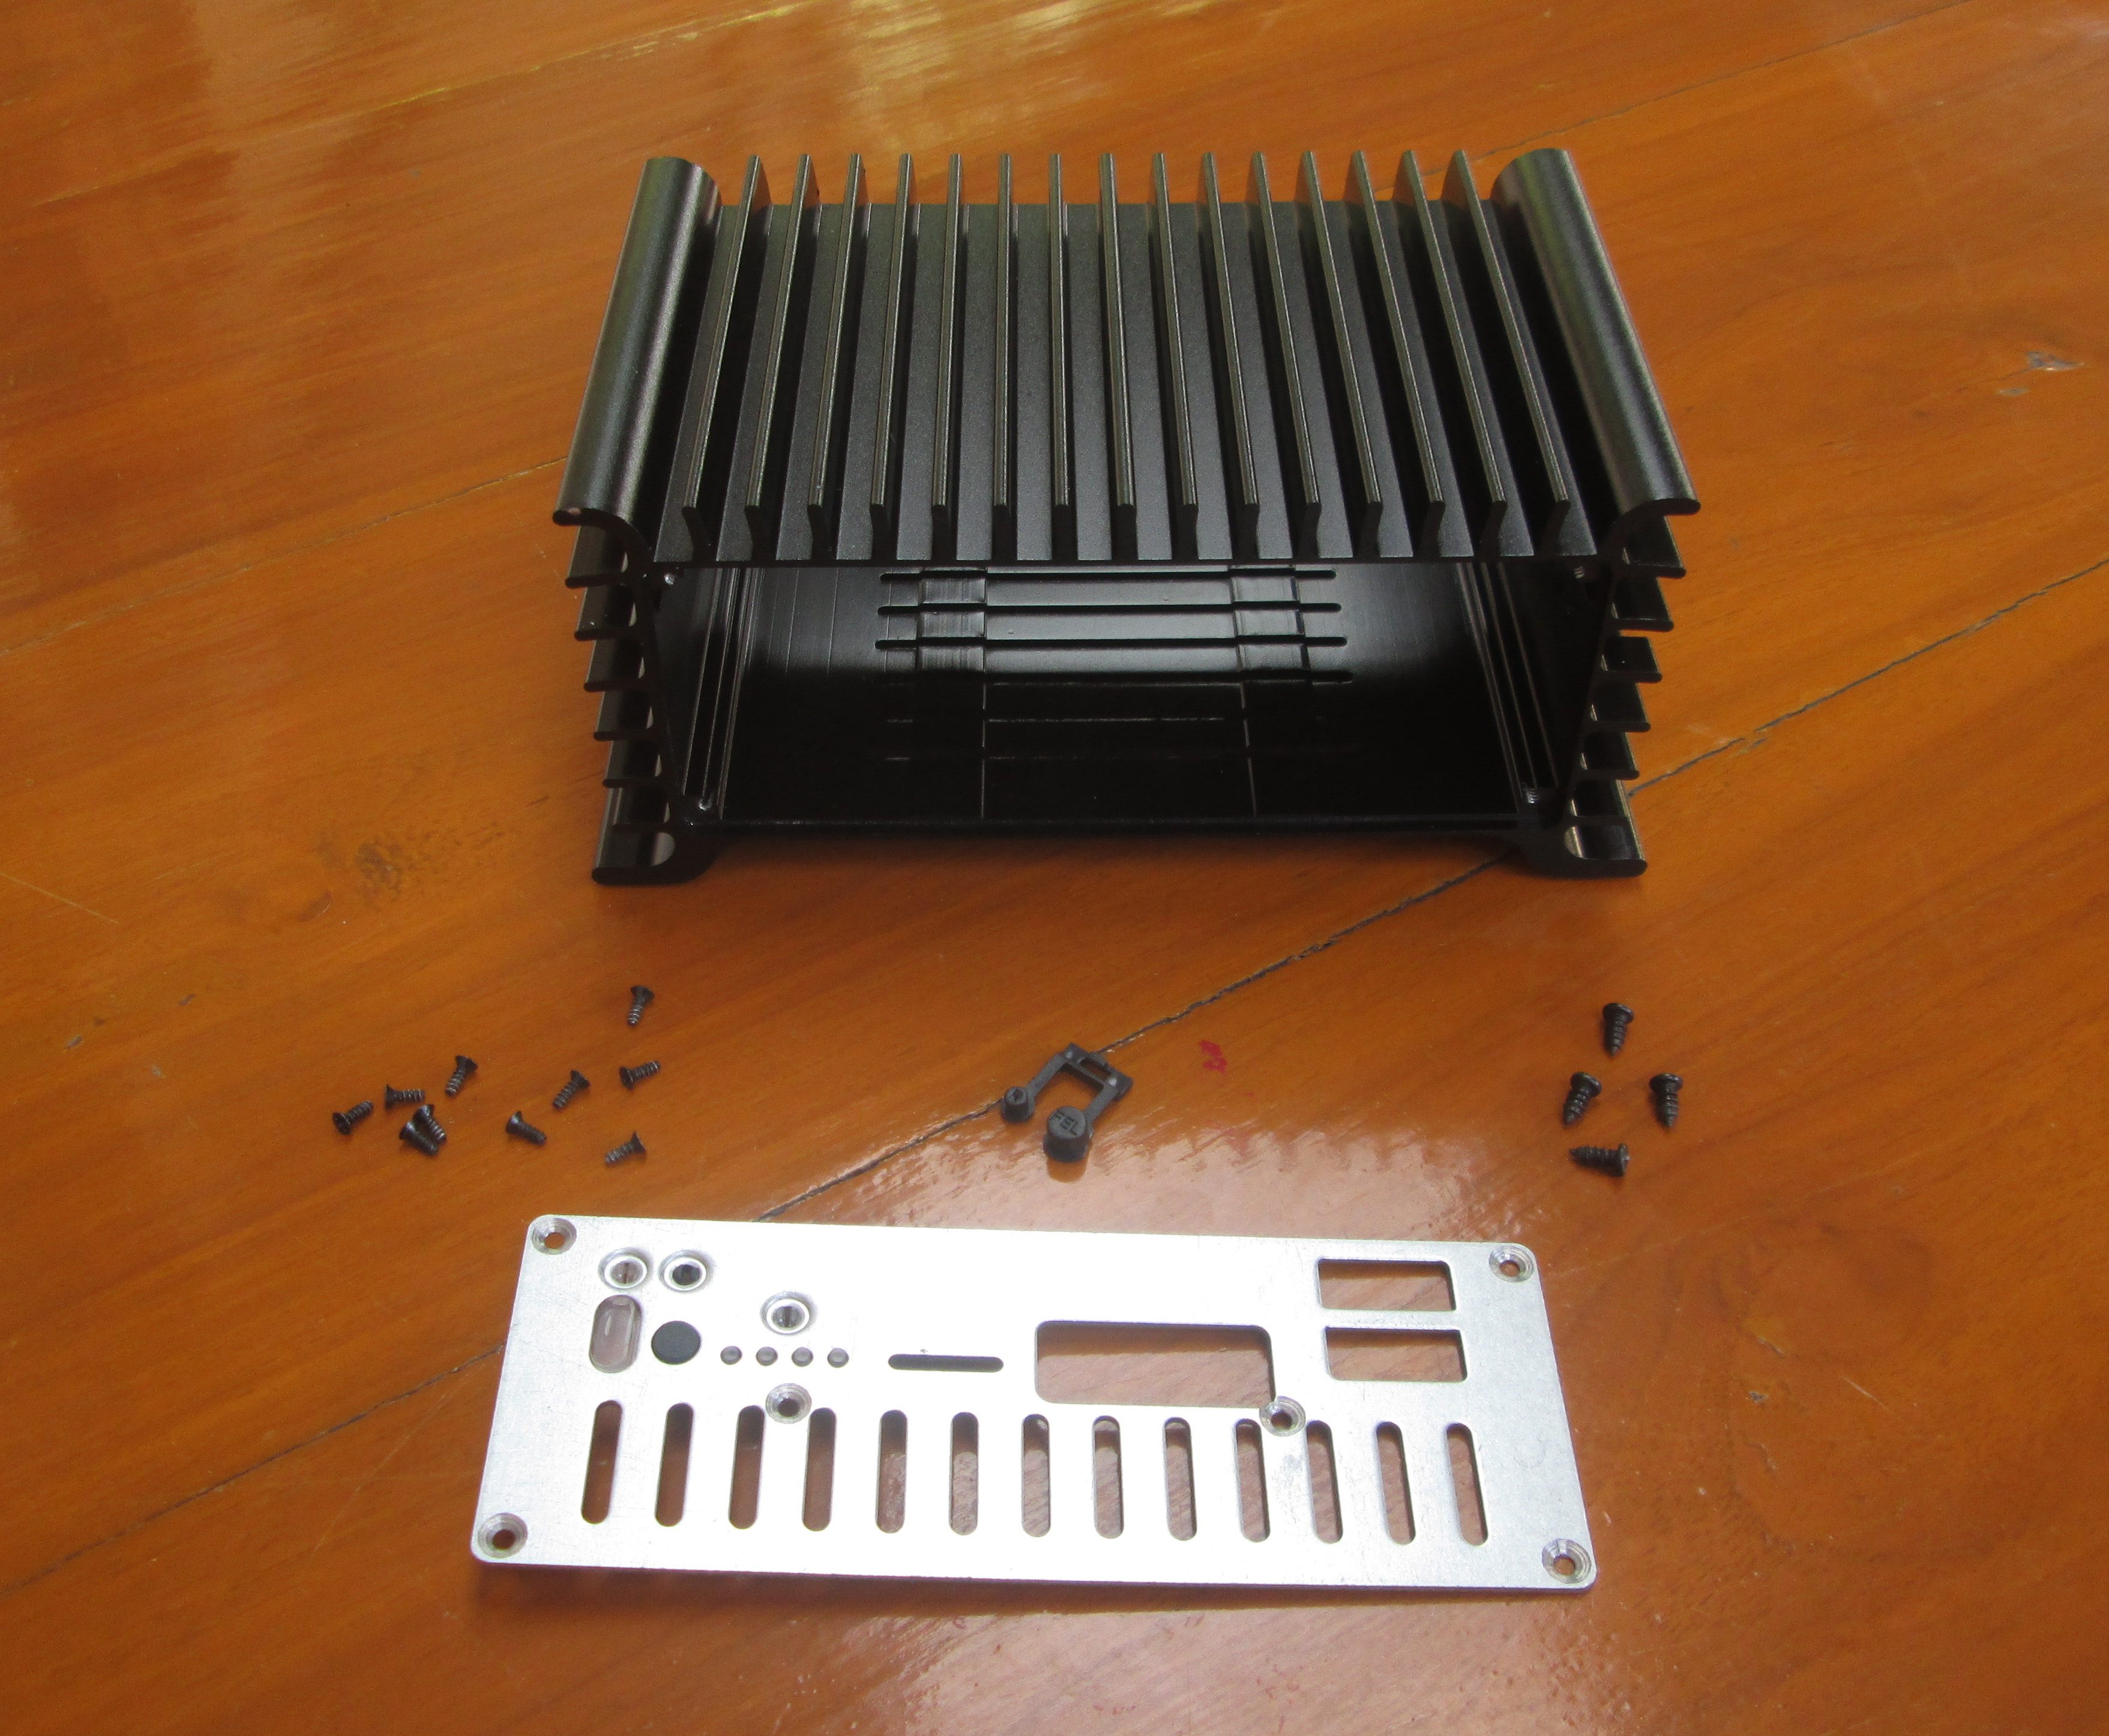
CubieTruck board, the 128GB SSD, and the battery are already fitted into the metallic enclosure. Extra accessories include a Wi-Fi antenna, a mini USB to USB cable, an OTG adapter, a 5V/2.5A power supply with its corresponding USB cable, front and rear panels with ports’ description, and 3M stickers to tape then against the case.
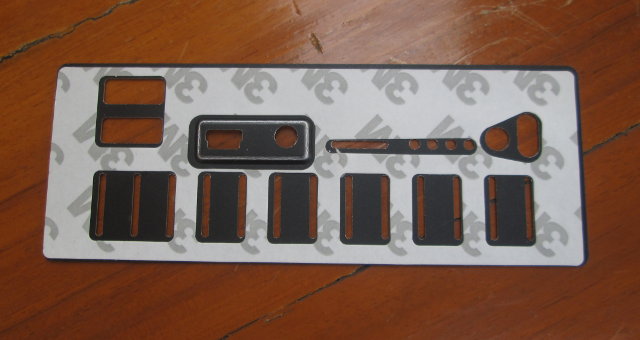
So you just need to peel the 3M sticker, tape it on the back of the metallic plate, and remove the bits hiding the connector by pushing with a thin object. I simply used my cutter. Then remove the second layer, and stick it on the front or rear panel. If you plan to open the box first, to access the headers, you should delay this step since you’ll have to take out the plates to open the device.
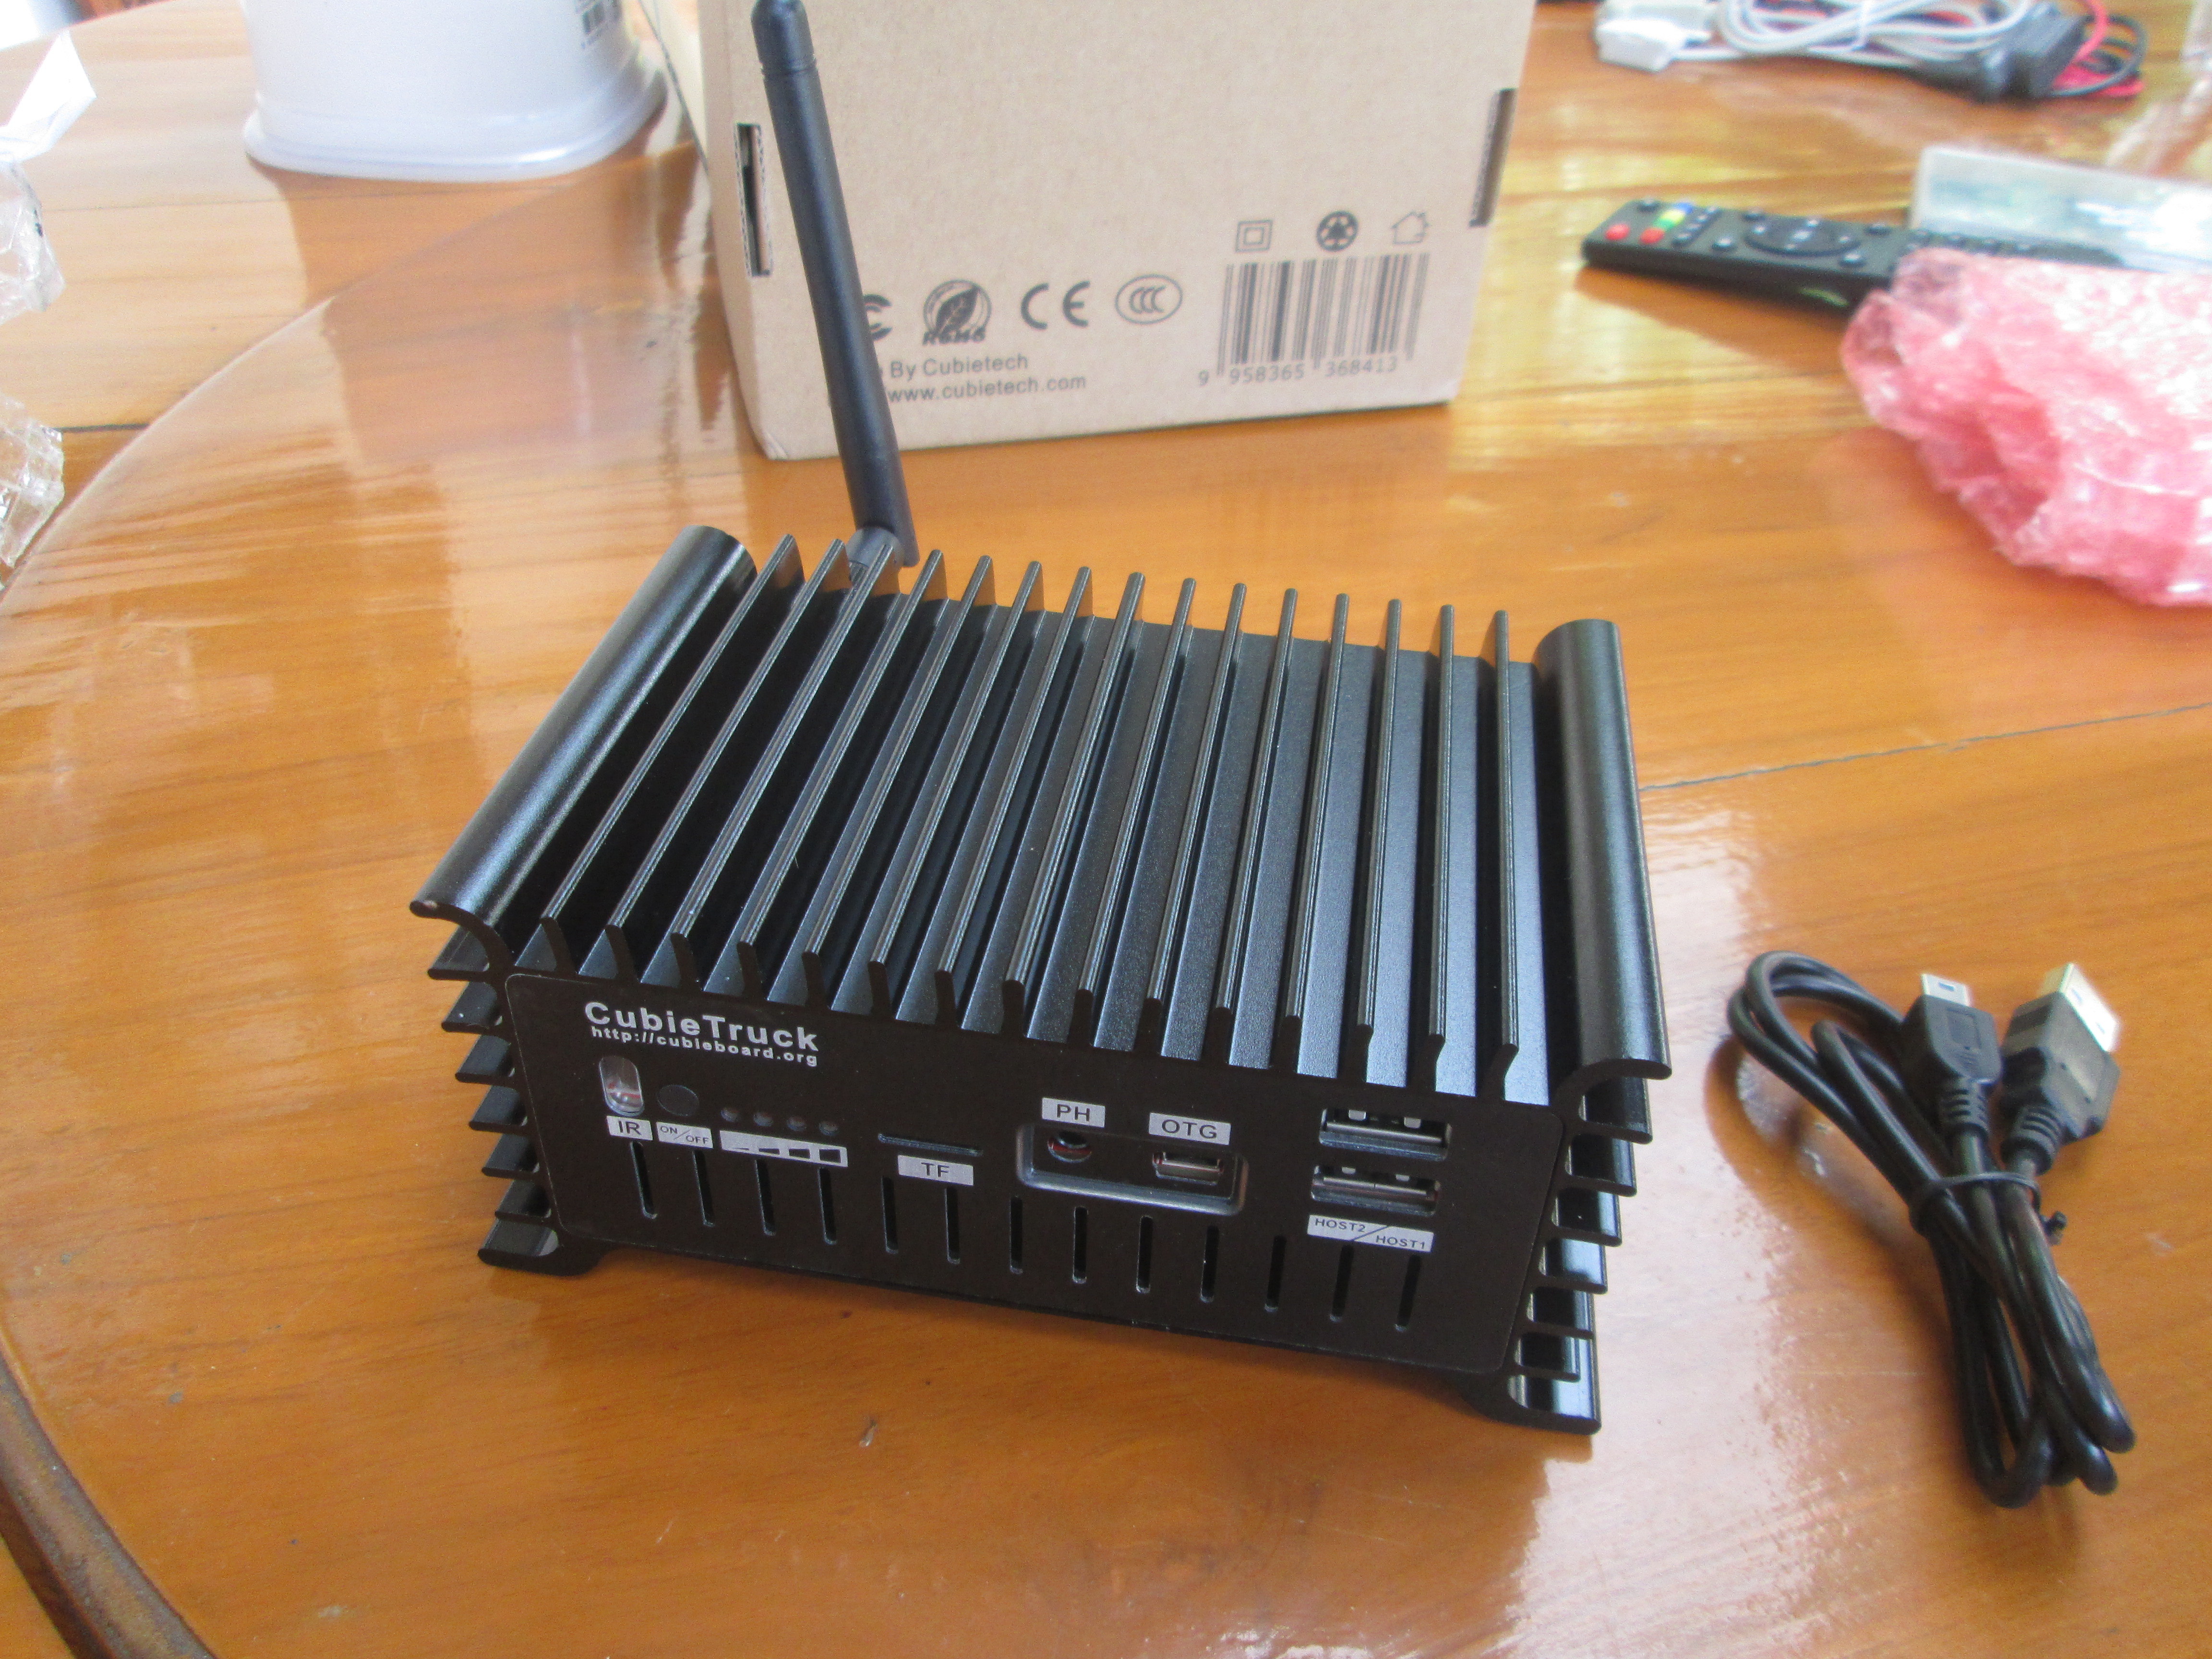
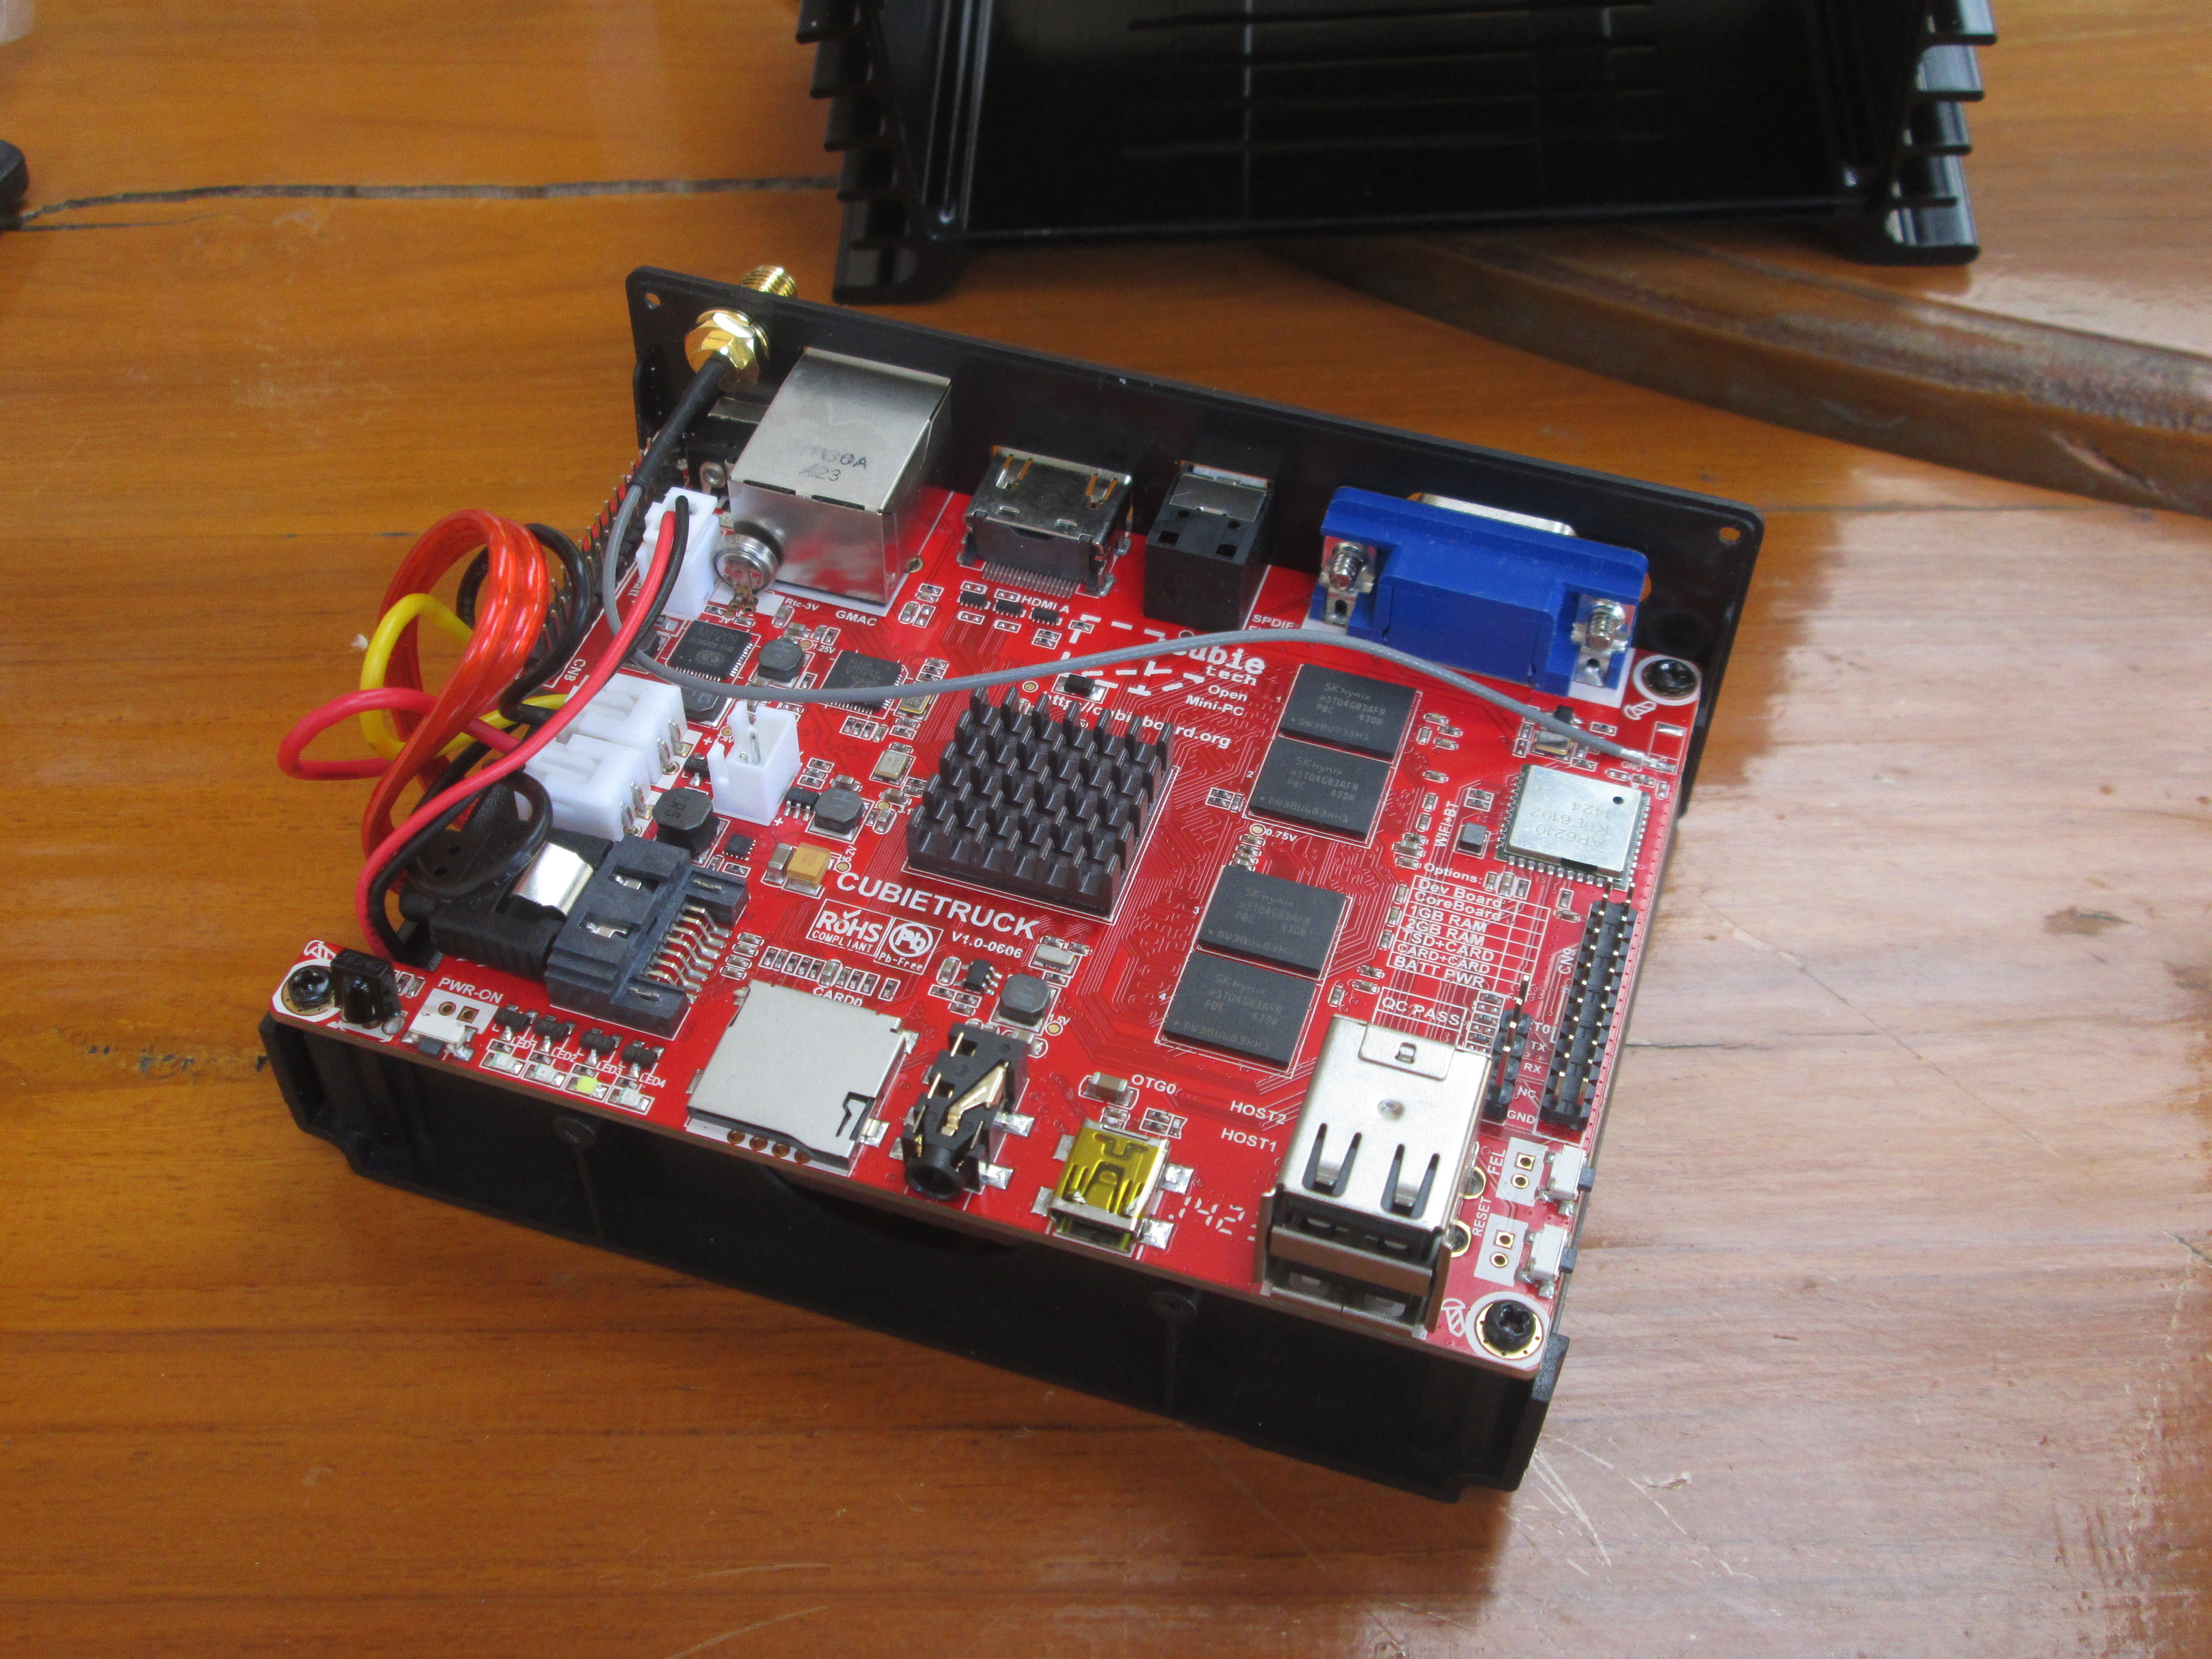
So on the front you’ve got the IR receiver, the power button, four LEDs (for volume?), a micro SD card slot, an headphone jack, a mini USB OTG port, and two USB 2.0 host ports.
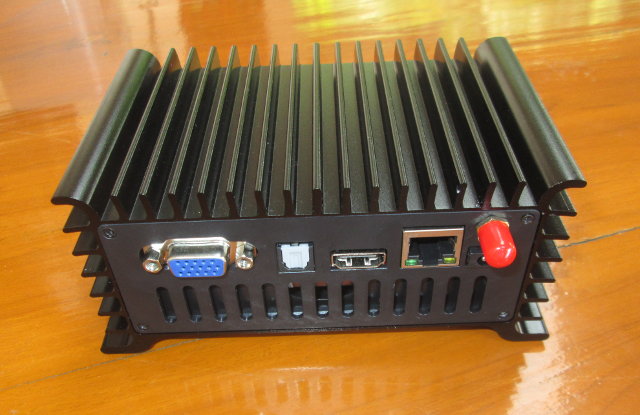 The VGA port, optical S/PDIF, HDMI port, Gigabit Ethernet port, power barrel, and Wi-FI antenna connector can be found on the rear panel.
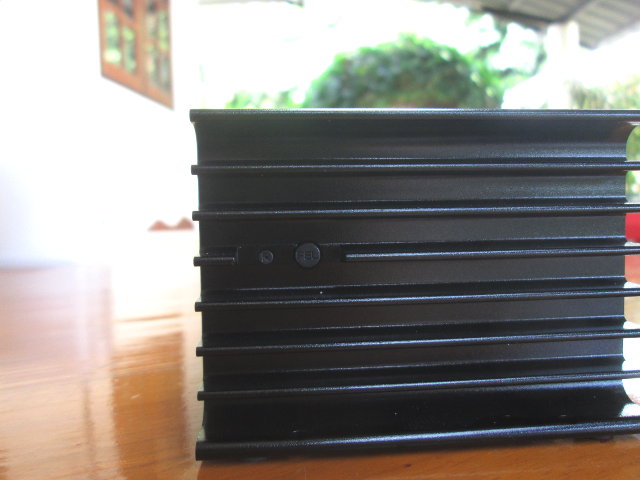 There are also two button on the side of the device for Reset (small), and FEL mode (big) that allows you to update the firmware.
CubieTruck Metal Case Kit Internals
I’ve also disassembled the kit to see what’s inside. You have to remove 10 screws in total on the front and rear panels to be able to take out the board.
The Board/SSD/Battery then slide easily out of the metallic enclosure.
Untighten four more screws to remove the board and reveal the SSD.
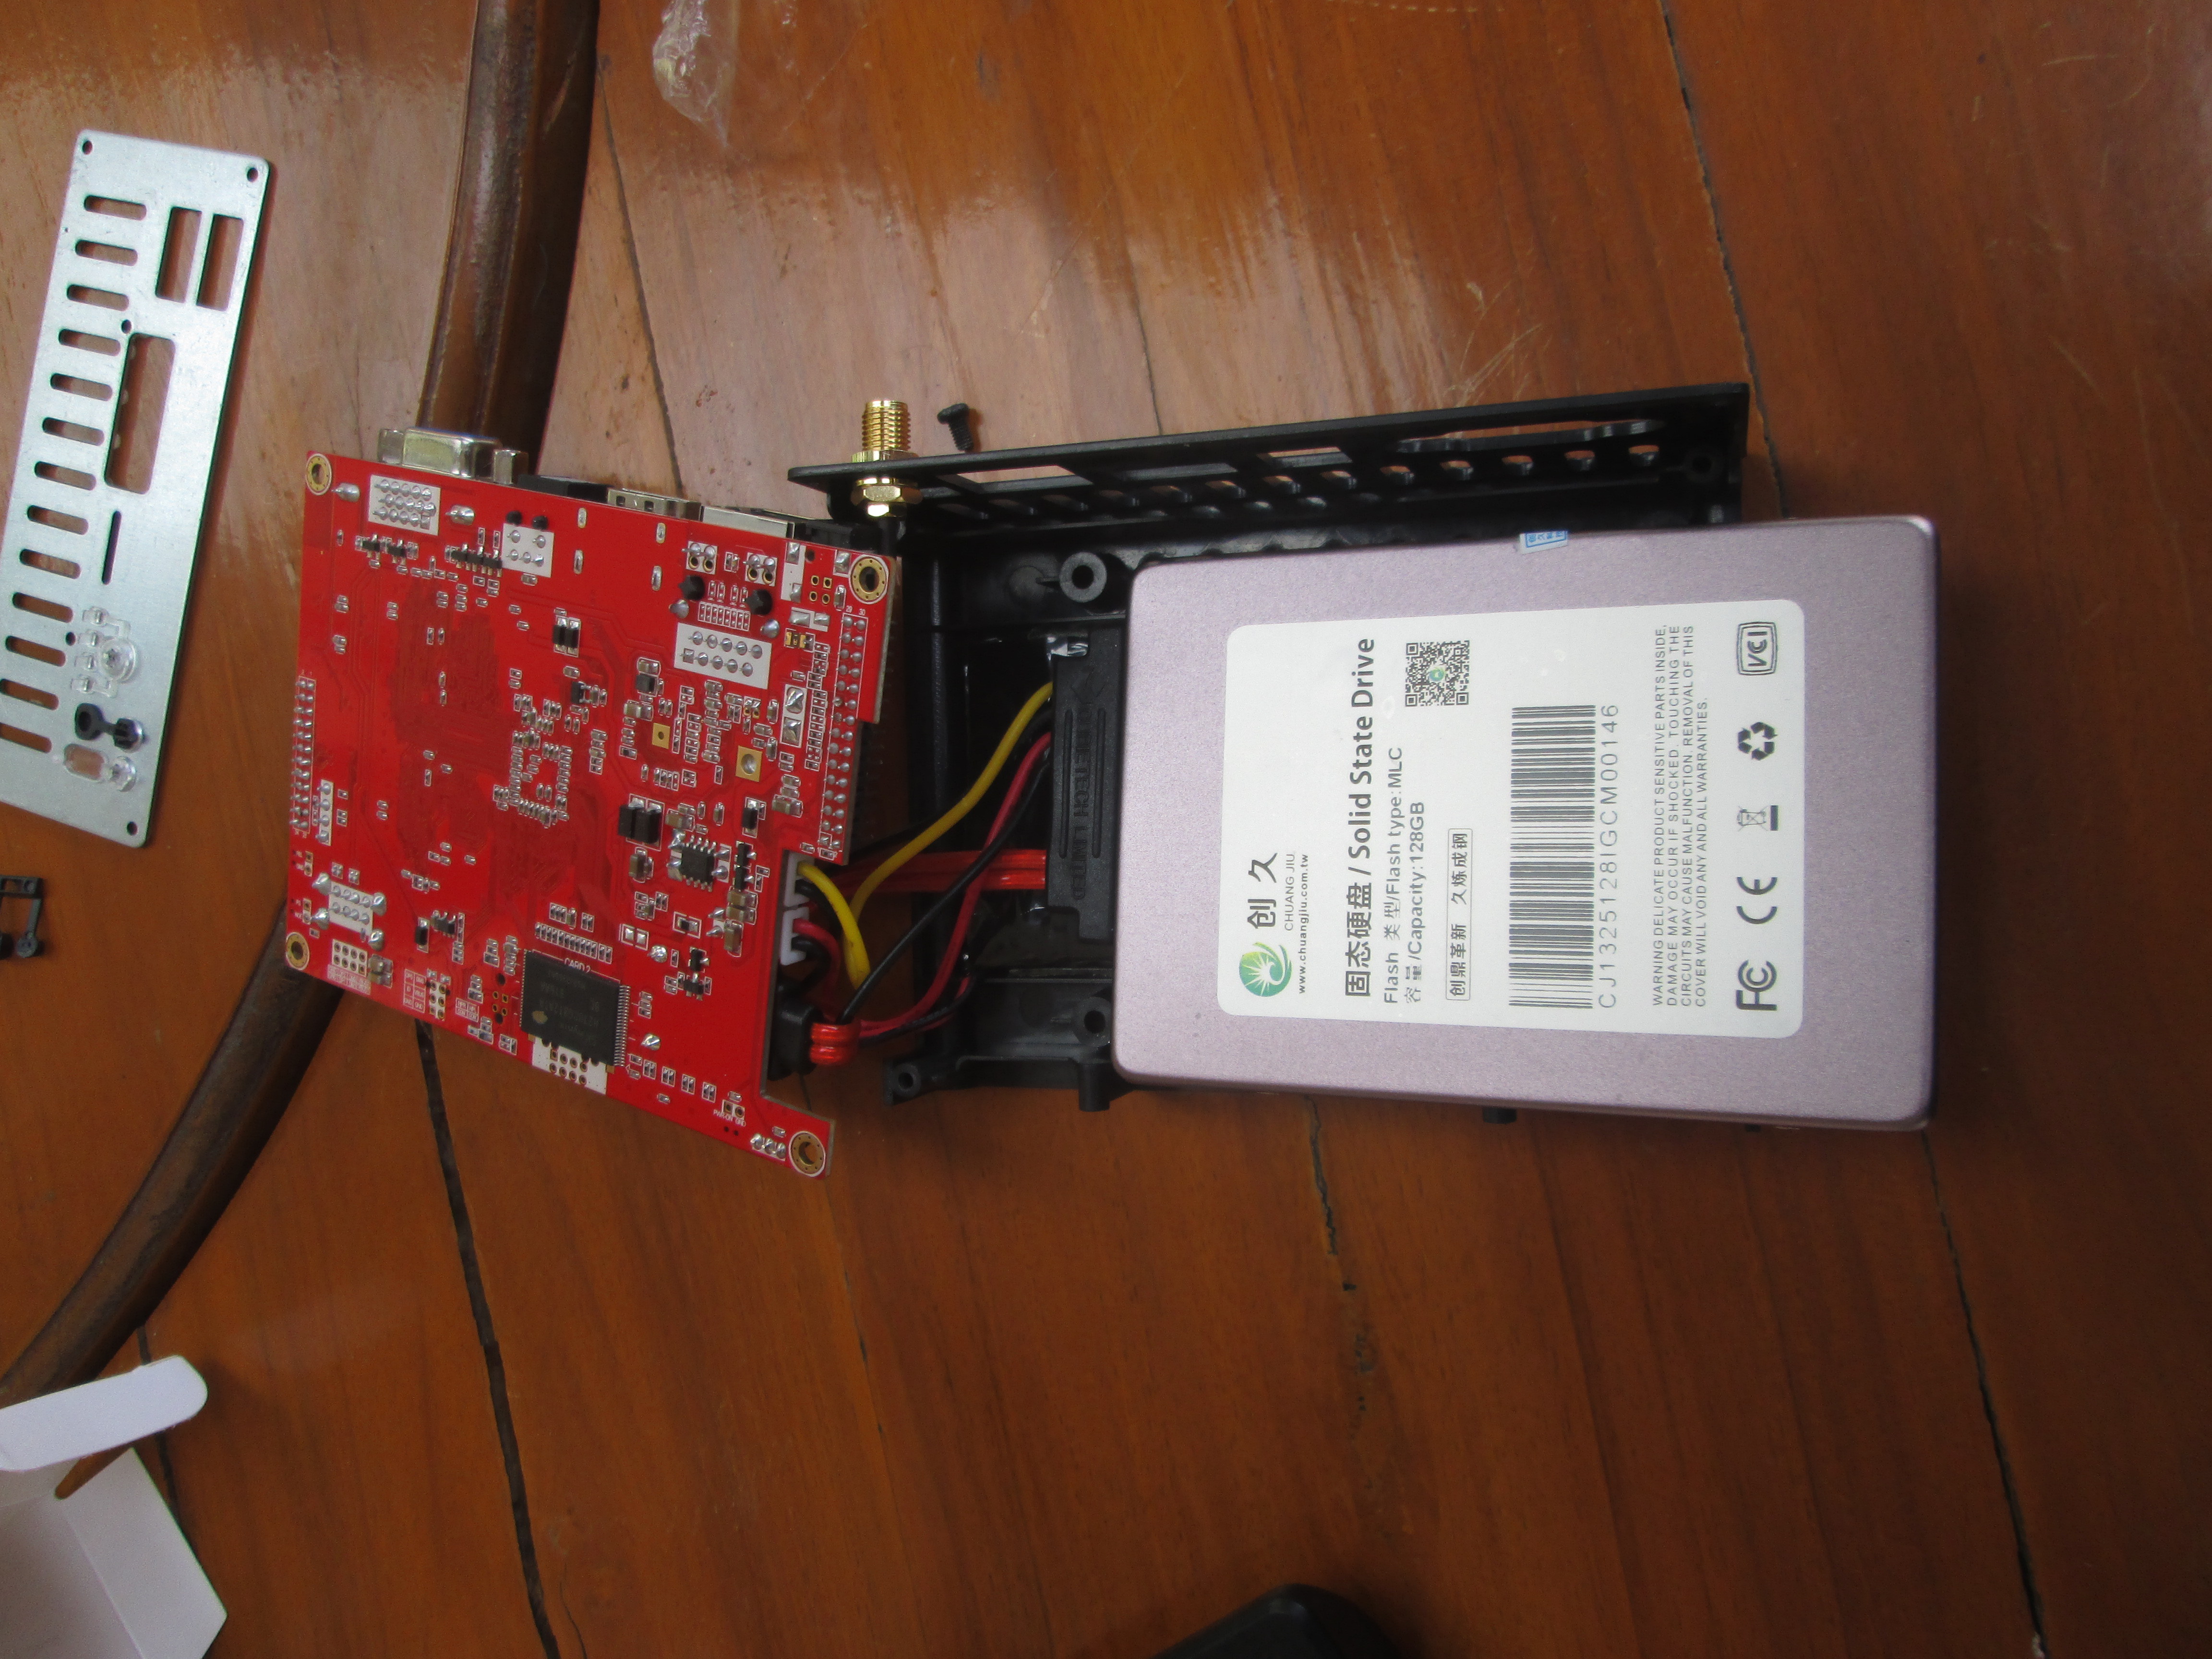
Contrary to the KingSpec C3000.6-M128 SSD found in the installation instructions, I got a 128GB CHUANG JIU SSD. There’s no model number, just a serial number. I could not find this SSD anywhere on the net, albeit Chuang Jiu S300-J8-128GB appears to have similar specs (128GB / MLC), but it does not look the same at all. Anyway that means the brand of SSD found in the kit may vary. The SSD also makes some noise when I move it around, which I find a little odd and worrying.
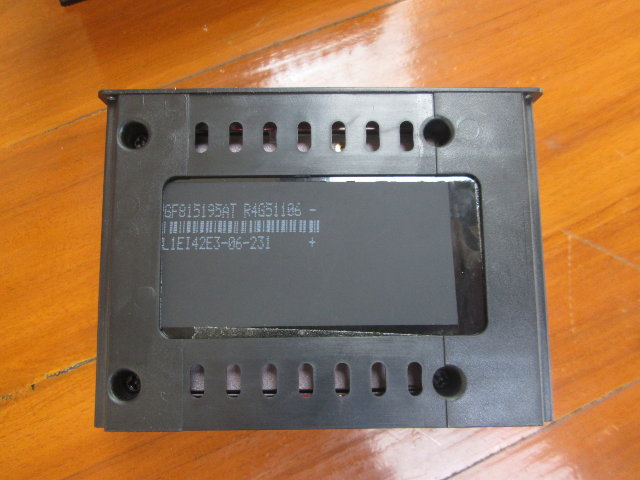
If I remove three more screws use to attach the SSD to the enclosure, I can see the battery, but the top side is pure black. Some markings are located on the bottom of the battery bu nothing indicates capacity.
You can also watch the video below where I unbox the kit, and disassemble it live.
Availability and Price
CubieTruck Metal Case kit can be purchased for $169 on Seeedstudio (In Stock next week, e.g. Nov 24), or 149 Euros exc. VAT on EmbeddedComputer.nl. I found the price very good, but just to make sure, I’ve decided to check the price it would cost to get a similar kit by buying individual components:
- Cubieboard3 / CubieTruck with cables – $89 on Miniand
- 5,300 mAh battery for CubieTruck – 18.99 on Amazon US

- Metal Case for CubieTruck Only – $32.99 on Ebay
- Low cost 128GB SSD – KingSpec C3000.6-M128 for $69.34 on Ebay. I could not find any Chuang Jiu SSD for sale.
- 5V/2.5A Power Supply – $6 on Aliexpress
The total would be $216.32 + some shipping, and if you take out CubieBoard3 from the kit, it would be $127.37 + possibly some shipping. So with this kit, you save about $50 compared to doing it on your own,and this confirms it’s good value provided you need a rugged metal enclosure, a battery, and a SSD for storage.
Next step is to boot it up, check current support in Linux including 2D/3D acceleration, video playback, flash support, and SSD performance, as well as battery behaviour and life.

Jean-Luc started CNX Software in 2010 as a part-time endeavor, before quitting his job as a software engineering manager, and starting to write daily news, and reviews full time later in 2011.
Support CNX Software! Donate via cryptocurrencies, become a Patron on Patreon, or purchase goods on Amazon or Aliexpress


5V/2.5A for an box with an generic SATA SSD (even with battery, or supercaps, for UPS)?
Common SSD alone use 1.5A to 2.0A, so a 0.5A to 1.0A for the rest, like USB hosts each needing to power 0.5A?
And everyone should know to not run their PSU at max all the time, EE design should always plan for 50% to 70% PSU max load.
Maybe it really is just me having problems with my math…
> Maybe it really is just me having problems with my math…
Or maybe you just don’t get that this is low-power embedded hardware, not a typical Intel box which requires kWs PSU + power plant to run.
@anon
the SSD max load at start stage is 500mA
the chip set max load is 700mA
the rest for 2x USB is 2500-500-700=1300mA
So i think it’s reasonable to use 2.5A@5V adapter.
@ anon
> Maybe it really is just me having problems with my math
SSD power is not the same as mechanical HDD spin-up… ’cause there isn’t a motor to rotate the plates and no heads to move.
So don’t worry for 5V@2,5A power supply…it’s OK for most applications
A good quality 5V 2.1A USB PowerSupply will do without any problem, As said it is a SSD. It even works without a USB power supply (onboard battery)
onboard battery: 5,300 mAh Battery
@Jibril
@Jacob Ritzema
Of course I know the difference between HDD spin-up power vs SSD, what I reference is the currency SSDs use when you write on them, there are bunch of sites with wattage graphs, SSDs use less energy on _average_, but they do it with 500MBps write speed, and by going to low-power mode (idle and lazy reading), but the peak currencies are in Amps-range, just read the amps labeled on top of any brand name SSD.
Sub-amp SSD is a rarity, only Sandisk Extreme II (and Pro), and smaller capacity Samsung 840 Ego (AFAIK).
@anon
ah,ok…now you have been clear…you intended the peak power in Write sequential mode.
Nice article about this issues is described on http://thessdguy.com/solving-ssd-power-spike-issues/
If could appare issues with 5V@2,5A power supply, you could try with low ESR super capacitor solution (bypass on 5V rail of SSD).
Take 2 radial super cap (3,3F @ 5,5v for example EDLHW335D2R3R model), connect them in series mode (making a 1,6F @ 11v super cap) and finally in parallel on 5V SSD rail (respecting the polarities).
@Jibril
errata corrige:
The EDLHW335D2R3R is 3,3F @ 2,3v super cap.
Take 2 pz of EDLNF155B5R5C (1,5F @ 5,5V) in series mode -> 0,75F @ 11v super cap
@Jibril Yeah, exactly… But the problem being that it seems that virtually all of these ARM system designers somehow seem to always downplay the need of both cooling, and PSU, of their designs, it’s almost like they try to convince they use sooooooooo much less energy than x86/PC systems, that they can forget all those generations of PC/PSU designs, and rely on minimum power usage statistics as the design point, instead of “worst case scenario”, that ALL systems should be designed for (100% utilization of every single chip/core/port). Just see how just sticking the ARM systems to max frequency with… Read more »
I do not see the use of the alu pads here, the CPU is not connected to the case, so those pads bring nothing, and they even waste space, and destroy the appearance of the box.
I bet they just took what some suppliers had in stock.
@zoobab
CubieTech wrote the board itself does not really need cooling, but the SSD + battery may get hot during operation so the metallic enclosure helps with cooling.
@Jean-Luc Aufranc (CNXSoft)
So to cool them you make sure that nothing gets in contact with the metal case (by placing it in a plastic tray) and cover the vent holes? Sorry, but the metal case is just for the look. From a colling pov it’s a joke.
@Rolf
If you want to DIY a solid mini server with 2.5” mechanical HDD, it’s better to choose this case.
I must have gremlins at home… Another device that does not work as it should…
https://groups.google.com/forum/#!category-topic/cubieboard/debian/tm42vVTJaNs