
History
This is not my very first foray with SLA printing. I attempted to build one about a year ago and failed. After breaking 2 screens I gave up. In hindsight, I believe my leveling process was flawed. I did not use a piece of paper. That will make more sense later. I used nanodlp on a Raspberry Pi. Along with a ramps board for the electronics. The frame was built with 2040 and 2020 aluminum extrusion. RIP Tevo Tarantula. Quite a few people are successful but with the price of these inexpensive printers, I am not sure DIY is the way to go.
Specs pulled from Anycubic’s Website
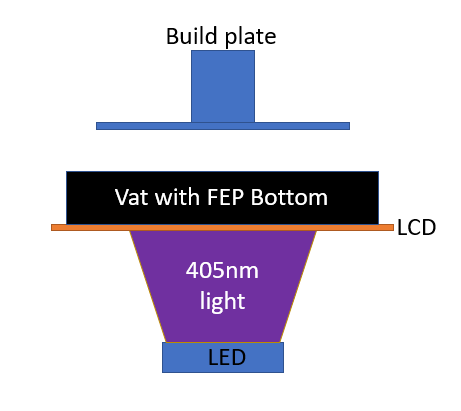
- Printing Technology: LCD-based SLA 3D Printer
- Light-source: UV integrated light(wavelength 405nm)
- XY DPI: 47um (2560*1440)
- Y-axis resolution: 1.25um
- Layer resolution : 25 ~ 100um
- Printing speed : 20mm/h
- Rated Power: 50W
- Printer size: 230mm*200mm*400mm
- Printing volume: 115mm *65mm *165mm (4.52″*2.56″*6.1″)
- Printing material: 405nm photosensitive resin
- Connectivity: USB Port
- Package Weight: 5.9kg
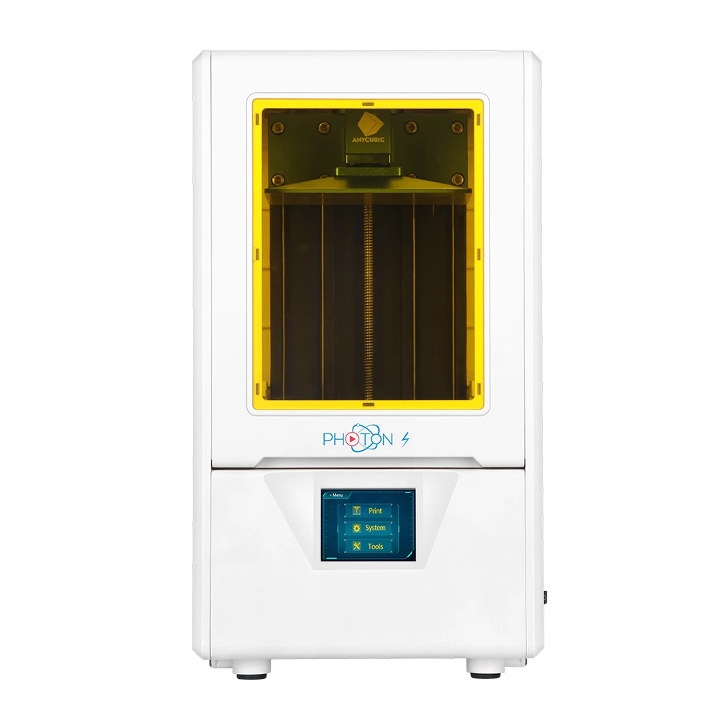
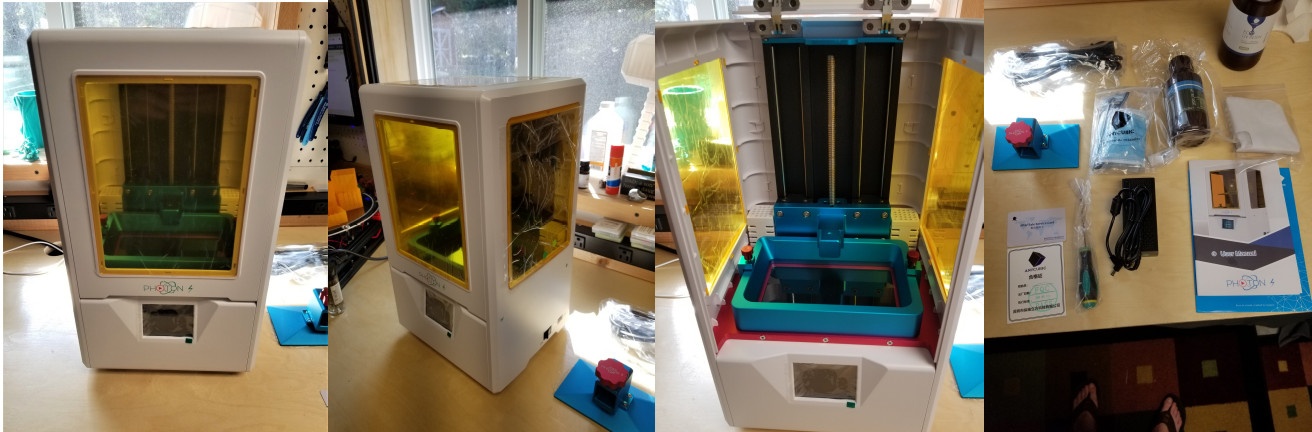
Anycubic Photon S Unboxing & Teardown
Only Issue
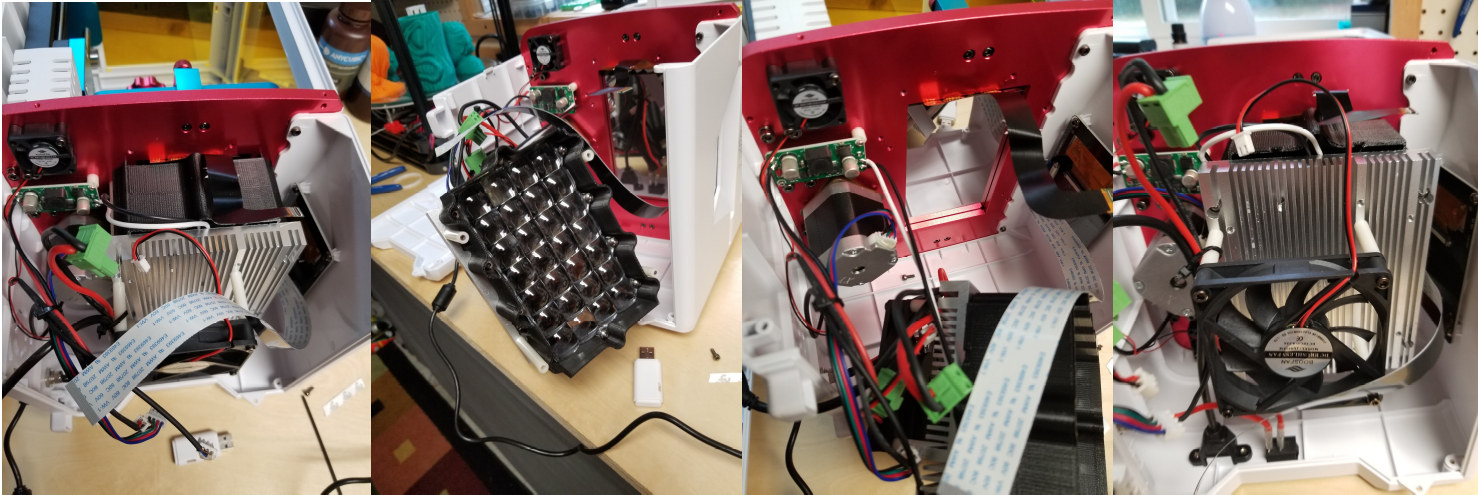
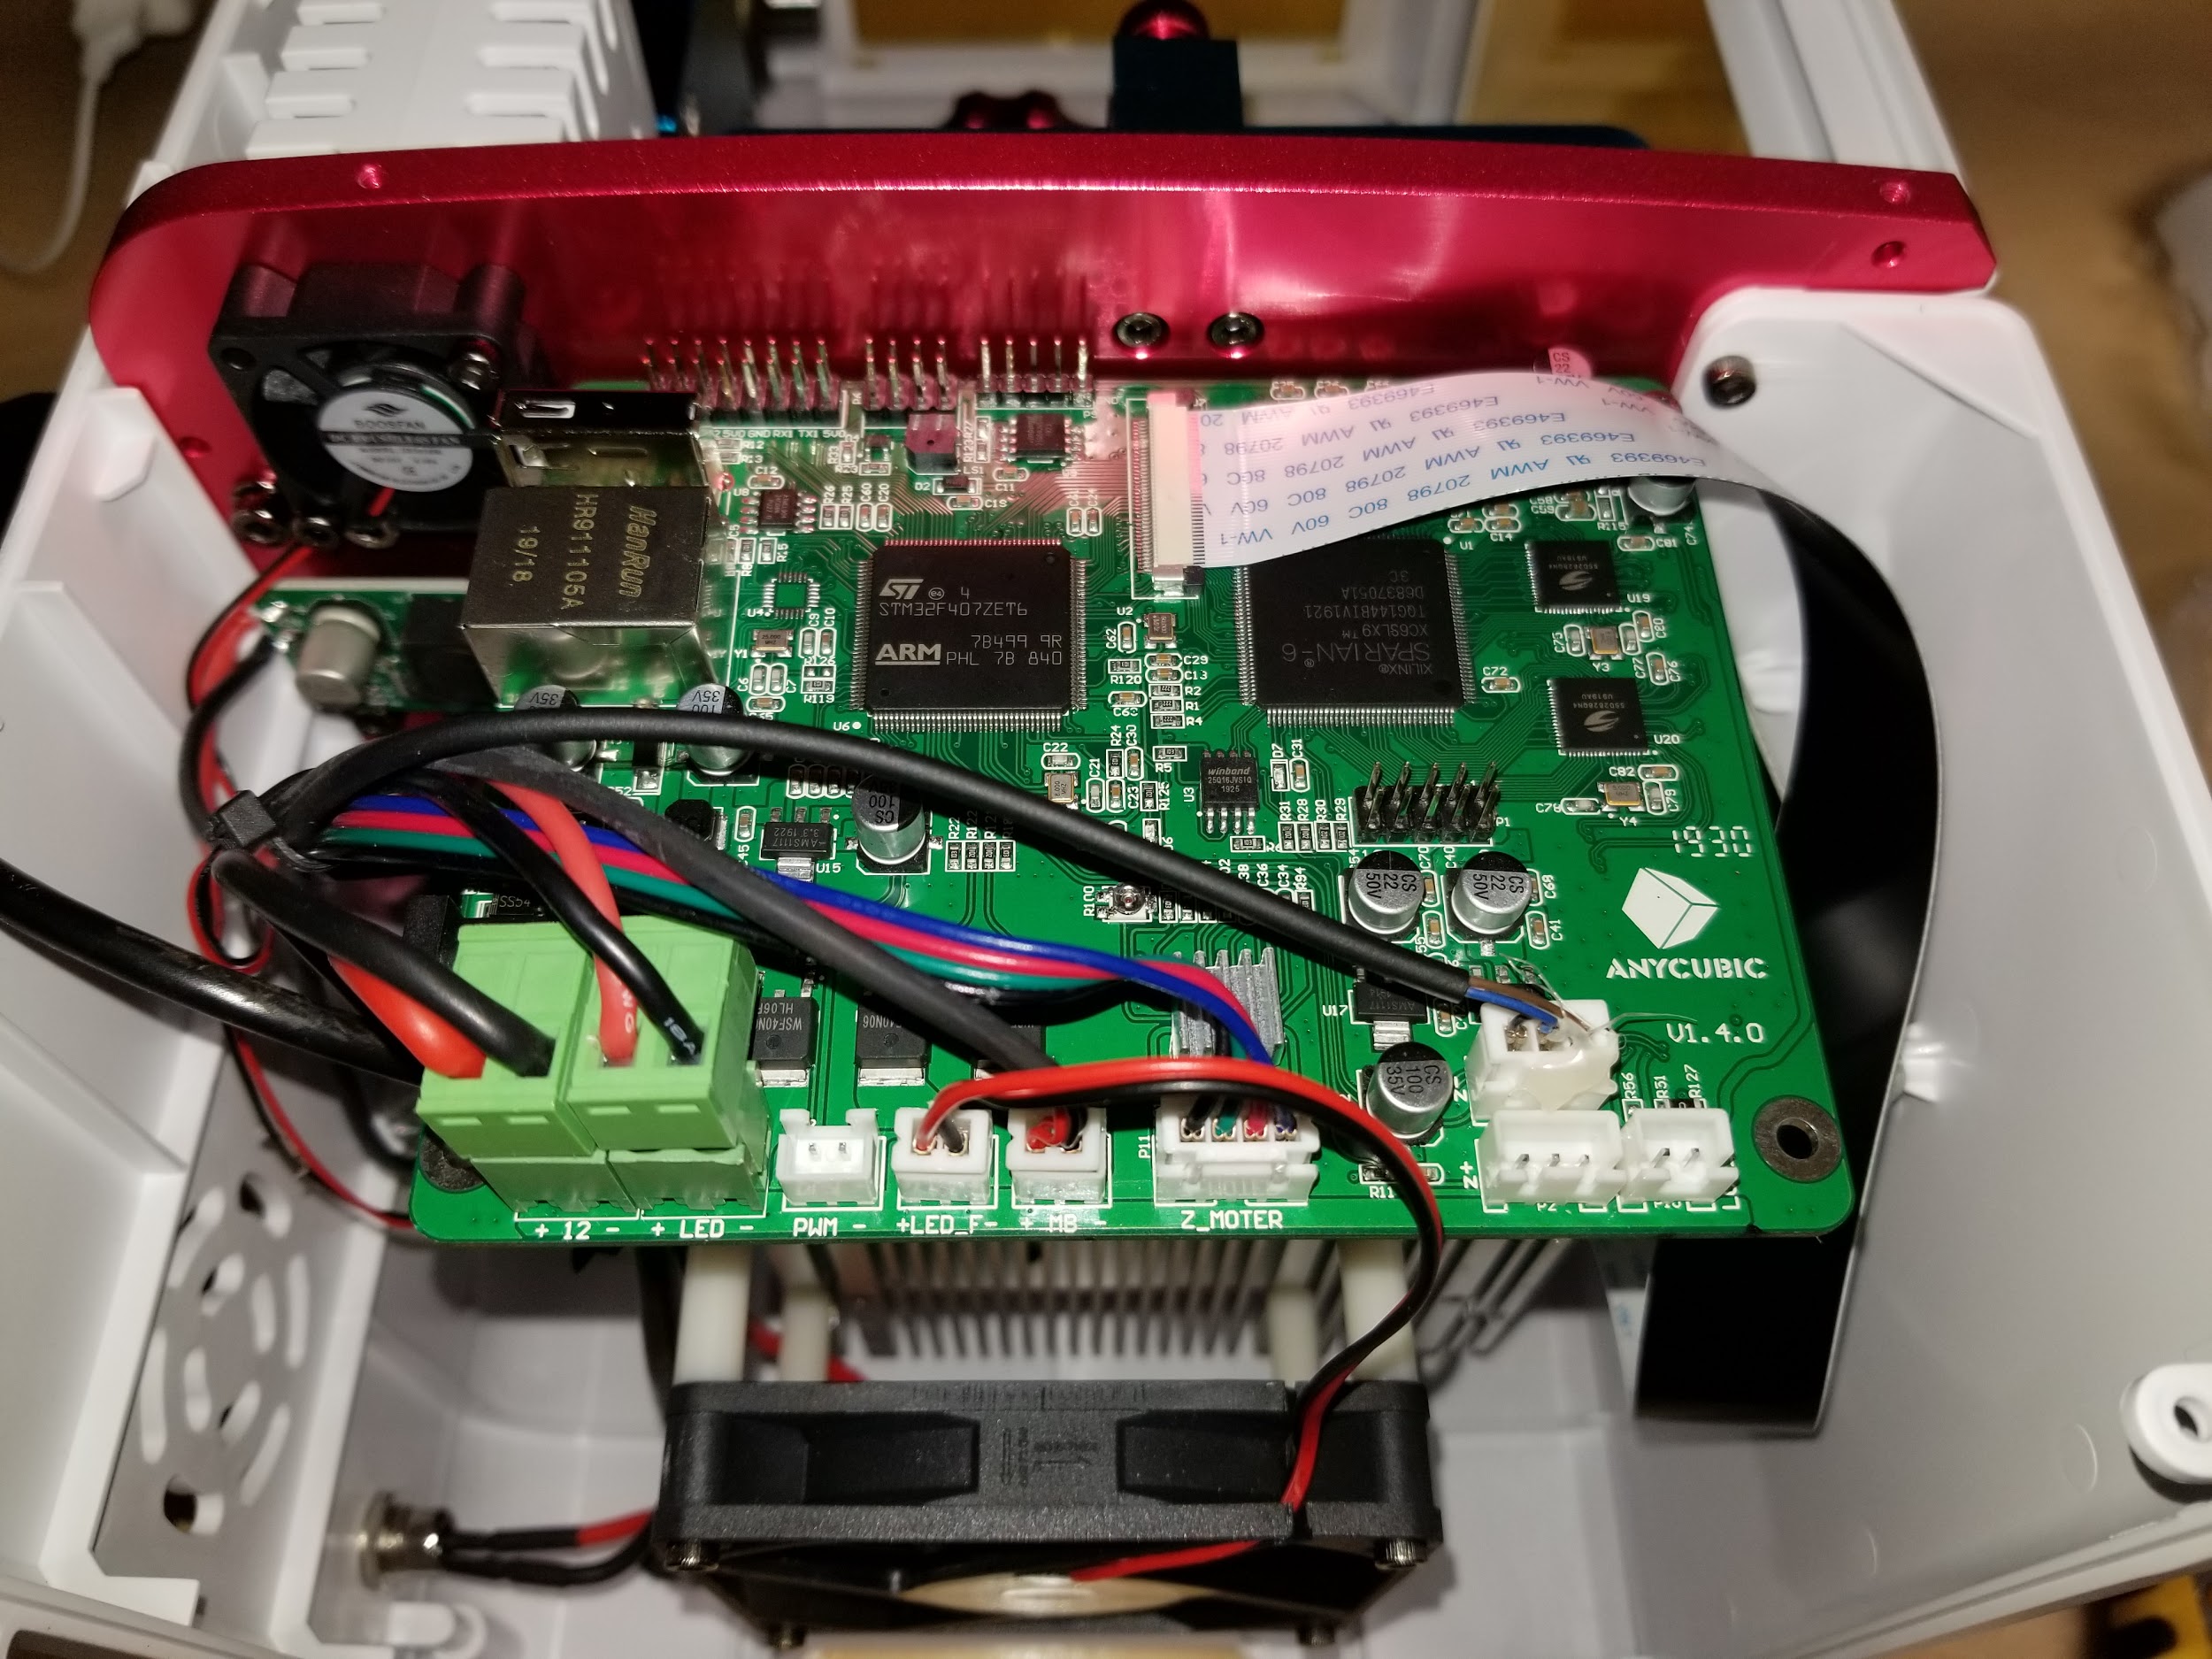
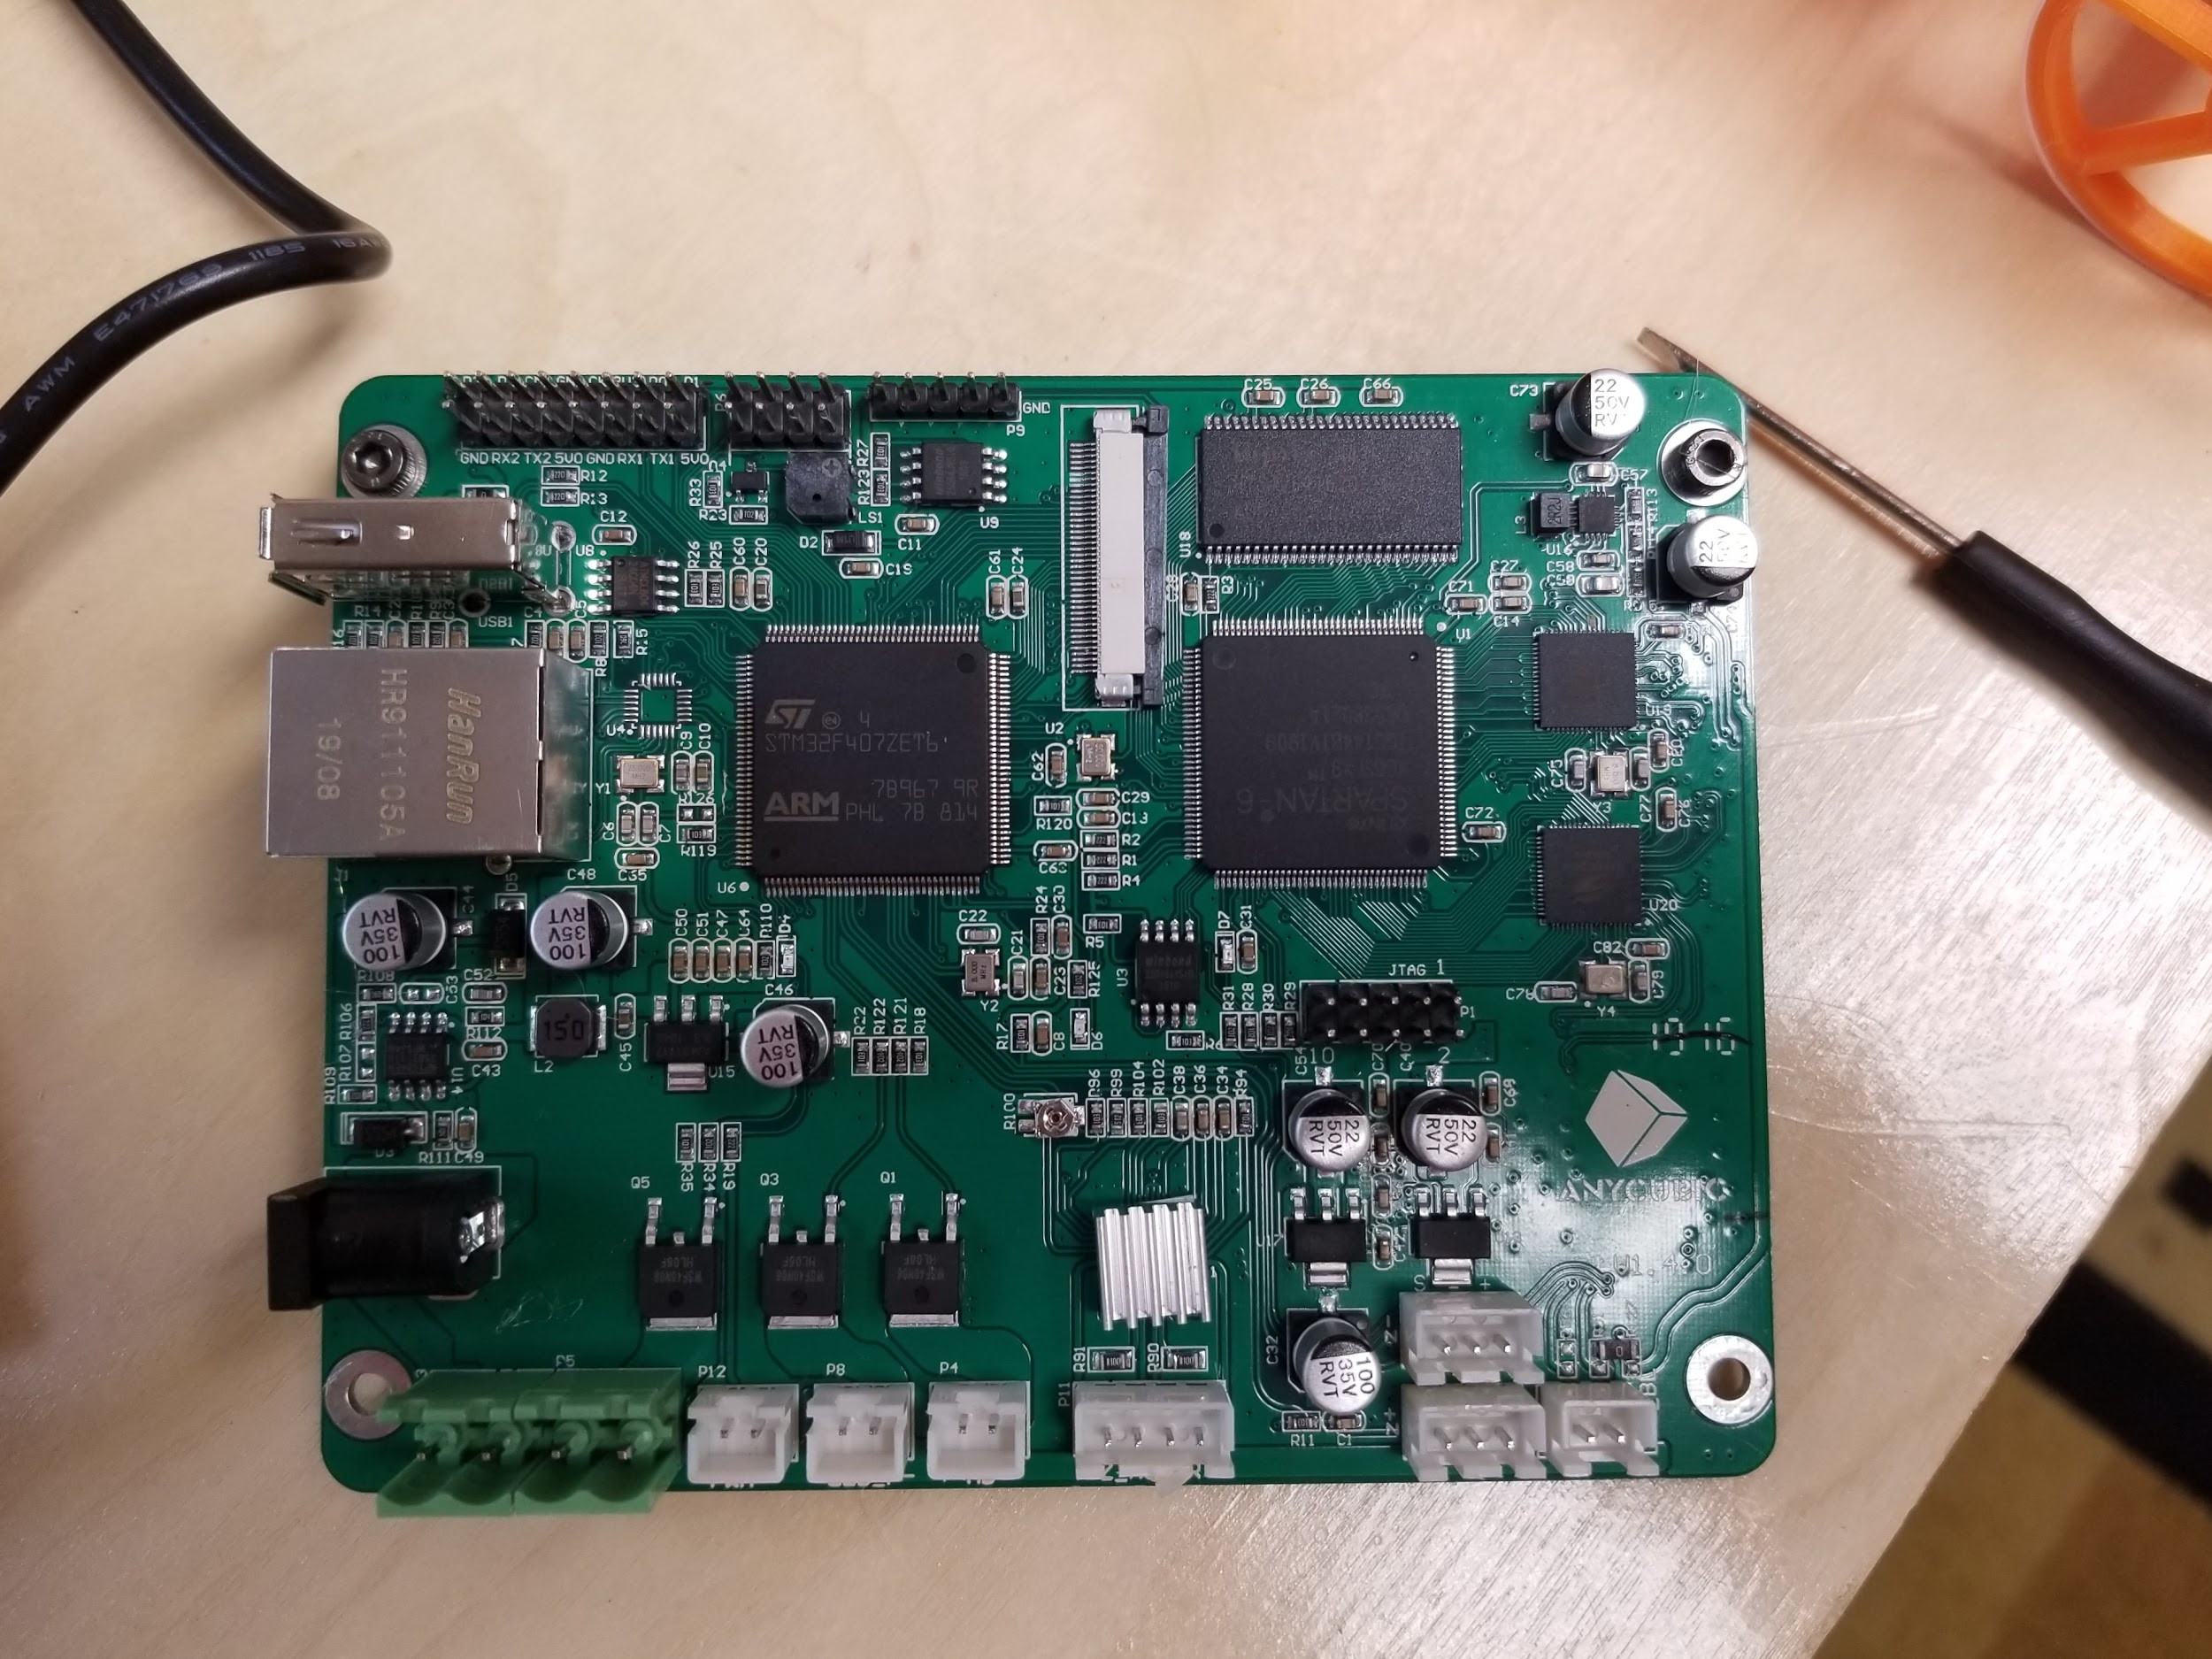
I wasn’t planning on tearing down this printer but after powering on the first time the printer would not read any USB drive. I suspect international shipping. I notified Anycubic and they sent me a replacement. It was not difficult to replace the board. After replacing the board the Anycubic Photon S could read the USB drive. I immediately updated the firmware following instructions found on their website. It was uneventful and the directions were clear and concise.
First Print on Anycubic Photon S
The first thing you do before printing is level the build plate to the screen. It was an easy process that I followed in the included manual. In summary, the vat is removed and a piece of paper is laid on the screen. You home the machine which is several millimeters above the screen. There’s a grub screw in the top of the build platform that is loosened to allow the build plate to move freely in all directions. The build plate is then lowered slowly toward the screen using the LCD screen until the paper has friction on it. Then you tighten the grub screw to lock the build plate in place and tell Anycubic Photon S that it is at 0 through the screen. The first time I did this I did not tighten my grub screw tight enough and while I was watching the first layer go down I saw it move. I stopped the print cleaned everything up and releveled the build plate. I was very meticulous about this leveling process. I watched enough videos and read enough articles to know that this is a very critical step. As of this writing, I’ve used most of the 250 ml bottle that came with the printer and have had no failures due to leveling. Nor did I have to relevel again. I could not have been happier with the first test print. It came out fantastic.
Workflow and patience
I have found the workflow to be extremely long and tedious. Several applications are needed to conserve resin, orient and support the models. Again I did my homework to get this workflow right for me. Here is a list of applications that I use.
- Chitubox
- Prusa slicer
- Photon File Validator
- Photon Workshop which you can find in the Anycubic Care area as well as firmware, a test model, and manuals
First thing I have to decide is if the model needs to be hollowed to conserve resin. I load up the model in Chitubox and use the built-in tool to hollow the model. After the models hollowed and a drain hole is placed I export it to an STL and open with Prusa Slicer. In Prusa Slicer, I orient the model and use its auto-support feature and auto-orient feature. It is a roll of the dice if the orientation makes sense. I want all the supports to be on the back/bottom of the print. Little marks are left when removing the supports. I have found that Prusa Slicer has the best auto support feature. Then I export to STL again with the supports and open back up with Chitubox. I leave Prusa Slicer open in case I need to modify or add supports. In Chitubox I slice to the regular photon format. Not the new photon s file format. I then open the sliced file in Photon File Validator and verify no islands are present. If any islands are found I then go back to Prusa Slicer and manually add the missing supports. Finally, I opened up the object in photon workshop and slice and save to the format the Anycubic Photon S can read. This process can take a very long time to complete. I can say that is worth it. I have had zero failures except 1. I have missed a few islands but I don’t consider that a failure.
I really wish Anycubic would incorporate the auto-support feature of Prusa Slicer along with Photon File Validator and bake into Photon Workshop. Both are open source and all the code is available on Github.
SLA Print Post-processing
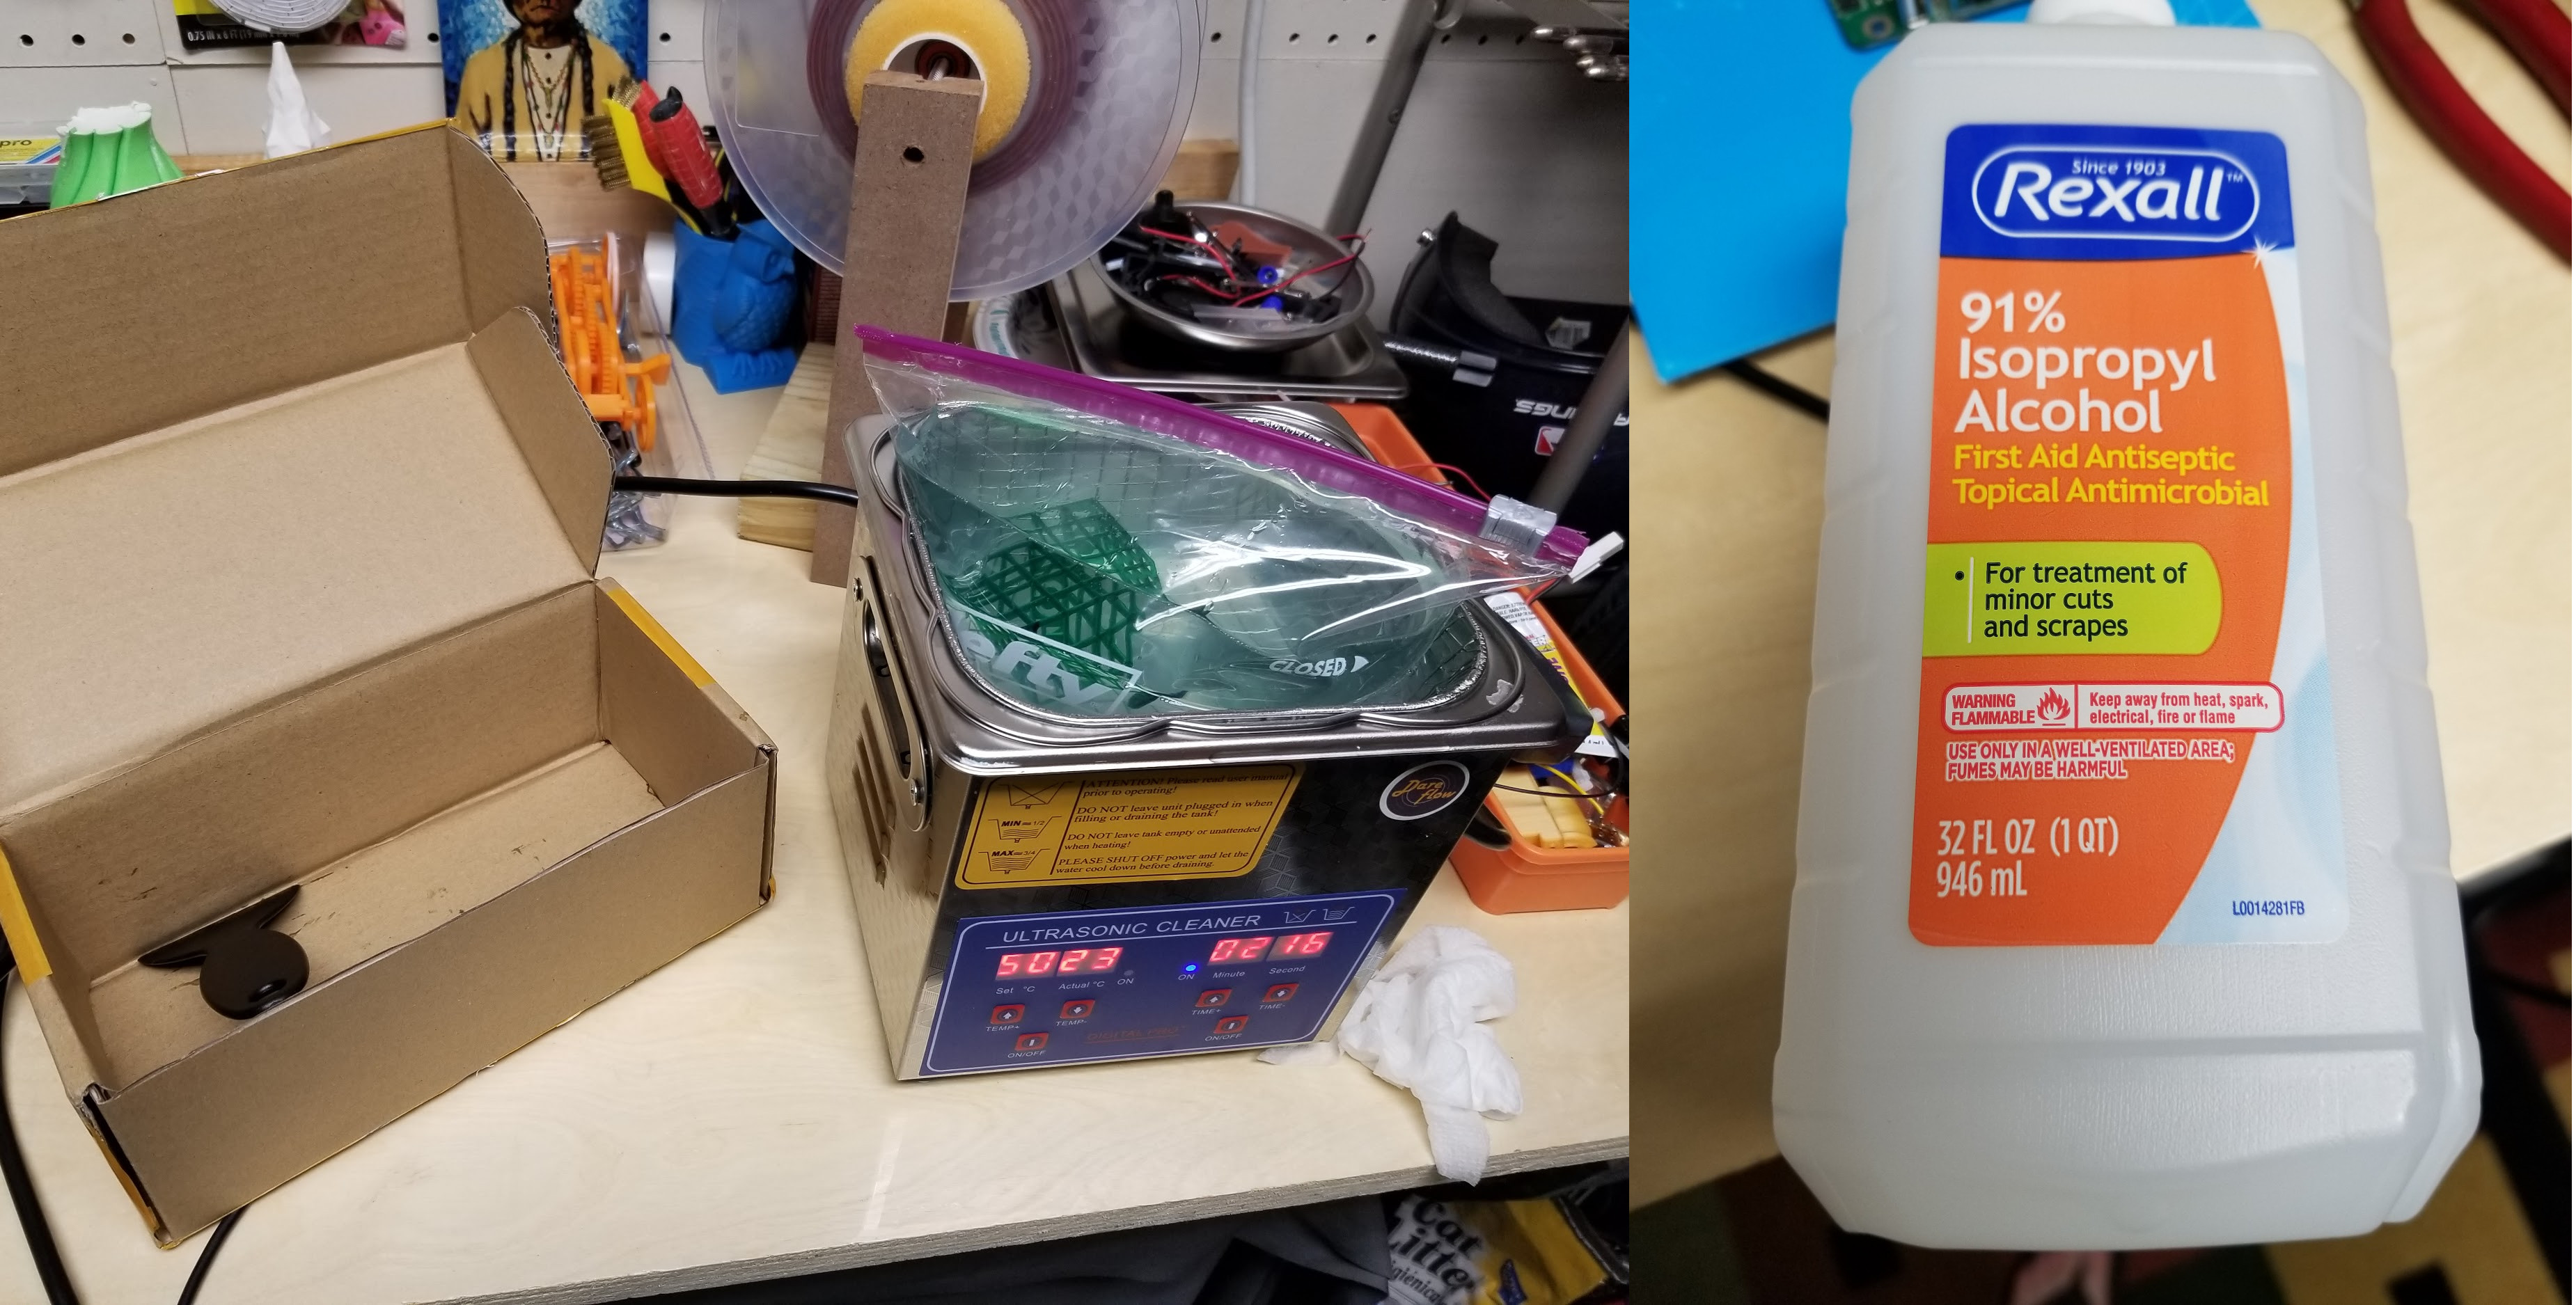
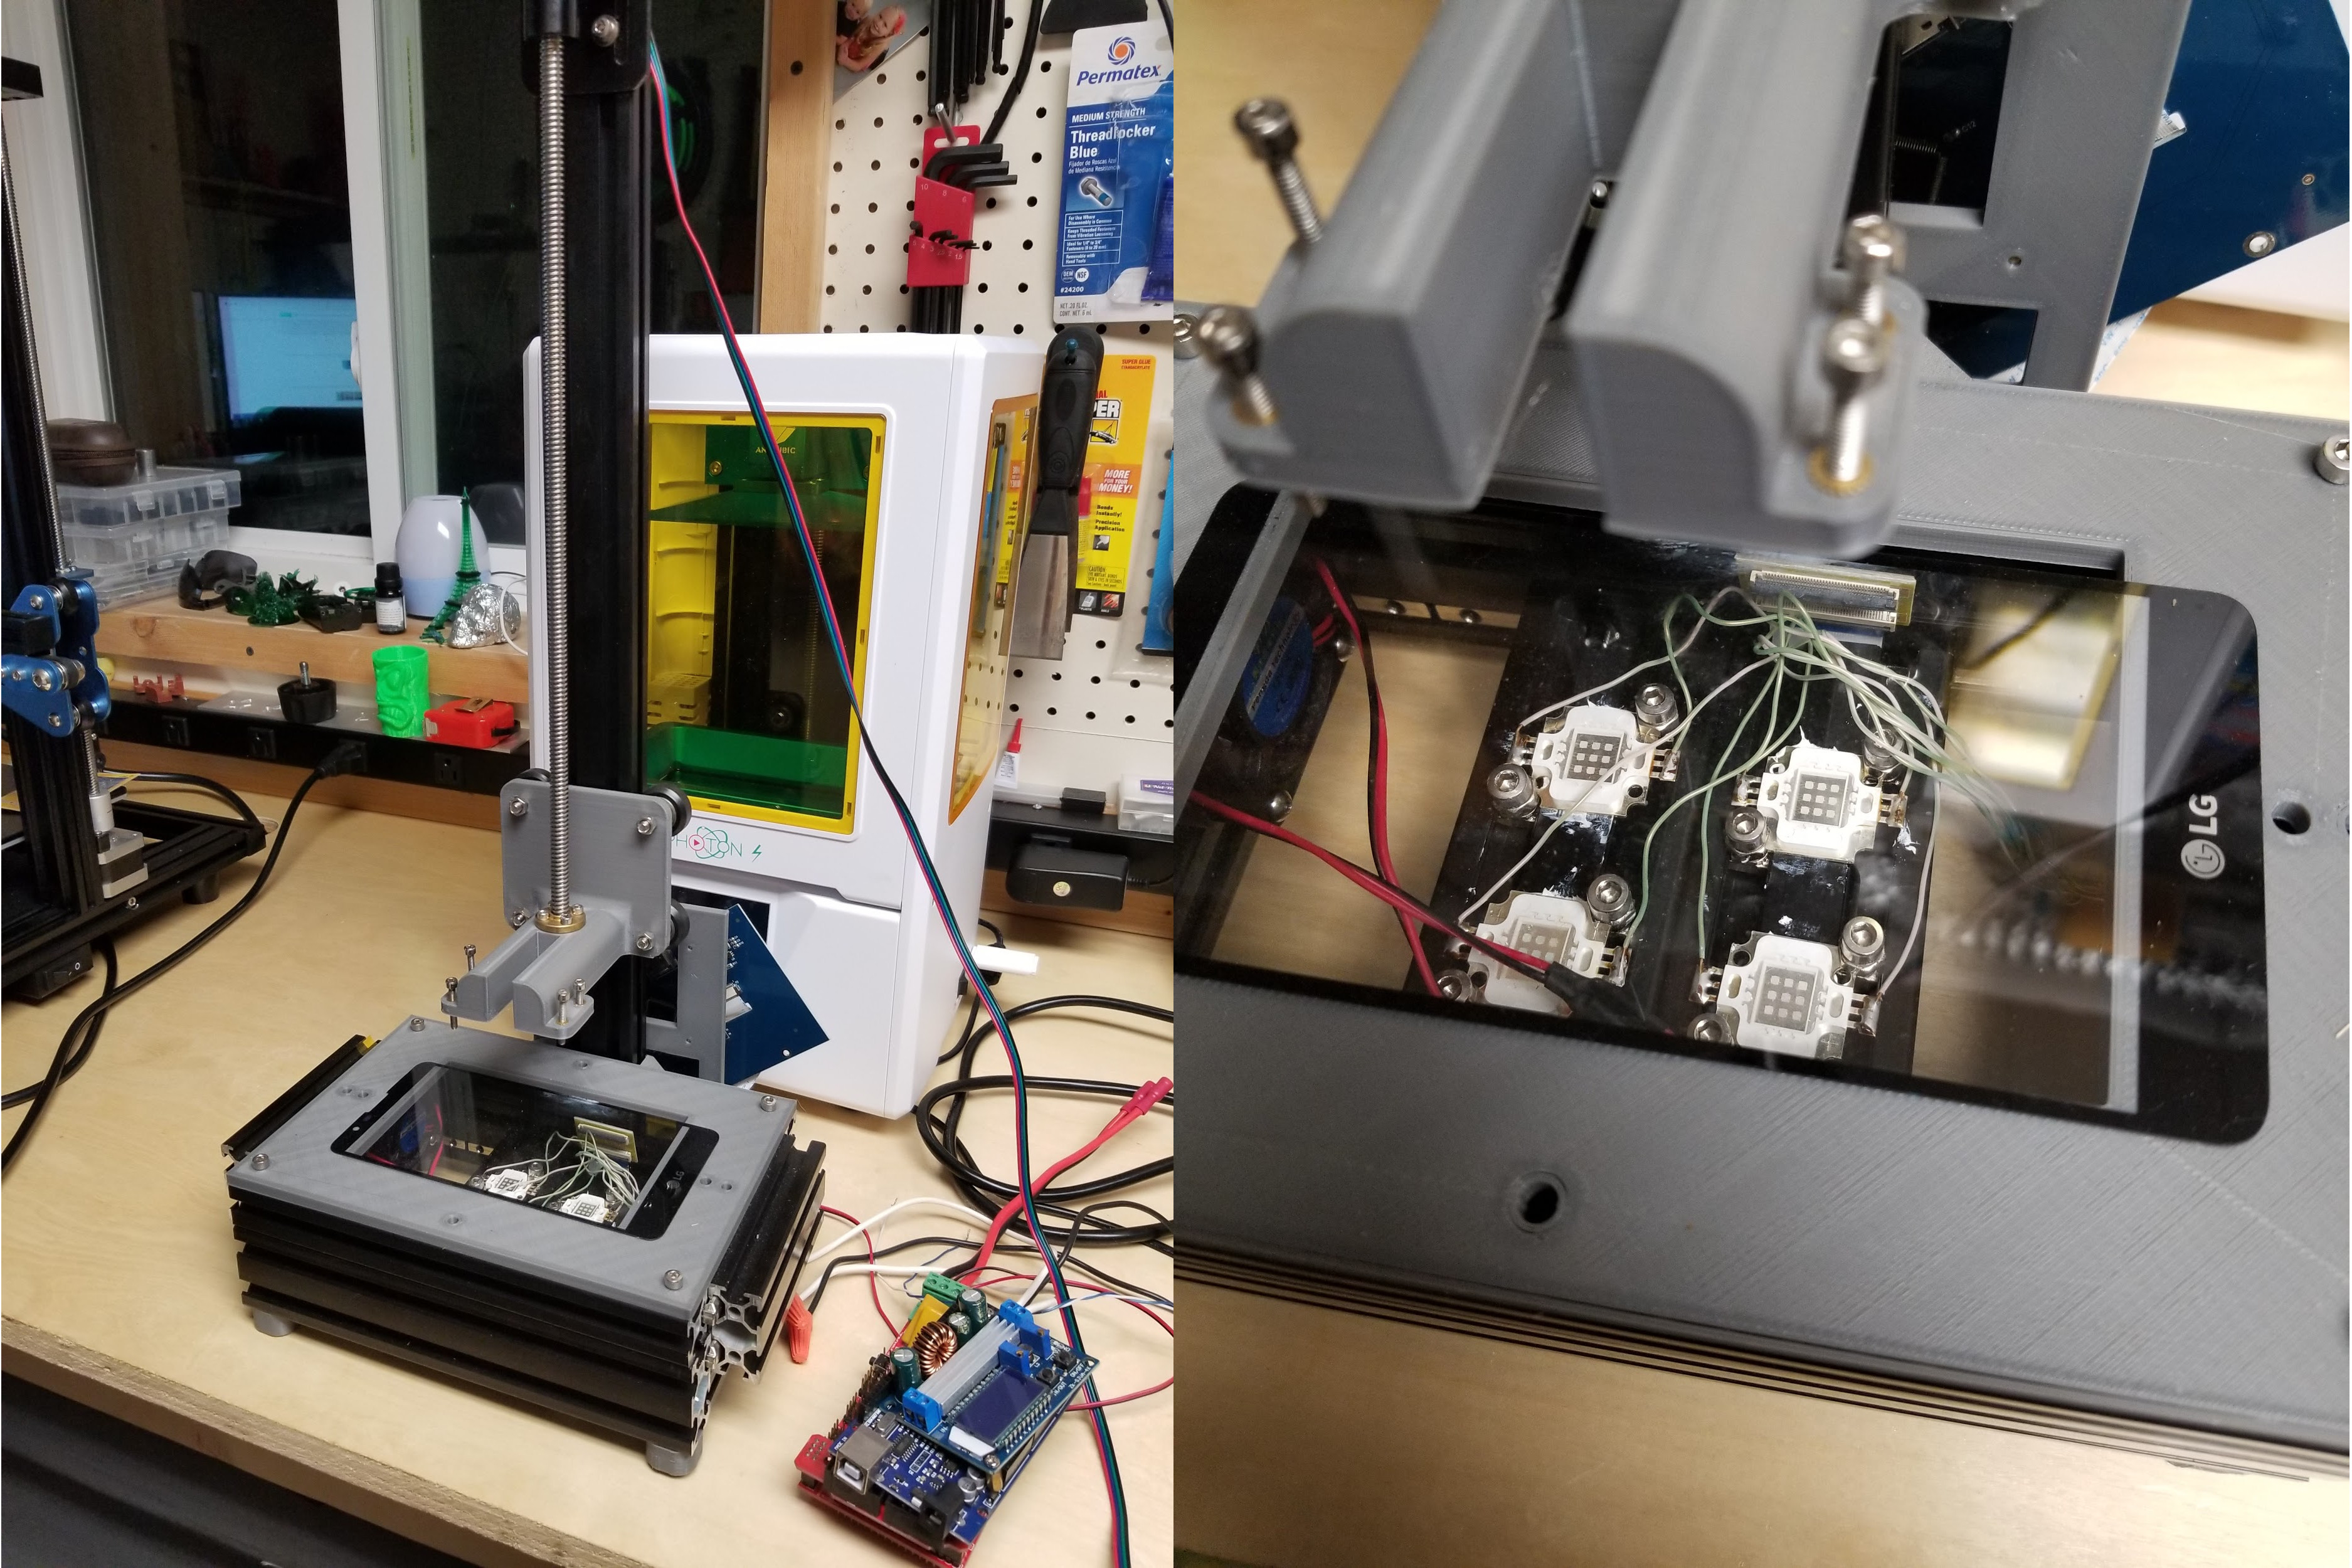
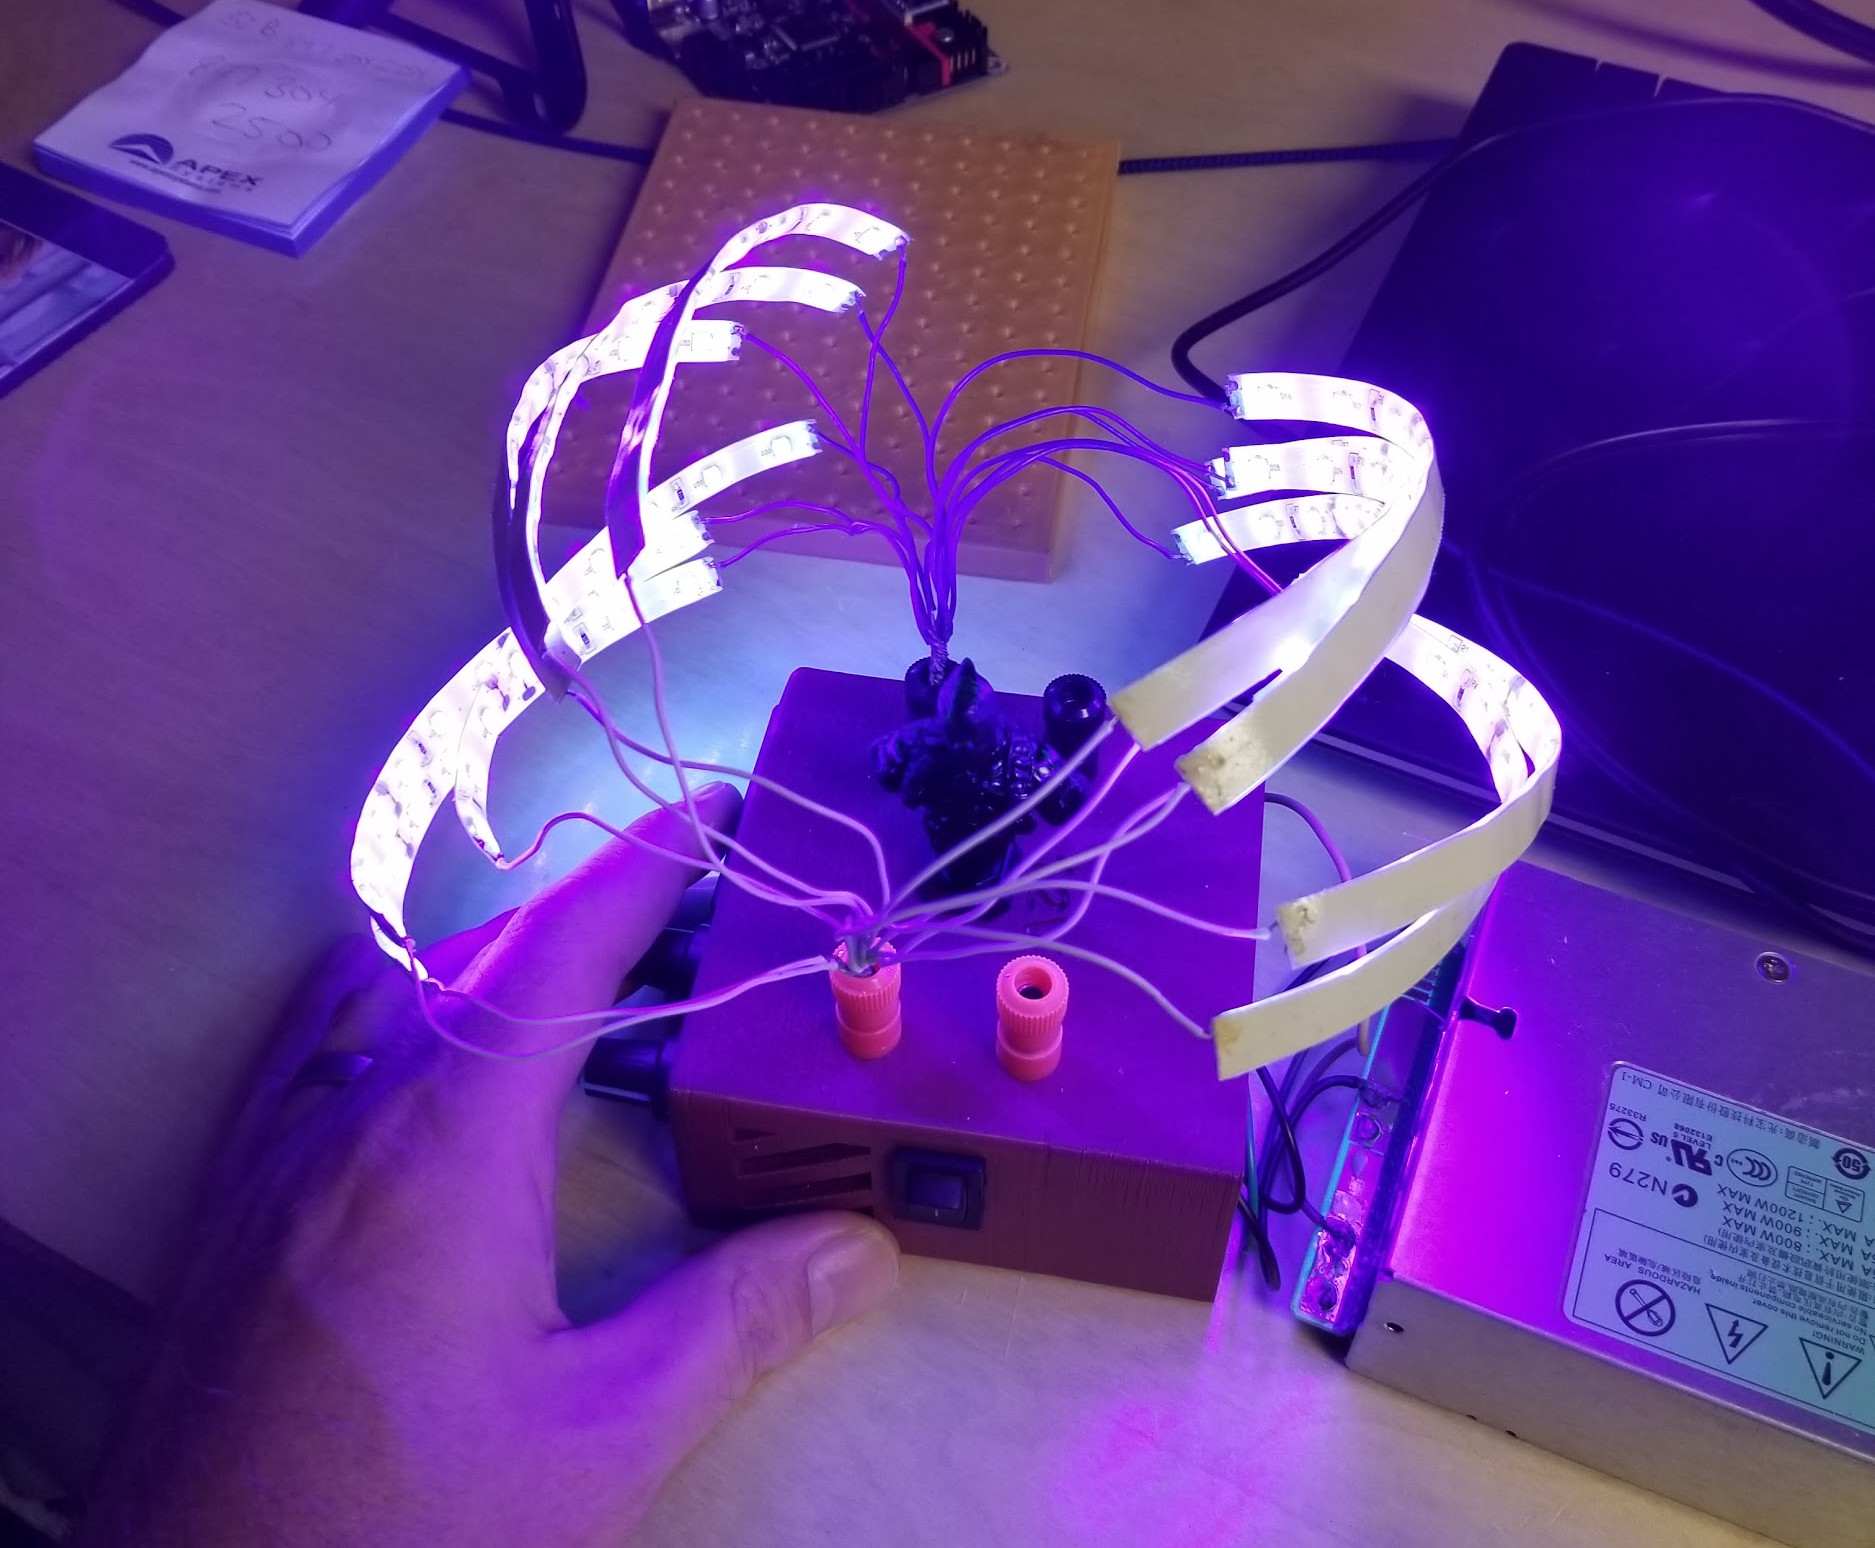
After printing the fun is not done. Now it is time to complete the process. I purchased an ultrasonic cleaner to help with this. After removing the print from the build plate all the uncured resin needs to be cleaned off before the final cure. I put isopropyl alcohol in a Ziploc bag with the part. I add a little water to the bottom of the ultrasonic cleaner and put the Ziploc bag in it. I use the water to fill in the gaps between the Ziploc and the ultrasonic cleaner. Then run the ultrasonic cleaner for about 5 minutes. After it is done I pull the part out and clip off the supports if any are used. At this point, you must let the part completely dry. If you notice on the skull below I did not let it dry completely before the final cure and it got a white haze on part of it. I then put out in the sun or use this UV led rig that I have.
Safety
Resin is some nasty stuff. I wear gloves anytime I used the printer. I purchased a box of 100. They go fast. The fumes are not great either. In part 2 I am going to do research into what to do with old isopropyl alcohol. I really don’t know how to dispose of properly. I would not print in my home. I did all this in my workshop and kept my window open printing overnight. I then let the room air out well before spending any time in there.
Dimensional Accuracy and Resolution
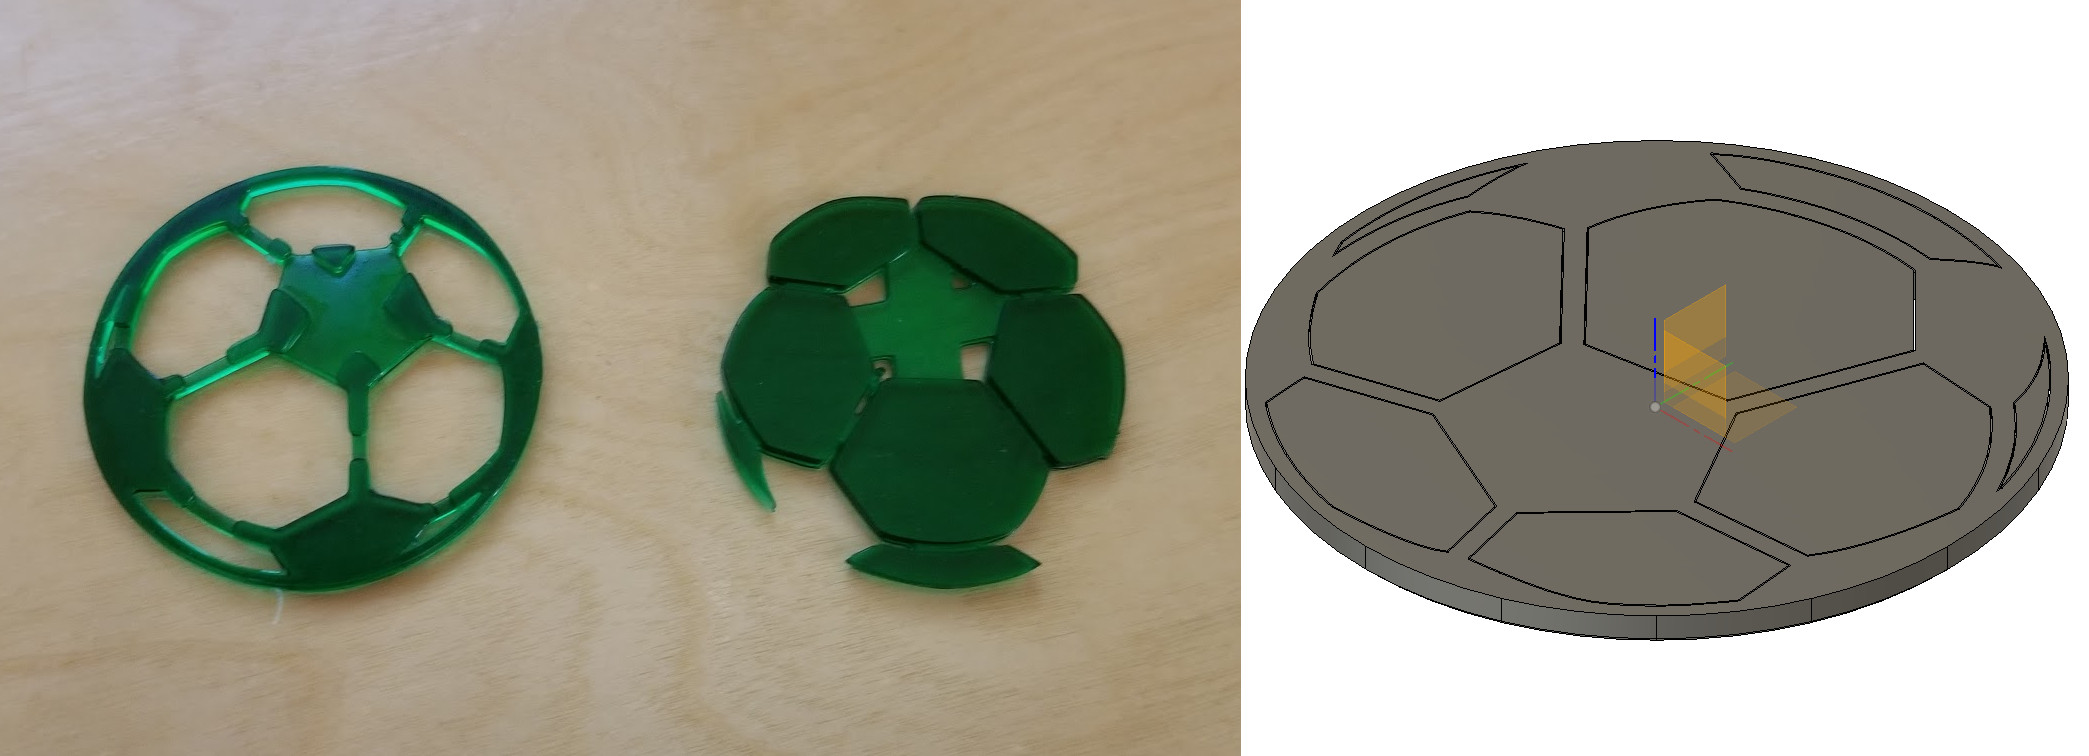
This is something I will need to look into more in part 2. I coach soccer and every year I make something for the kids for the end of the season. This year was supposed to be a CNC plaque with a soccer ball inlay. I was going to paint one part black and the other part white and snap together. Then glue in place in a pocket that I carved out. I designed the above 2 parts to join together with a .1mm tolerance in Fusion 360. After printing, it looks like I need to increase that quite a bit. I need to look at height tolerances too. After measuring one piece in Fusion it was supposed to be 1.377mm wide but printed 1.59mm .213mm difference. I only had a week from the time I started so I had to remove that part and CNC everything. We had nearly double the kids on the team this year and a lot of carving. BTW I still really like the Sainsmart 3018 CNC machine and it is still going strong.
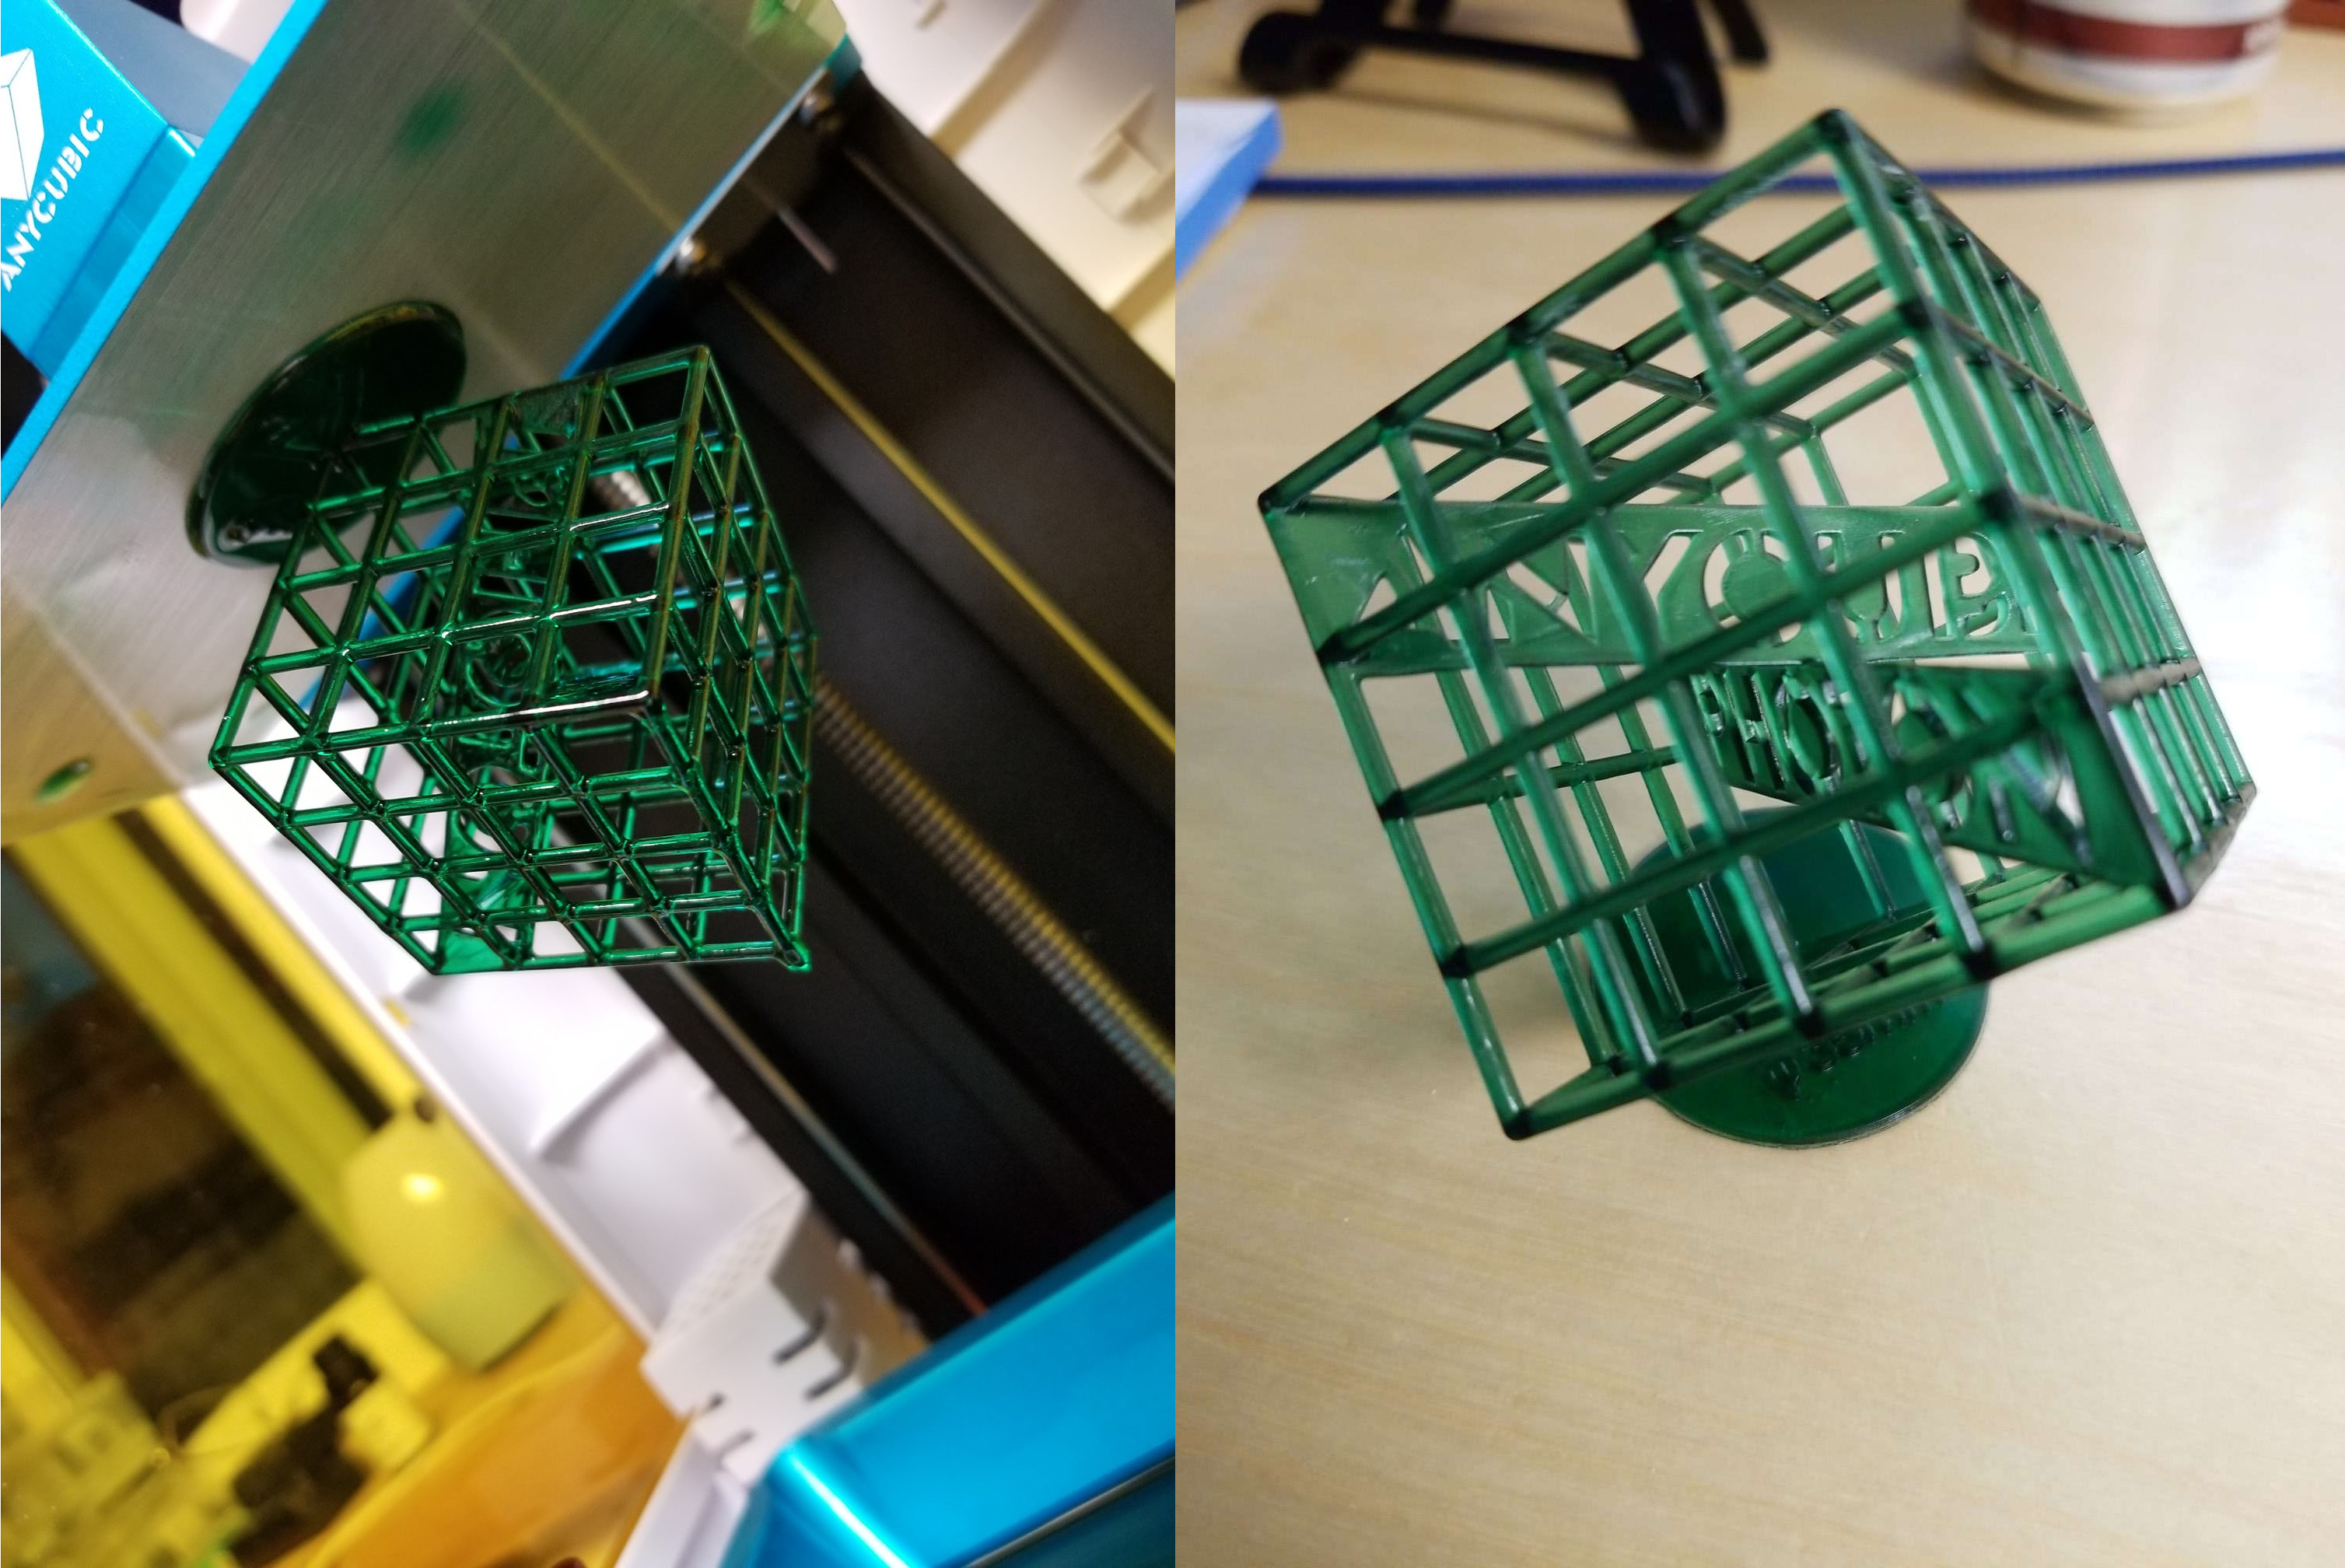
As far as resolution Anycubic’s website says 47um for one pixel. I did a little math it seems more like 45 but that is close enough. My mind could not really grasp that until I thought about how many pixels fit in 1mm. It’s about 22 by my calculations. That is pretty amazing and something I can wrap my head around.
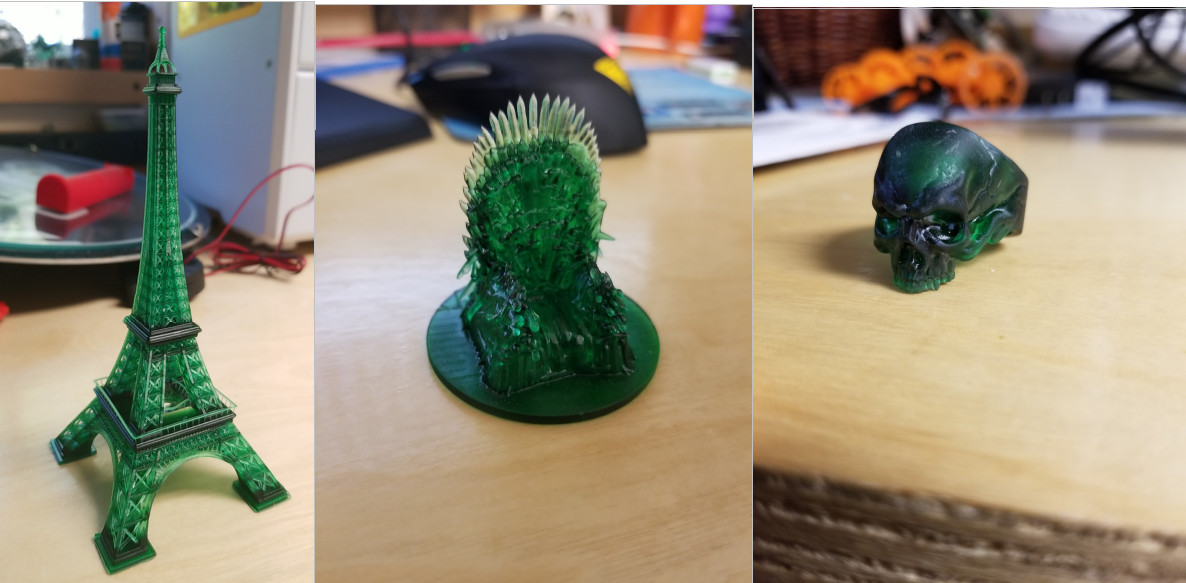
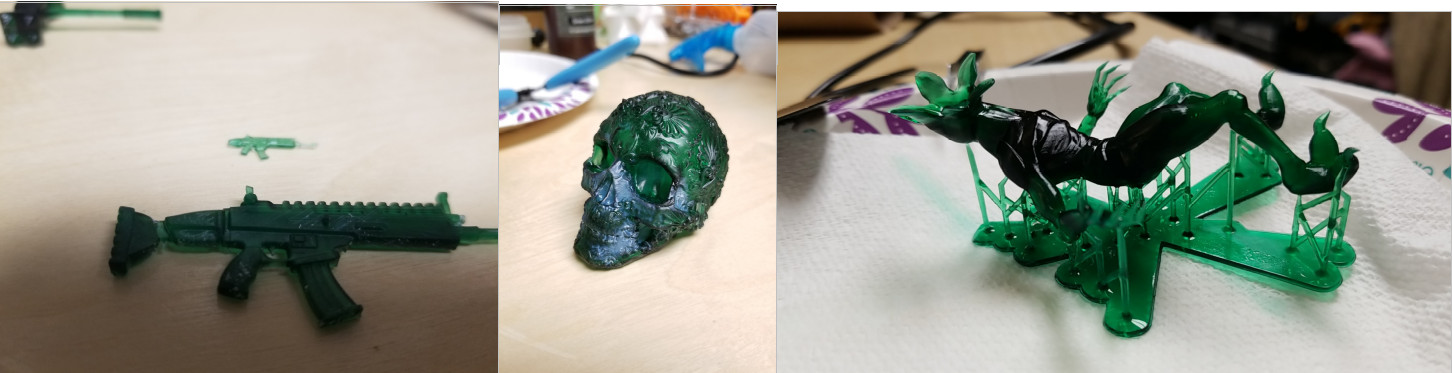
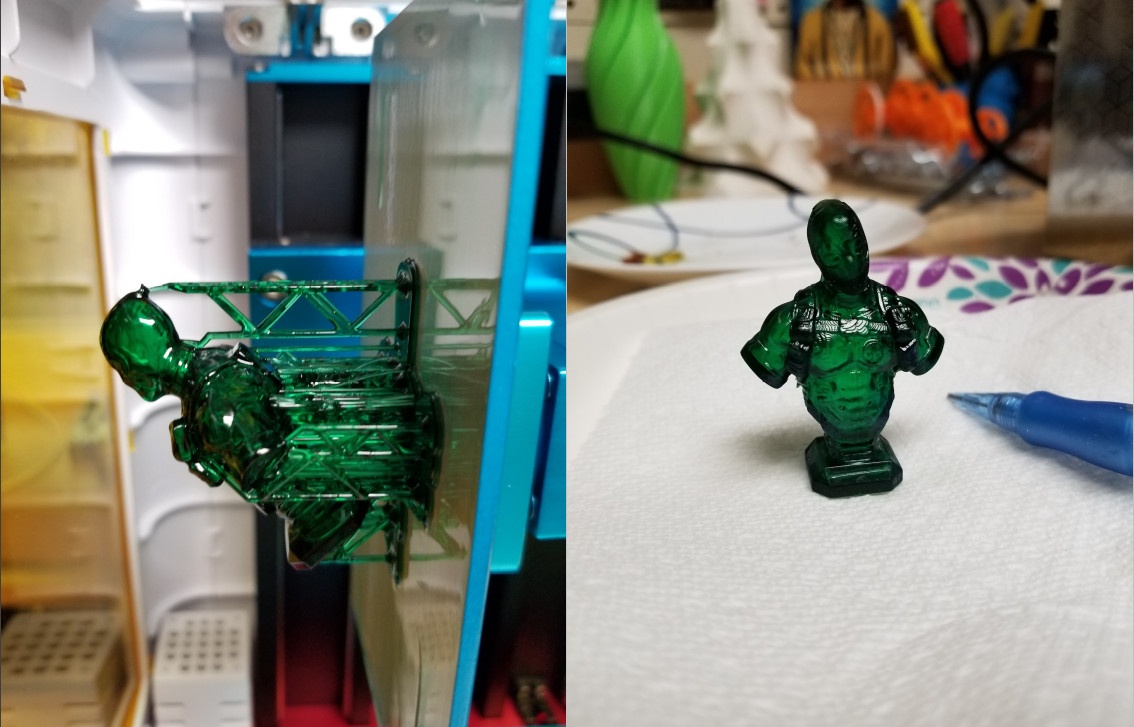
All the prints
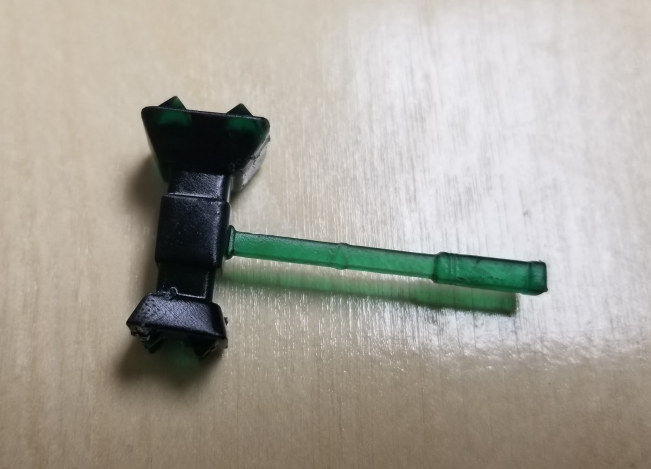
Below are most of the prints. A few I gave away to friends and forgot to snap a picture. For sure the most popular was the Demogorgon. It really shows off how well the small details print. I wasn’t paying attention to the gun when I first printed it… It came out super small.
Initial impressions
Wow. This printing technology is amazing. The level of detail is unthinkable on an FDM printer. I have some homework to do. The topics I will follow up on are…. I have some film that is supposed to be a cheaper alternative to FEP. I also need to test some Mean Green cleaner as an alternative to isopropyl alcohol. Investigate tolerance and accuracy. Find out how to dispose of used isopropyl alcohol. In addition, Anycubic sent over a bottle of there new plant-based resin that I need to try. Find out how to calibrate resins. And finally the longevity of the printer. As well as anything else that pops up along the way. First impressions are good. One last thing to mention there are a lot of consumables.
- Resin
- Gloves
- Paper Towels
- Paper Plates
- Isopropyl Alcohol
- The Screen (Yes I believe this a consumable. Blasting high power UV at a screen will take its toll and will need to be replaced periodically. I was told this during my attempt to build one and not spoken about much)
I would really like to thank Anycubic for sending over the Photon S to review. They are currently running a sale for $389 until 11/3/19 from the official store. You can also find on Amazon for $469 but there is an $80 coupon right now to bring down to the same price.
If you would like me to go into more detail on any part let me know in the comments below. There are a lot of resources on the internet already and I just had to put it all together to make it work for me.

Karl is a technology enthusiast that contributes reviews of TV boxes, 3D printers, and other gadgets for makers.
Support CNX Software! Donate via cryptocurrencies, become a Patron on Patreon, or purchase goods on Amazon or Aliexpress


Thank you for the sla printer review. I only have a fdm printer myself and was curious on the difference to sla. It is tempting to get one to achieve better detail considering the low price.
Would be interesting to see the cost for printing on these devices compared to traditional FDM printers.
I can tell you that it is quite a bit more but will try to quantify it.
It’s available for 280 usd in aliexpress with express shipping to Thailand.
Which Version of the Prusa slicer do you use?
I used the latest
Just received my Photon S and have only had prints fail, which I suspect is due to USB connectivity issues. The machine will detect files randomly sometimes, but when attempting to print them, the printing process will hang after the first few layers. On one occasion, the message came up on the touch screen “U disk has been removed!” after printing the first 3 layers. Since the printer’s activity usually locks up, it needs to be turned off and on to reset it. I’ve tried using 16GB 2.0 compatible USB sticks from Kingston, Verbatim and Toshiba, along with the original… Read more »
Here’s an update: I found a clip on Anycubic’s Youtube page on how to replace the the Photon S motherboard, which showed how to remove all of the plastic panels. Following the instructions on the clip, I was able to access the usb cable inside (which is on the opposite side to the usb port and power switch), and it looked to be in place properly. However, I went ahead to unplug it from the motherboard and plug it back in again. Then inserted the Toshiba 16GB 2.0 USB stick with a .photons file and it was detected. Turned the… Read more »
Great to hear. Really glad you got the printer back up.
Thanks Karl, the Photon S has been printing great since re-connecting the usb cable. Very impressed with how few supports you used on the full body model in your photos and looks like you’ve dialed in the transparent green resin settings perfectly. Great work on all the info you provided in the review; it was helpful to see your breakdown of the printer when I was troubleshooting the usb problem.
Thank you for that excellent review. I just purchased the anycubic photon s today. What is the capacity of the ultrasonic cleaner shown on the picture ?
It has fallen off my amazon order list. It is a 2L 80w. PS-10A
Thank you Karl for the information. Right now I’m literally unpacking my Photon S delivered 1 hour ago.
Hello, I have the photon-S ¿Can 30 x 30 fans be removed and put a 3-pin NOCTUA nf-a6x25-flx?
Heya, i’ve got a Photon-s with the same motherboard version shown here (1.4.0) it freezes anytime a USB stick is inserted after updating to 3.4.1 (i messed up and should have gone to 5.0.2)
Do you have any info on how to interface with the motherboard directly via PC etc? I can’t “print” the .BIN update files as the screen becomes unresponsive. I’m also open to any other suggestions that might get it active again with a USB drive in it.
Thanks!