
Last year, I reviewed Reolink Argus Eco solar powered security camera, and I’m still using it to date. It’s working fairly well, although sometimes motion detection will not be triggered, or triggered too slowly so it’s not impossible to miss important footage. The PIR function can be tweaked so maybe it’s just a question of finding the right settings for a given location.
Nevertheless, the company has now launched a new model called Reolinkg Argus PT that is very similar to the Argus Ego but with PT (Pan, Tilt) function, and I received a sample for review. Since both models are so similar, I recommend reading Argus Eco review first, as I’ll focus on the differences.
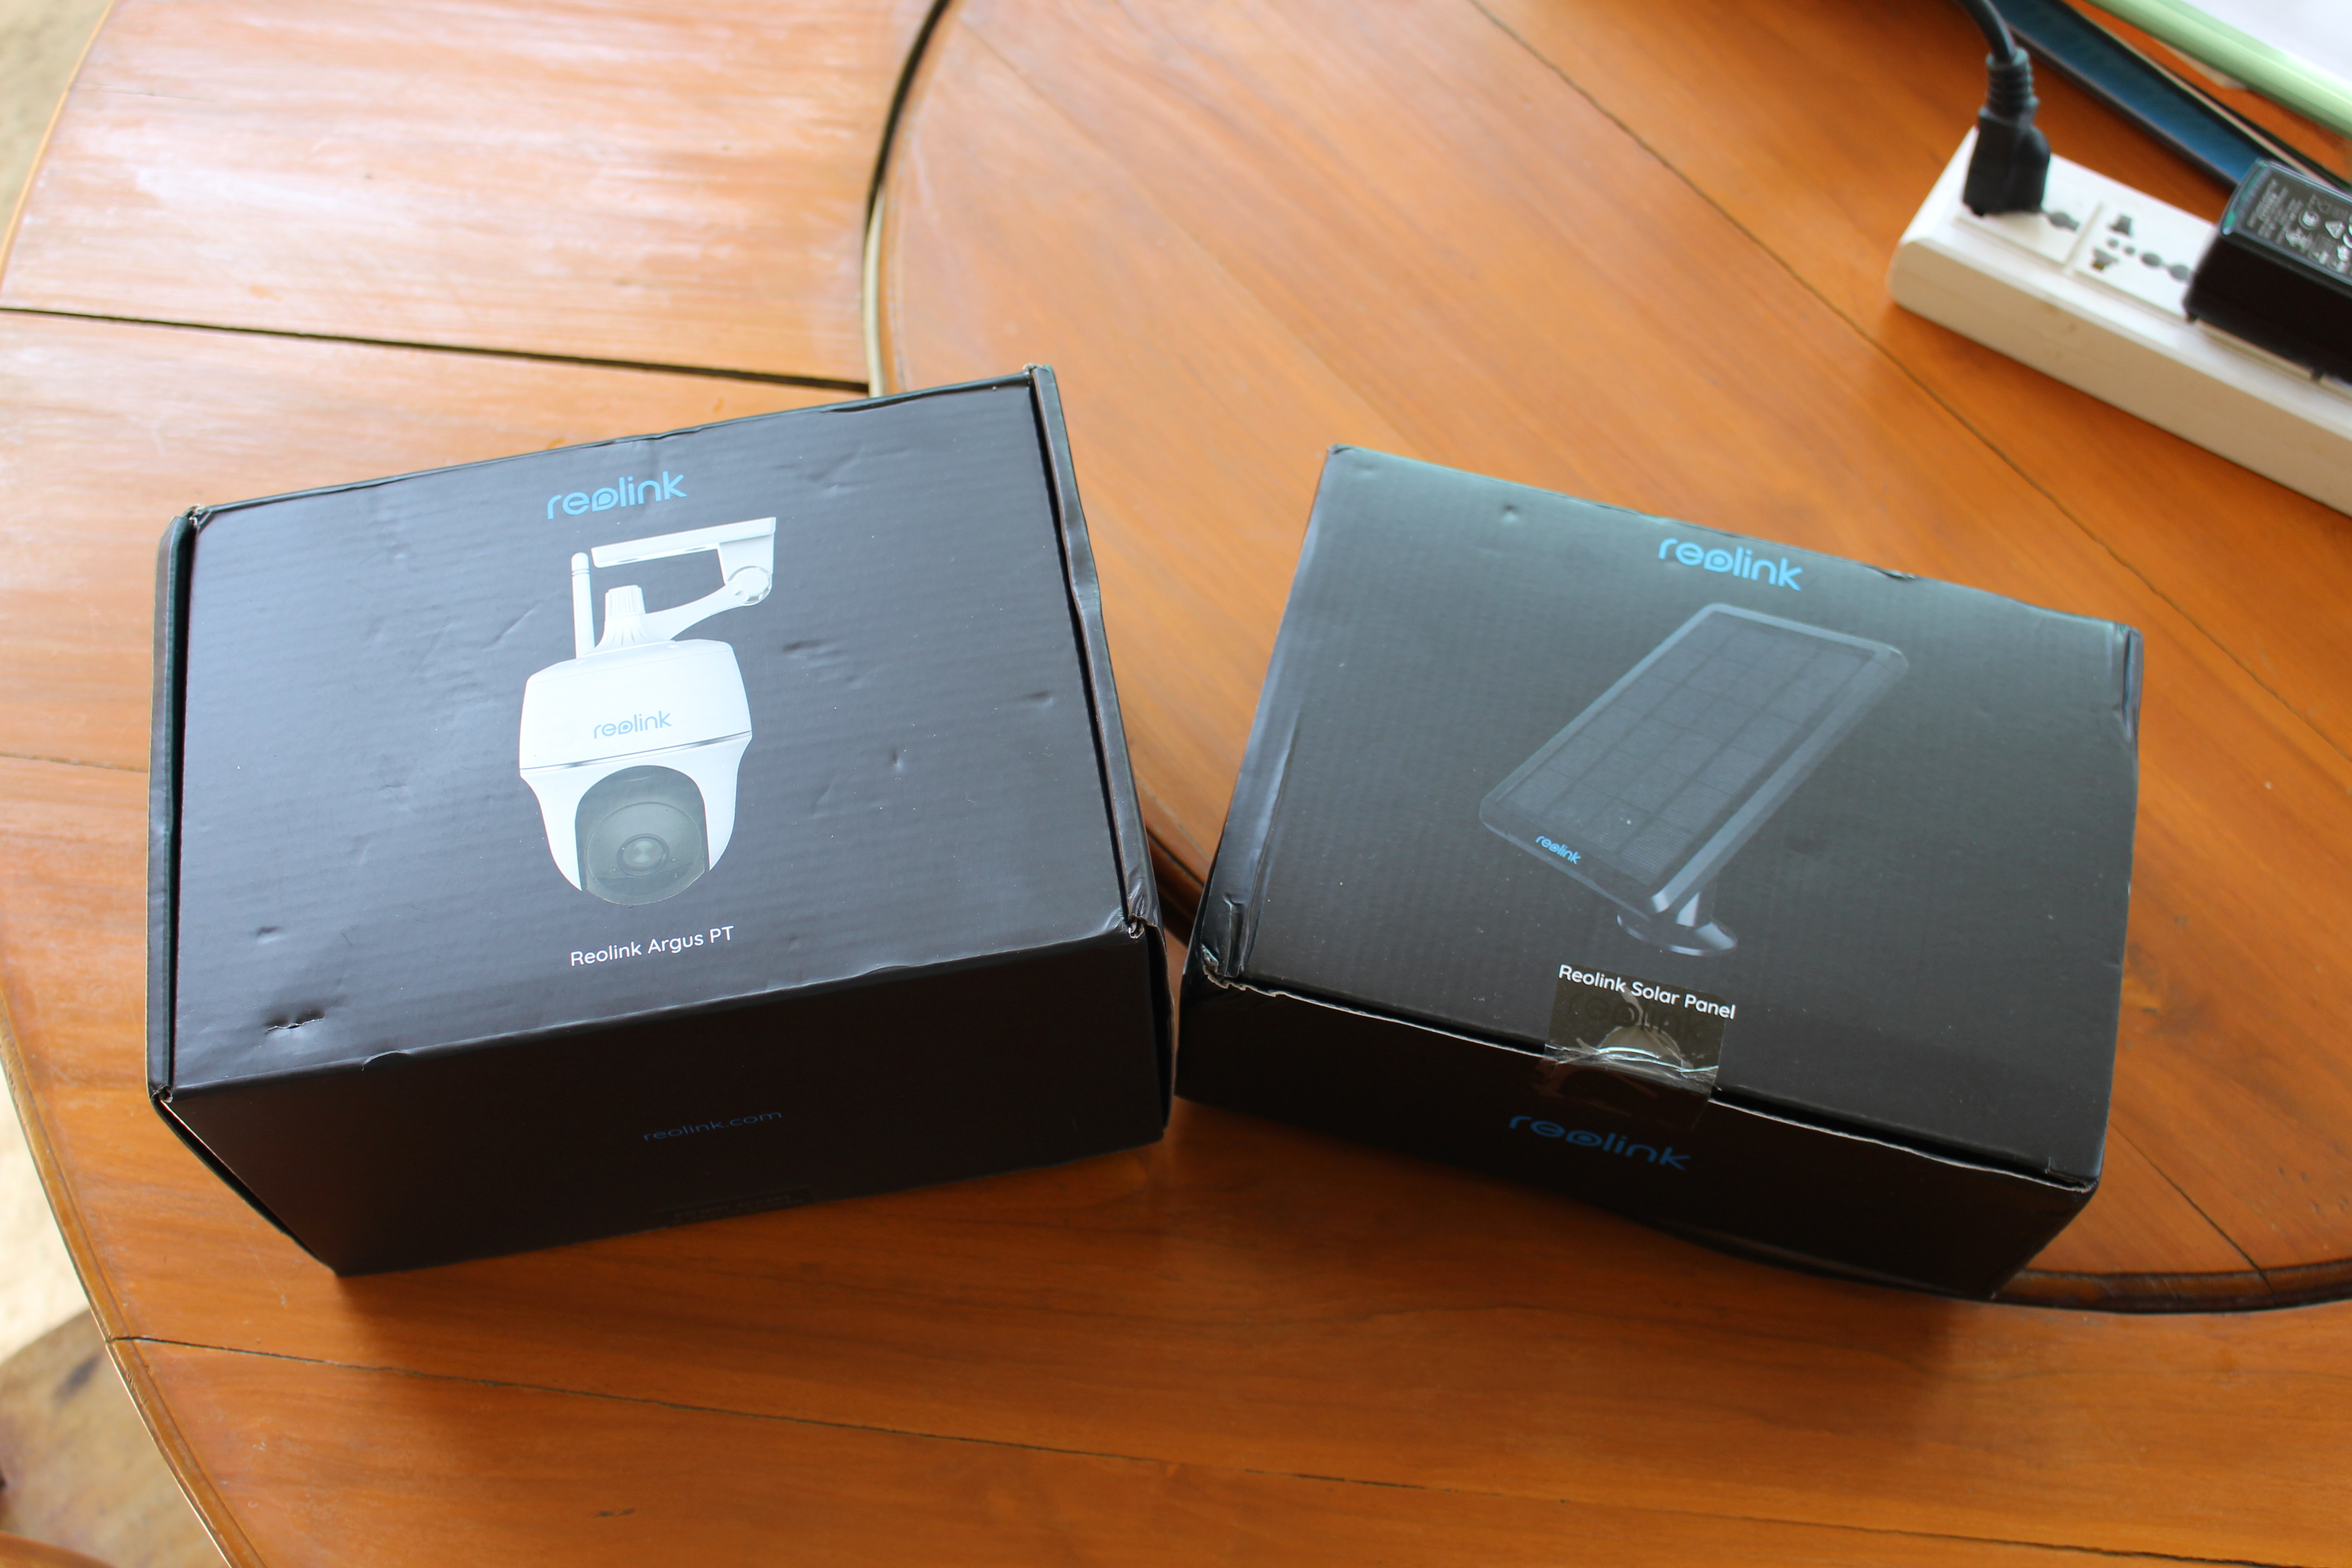
Reolink Argus PT Unboxing
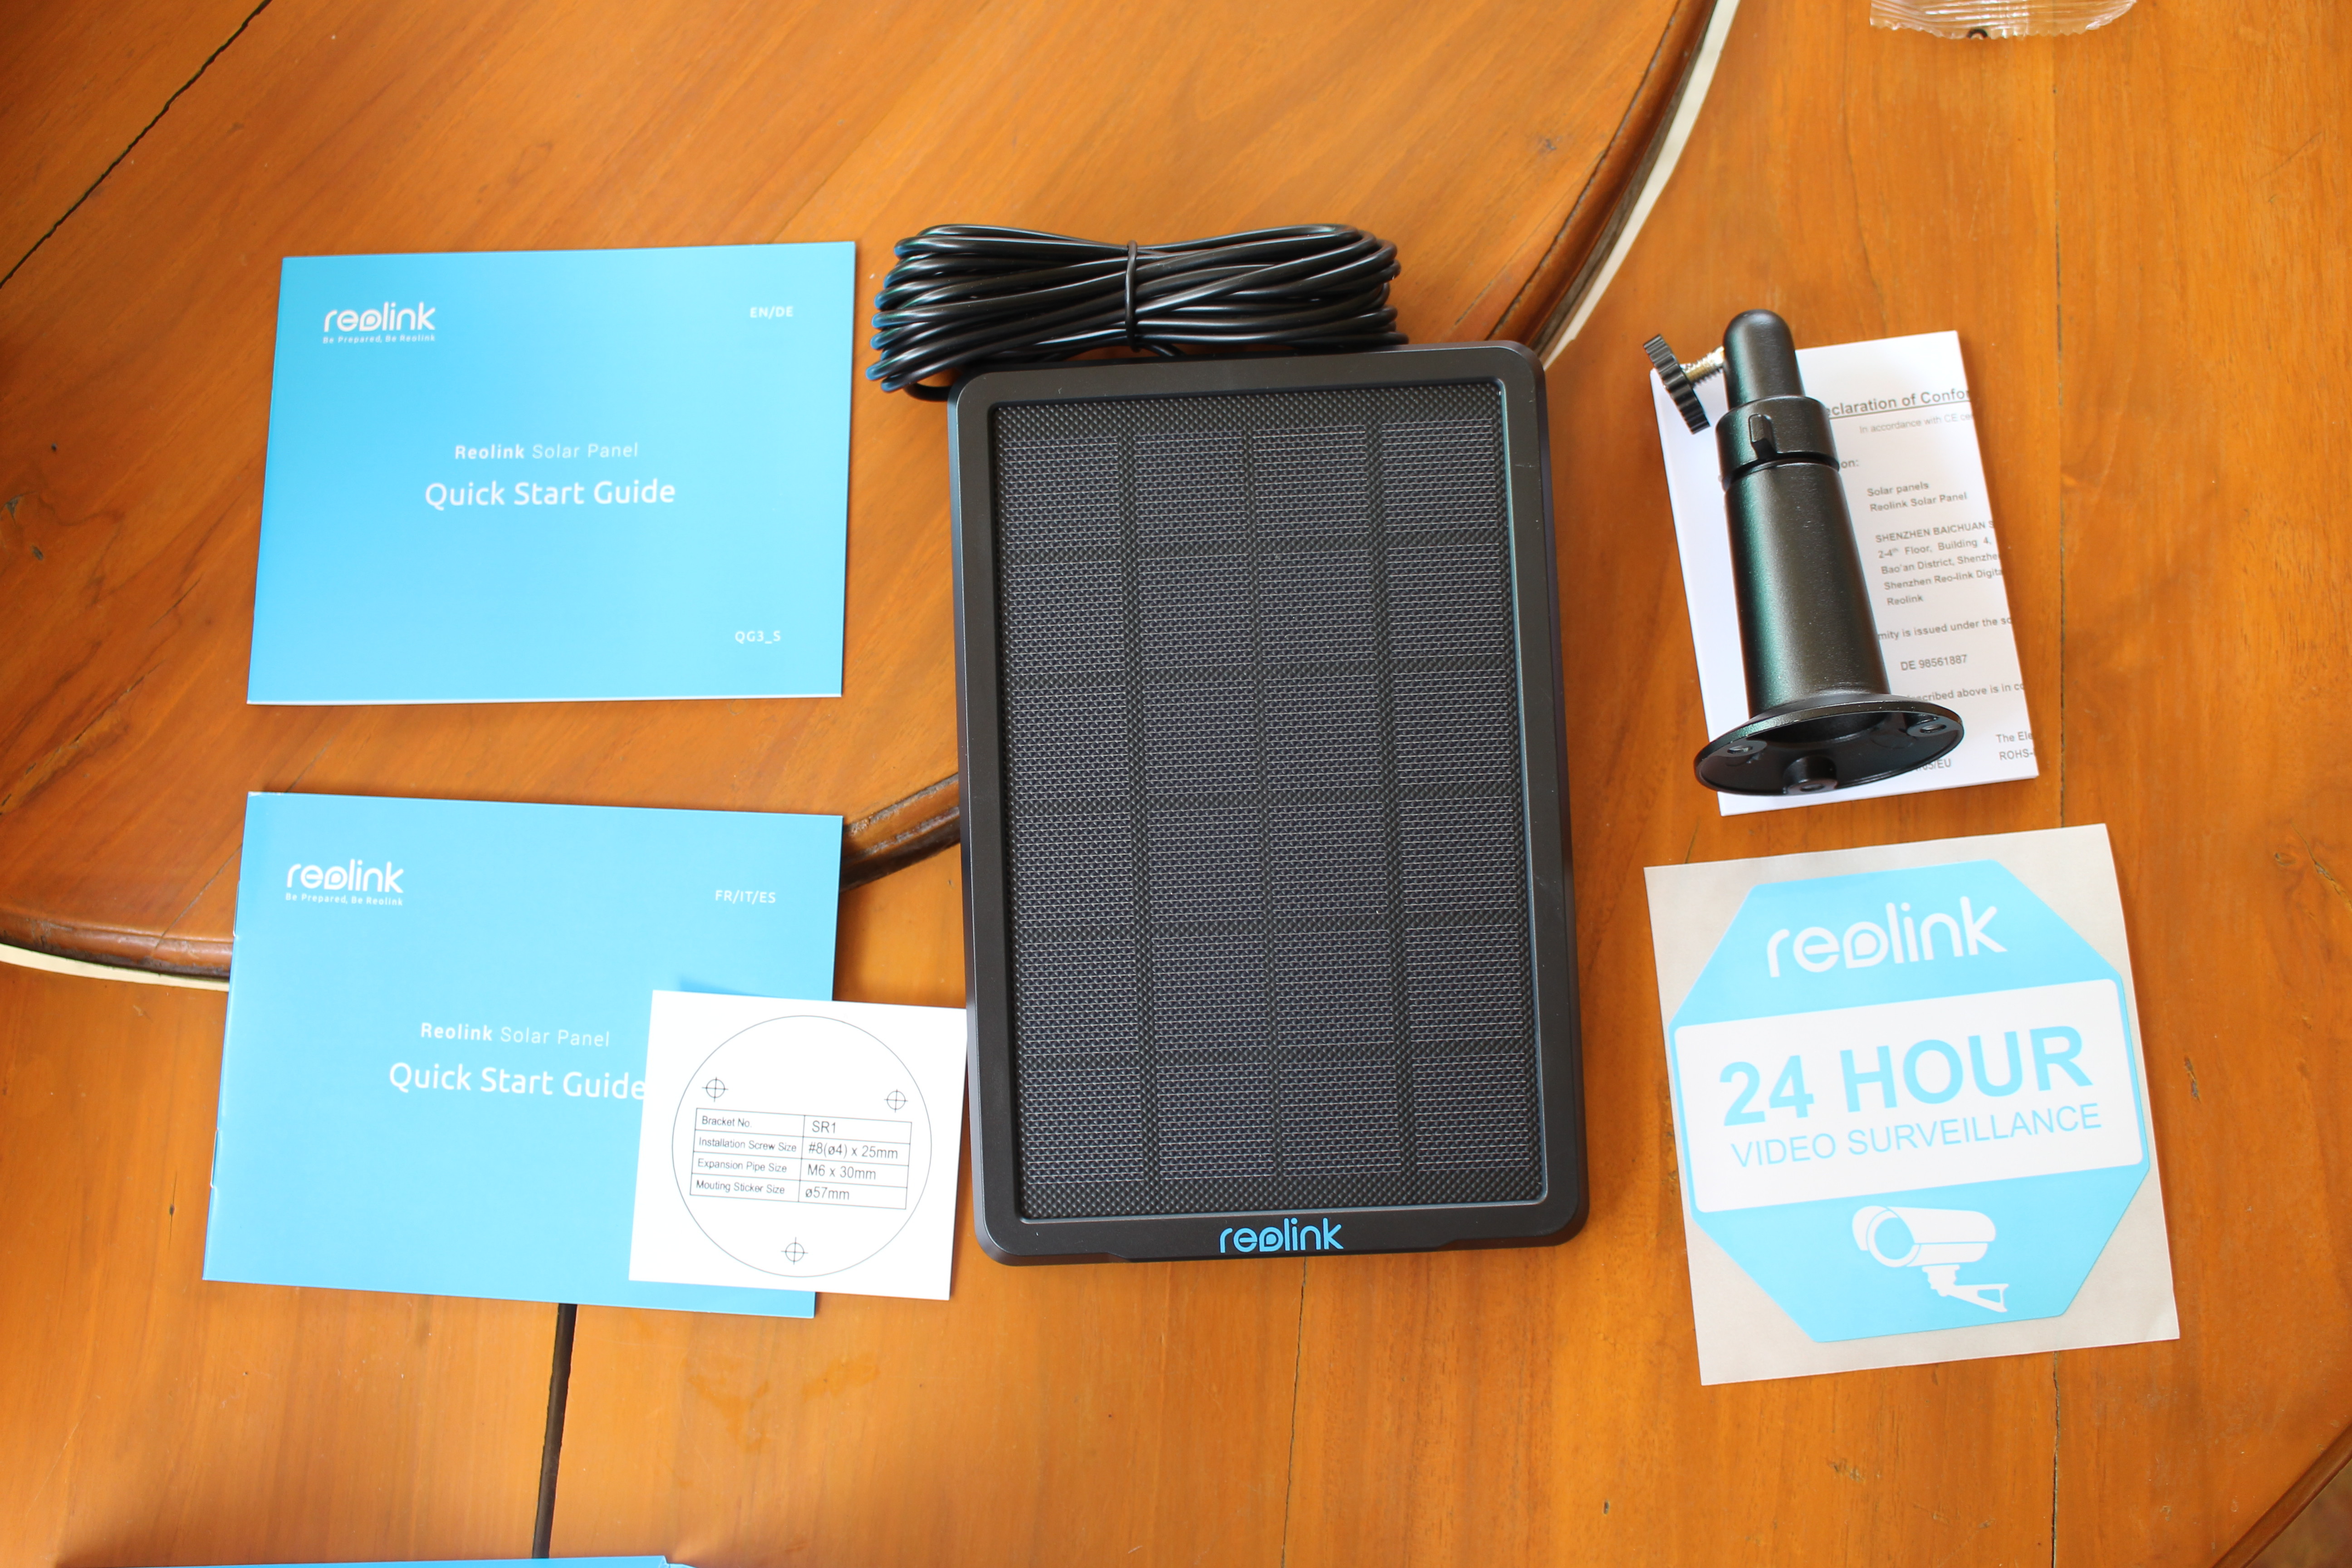
I received two packages like las time: the camera itself, and Reolink solar panel.
The camera comes with a WiFi antenna, a wall-mounting set, a USB cable, and some documentation.
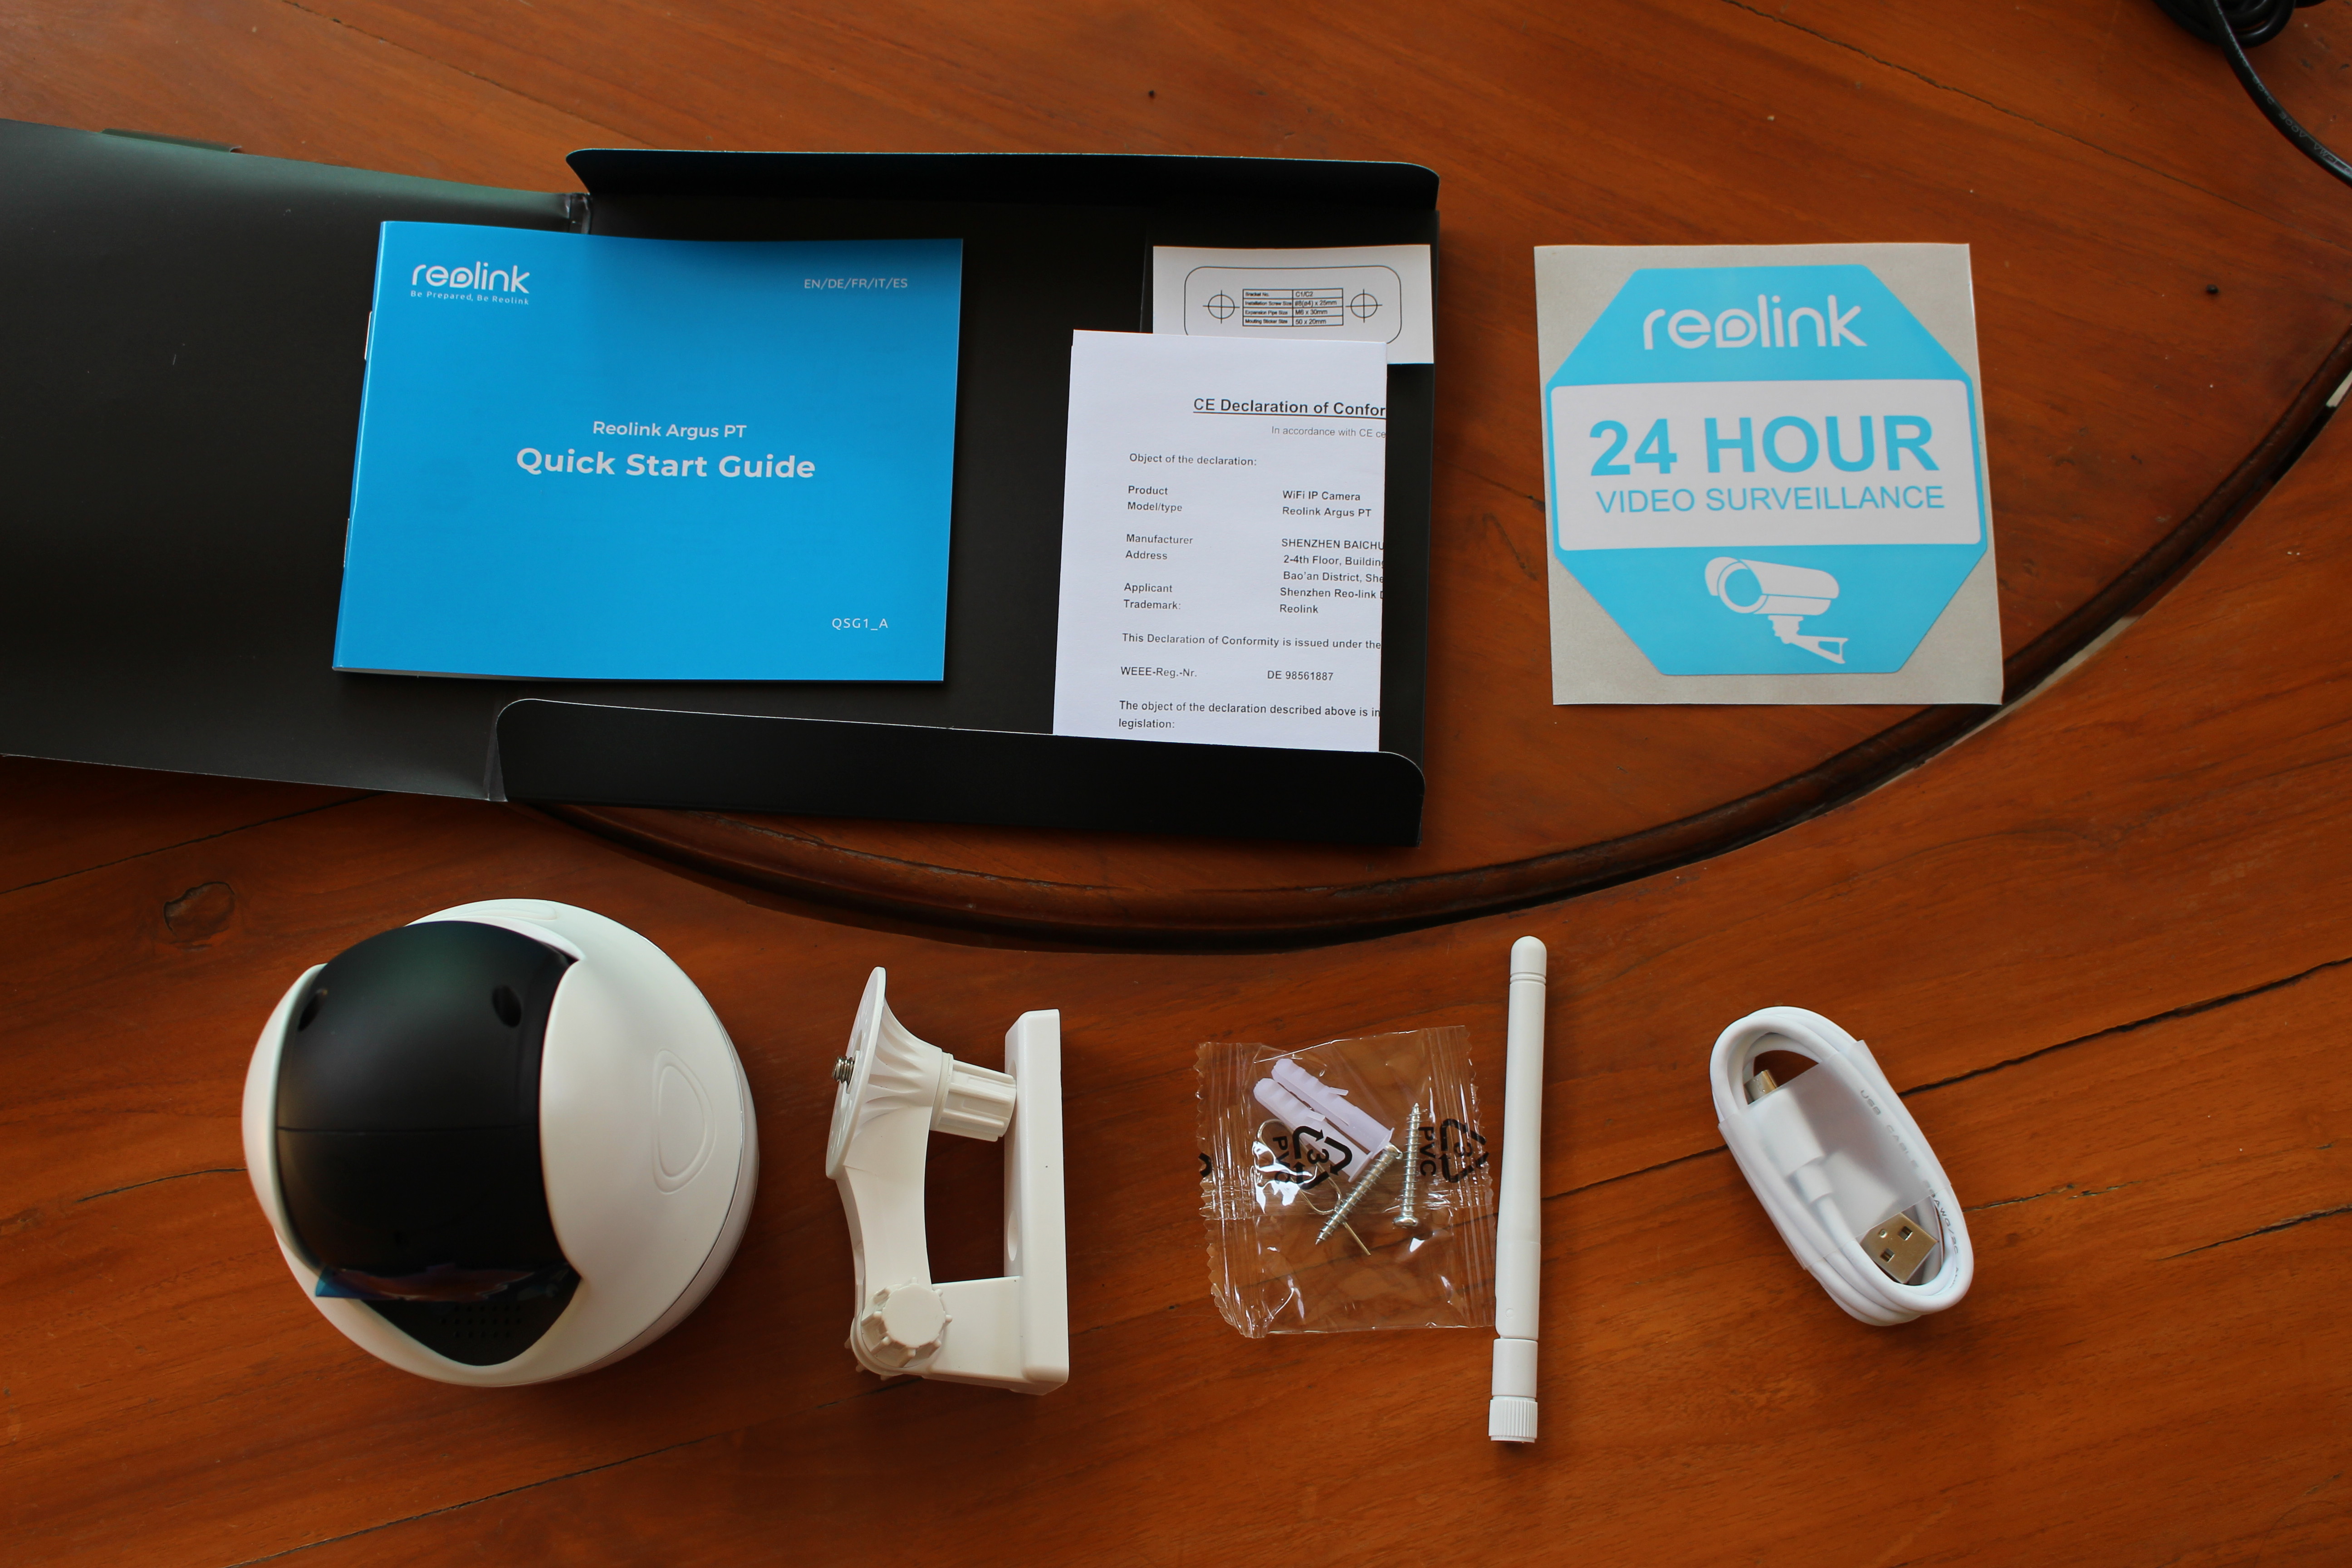
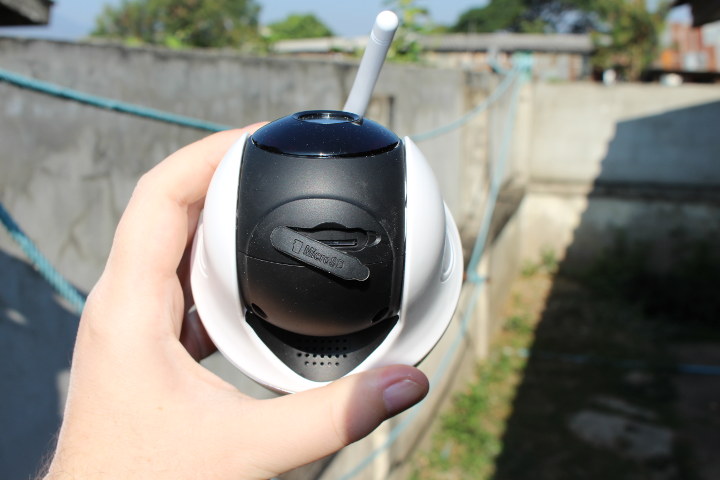
The camera includes a microphone and a speaker…
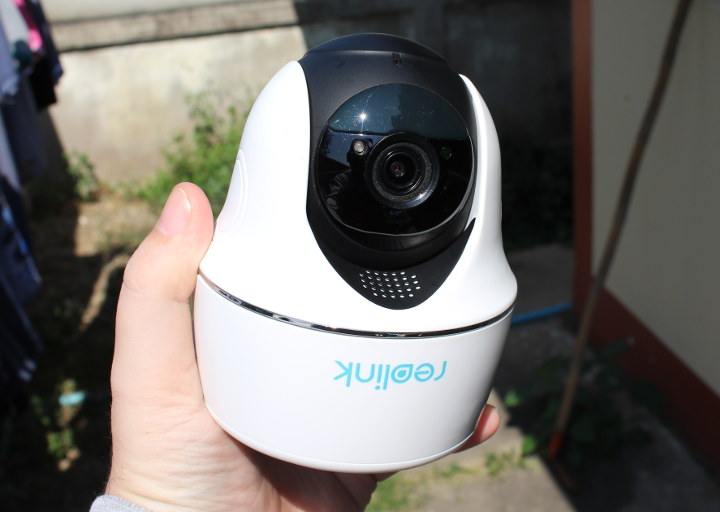
As indicated in the user manual, and the bottom of the camera, it’s preferable to mount the camera upside down for optimal waterproofing. The bottom also has the QR code you’ll need to set it up, and some information about the specs and default username/password (admin + empty password).

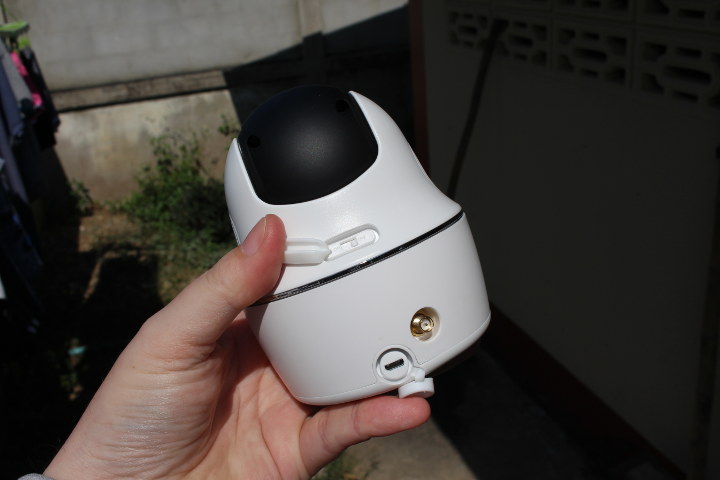
The back of the camera as an on/off switch, a micro USB port for charging and connection to the solar panel, and a WiFi antenna connector.
While it’s possible to use the camera without MicroSD card, it’s really recommended if you want to record videos, and not just receive alerts and/or watch the live stream.
I insert of 32GB micro SD that I partitioned and formatted to FAT32 in my computer, but I still had to format using Reolink Android app to make it work in the device.
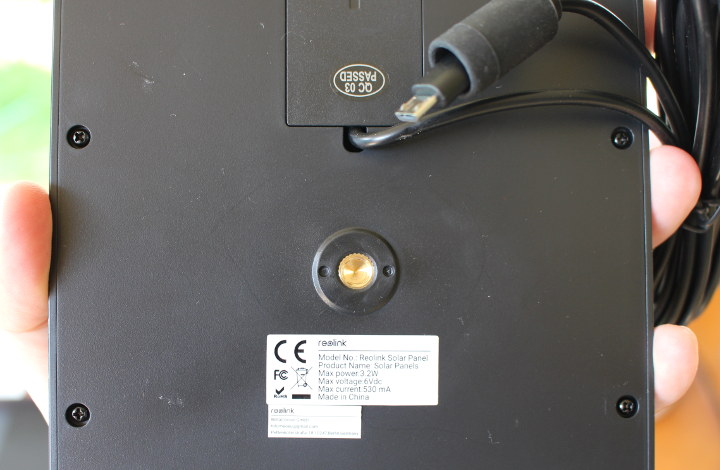
The solar panel appears to be the exact same model as the one I received last year, and this time, I did not forget to take a photo of the bottom to see some specs before installation.
Reolink Argus PT Installation
Before starting to mount the camera on the wall, you’ll need to install Reolink app for Android or iOS, and basically follow the same instructions as for Argus Eco to add the camera to the app, that involves scanning the QR code and follow the audio feedback from the camera.
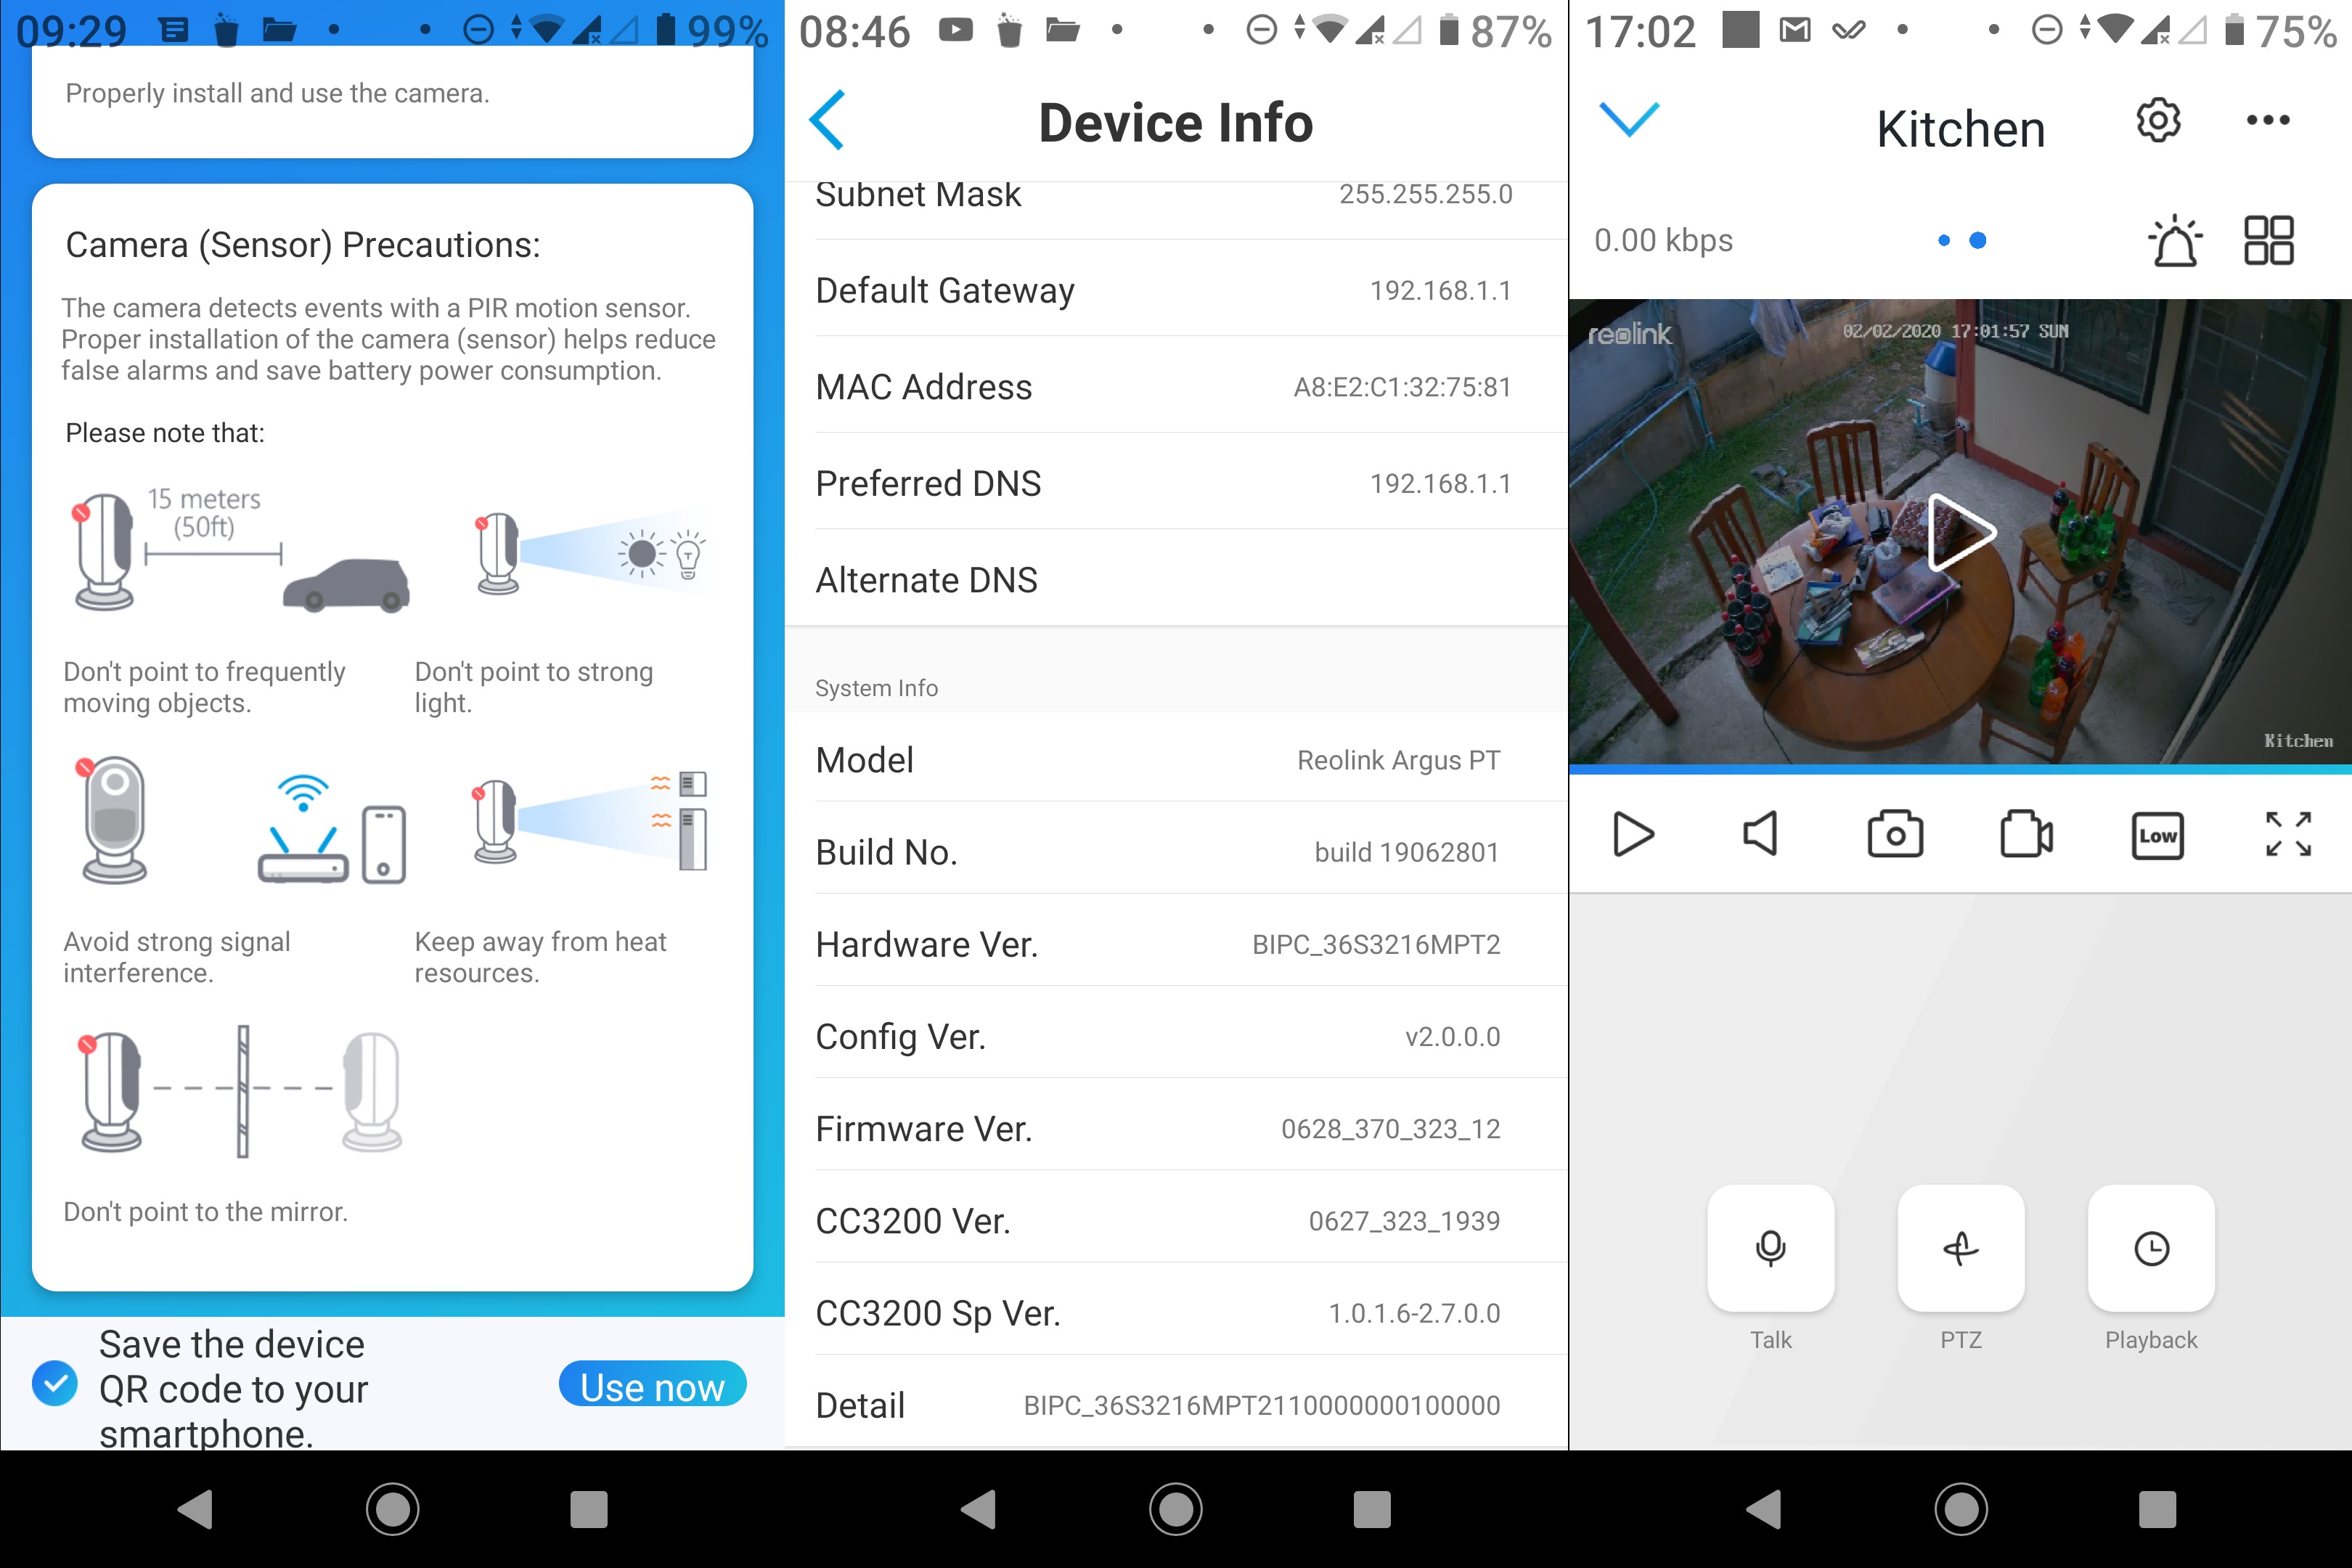
You’ll be given some tips in the process, and you should quickly be able to access the camera including the new PTZ button to control Tilt and Pan (but no Zoom). The hardware seems to be based on TI CC3200 WiSoC like before.
The next step is to mount the camera to the wall. Drill two holes in your wall, install the mount and finally tighten the top screw to attach the camera. Easier than the Argus Eco, and you won’t have a problem with the WiFi antenna getting in the way during installation.
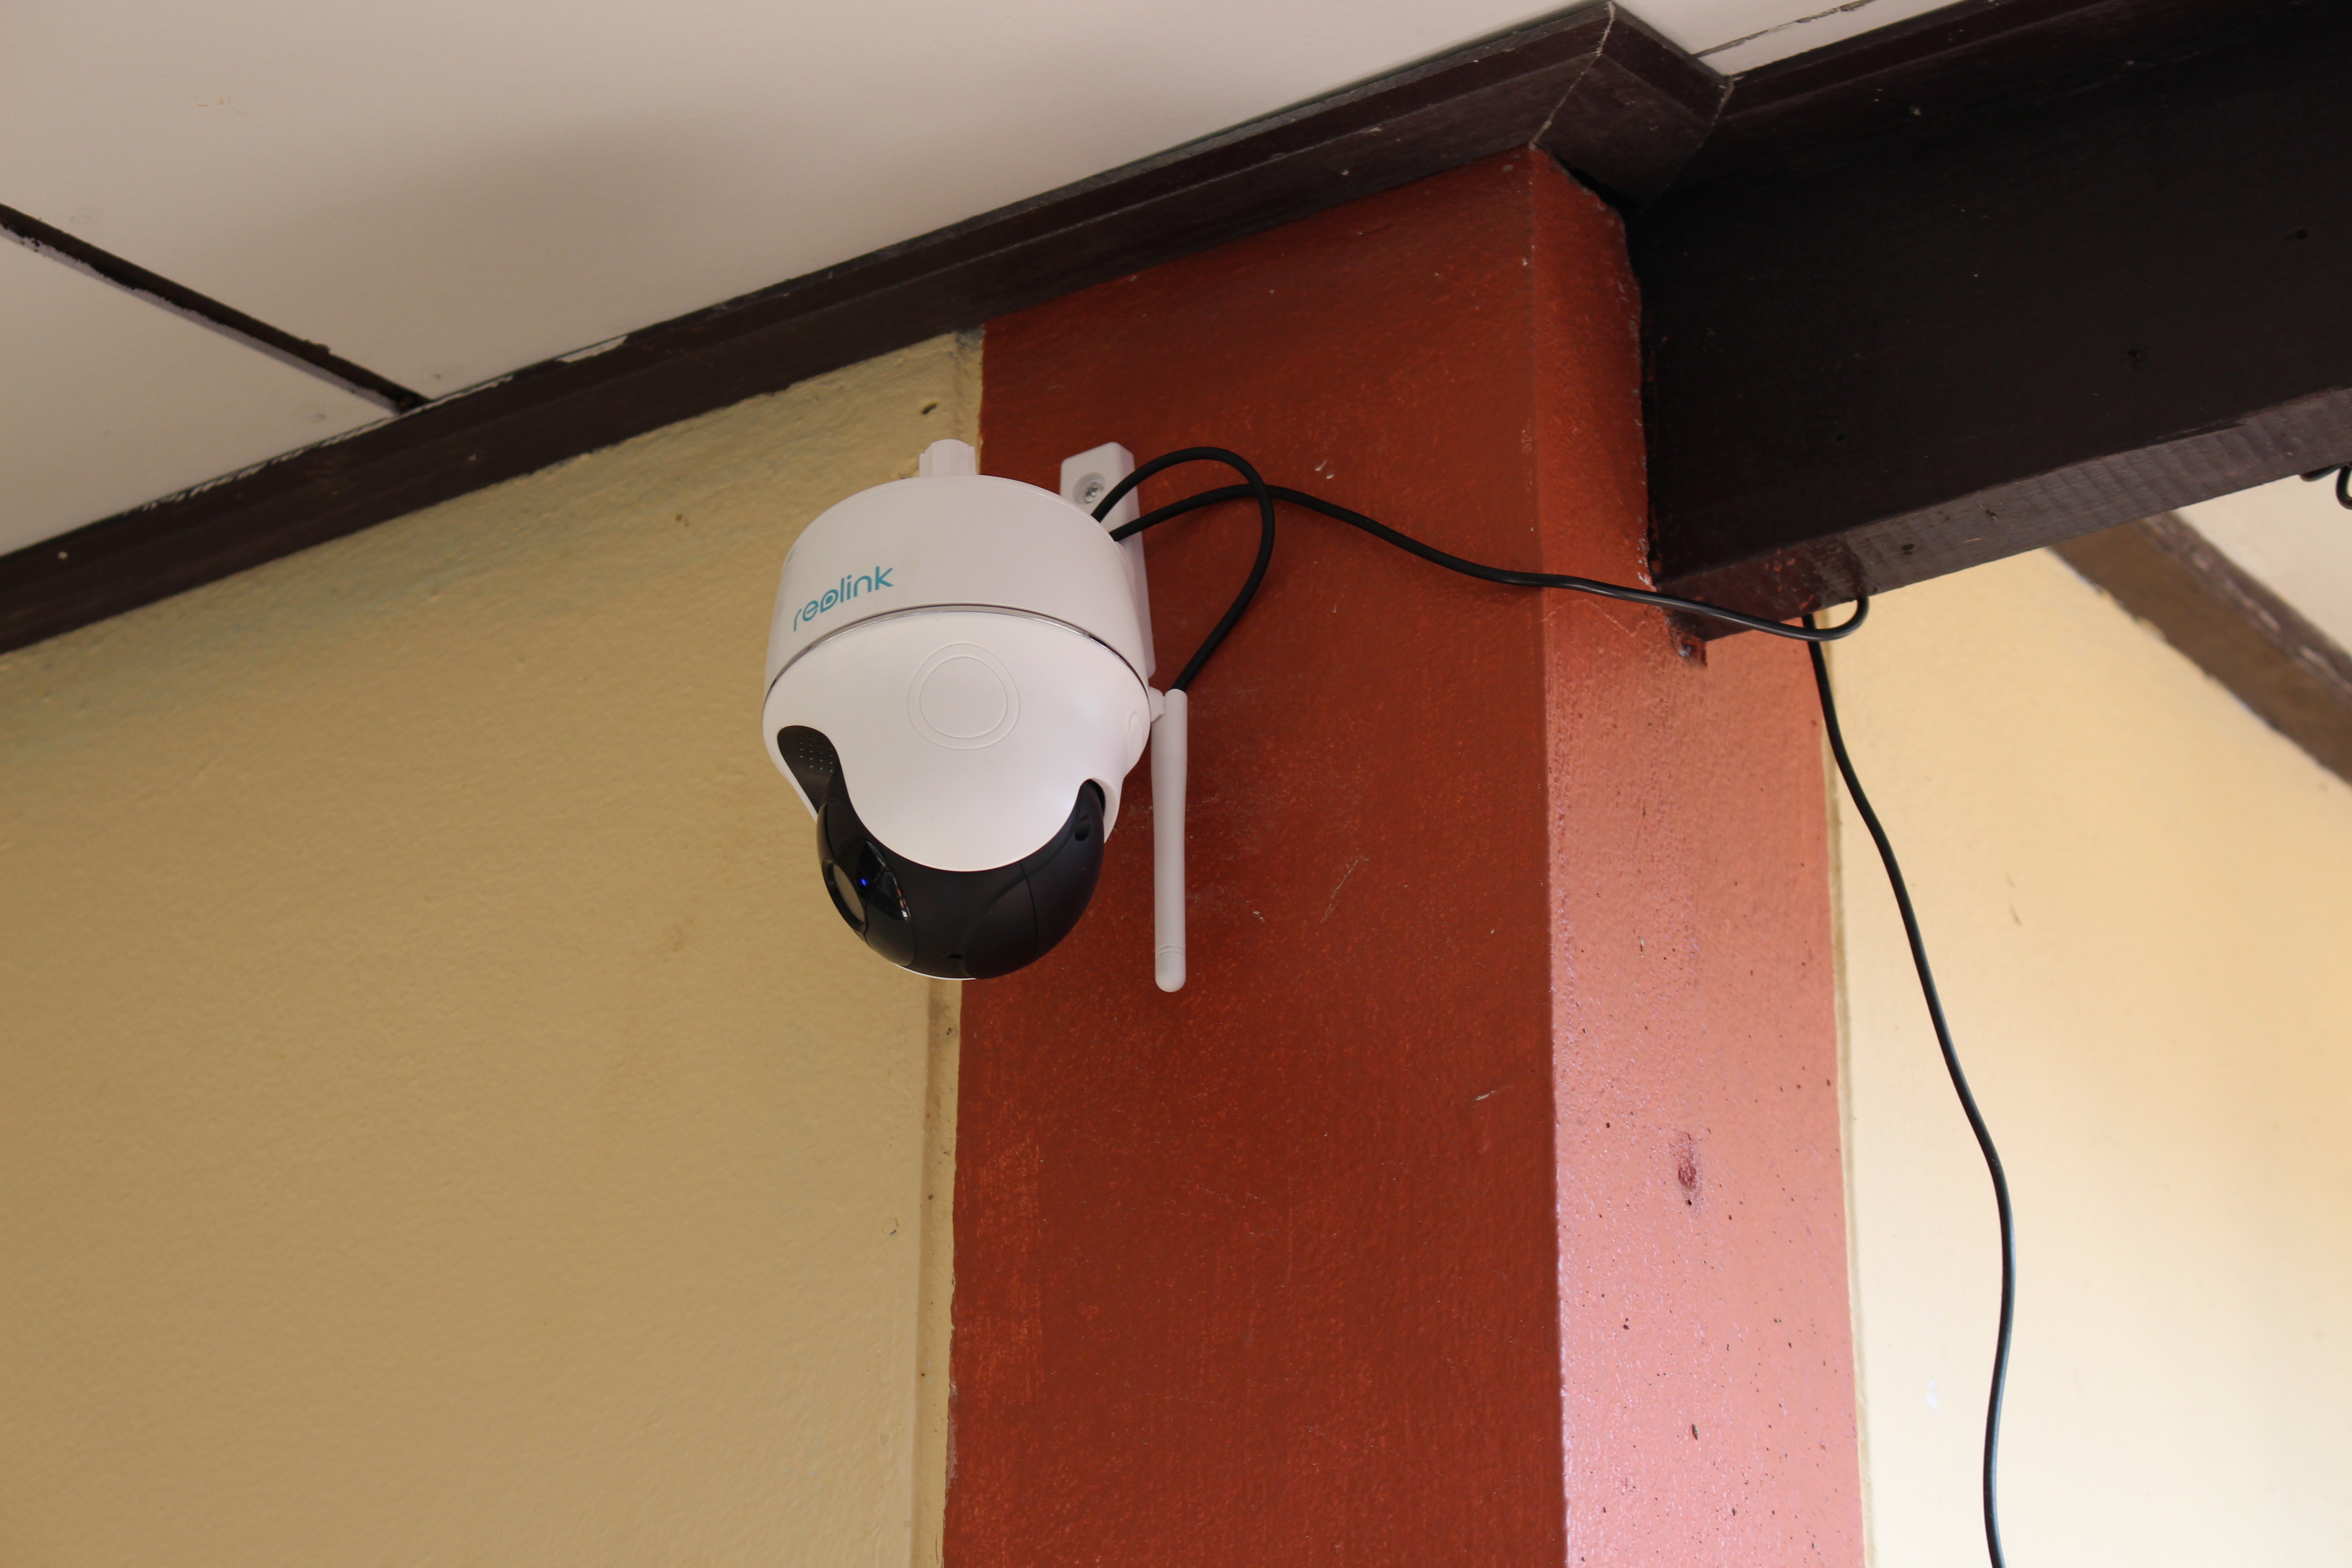
Finally mounting the solar to point to the south with the right angle, and connect the USB cable to the camera.

I currently have Argus Eco and Argus PT installed and pointing in different locations. When I installed the camera the battery charge was about 60%. Next day, it was already fully charged to 100% just using power from the solar panel
Pan-Tilt Function
Since I covered the main function of such camera (PIR motion, live feed, recording to SD card, recording to cloud, email and notification alerts,…) in Argus Eco review, I’ll skip those for now, and demonstrate the Pan-Tilt function below with Reolink Android app and Windows program as shown in the video below.
There’s some lag between key presses and the camera rotating in Android, but just about 1 or 2 seconds, so it’s still usable, but in Windows, it was really unusable due to massive lag. However, if the program detects a slow connection, it will allow you to switch to “fluent” mode (smoother, but lower resolution) and the result will be similar to the one in the Android app. Zoom is not working, and I did not manage to make preset positions work either.
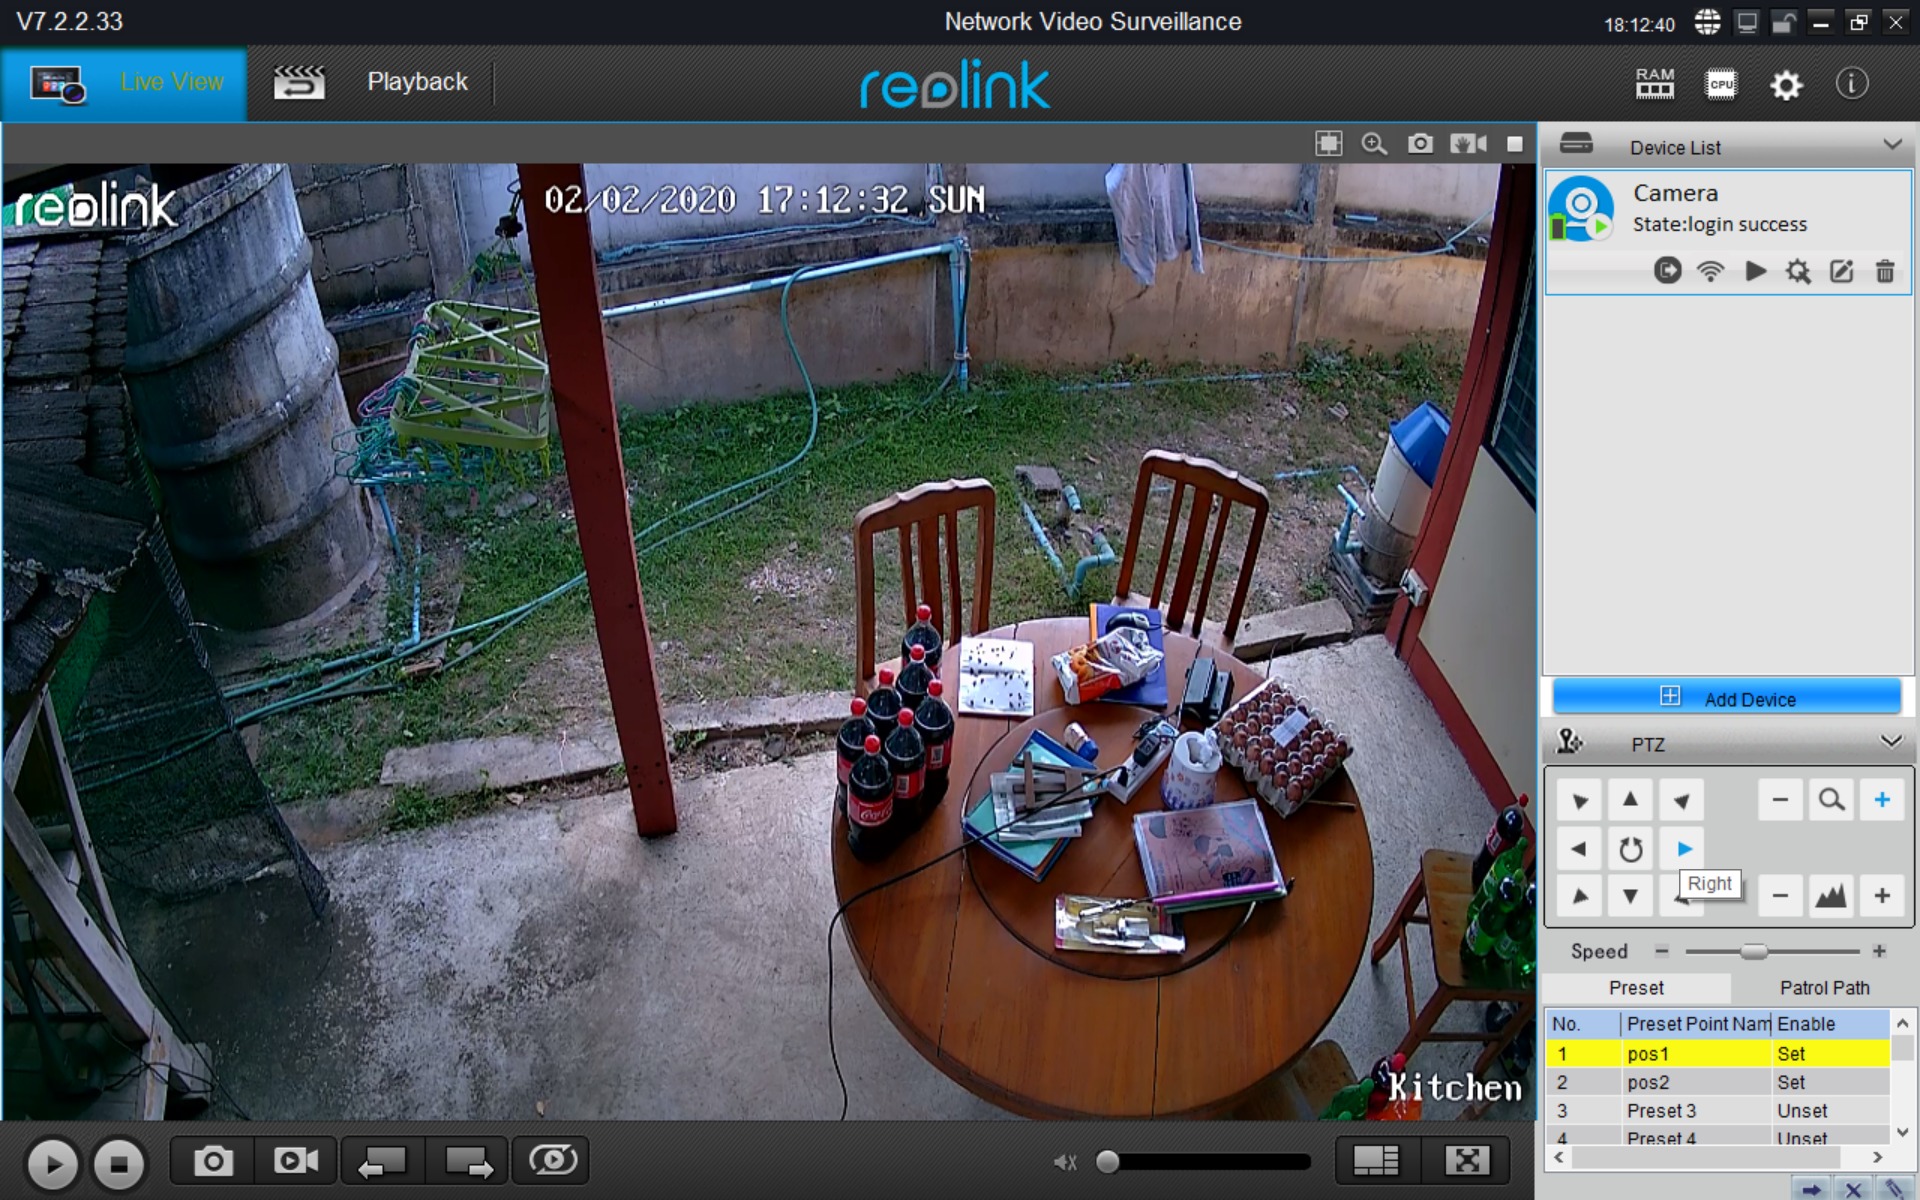
Note Reolink client program in Windows defaults to Chinese language, so you may have to click/tap on the setting icon, and change the language first. Next time, you start the program it will be in your chosen language.
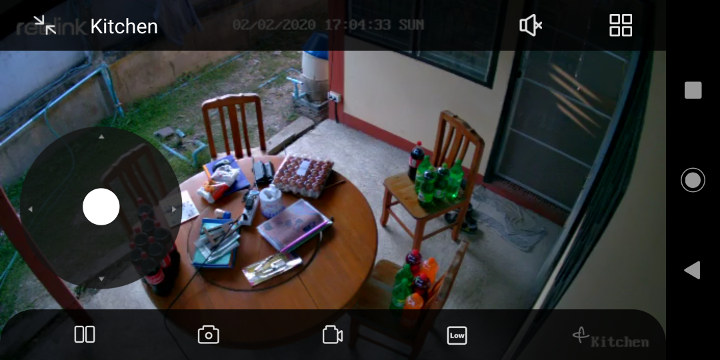
In Android, you can also control the Pan-Tilt function in full-screen mode, just click on PTZ icon to enable it.
Capture Samples
I again tried to burglar my own home, but I was caught during day time…
but I was luckier at night time, as the motion detection was too slow when I left home.
All samples are encoded with H.264 using 640×352 resolution at 5 fps. I understand those are recording in “fluent” mode by default. A higher resolution and lower framerate can be configured in the settings.
Using Multiple Reolink Cameras
Since I now run both Argus Eco and Argus PT at home, I can also see some features and shortcomings related to using multiple Reolink cameras.
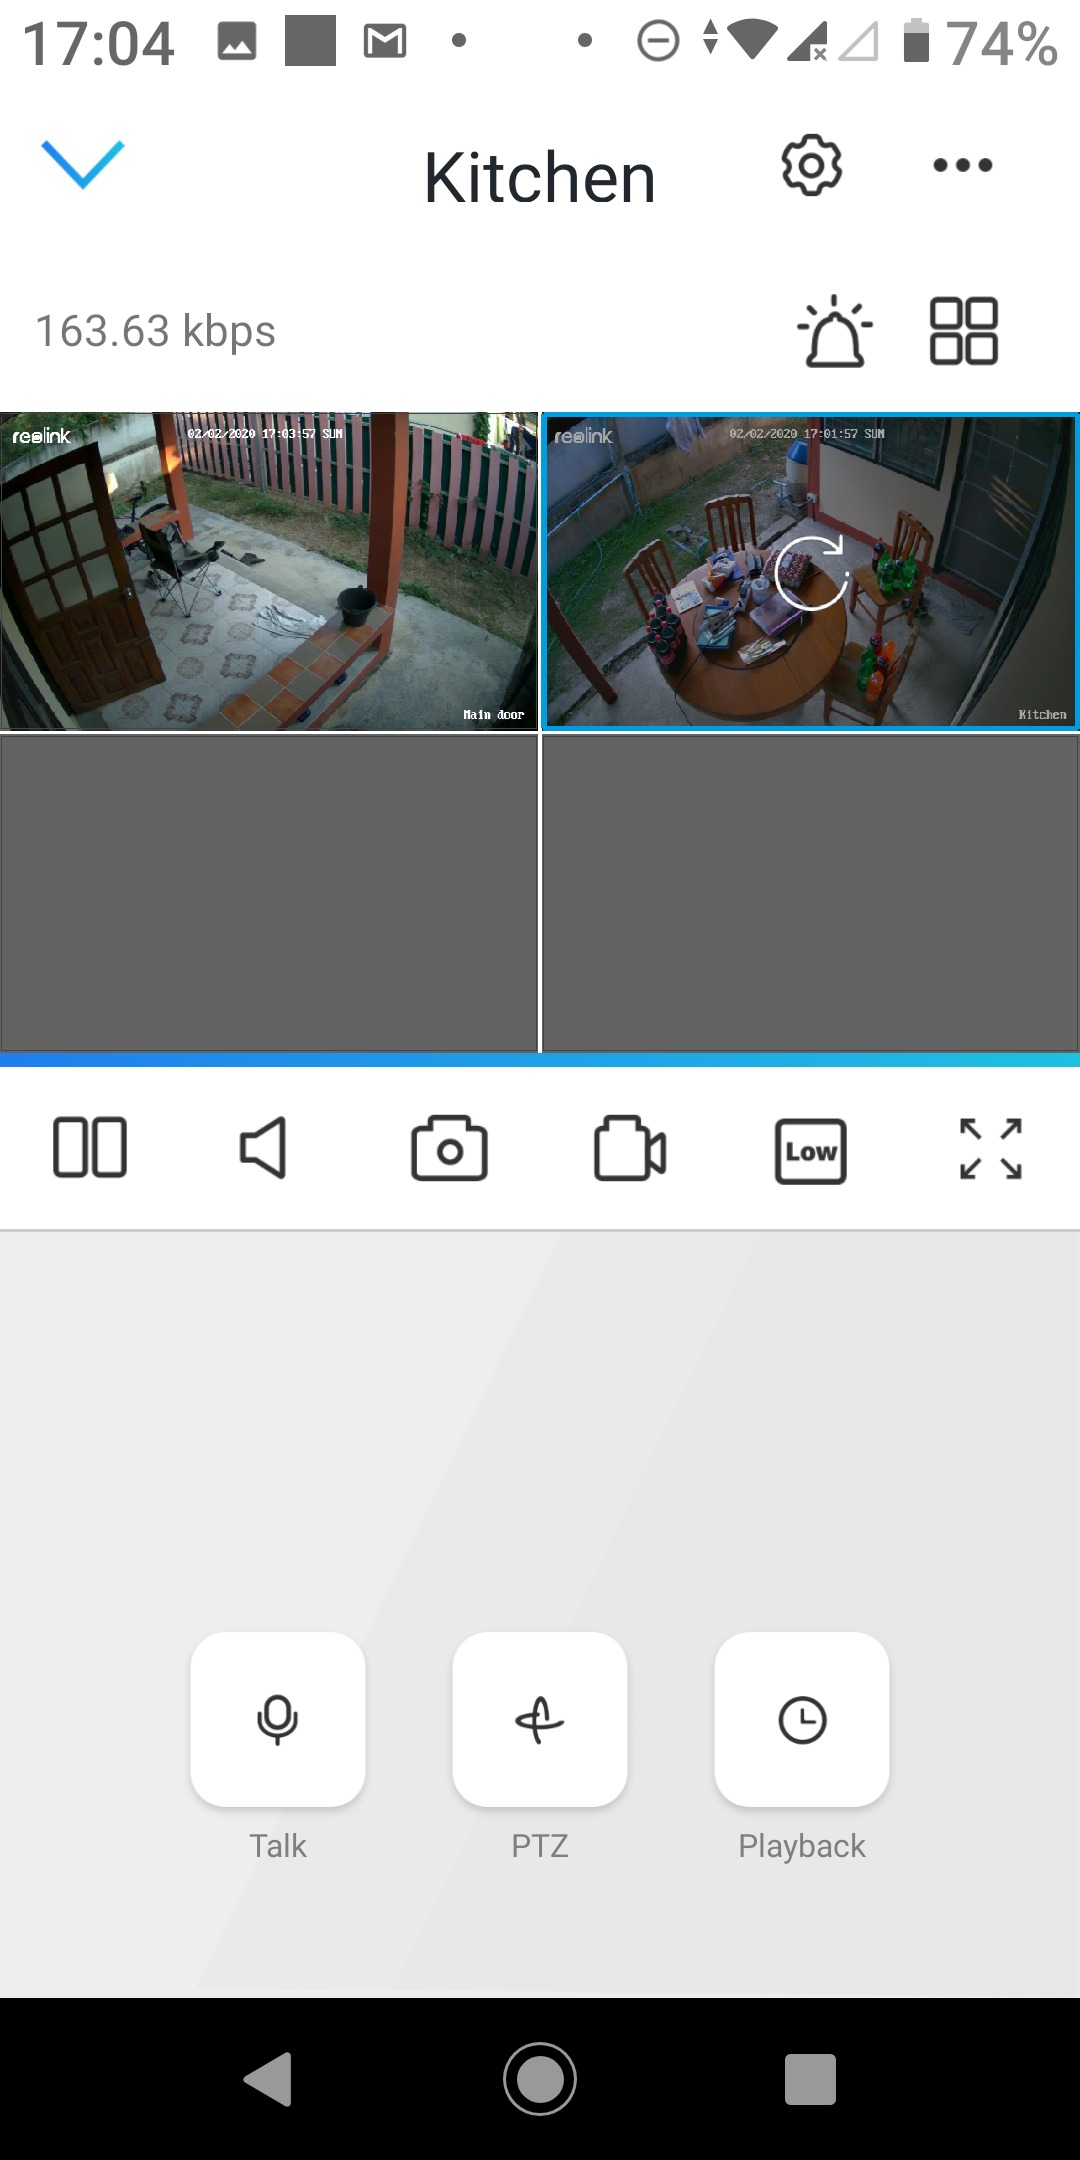
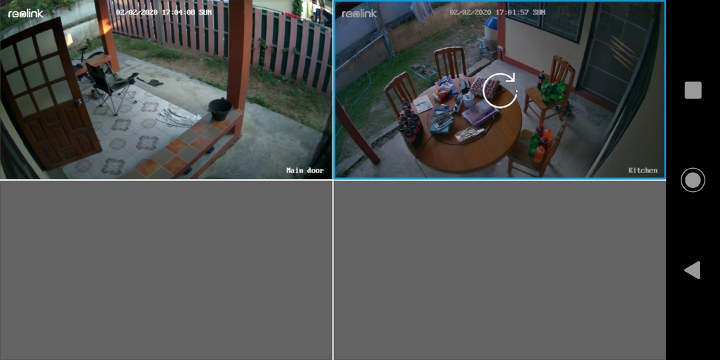
If you got two or more Reolink cameras, you can show the outputs in mosaics by clicking the mosaic icon on the top right.
That’s why I usually prefer to check recordings from the Reolink cloud since the connection to the cloud is much more reliable. But the free plan is limited to one camera only.
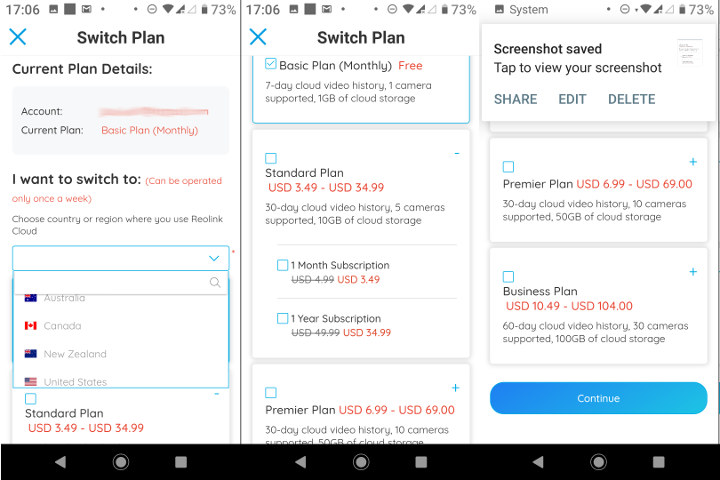
There are paid plans for more than one camera starting at $3.49 per month / $34.99 per year for up to 5 cameras, and up to $104 per year for up to 30 cameras. I’m based in Thailand, and I have no trouble using the Cloud service on the free basic plan, but the company only accepts customers from the United States, Canada, Australia, and New Zealand for its paid plans. You may also find some extra details on the product page.
Buy Reolink Argus PT
I’d like to thank Reolink for sending a review sample, but if you’d like to purchase your own you could do so for $158.99 on Amazon with Argus PT camera and the solar panel.

Jean-Luc started CNX Software in 2010 as a part-time endeavor, before quitting his job as a software engineering manager, and starting to write daily news, and reviews full time later in 2011.
Support CNX Software! Donate via cryptocurrencies, become a Patron on Patreon, or purchase goods on Amazon or Aliexpress


Now that I have to actually use those cameras remotely, I can clearly say you should avoid Reolink cameras. All I get is connected failed messages, and if I insist on connecting maybe twenty times I’ll be able to access the camera.
Note that the camera is only 5-6 meters from the router, and I have absolutely no problem accessing HeimVision HM241 CCTV system on the same connection (https://www.cnx-software.com/2020/04/13/heimvision-hm241-nvr-review-part-2-installation-tips-video-interface-android-app/).