
I started Crowbits Master Kit review last month by checking out the content, user manual, and some of the possible projects for the ESP32 educational kit including a 2G phone and a portable game console.
For the second part of the review, I’ll go through one of the lessons in detail, namely the intrusion scanner to show the whole process and how well (or not) it works.
Let’s go to Lesson 5 directly, although I’d recommend going through the first lessons that provide details about the hardware and visual programming basics using Letscode program, which is basically a custom version of Scratch for Crowbits

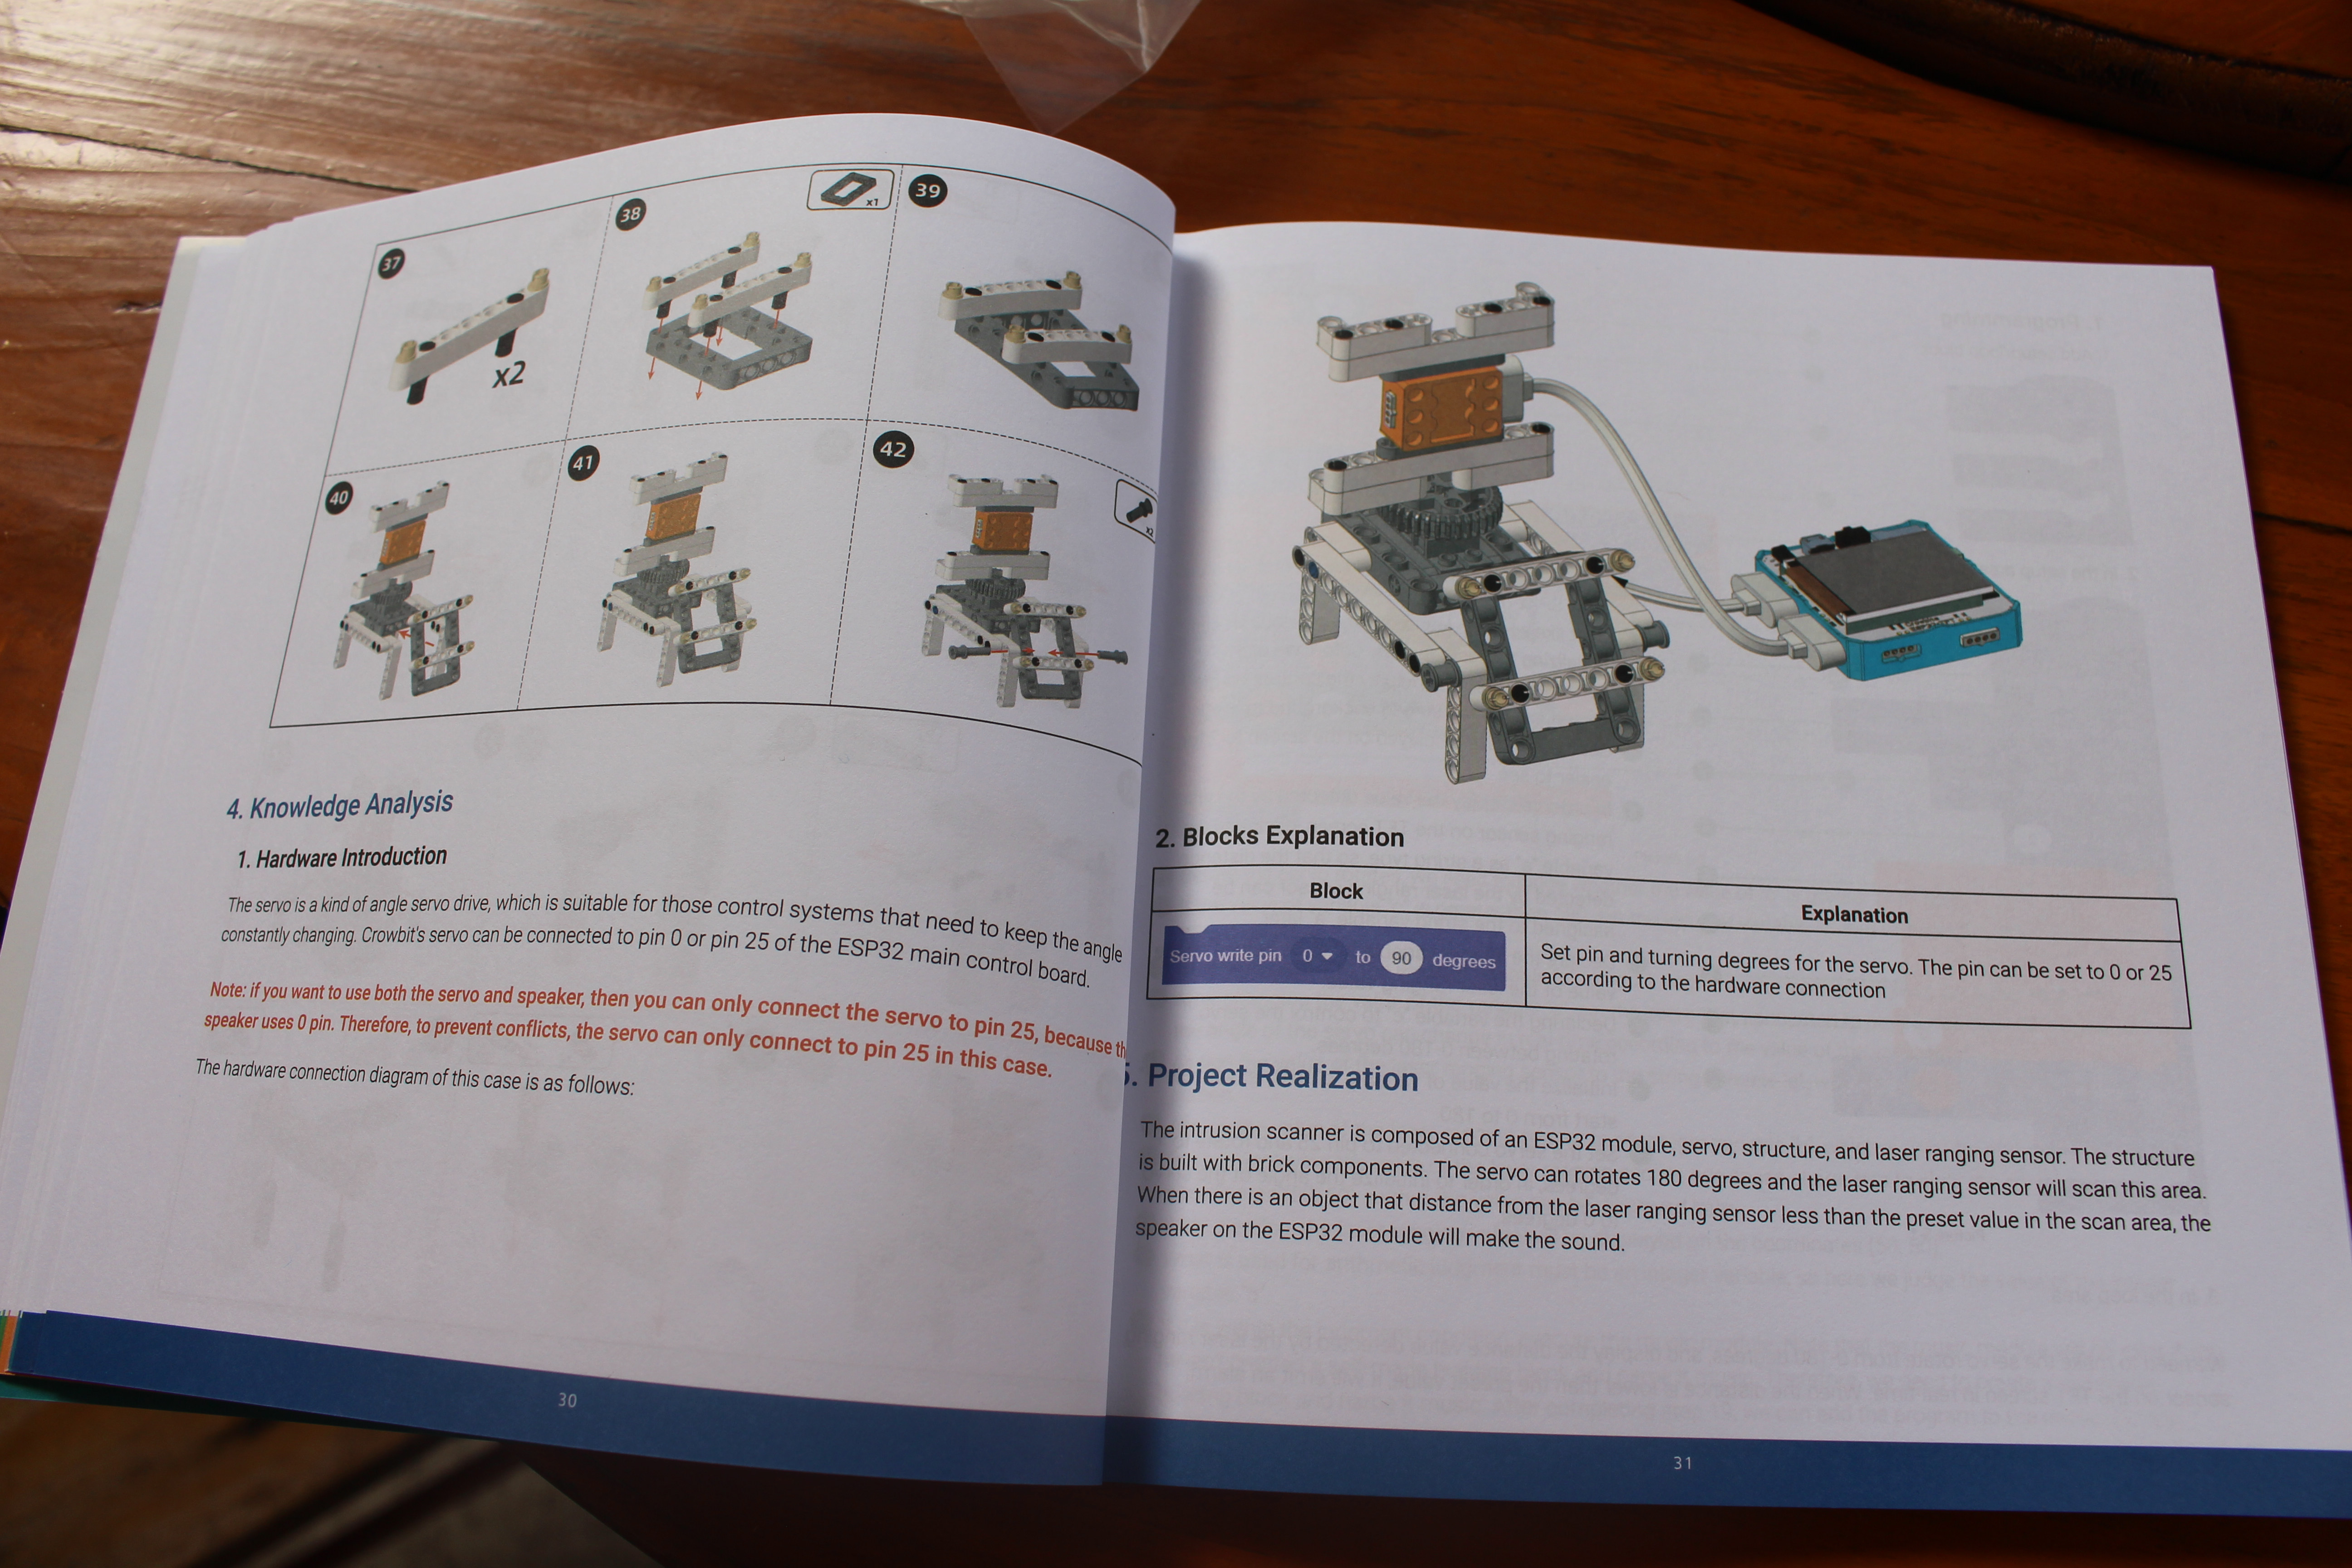
The user manual introduces the project, explains it is to detect intruders, and lists the learning goals as we’ll learn how to control the servo and play music on the Crowbits kit.
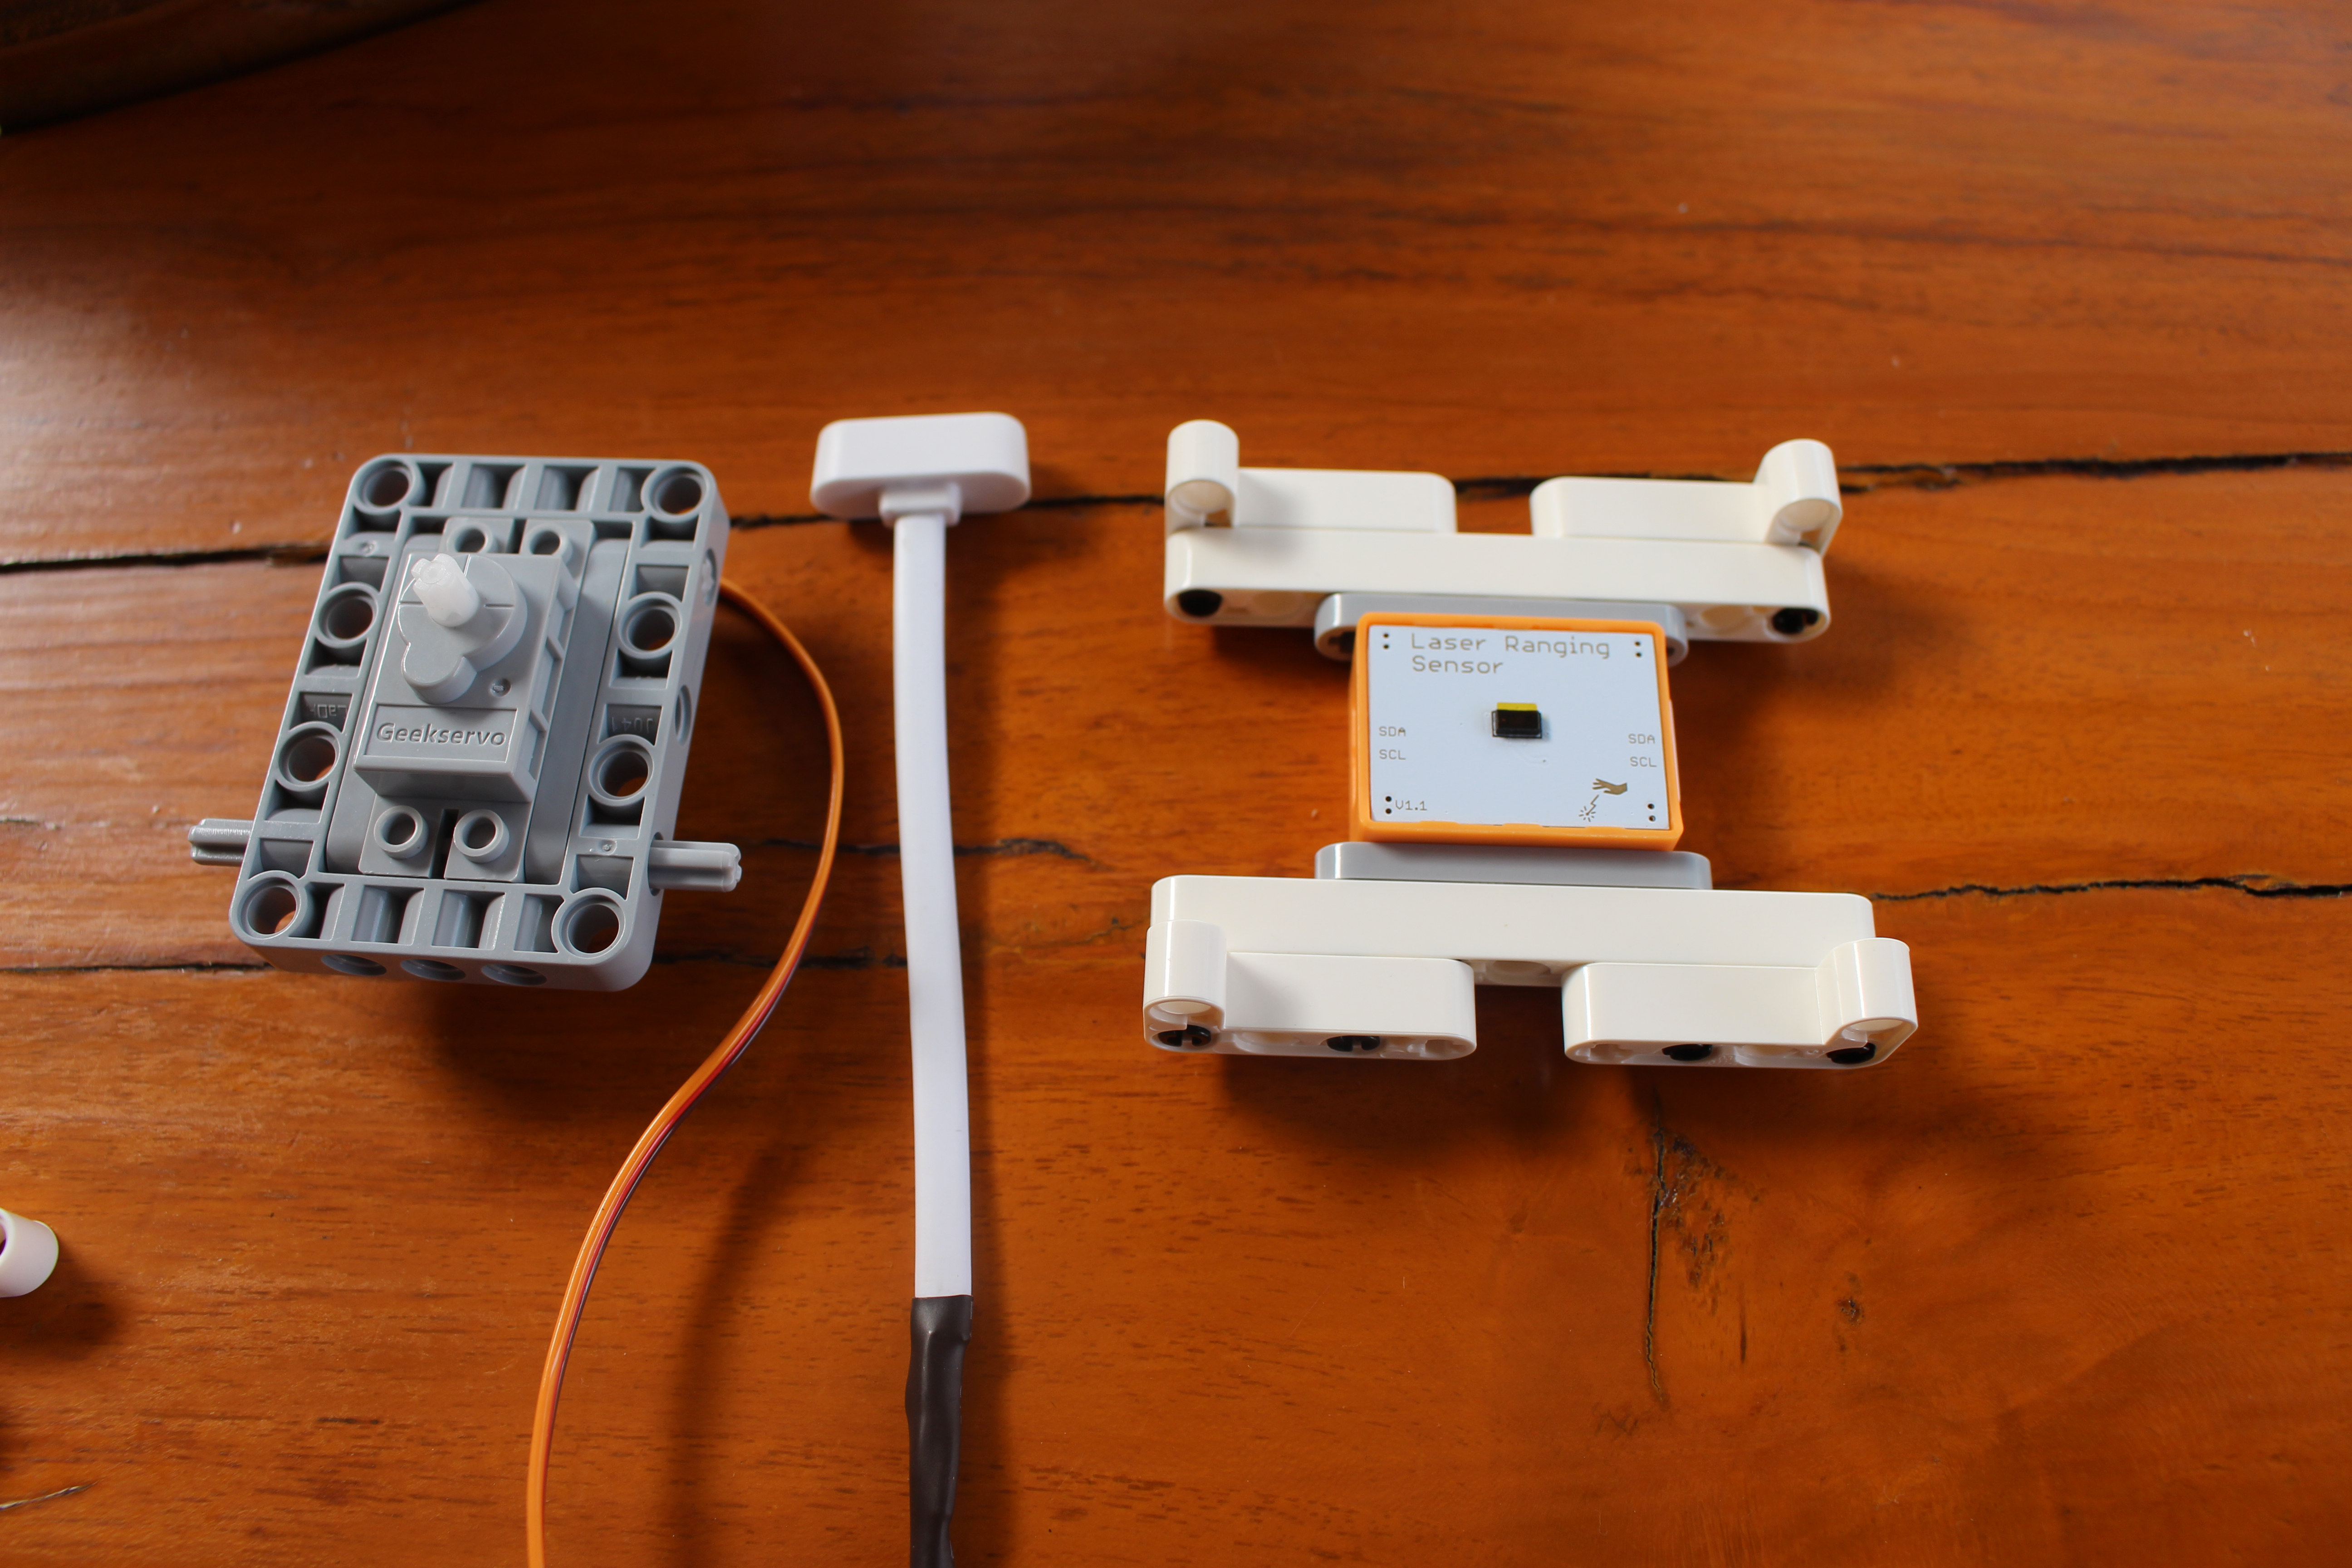
Kit Assembly
But first, we’ll have some assembly to do, in a similar way that’s we’d assemble a LEGO robotics kit.
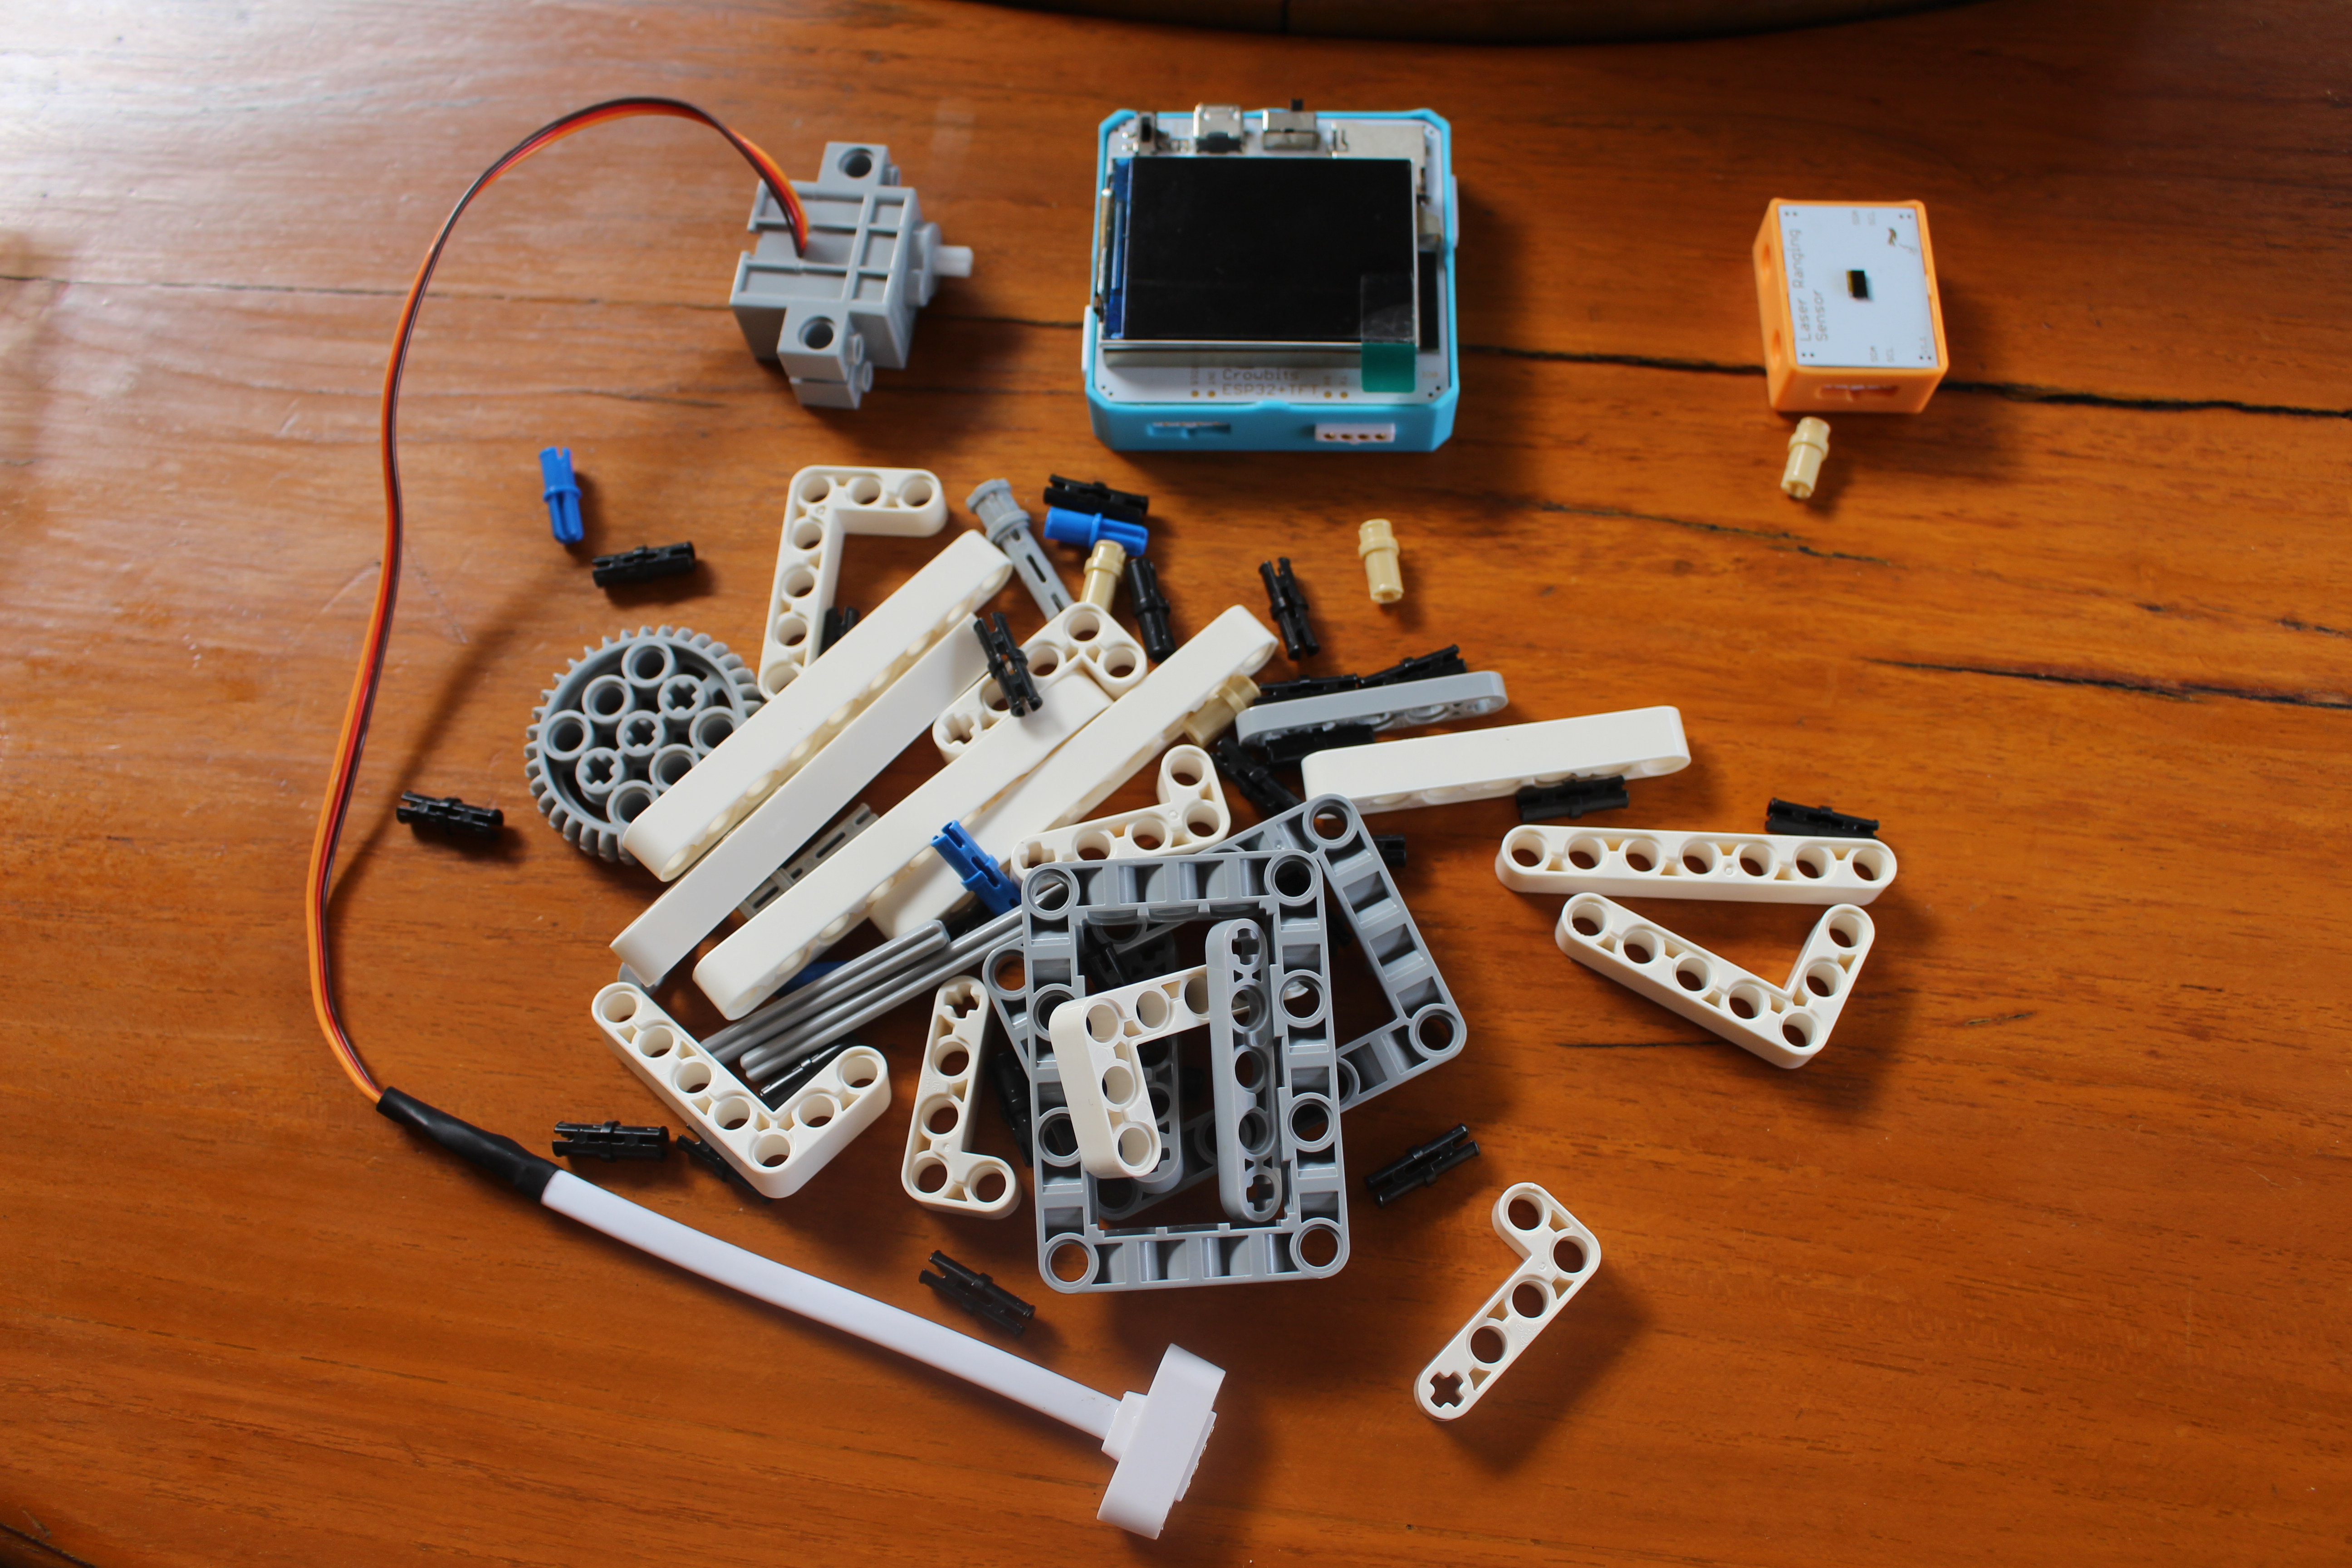
Each assembly step is clearly explained and I got the servo and ToF (time-of-Flight) ranging sensor mounted after the first page of assembly instructions.
Let’s carry on…
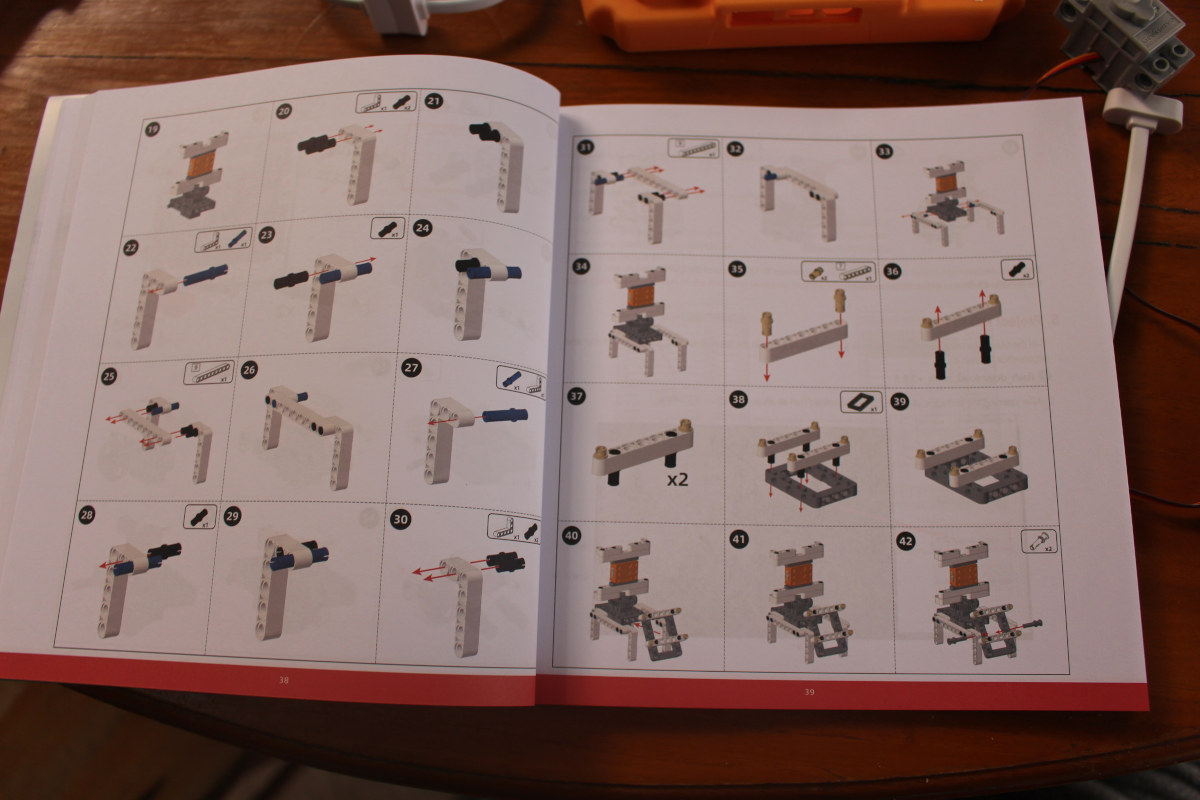
Until we have our system assembled and ready. No tools are needed during the process.
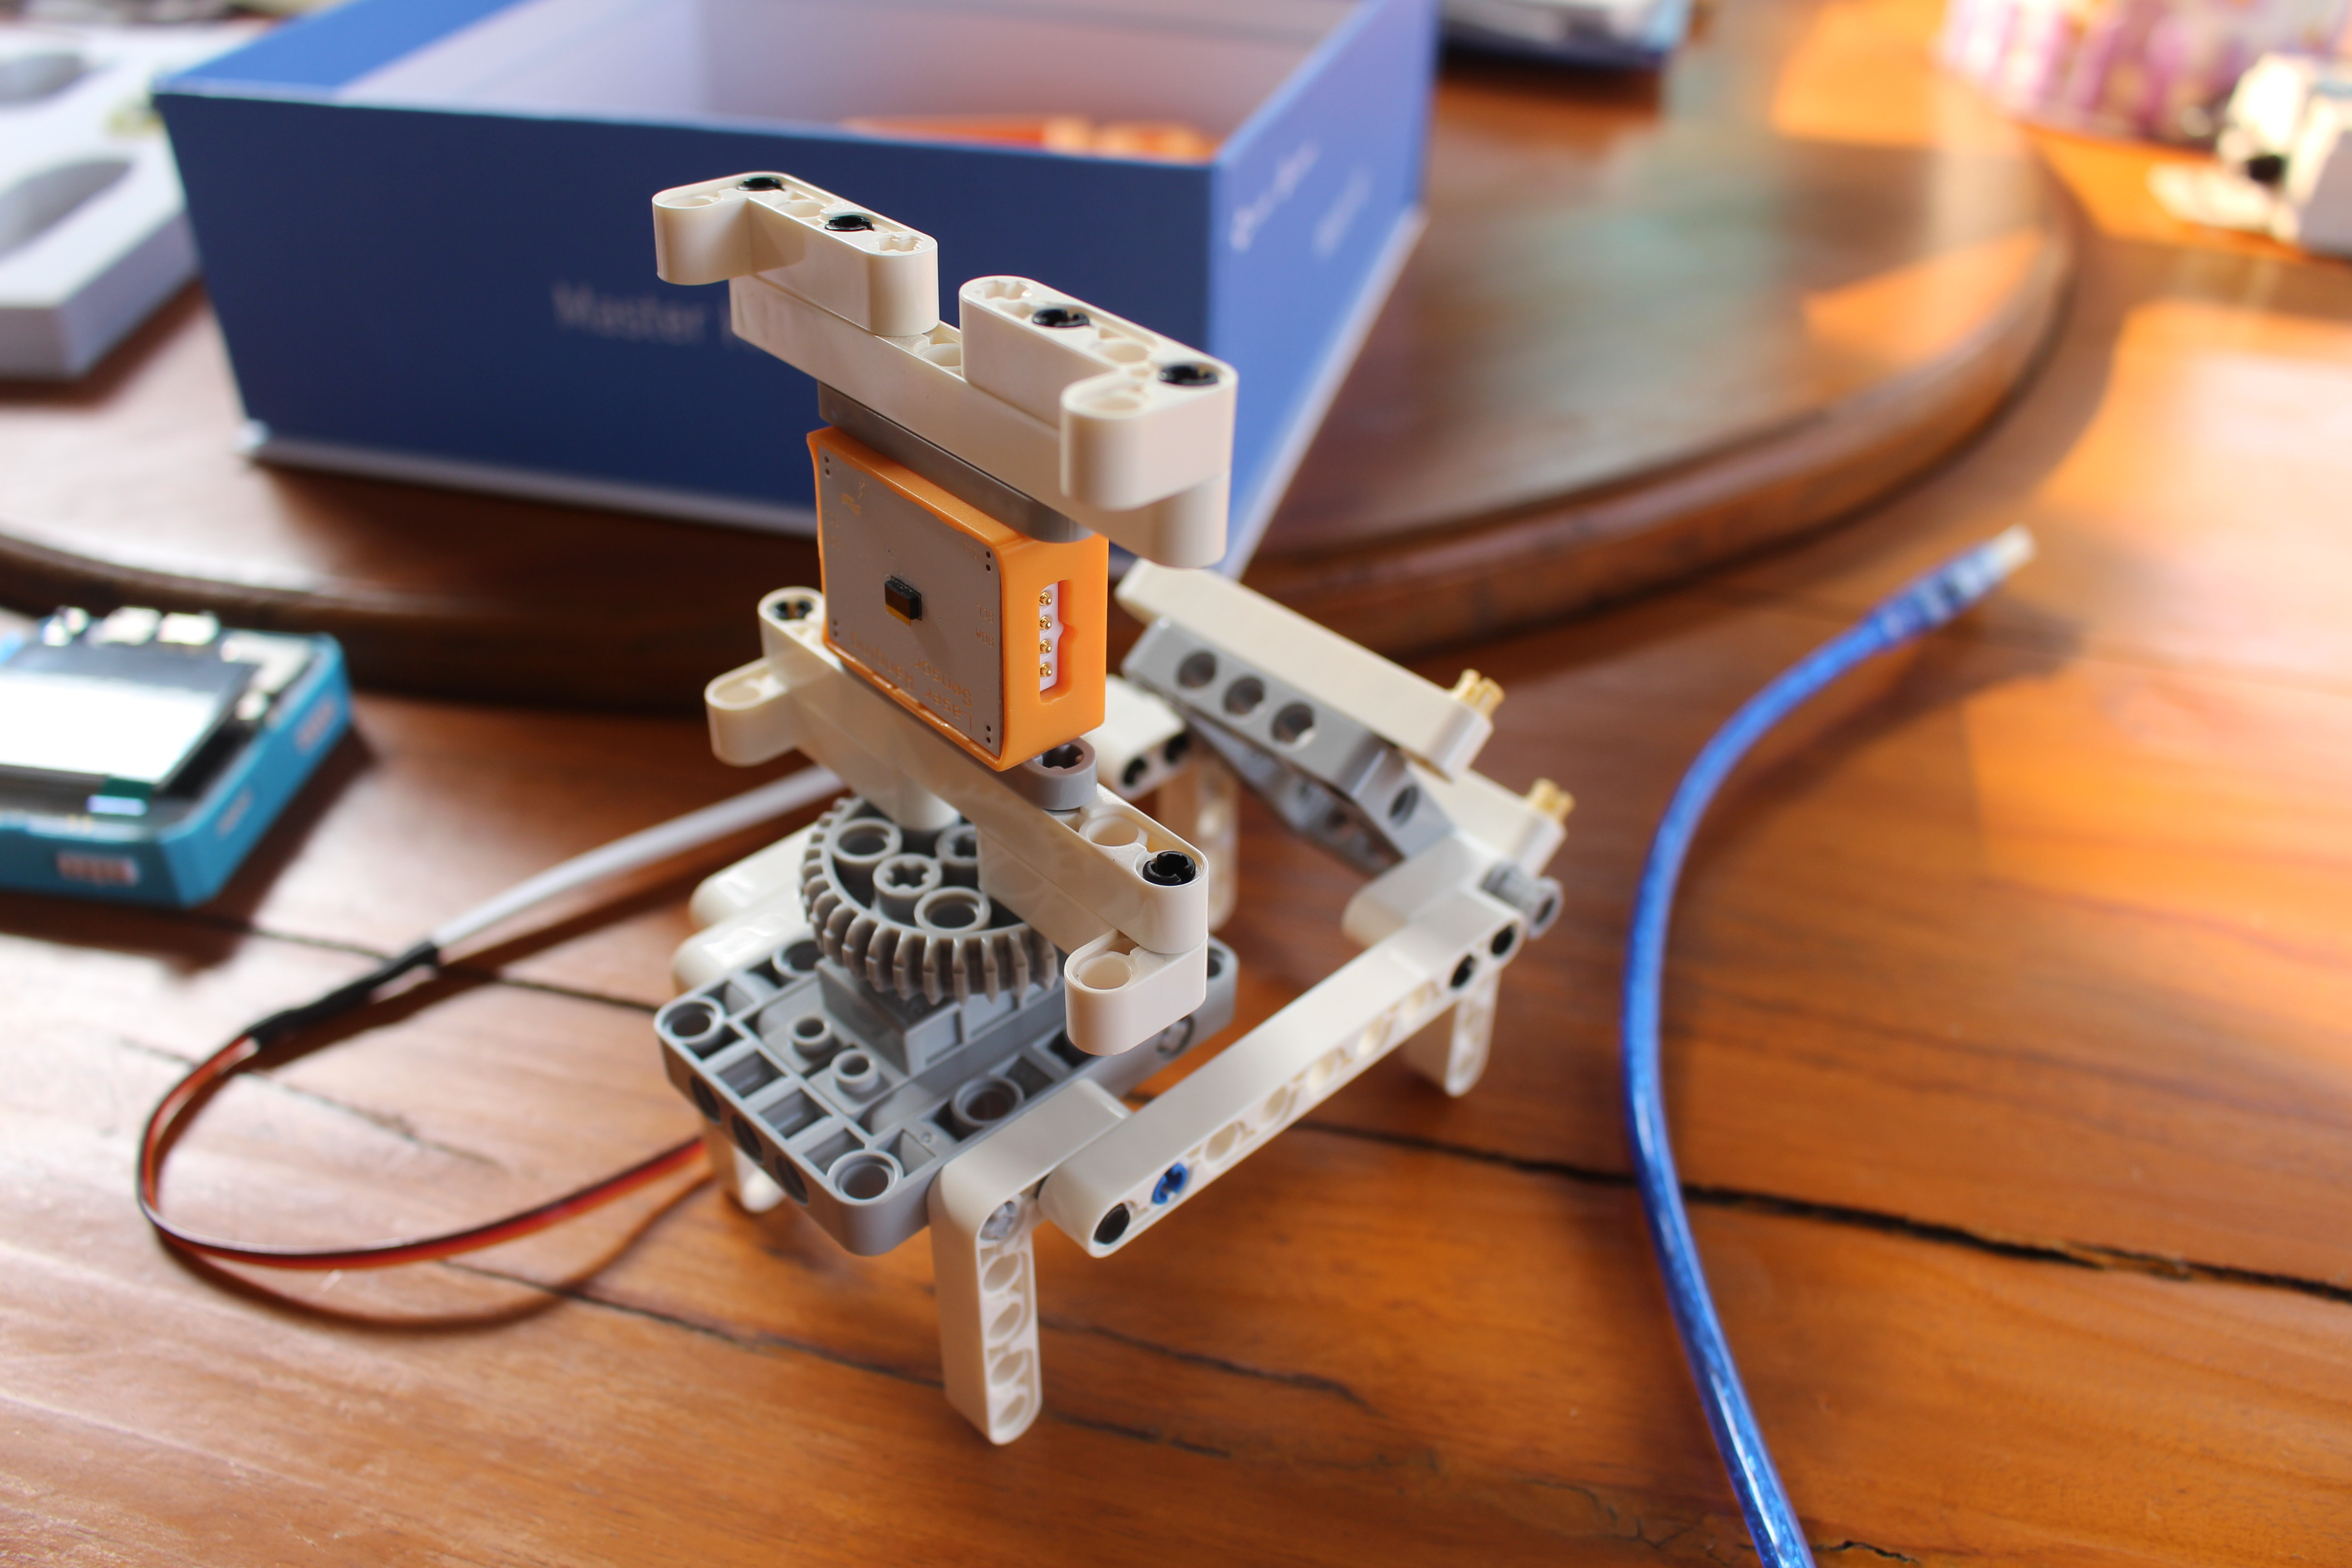
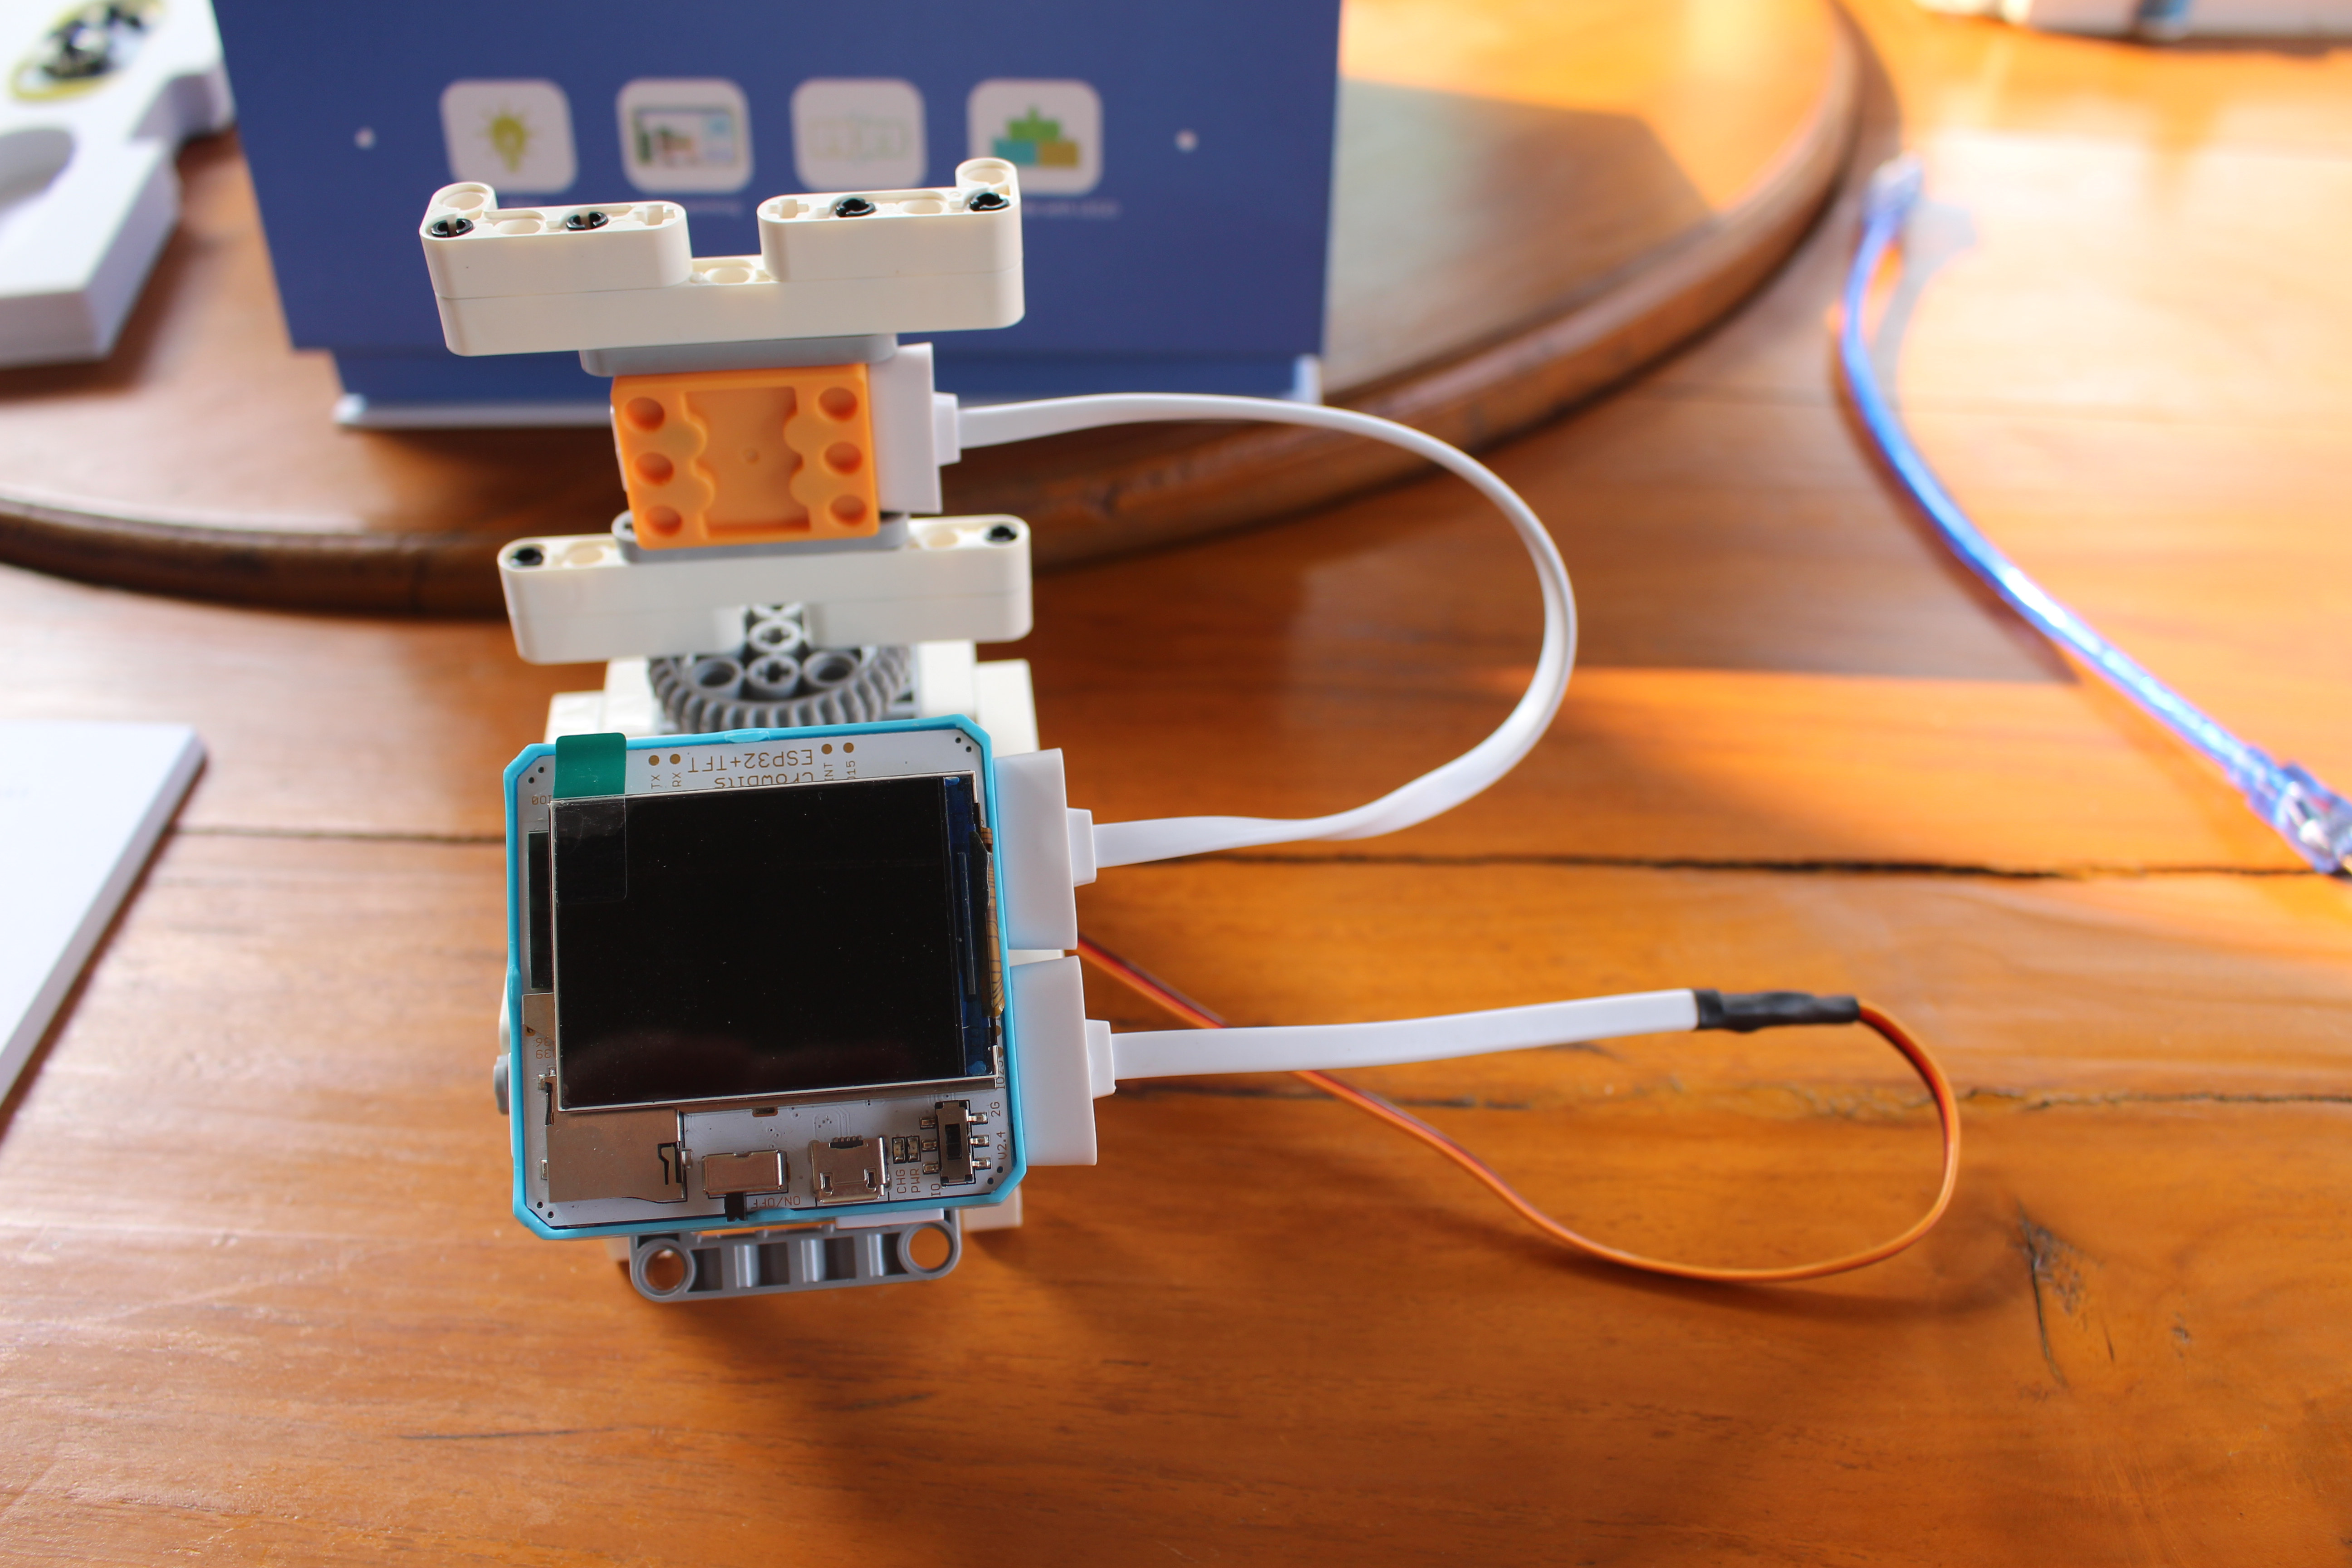
The final step is to mount the ESP32 module and connect the magnetic cables to the servo and ranging sensor.

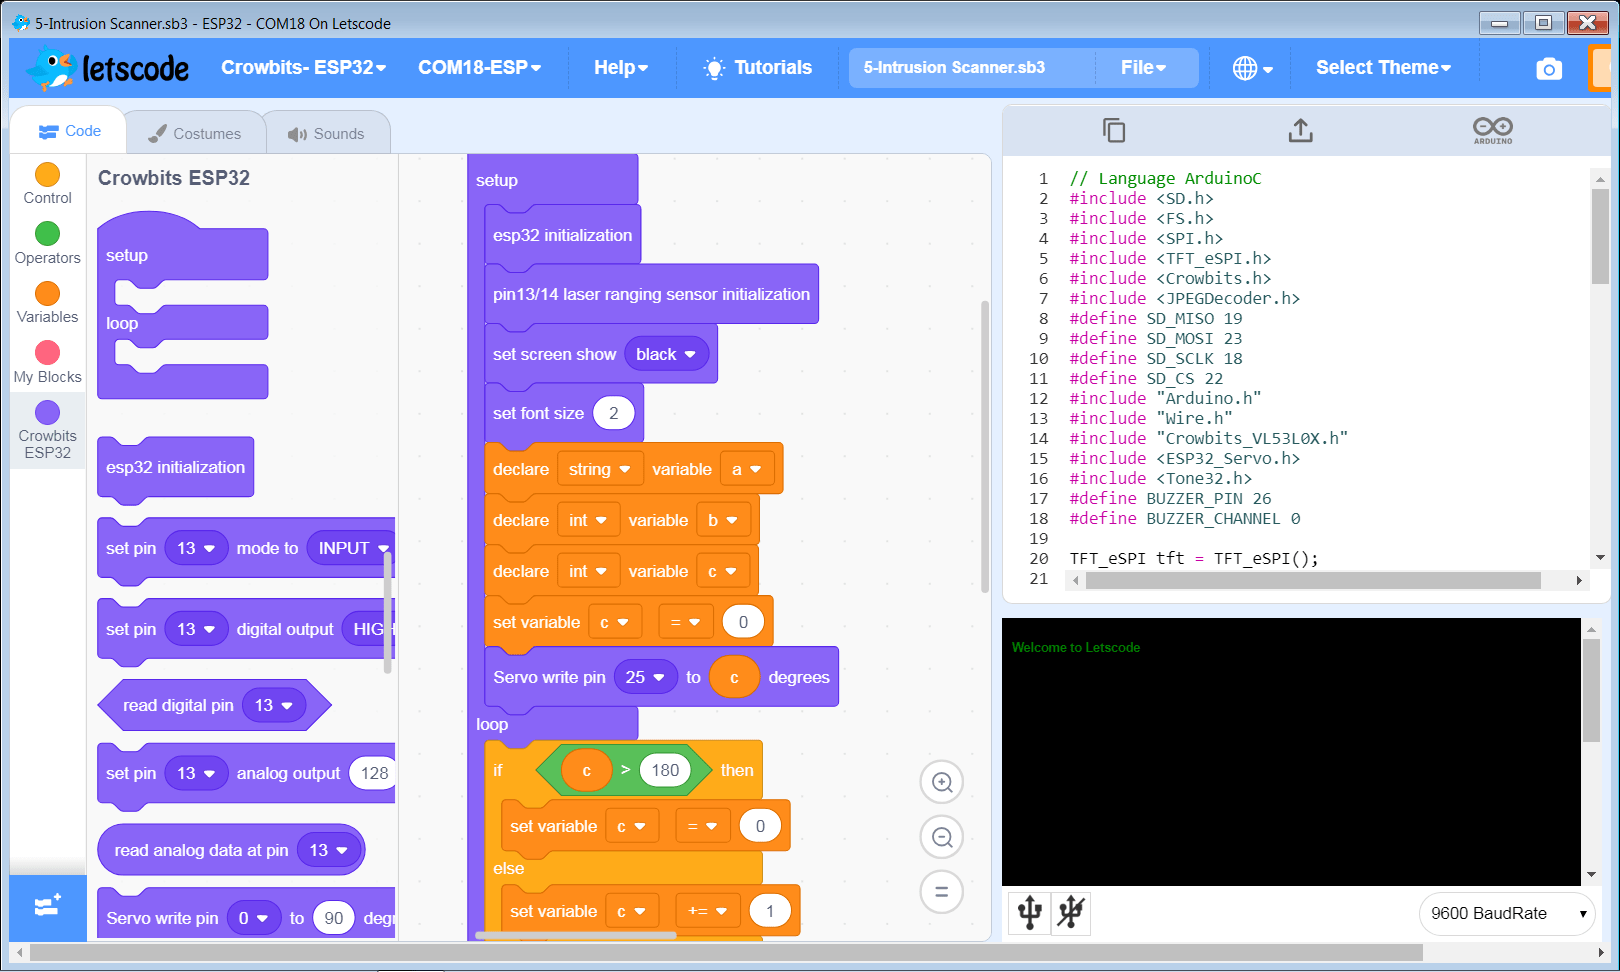
Visual Programming with Letscode
The program we’ve about to write (or rather load) will make the servo rotate by 180 degrees until the ranging sensor detects an object at which point Music will be played.
All steps of visual programming are clearly explained in the user manual from ESP32 initialization to control of the servo, ranging sensor and speaker.

Now is time to install Letscode program to try it out. We’ll find the download link in the forums. Right now, Elecrow only provides a Windows version, but Mac support is also in the works. Since Scratch is not officially supported in Linux, a Linux version of Letscode is unlikely.
Since my main machine is a laptop running Ubuntu 20.04, I used an old HDMI PC stick with Windows 10 32-bit, but this would not work as the program only supports 64-bit Windows. So I eventually moved to Windows 7 64-bit in VirtualBox.
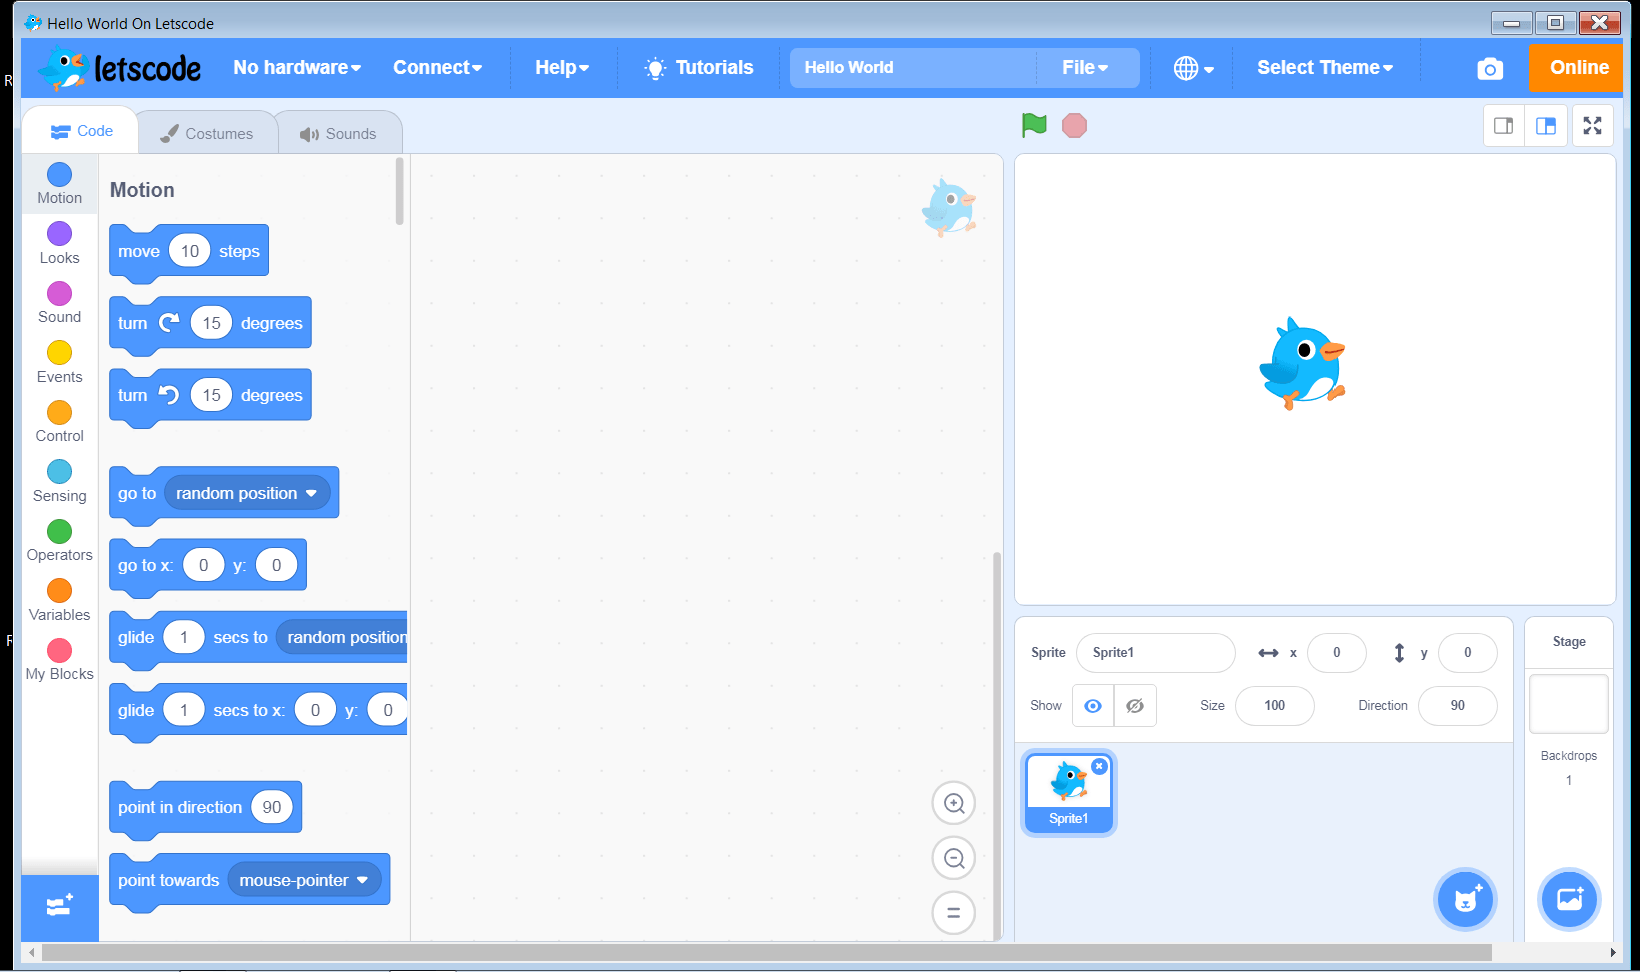
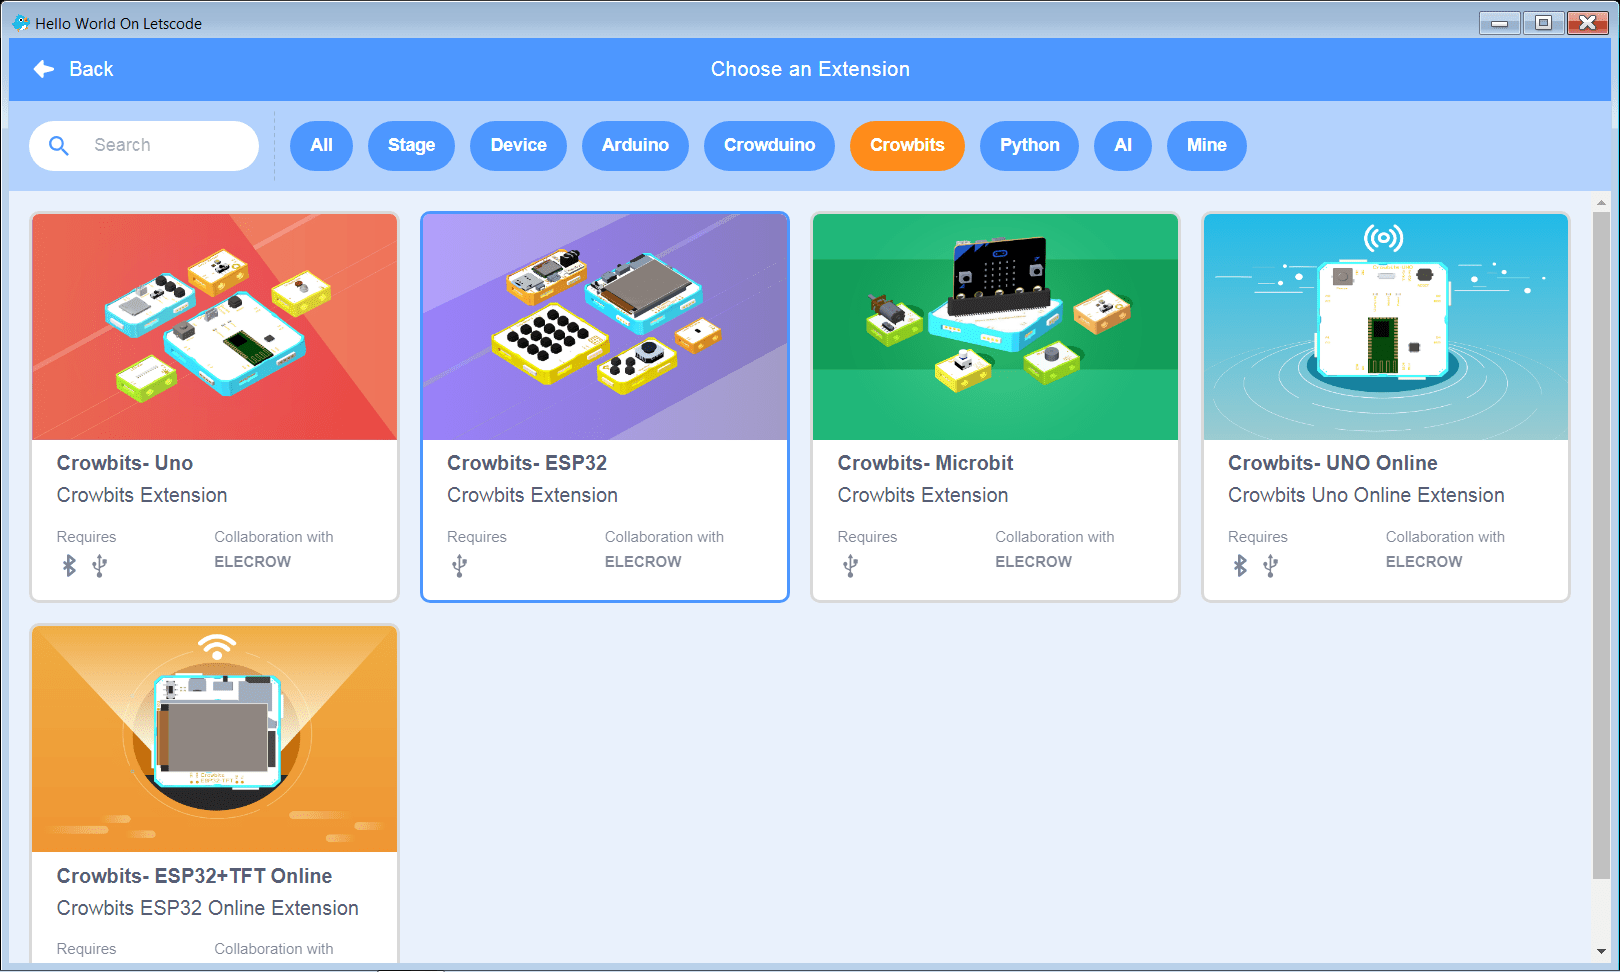
This is what Letscode user interface looks at first. The program is not only for Crowbits for also other product, so we’ll need to click on the bottom left icon, select Crowbits-ESP32 extension.
Now we can connect our kit to the computer using the provided USB cable, turn it on, and wait around a minute or so as the USB driver will be automatically installed.
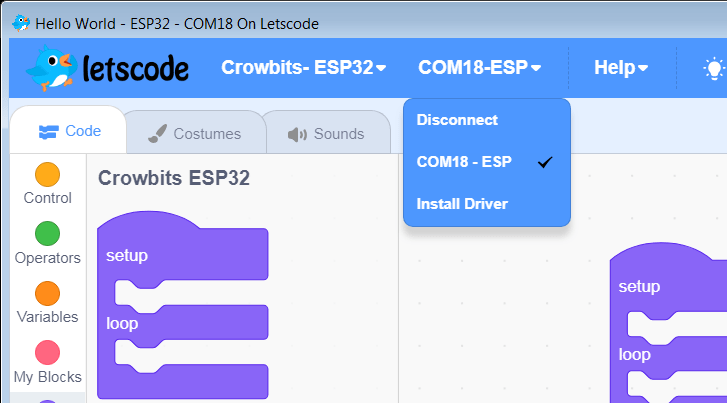
We can now select Crowbits-ESP32 hardware and COM18-ESP serial port (yours may be named slightly differently). after automatic installation of the driver in Windows.
Reviewers were also provided with beta versions of samples, firmware binaries, and tools that will eventually be released to backers as well.
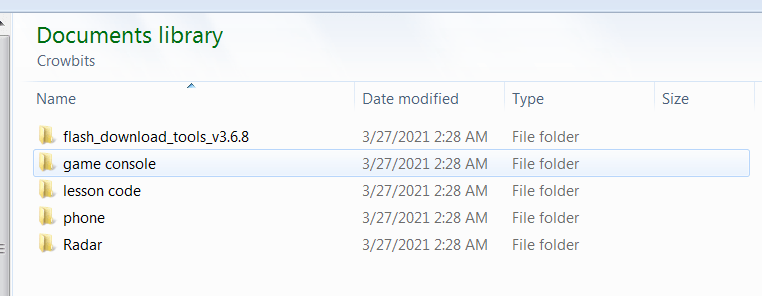 There’s a flash download tool that is needed to flash the firmware for the Radar, phone, and game console projects, but we will not need it in this tutorial.
Lesson code files are provided as SB3 files for each lesson found in the user manual.
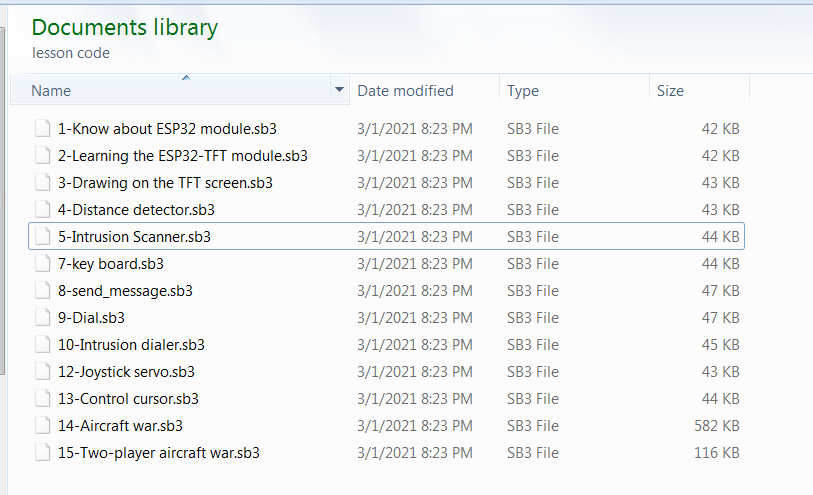
I’ll be focusing on the intrusion scanner in this tutorial/review, but there are other resources that include firmware files for the phone, radar, and game console lessons, as well as plenty of games ROMs for the latter.
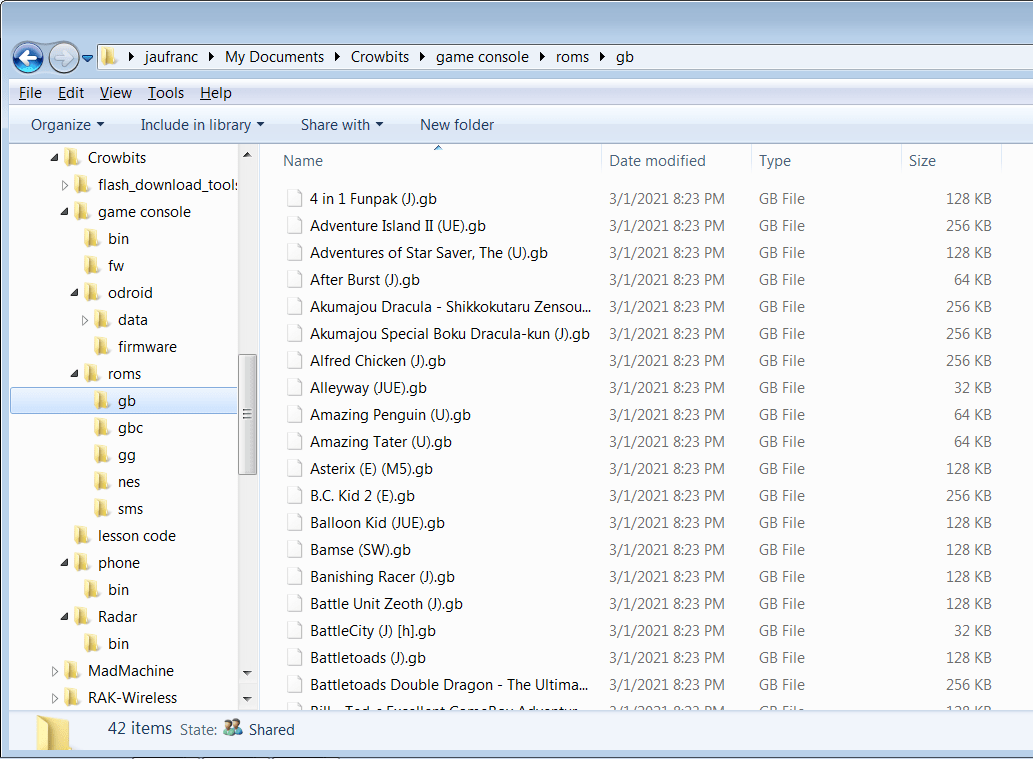
I can see several references to “odroid” in the files and folders, so I assume Crowbits ESP32 is software compatible with Hardkernel ‘s ODROID-GO portable game console.
Lesson 5 – Programming an Intrusion Scanner
While I’d recommend following the user manual, and let the student build the program him/herself, I’ve loaded the “Intrusion Scanner.sb3” file in Letscode program.
Note this will also show the Arduino code and output from the serial console on the right side of the interface.
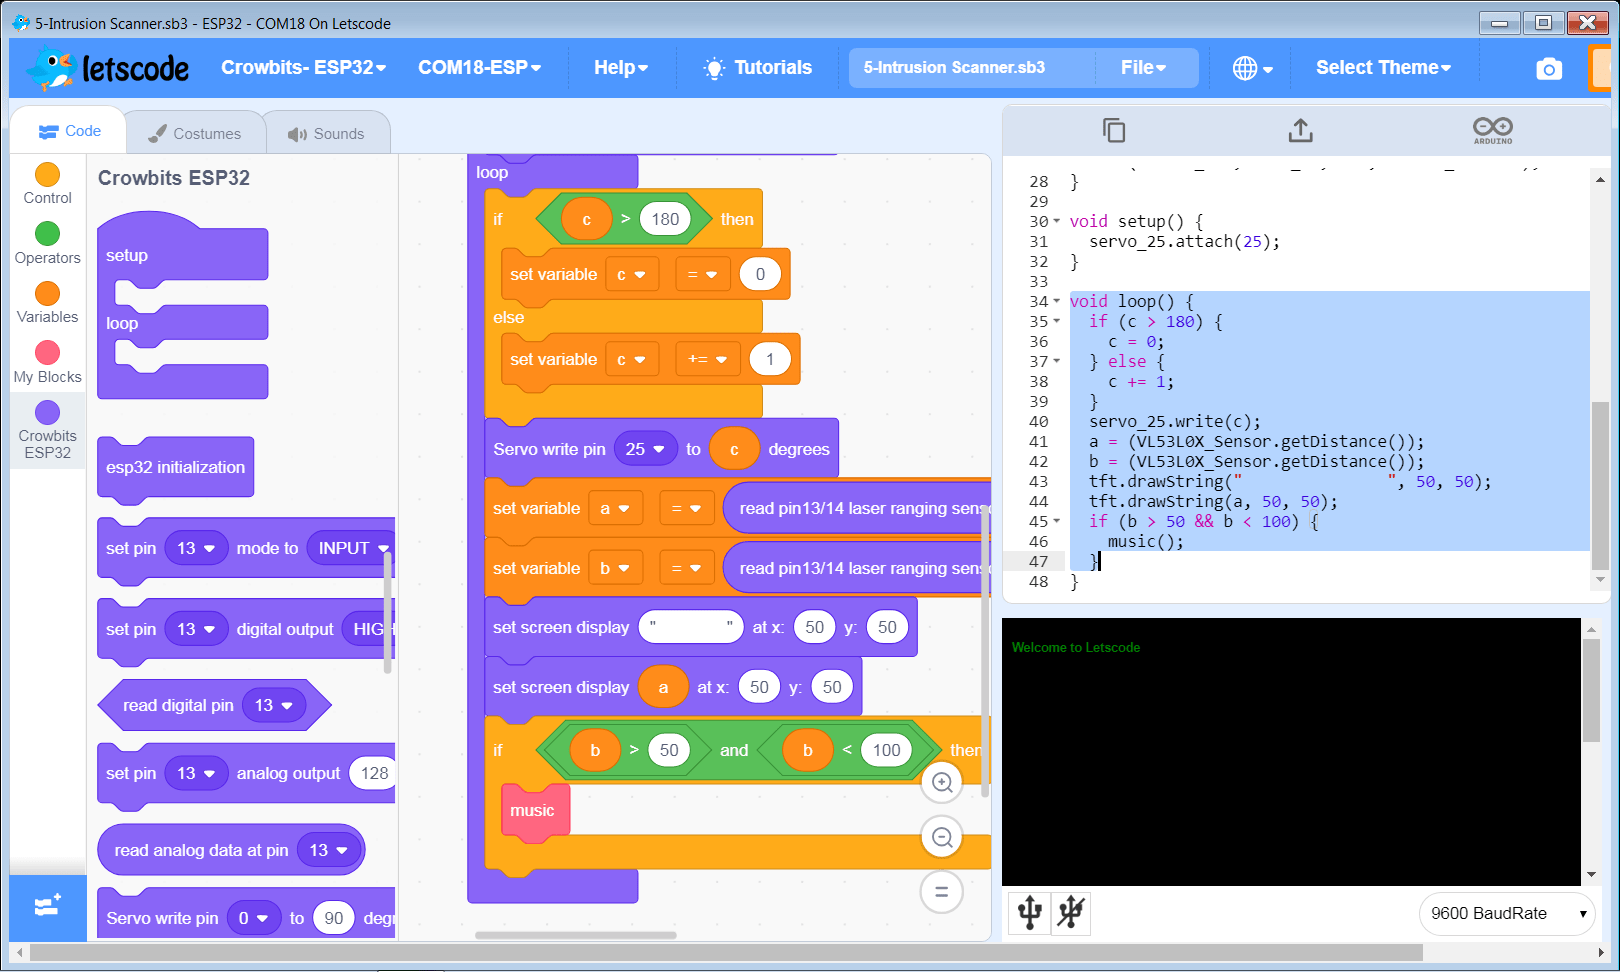
Having Visual code and Arduino side-by-side can be very useful to learn more traditional Arduino/C programming.
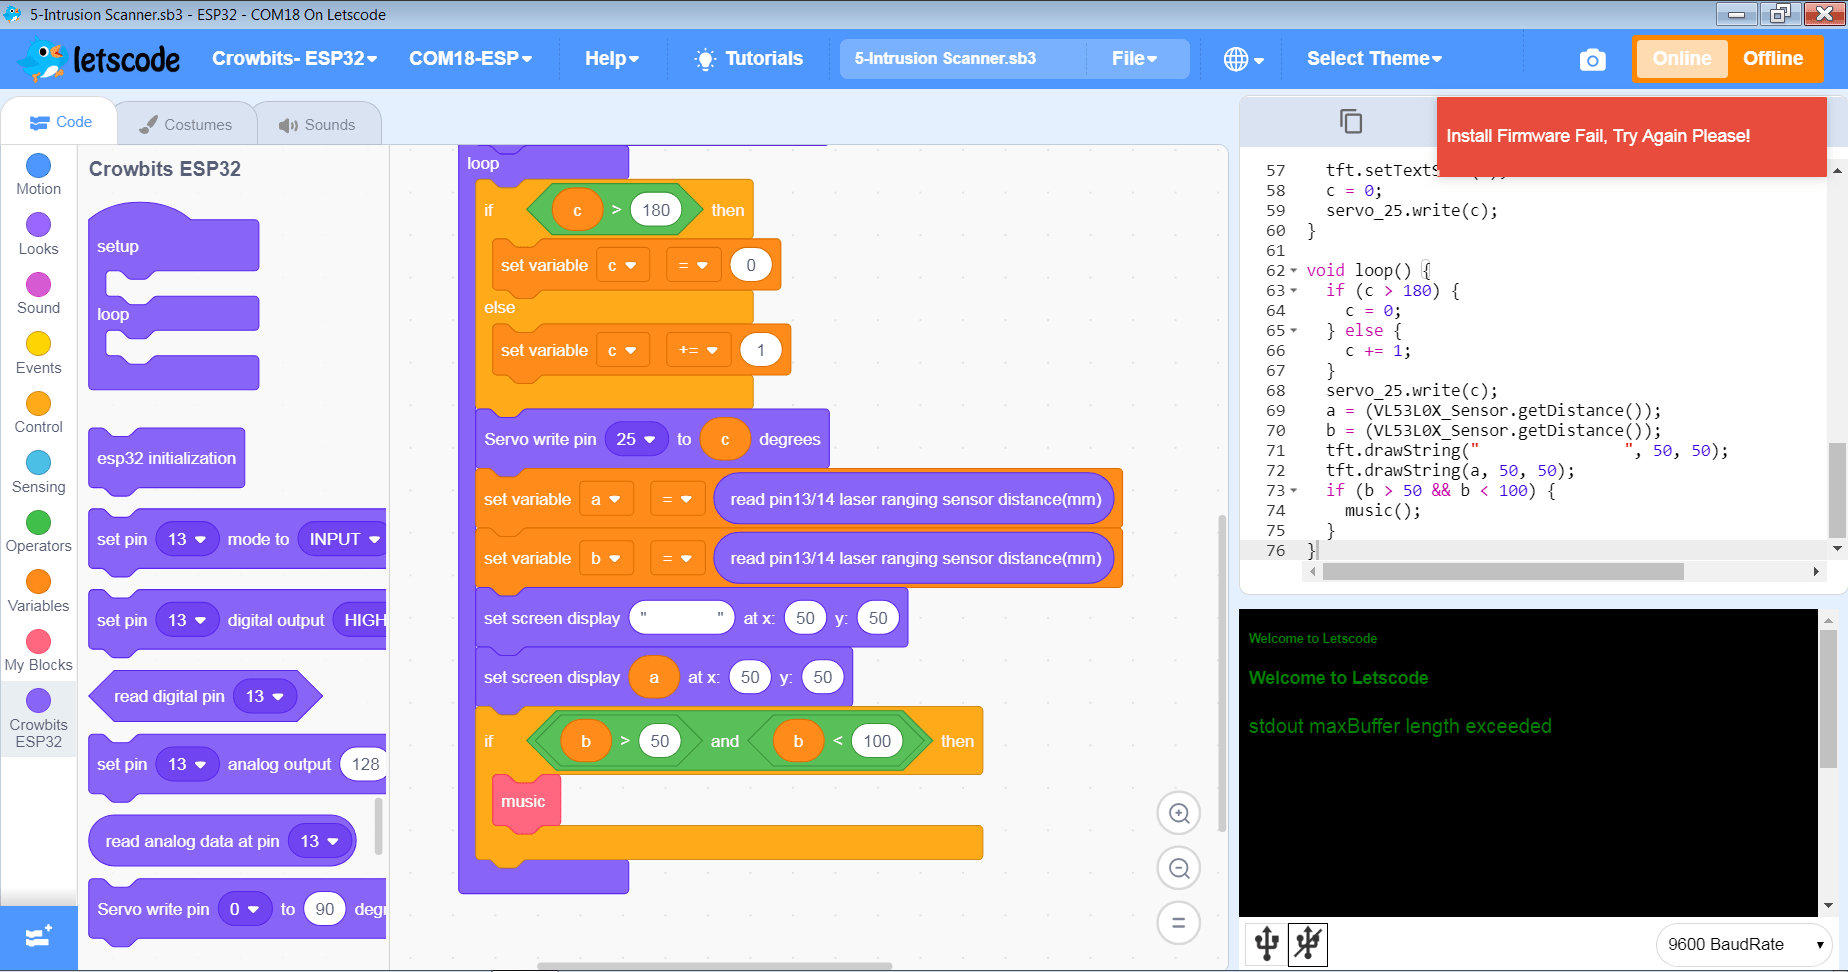
Once we’ve gone through the source code we can try to flash the firmware to the board with the error “stdout .maxBuffer length exceeded”. The first time it failed for me, but Elecrow provided several updates and I could finally flash the firmware, although it’s not 100% reliable on my side, possibly because I’m using a virtual machine.
 Time for some testing. We do not need to keep the kit attached to the computer since the ESP32 module includes a battery.
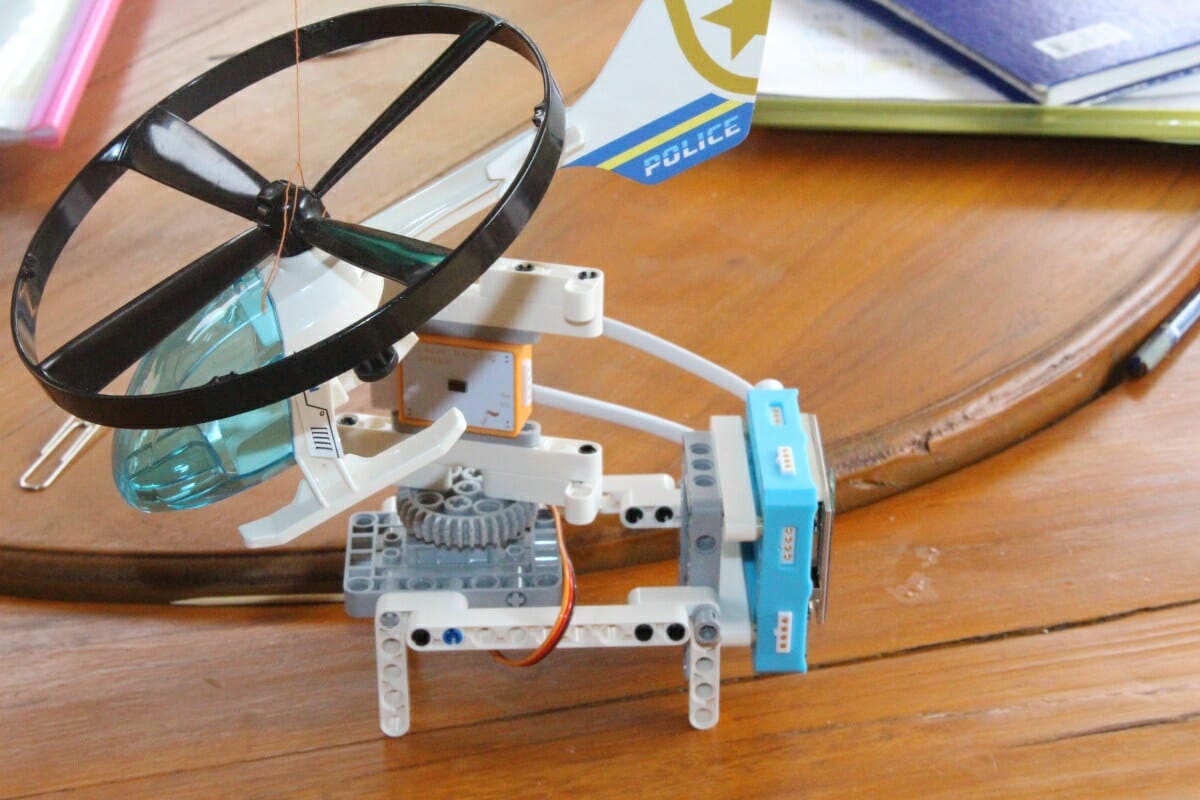
Here’s what it looks like in action.
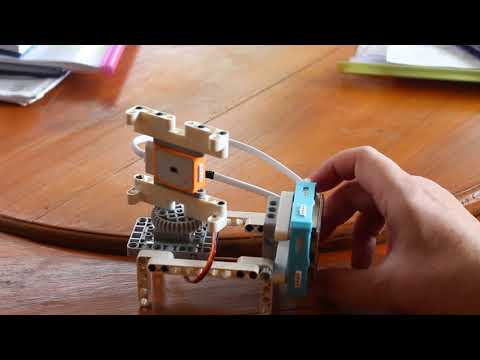
The servo will rotate until the ranging sensor detects the helicopter (sorry not included in the kit!) and music is played. The range will also be shown on the display itself.
The user manual also invites students to change the program notably the music. There’s also a bug in the program as after the music has stopped the servo is not working anymore, only the ranging sensor and speaker. It could be a conflict with the I/Os, but one is already noted in the user manual:
Note: if you want to use both the servo and spaker, then you can only connect the servo to pin 25, becuase the speaker uses 0 pin. Therefore, to prevent conflicts, the servo can only connect to pin 25 in this case
That’s exactly what we’ve done above, but the servo still stops working after the music is played.
I hope this little walkthrough of lesson 5 and the first part of the review gave you a good idea of what you’d get with Crowbits Master Kit. If you haven’t back the project on Kickstarter already, you may have to wait for the launch on other channels, as the campaign completed yesterday after having raised around $90,000 US.

Jean-Luc started CNX Software in 2010 as a part-time endeavor, before quitting his job as a software engineering manager, and starting to write daily news, and reviews full time later in 2011.
Support CNX Software! Donate via cryptocurrencies, become a Patron on Patreon, or purchase goods on Amazon or Aliexpress


Le bruitage est digne d un Blockbuster américain 😉