
In this short article, I show how to install Windows Subsystem for Linux (WSL) and how to force the upgrade of Windows 10 to Windows 11 in a mini PC rather than waiting for Windows to offer it. The reason I’ve coupled these two topics together is not because there is any dependency, but simply as I use WSL to help me perform administrative tasks like downloading and copying files when installing applications on Windows mini PCs.
WSL installation
Installing WSL has recently become so simple it is worth doing just to gain the flexibility it offers for so little effort. Now you only need to open ‘Windows Terminal (Admin)’ and enter wsl --install:
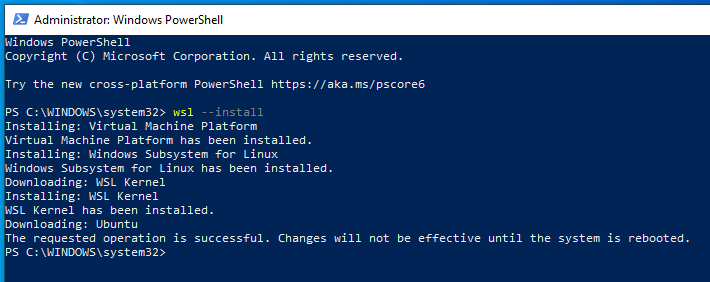
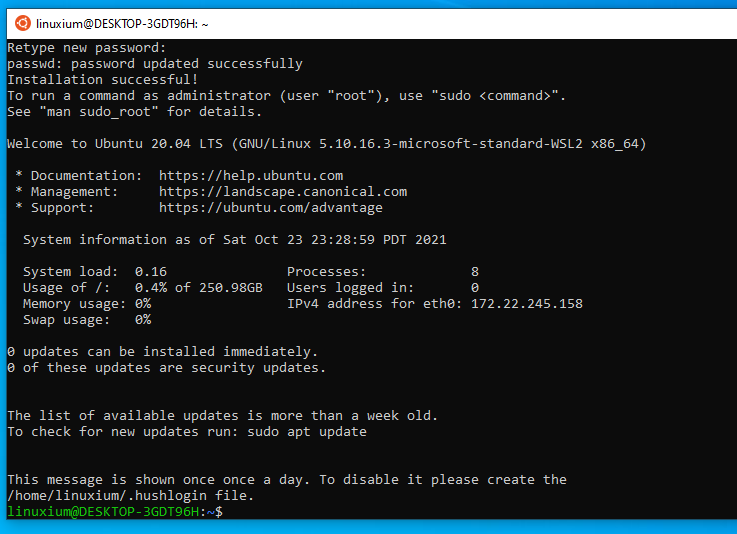
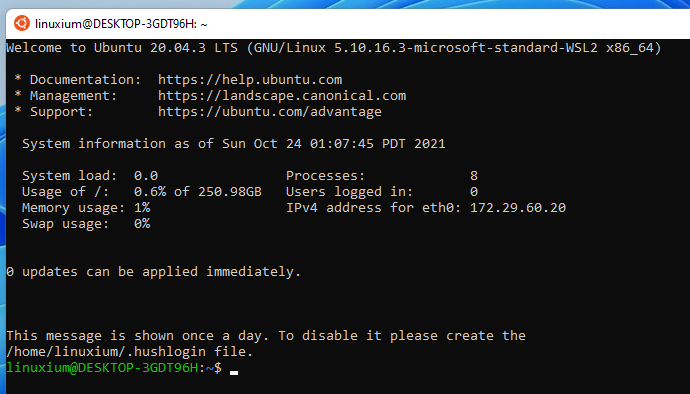
then reboot for Ubuntu to start installing, during which you will be asked to create your user with a password, which finishes in Ubuntu:
Further information about installing WSL can be found in Microsoft’s documentation.
Now that WSL is running, as is best practice after performing any Ubuntu installation, I first do a ‘sudo apt update’ followed by ‘sudo apt upgrade’ before installing any packages.
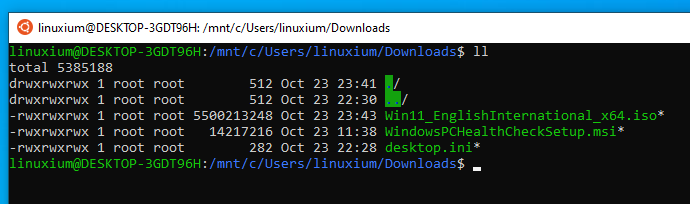
The location of the ‘Windows home’ directory is ‘/mnt/c/Users/’:
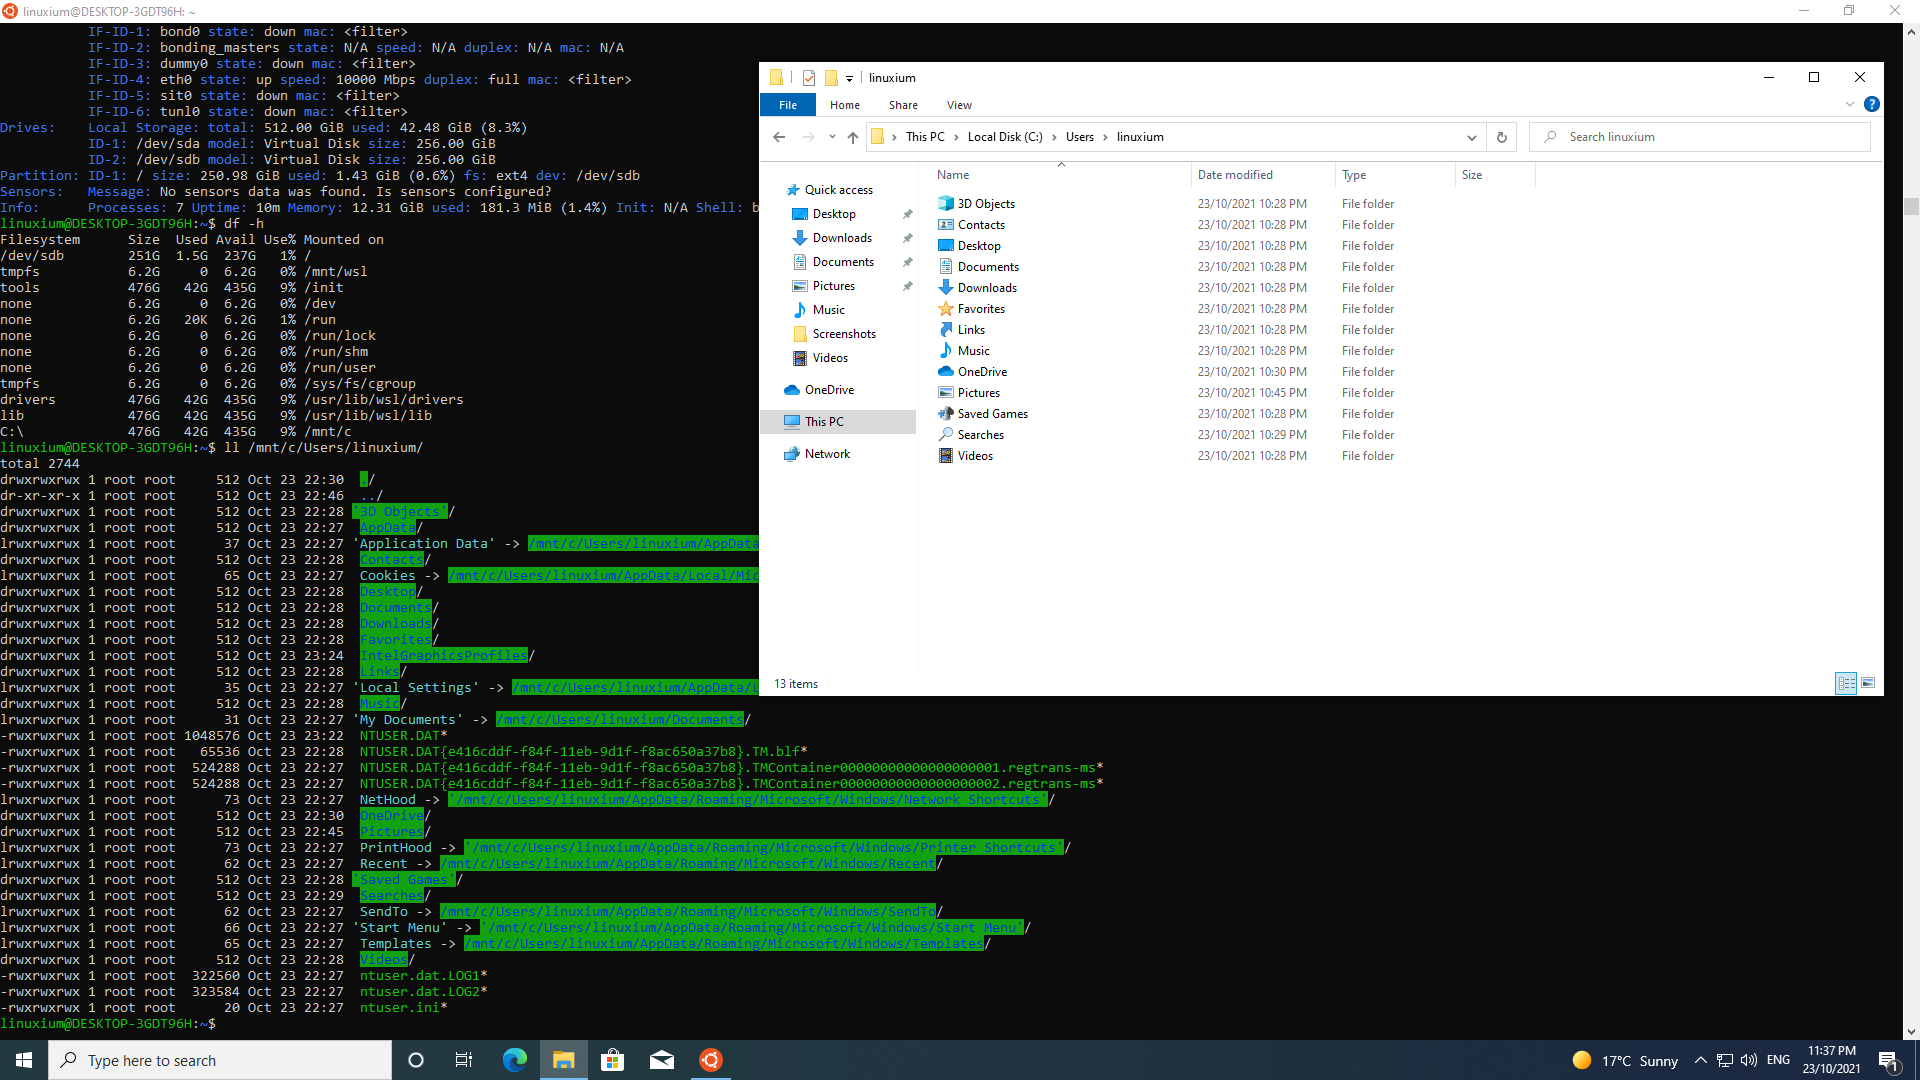
and I typically change directory into my Windows ‘Downloads’ directory and then ‘rcp’ the benchmarking tools I use when testing a mini PC from a Linux server rather than have to download each individual file.
Upgrading a Windows 10 mini PC to Windows 11
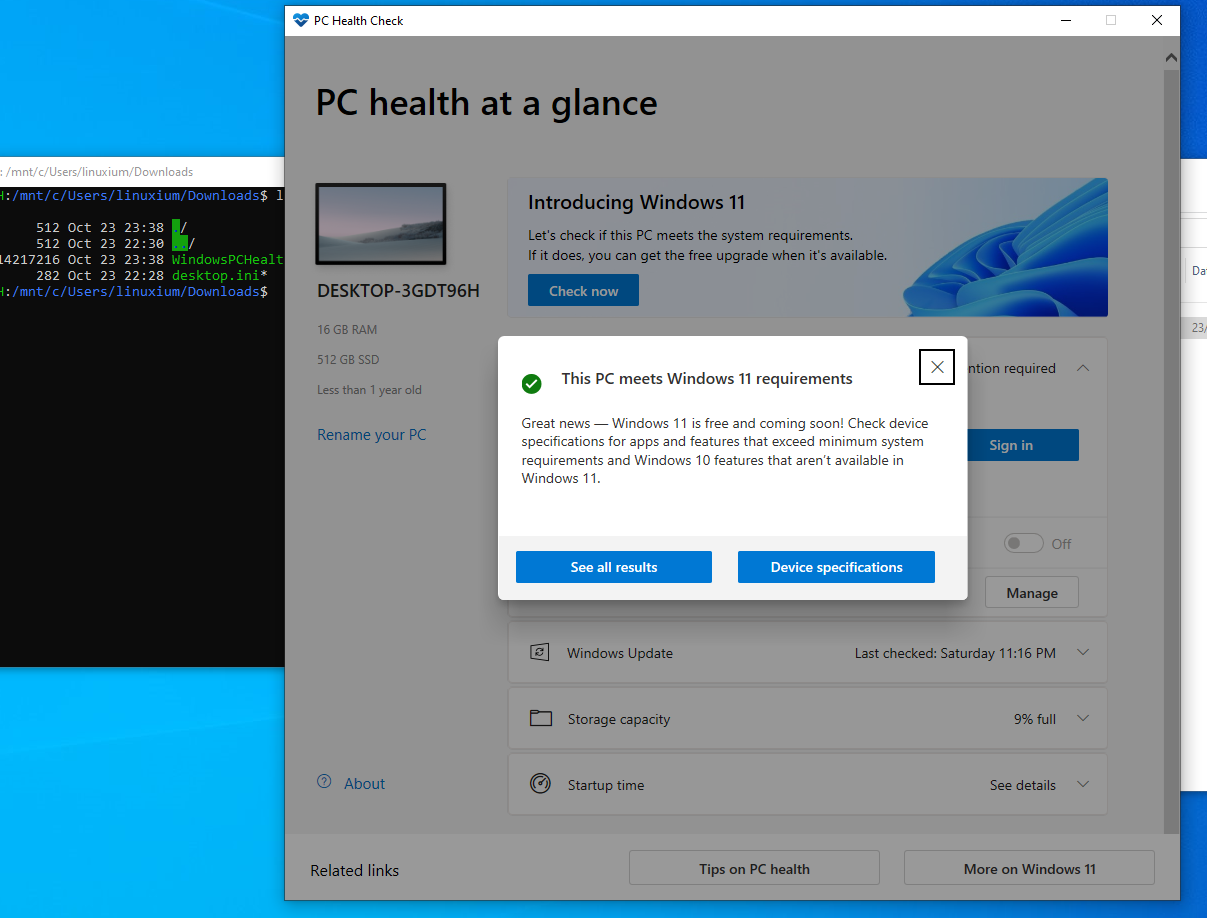
Prior to attempting a Windows 11 upgrade, I recommend checking that the mini PC meets the minimum system requirements for Windows 11.
I first ‘rcp’ the ‘Windows PC Health Check’ application to my download directory however it can also be downloaded directly from Microsoft, and then confirm that the upgrade will work:
Whilst there are several ways to actually perform the upgrade I start by using ‘rcp’ to copy across a Windows 11 ISO I originally downloaded from https://www.microsoft.com/en-au/software-download/windows11:
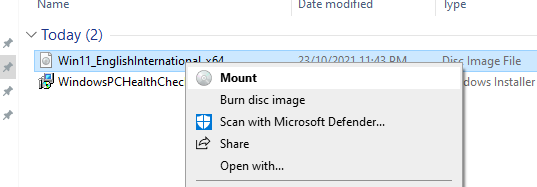
Next, I mount the ISO by right-clicking the file,
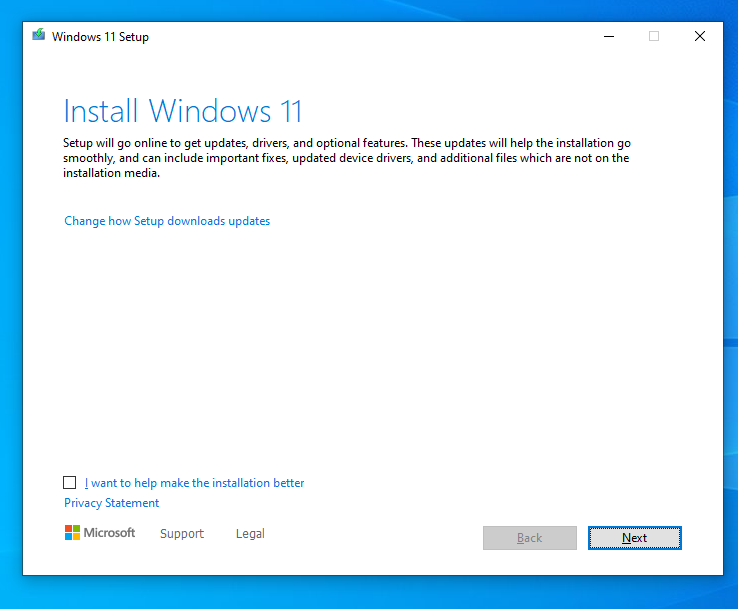
 and run ‘setup’ by double-clicking it which will start the Windows 11 upgrade:
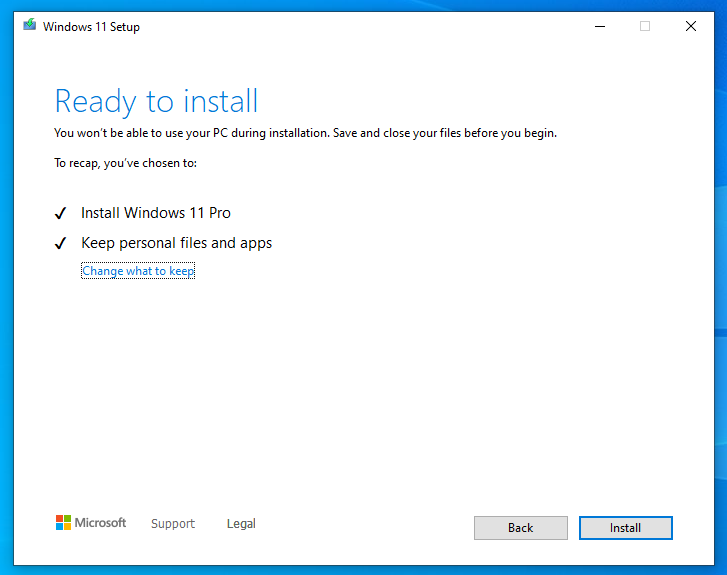
It will perform some checks, download any required updates and ask for confirmation whilst giving you the opportunity to make it a ‘clean’ installation if required:
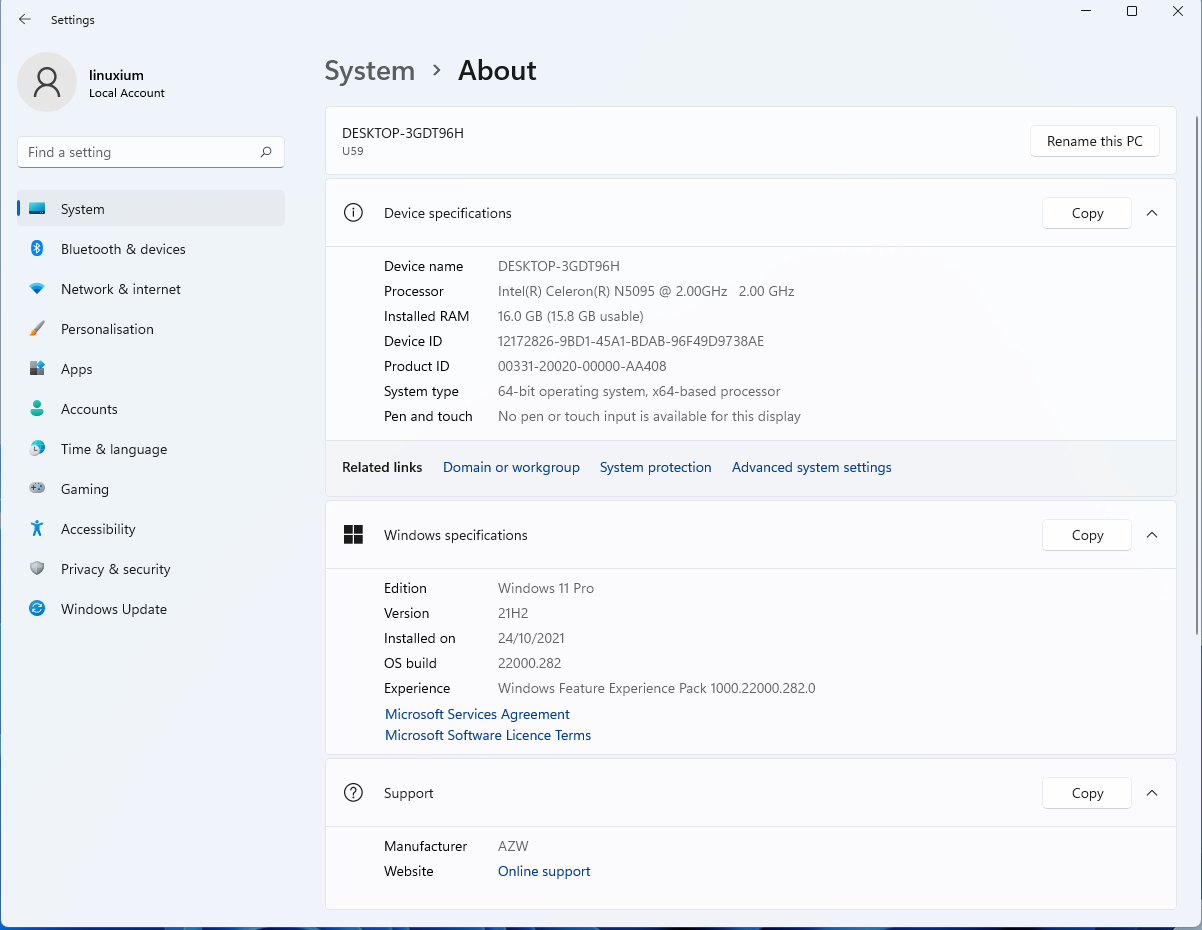
Eventually, the mini PC will reboot into Windows 11:
which currently shows as build 22000.258. Similar to the Ubuntu installation I next perform a Windows update (typically required a few times) to finally get a fully updated Windows 11 (currently build 22000.282):
with all the previous applications still installed, including WSL:
Alternatives to this approach together with more details are covered in Microsoft’s documentation.

Ian is interested in mini PCs and helps with reviews of mini PCs running Windows, Ubuntu and other Linux operating systems. You can follow him on Facebook or Twitter.
Support CNX Software! Donate via cryptocurrencies, become a Patron on Patreon, or purchase goods on Amazon or Aliexpress


Looks easy indeed. Maybe they can regain some of the admins and devs who switched to Macs to have both all applications and a unix terminal.
However I’m seeing that there’s something that hasn’t changed in this world: “changes will not be effective until next reboot” 🙂 That reminded me that the time needed to install certain applications on servers was sometimes mainly dominated by the RAID card startup time due to the numerous reboots after each and every click on “finish”.
Windows?
VRS:NSMV:SMQL:IVB
Thanks mate!