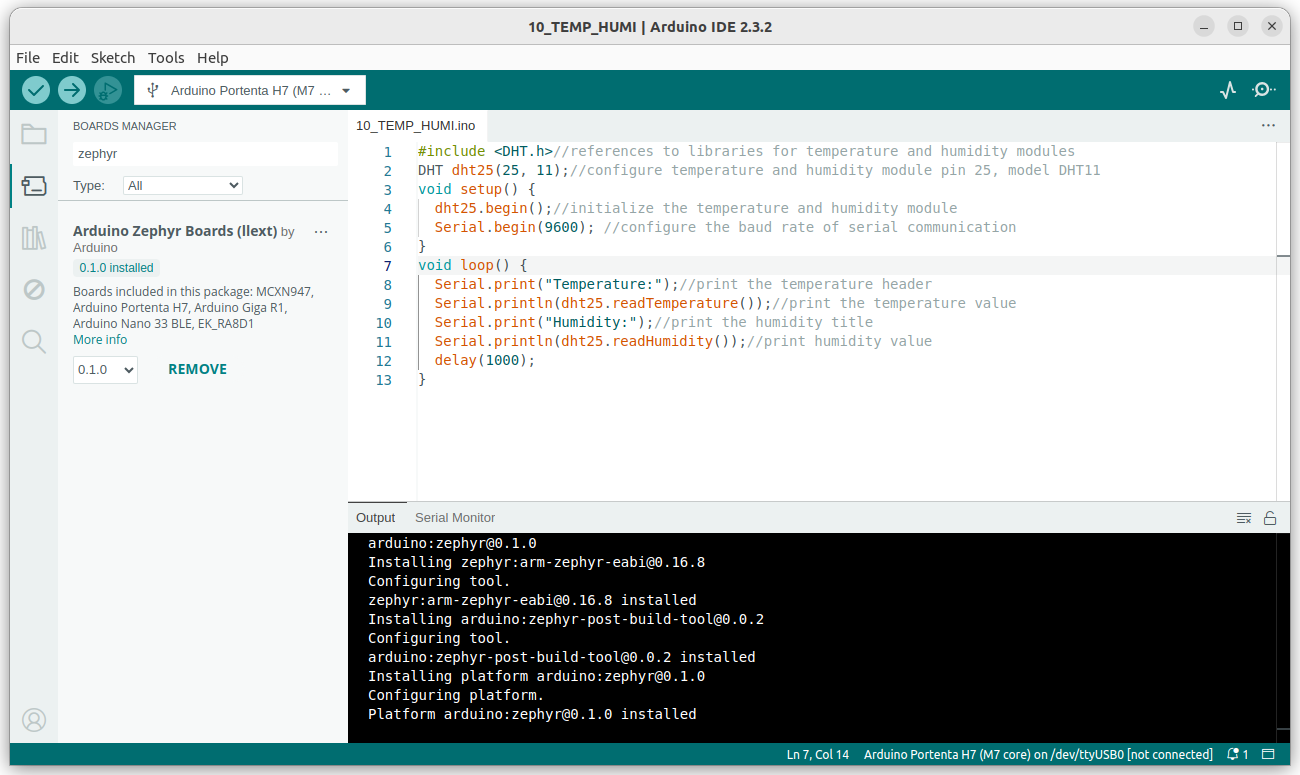
Last July, Arduino announced plans to switch from the soon-to-be deprecated Arm Mbed to Zephyr RTOS, and the company has now outed the first beta release of “Arduino Core for Zephyr OS” for a range of boards. From the user’s perspective, this should not change anything. However, there are massive changes under the hood and Arduino sketches are built and executed differently with the Arduino Core for Zephyr. Some highlights of the new Zephyr-based Arduino core implementation include: Dynamic sketch loading – Sketches are compiled as ELF files and dynamically loaded by a precompiled Zephyr-based firmware. Zephyr subsystems support threading, inter-process communication, and real-time scheduling. Fast compiling and smaller binaries since a thin layer of user code and libraries are compiled, while the rest of the ZephyrOS is already binary. You can get started straightaway with the code and instructions on GitHub. You’ll need Arduino 2.x.x for this to work. […]
Getting Started with Raspberry Pi AI HAT+ (26 TOPS) and Raspberry Pi AI camera
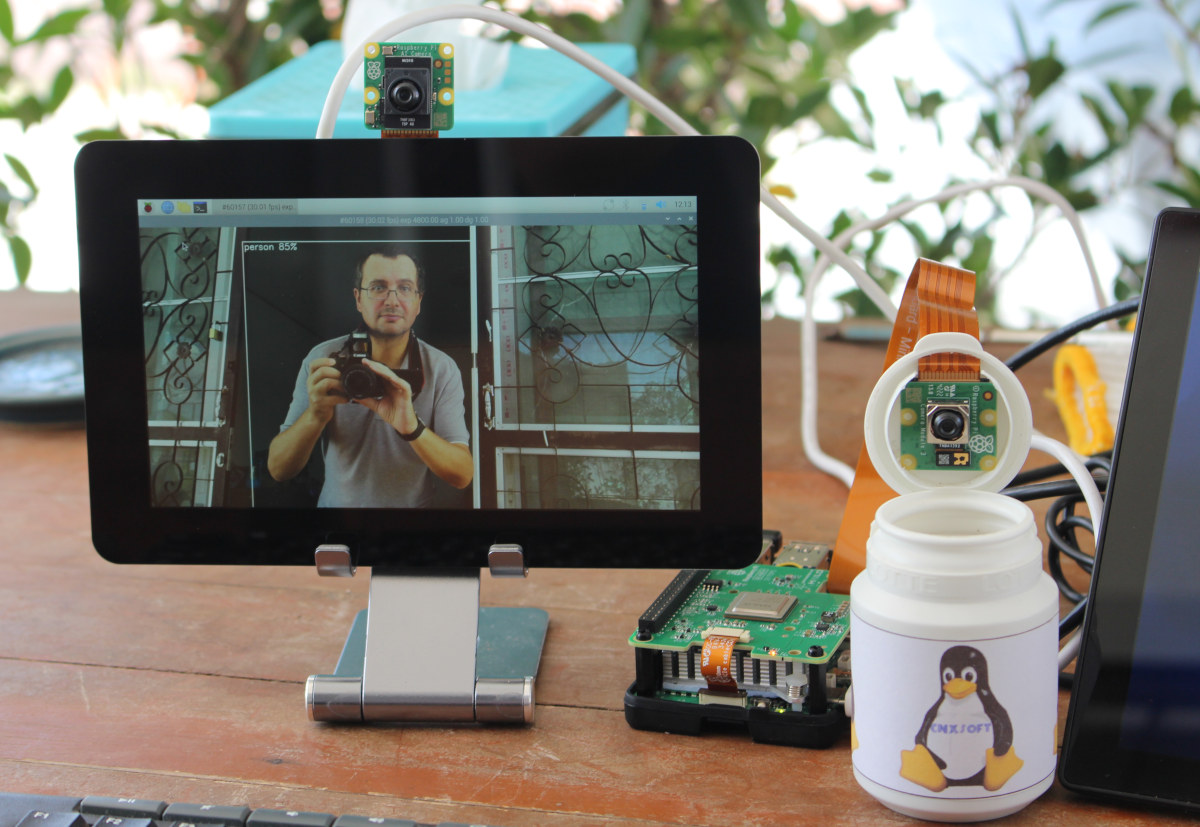
Raspberry Pi recently launched several AI products including the Raspberry Pi AI HAT+ for the Pi 5 with 13 TOPS or 26 TOPS of performance and the less powerful Raspberry Pi AI camera suitable for all Raspberry Pi SBC with a MIPI CSI connector. The company sent me samples of the AI HAT+ (26 TOPS) and the AI camera for review, as well as other accessories such as the Raspberry Pi Touch Display 2 and Raspberry Pi Bumper, so I’ll report my experience getting started mostly following the documentation for the AI HAT+ and AI camera. Hardware used for testing In this tutorial/review, I’ll use a Raspberry Pi 5 with the AI HAT+ and a Raspberry Pi Camera Module 3, while I’ll connect the AI camera to a Raspberry Pi 4. I also plan to use one of the boards with the new Touch Display 2. Let’s go through a […]
Mitigating a DoS attack with GoAccess and Cloudflare
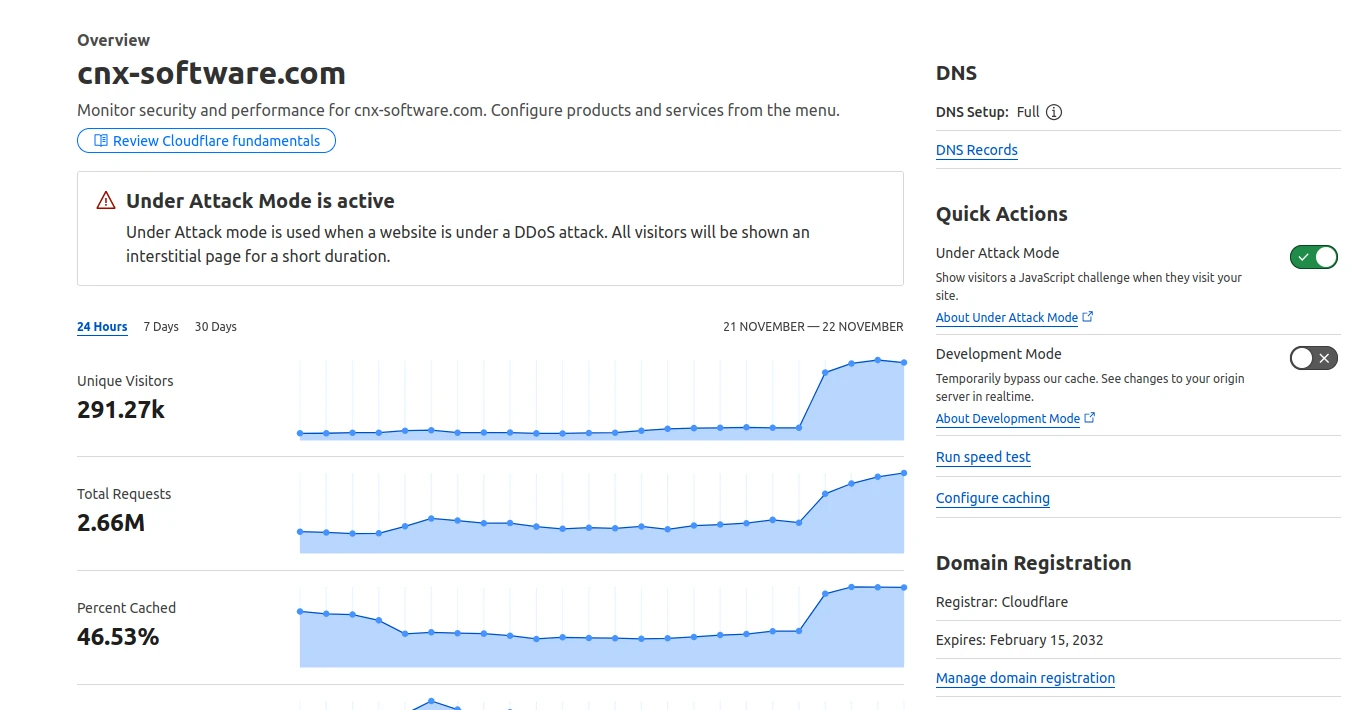
In this off-topic post, I’m going to discuss some behind-the-scenes “fun” that may happen when managing the web server used to host the CNX Software website. From time to time, the server becomes unreachable, but I can still access its console, and notice a very high CPU load (over 100) on a VPS with four cores, while the CPU load is typically 0.5 to 2 under normal circumstances. That’s usually due to a DoS (denial of service), DDoS (distributed denial of service), or some bug I can’t identify. An easy way to solve this issue is to log in to Cloudflare and set the “Under Attack Mode” to on. It will show all visitors a JavaScript challenge the first time they visit the website, and the CPU usage typically drops back to normal level within a minute or so. That means I can access my website and so do regular […]
Arduino CLI 1.0 released – Let’s try it with the Raspberry Pi Pico 2
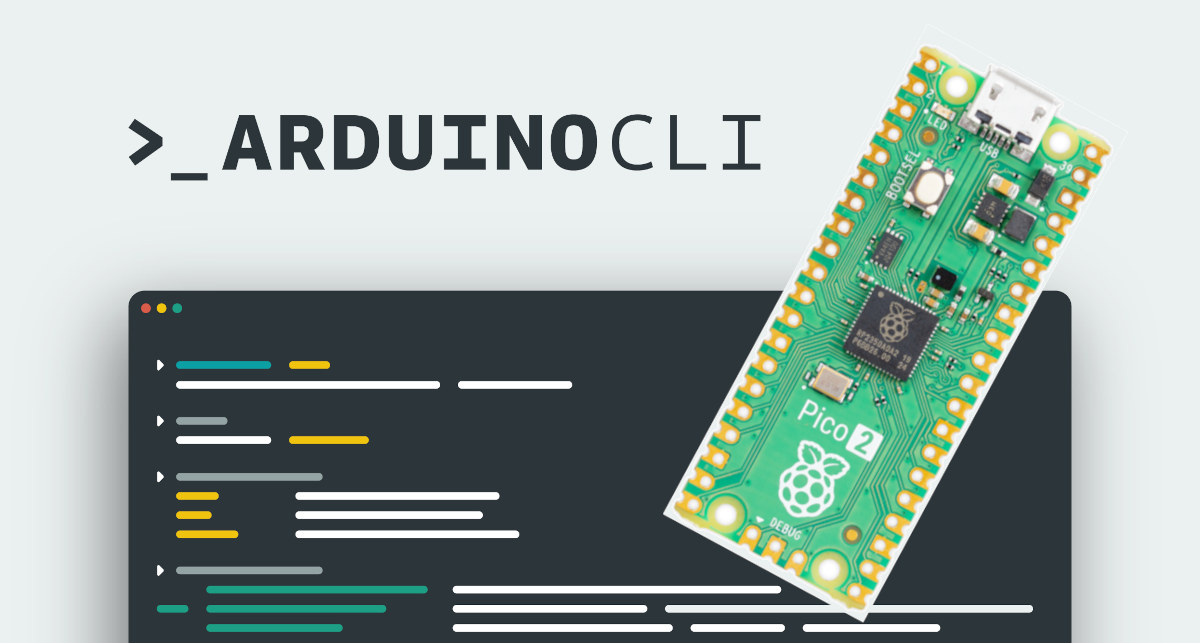
Arduino has just announced the release of the Arduino CLI version 1.0.0, the first stable release for which users and developers can be confident the software API won’t change over time, or at least with minimal changes that will not impact the workflow of applications based on it. We first looked at the Arduino CLI when it was still at the alpha stage way back in 2018. Arduino CLI version 1.0.0 was actually quietly released about two months ago, but Arduino only announced it now and the utility is now at version 1.0.4 with several bug fixes. Arduino CLI 1.0 release The goal of the API is to easily program the boards from the command line without having to use the Arduino IDE, and the CLI can be integrated into your own script to automatize various processes. Arduino explains there are three ways to integrate and utilize the capabilities of […]
How to recover a “bricked” Raspberry Pi Pico 2 or other RP2350 board
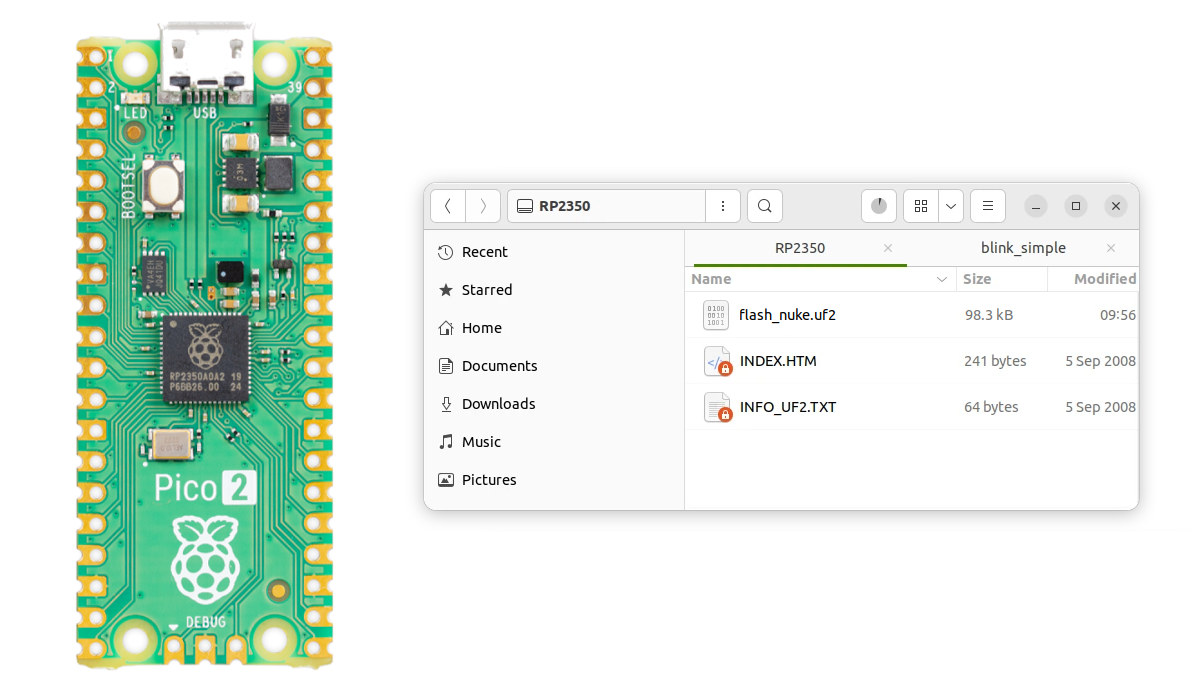
In theory, it’s close to impossible to brick your Raspberry Pi Pico 2 or other RP2350 boards because the bootrom code (source code) is stored in the 32KB ROM of the microcontroller and is by definition “read-only memory”. But I managed to “brick” my Raspberry Pi Pico 2 the other day, and even a blinky sample would not run on the board. So I’ll explain a simple method to recover/perform a factory reset of sorts. First, let me explain what happened. My board became unusable after I ran the following command while building RISC-V Linux for RP2035 and my Pico 2 was connected to the build machine:
|
1 |
make flash-kernel |
At some point, it will copy a UF2 firmware binary designed for boards with PSRAM which the Raspberry Pi Pico 2 lacks:
|
1 |
cp build/psram-bootloader.uf2 "/media/jaufranc/RP2350"/ |
After that, I could still see the Raspberry Pi Pico 2 board as an “RP2350” drive on my computer, […]
Using RISC-V cores on the Raspberry Pi Pico 2 board and RP2350 MCU – From blinking an LED to building Linux
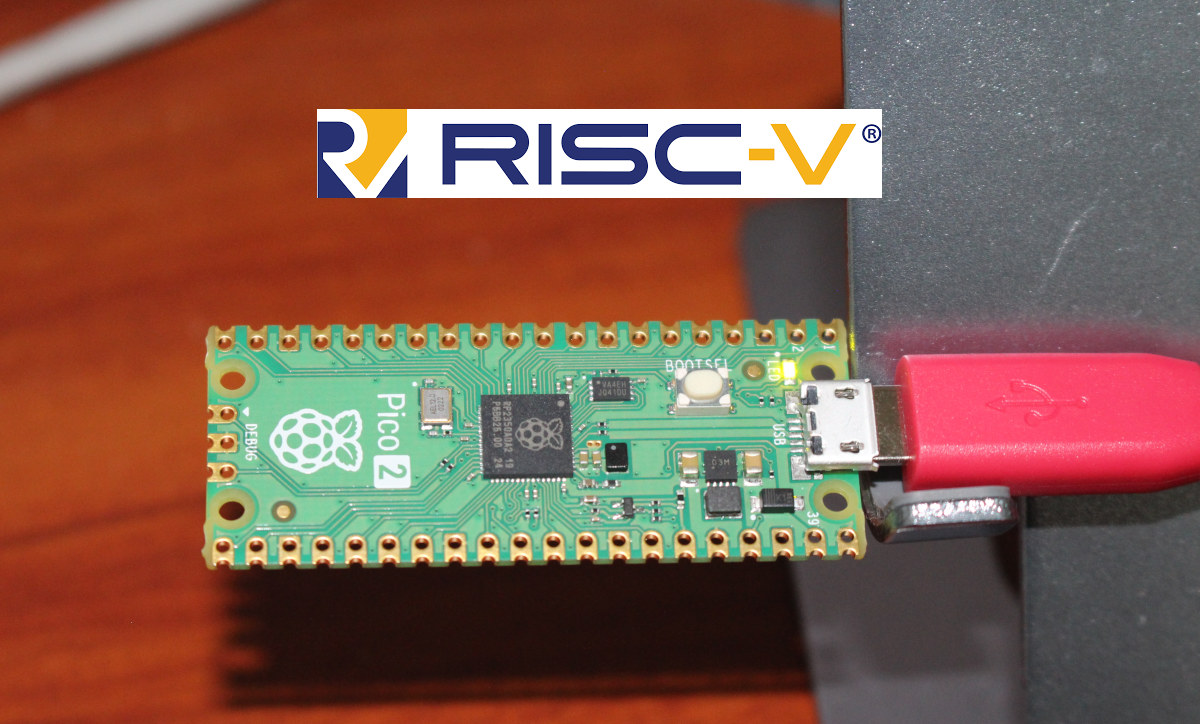
Raspberry Pi Pico 2 was released last month with a Raspberry Pi RP2350 microcontroller equipped with two Arm Cortex-M33 cores and two 32-bit RISC-V “Hazard3” cores with up to two cores usable at any time. So in this guide, we’ll show how to use the RISC-V cores on the RP2350 MCU, compare their performance against the Arm Cortex-M33 cores, and even build Linux for RISC-V for RP2350 boards that have PSRAM. Apart from the extra memory and more powerful cores, plus new features related to security and the HSTX interface, the Raspberry Pi Pico 2 and Pico will be very similar to the end user and the instructions in our article “Getting Started with Raspberry Pi Pico using MicroPython and C” remain valid. I don’t think there’s a MicroPython RISC-V image yet, so we’ll focus on running C programs on the RISC-V cores. A quick check with the Arm cores […]
Radxa ROCK 5 ITX RK3588 mini-ITX motherboard review – Building an Arm PC and NAS with Debian KDE
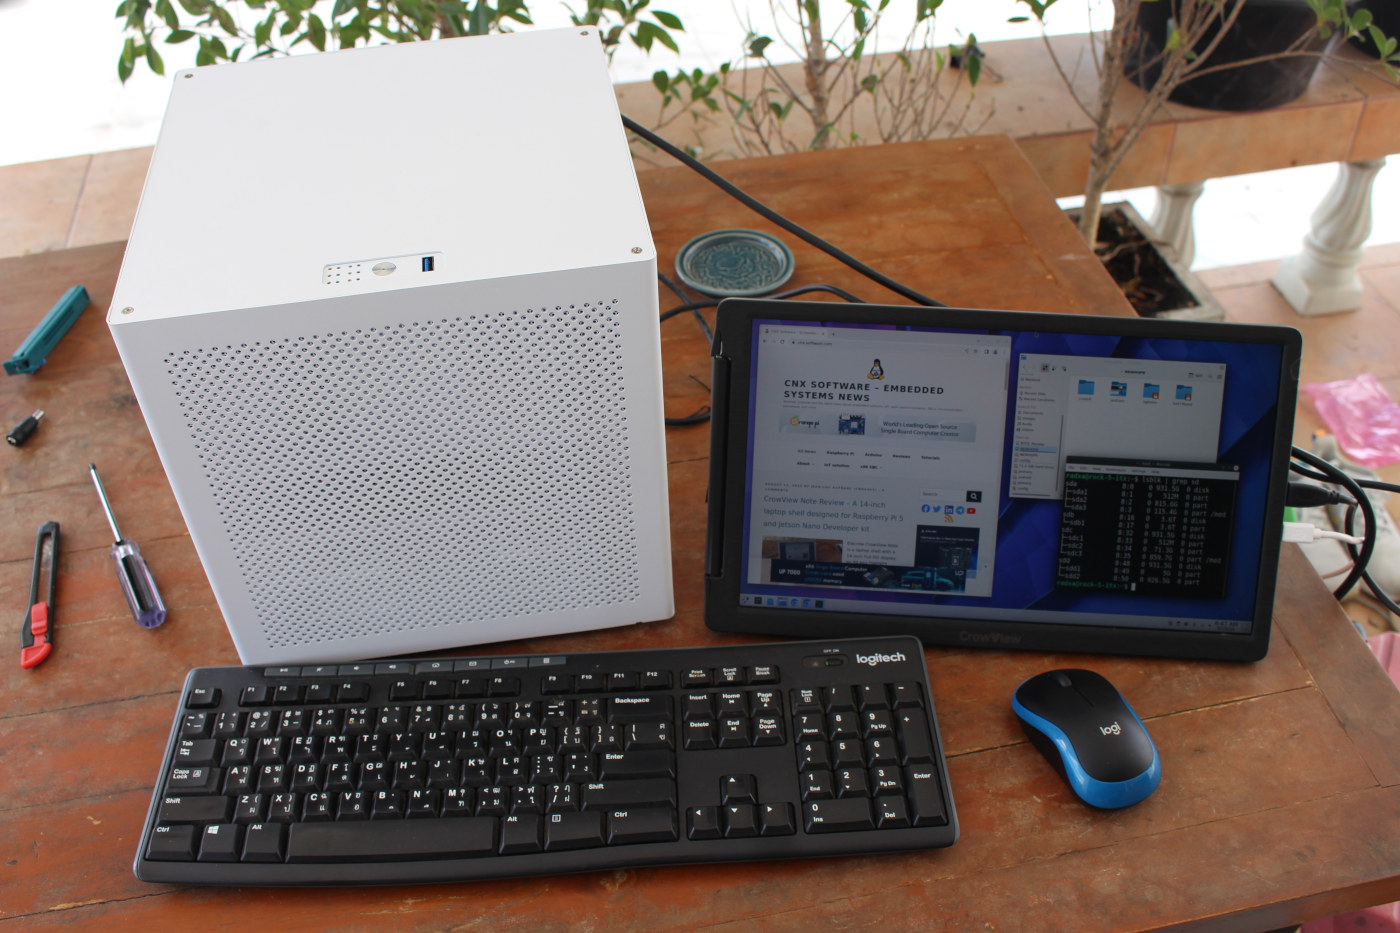
In this review, I’ll show how I installed Debian on the ROCK 5 ITX mini-ITX motherboard powered by a Rockchip RK3588 octa-core Arm Cortex-A76/A55 processor, before building a computer/NAS with the Arm mini-ITX motherboard, testing various features and running benchmarks. In the first part of the review, we checked out the Radxa ROCK 5 ITX (Arm) and Jupiter (RISC-V) mini-ITX motherboards with specifications and unboxing, and the Auriga 6-Bay NAS mini-ITX chassis used in this review. I already built the computer with the Jupiter RISC-V mini-ITX motherboard, so here I simply switched the RISC-V motherboard with the Radxa ROCK 5 ITX Arm motherboard and installed a few SATA drives. Radxa ROCK 5 ITX first boot – A tricky start… Radxa provides getting started instructions on the documentation website which I mostly follow to hopefully boot within a few minutes. I had to prepare the hardware first. So I installed a […]
A closer look at Raspberry Pi RP2350’s HSTX high-speed serial transmit interface
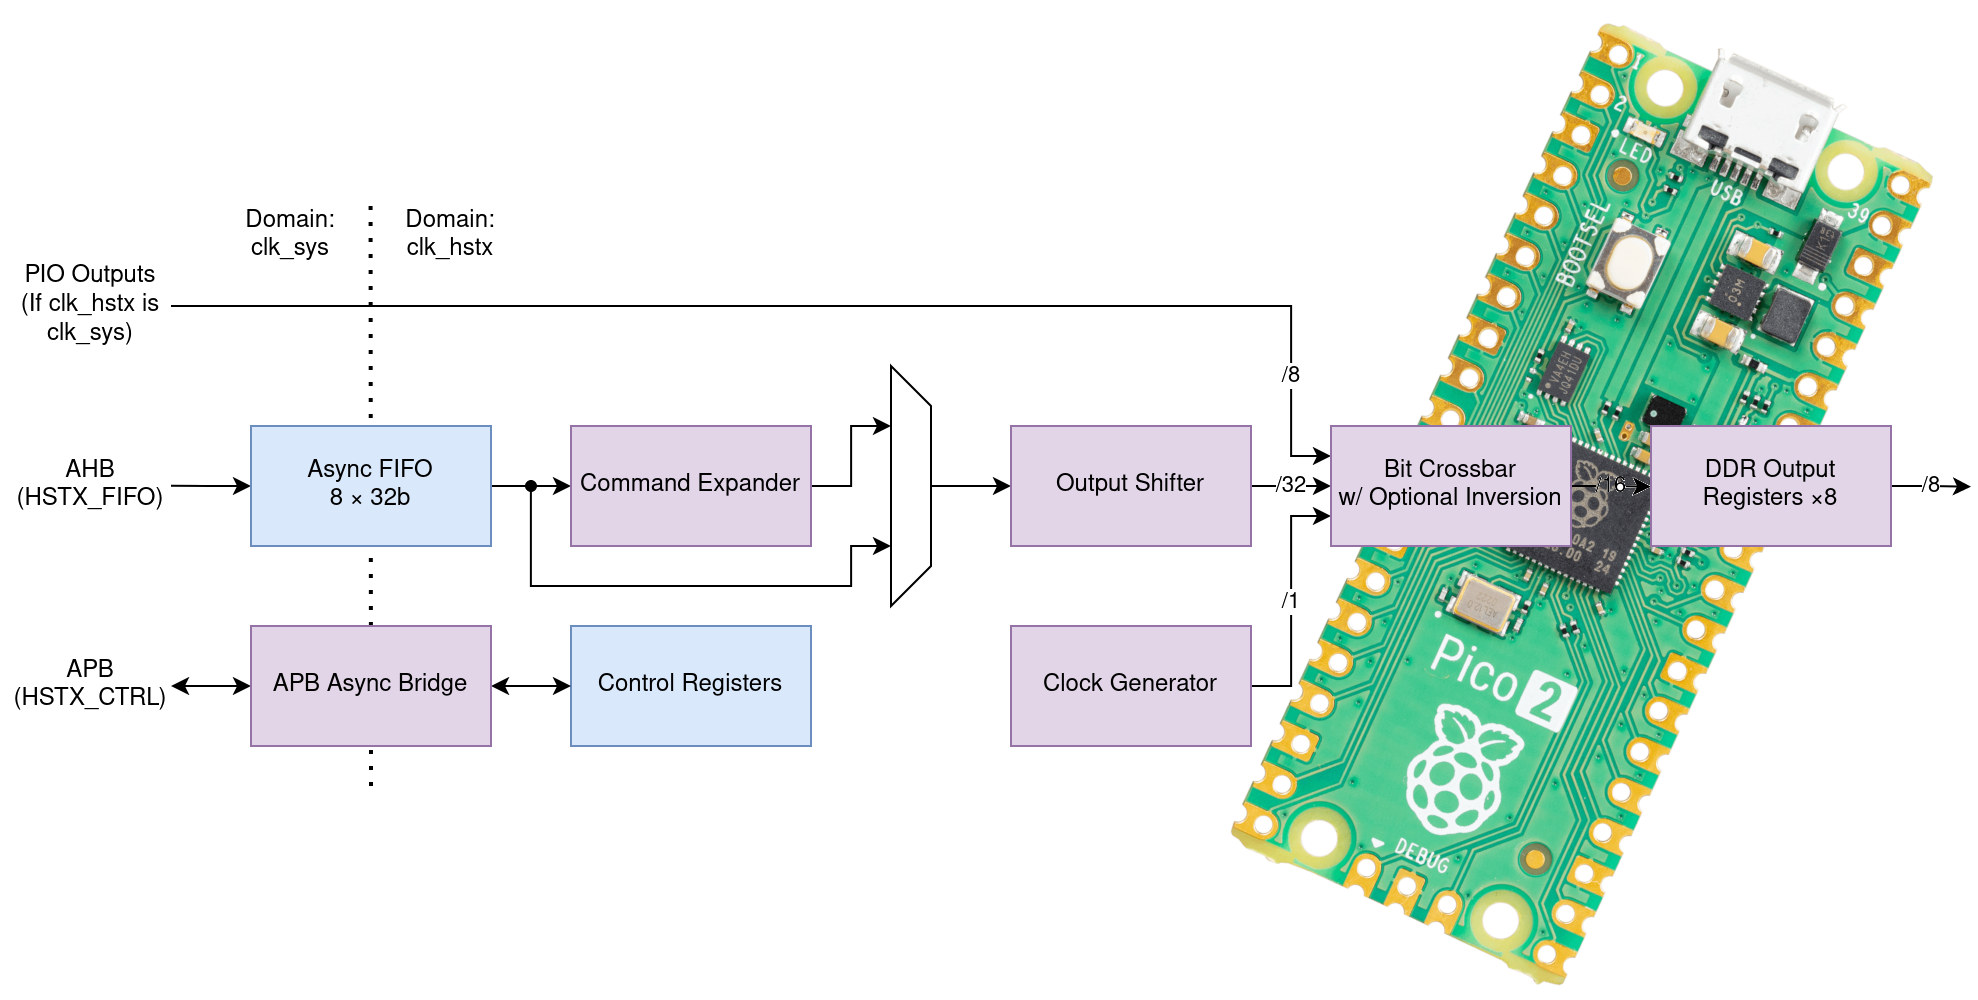
The Raspberry Pi RP2350 microcontroller adds an HSTX (High-Speed Serial Transmit) interface adding the PIOs (Programmable IOs) introduced on the Raspberry Pi RP2040 three years ago. The RP2350 MCU now has three PIOs and one HSTX interface going over 8x GPIOs. So let’s try to better understand what HSTX is exactly, what it is used for, and how it differs from PIOs. We’ll also check out some programming examples in C and MicroPython. The high-speed serial transmit (HSTX) interface is detailed in the RP2350 datasheet starting on page 1118 where it reads “The high-speed serial transmit (HSTX) interface streams data from the system clock domain to up to 8 GPIOs at a rate independent of the system clock”. Reading further, we also learn that it runs at 150 MHz enabling up to 300 Mbps per pin with DDR output operation, or a combined 2,400 Mbps over 8 pins if I […]


