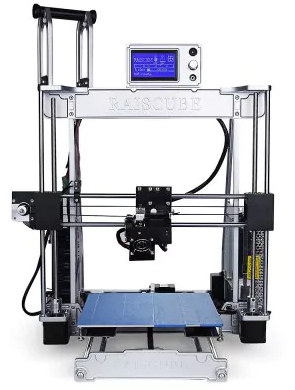
Hello Karl here with a look at the Raiscube A8R. If you recall I reviewed the R2 3D printer quite a while ago. I really liked the R2, so when I heard that this newer version came out I reached out to Raiscube directly and asked for a review sample. Raiscube kindly obliged, and I am so glad that they did. The A8R is the upgraded version to the R2. The most prominent differences is the acrylic frame is gone, being replaced with an aluminum frame, and the build time is slashed considerably.
- Build Volume: 210 x 210 x 225mm
- Material diameter: 1.75mm
- Direct Drive Extruder
- Dual Z
- 12V/25A power supply
- Up to 95°C on the bed
- Up to 250°C on the nozzle
- Ramps Plus2 Board v1.8.26
Educational Opportunity
This review has been in the works since last November. I liked it a lot so wanted to put it through its paces and put a lot of hours on it. This kit is not like other kits on the market. It is not quite as easy as Creality CR-10 or JGAurora A5 with its 30min build time, and is more of a true kit with a twist. I have been wanting to host a workshop for kids at the local library around 3D printing, and this kit was perfect for that. I ended up doing 2. The first Saturday session we built the machine which took all the time we had allotted, about 2.5 hours, then we had another Saturday session where we designed a simple shark and printed it.
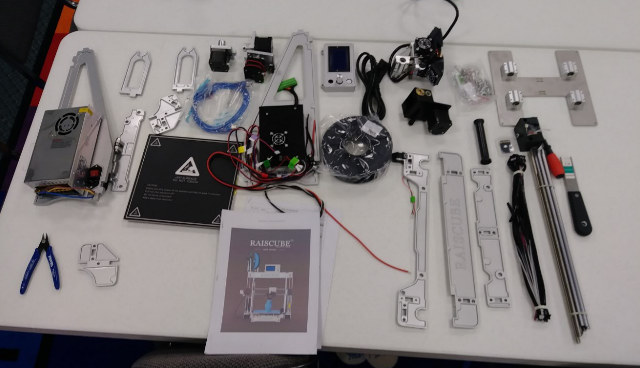
The Build
The build went as smooth as it could have went. I was working with children with an average age of 10 years old, and they all took turns. We split the build by page. When a page was complete we moved to the next child. Documentation was really good, and was already printed. I let them do all the work and I supervised. I could not take pictures of the process due to wanting to respect the kids and parents privacy. I am positive that I could have built in a shorter amount of time but wanted to let them do the entire process. I had a lot of fun and I hope they did too.
Slight modifications
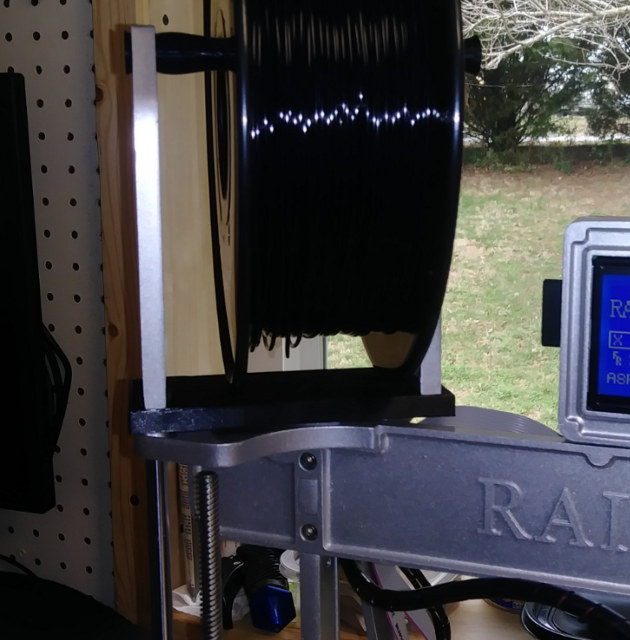
First thing I noticed was that the spool holder was not wide enough for a standard spool, so I created a simple adapter to increase the width.
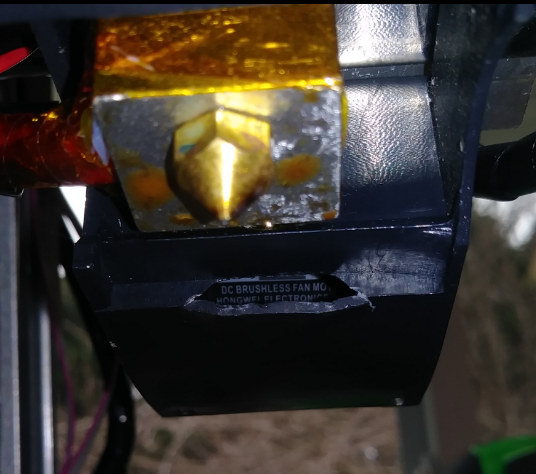
The A8R had the exact opposite problem as the R2. The holes for the parts cooling were slightly too small. To fix I took a wide flat screwdriver and pried open to increase the airflow.
My bed was slightly irregular so I clipped on a mirror as a print surface. The bed comes with a peel and stick build surface. If I would have known that, I would have tried the build surface on top of the mirror. I like printing on mirrors anyway.
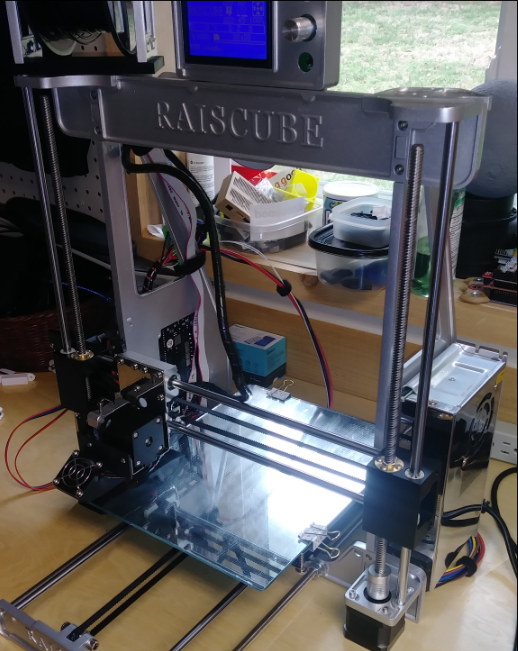
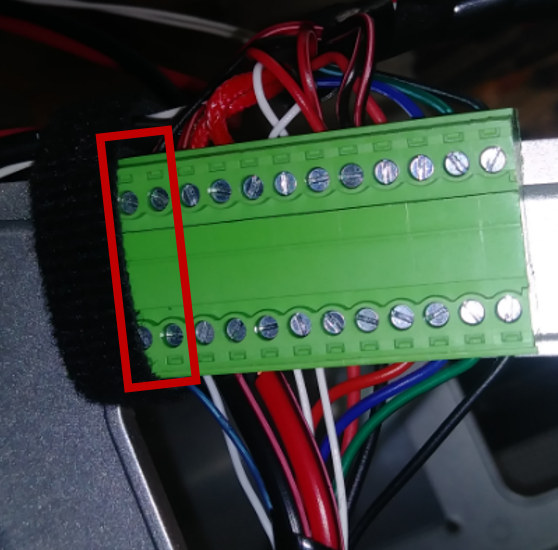
Finally, I don’t know why they did this, but the fan that cools the parts and the fan that cools the extruder are tied together. With PLA this is fine. Typically you don’t run the fans to cool the parts on the first layer, and the extruder will never have a chance to get too hot with PLA. But if you plan on printing with ABS, parts cooling needs to be off the entire time, and the extruder could potentially get too hot. I fixed this with about 150mm of wire and connected the fan directly to 12v so it is on all the time.
I found the wires on the block that were going to the extruder fan and put them on there own pins and run an always on 12 v to the block to fix. Boggles the mind.
Optional upgrade
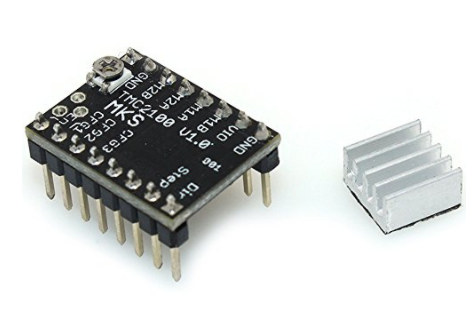
I found the printer loud. I think it is due to being an all metal frame on my hard workbench. So I upgraded the stepper drivers to TMC2100 drivers. Thankfully they are replaceable. Now the printer is one of the quietest printers I have. I took some measurements with my phone to give you an idea. This is by no means an accurate measurement, but just a point of reference.
- 13db silent room
- 28db idle printer
- 60db print with stock steppers
- 40db print with TMC2100
I was told these were not good drivers but they are working for me, and I am having good luck with them. I only replaced the X and Y stepper drivers. Very easy to do. I pulled my old ones out watching the orientation and matched orientation of the new ones. The existing drivers were set at .8v and after trial and error the new ones work without skipping at 1.3 volts. When upgrading to TMC drivers the direction of the stepper motors reverse so I had to flip the X and Y pins on one end of each cable. 1 to 4 and 2 to 3
Testing
The bed heats up with some respectable times.
- 50°C 1:48
- 60°C 2:45
- 70°C 3:52
- 80°C 5:12
- 90°C 6:52
- 95°C 7:50
Final Words
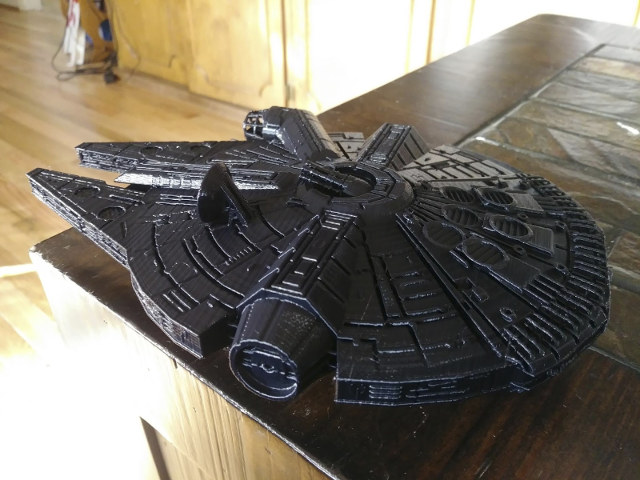
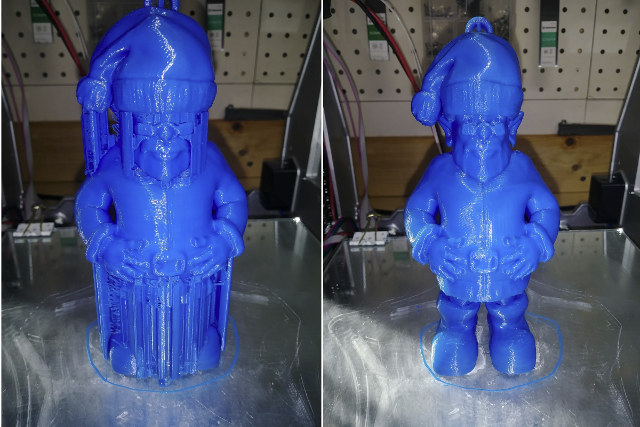
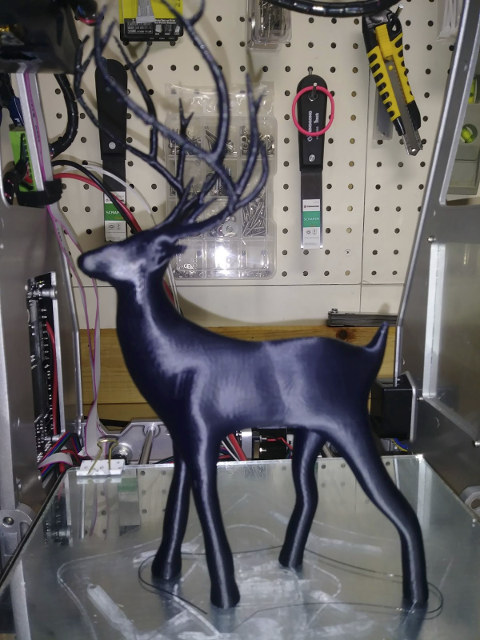
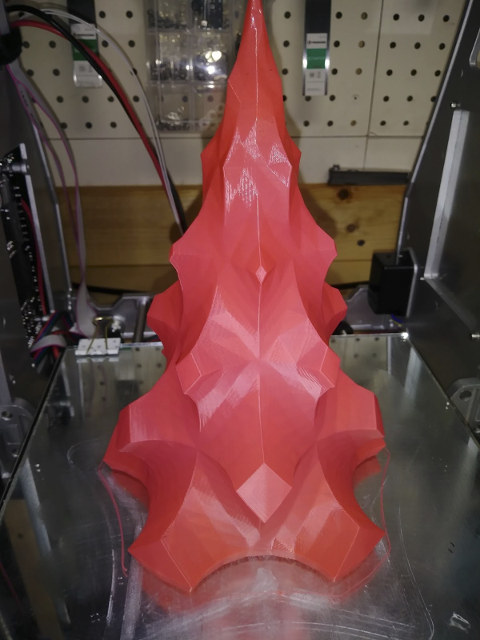
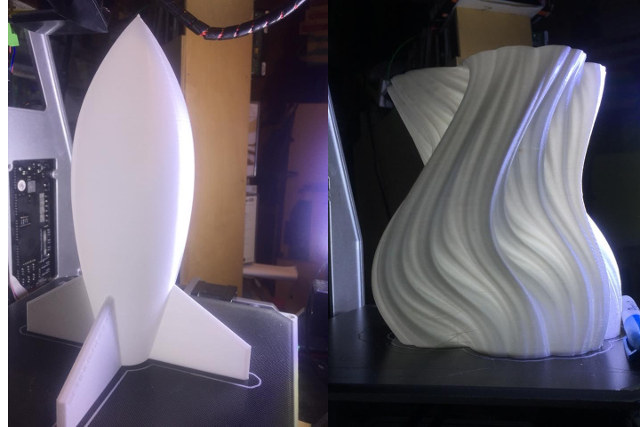
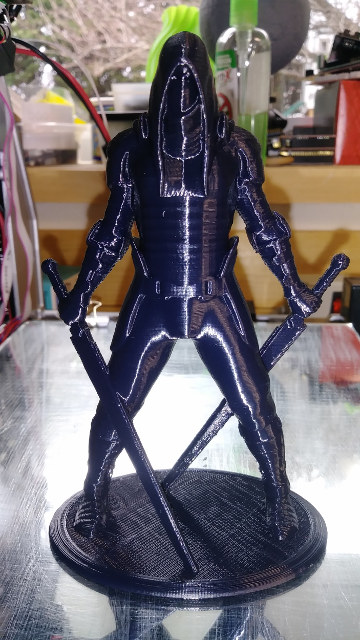
I feel very fortunate to have a second printer now that I would recommend highly. Despite the few flaws that were easy to fix, I do like this printer a lot. The prints are amazing. Once settings are dialed in layer lines disappear. I think it produces the best quality prints that I have printed to date. Better than the Creality CR-10 and JGAurura A5. I think that it is partially due to being a smaller printer. Most everything that I print fit on this printer. I wish I was able to put it up against an original Prusa printer. I think it would give it a run for the money. I would like to thank Raiscube for sending this printer for review. It can be found on Amazon ($319.99), and GearBest ($329.99) but it looks like Amazon has a slightly revised version that fixes at least the one issue with the filament holder. You can find the printers on Ebay for $270 which is a great deal for what you get. I have an email into Raiscube asking if they addressed the blower or fan hole issue and will reply back in the comments once I hear back.
[Update: After sending my last correspondence to Raiscube I believe they may have went out of business. I received a notice about domain issue and the Facebook group is closed.]
Karl is a technology enthusiast that contributes reviews of TV boxes, 3D printers, and other gadgets for makers.
Support CNX Software! Donate via cryptocurrencies, become a Patron on Patreon, or purchase goods on Amazon or Aliexpress




I decided to look for this just to see what I could find. Something called raiscube user group (or similar) wordpress site was shut down, and “selected” content moved to another 3d printing blog.
I wonder if there is someone still churning out the stuff for these channels, or if they are running out inventory.
Also the google search turns up gobs of sucker sites when looking for information, so that is a future problem for any buyers.
I didn’t follow it, but Gearbest had a download of drivers, which is nice. I hope the other vendors listing them have cached downloads, though the fact this is a dead product WRT development by the vendor makes it an avoid at all costs for me.
Thanks for the info though, the mirror suggestion is a very good one. Curious how you do ABS as I though you had to heat the surface. Are you heating from the bottom of the mirror? It would certainly be a novel idea.
thanks
Printing on glass with abs works. Just need a lot of glue and a brim to keep it stuck. I would also put in an enclosure. I rarely do abs. I just recently got some petg samples. It is supposed to have characteristics of pla and abs. Easy to print and higher glass transition temperature.
PETG is pretty nice stuff once you got the hang of it, but you cant print it as fast as pla, and it does stink a bit but not as bad as abs
Hi Karl,
I love your review and the upgrades you have made.
I am new to printing and got myself this printer for christmas via gearbest. Buildup worked fine and I got some good prints out of it. Also upgraded to a glassbed, as I found the original bed was not perfectly straight.
I also faced the problem with high friction in the filament spool, causing poor print usually after retracts when moving away from the filament holder. The reel would jam against the frame and create a pull in the filament. I therefore designed an adapter to run the filament spool on ball bearings, reducing the axle play and giving better guidance. This helped a lot but still isnt perfect. Guess I will have to widen the stand as well.
One question: I noticed that the carriage for the extrusion head has a considerable play. This causes the nozzle to lift everytime there is an upward pull from the filament spool. This is now becoming apparent when printing very thin walls (RC plane). Do you have the same issue? Is this normal? Sorry for asking, but as I said, this is my first printer and I thought cant hurt to aks.
Thanks
@Nils
I would work on that filament spool issue. You should reduce the resistance at all cost. It affects the print head like you stated. I have no play on my x carriage. Maybe i should mod this to work with the A8R. https://www.thingiverse.com/thing:2070272
The closer to the center that the rod is the smoother it is.
Hi Karl,
Could you please send me all reviews of all 3D printer and accessories to our email.
I would like to post your reviews on our web site if possible.
Or at least send links to the reviews.
Any or all help with this is greatly appreciated.
– Chris
You’ll find all 3D printing related posts @ https://www.cnx-software.com/tag/3d-printing/
Thank you..!!
Hi Karl, I’m trying to adjust the “machine settings” for the Raiscube A8R in Ultimaker Cura 3.4.1. Can you share a screenshot of your settings?