
Balena launched balenaFin 1.1 at the end of last month. The board is a professional carrier board for Raspberry Pi Compute Module 3 / 3+ Lite that includes support for variable voltage power input, optional PoE, industrial eMMC flash storage, a real-time Arm Cortex-M4 core via Artik-020 module, and more.
Somehow a balenaFin 1.1 developer kit ended up in my home, and I’ll play with it in several weeks, but in the first part of the review, I’ll just check out the content of the package, and show how to assemble the kit.
BalenaFin 1.1 Developer Kit Unboxing
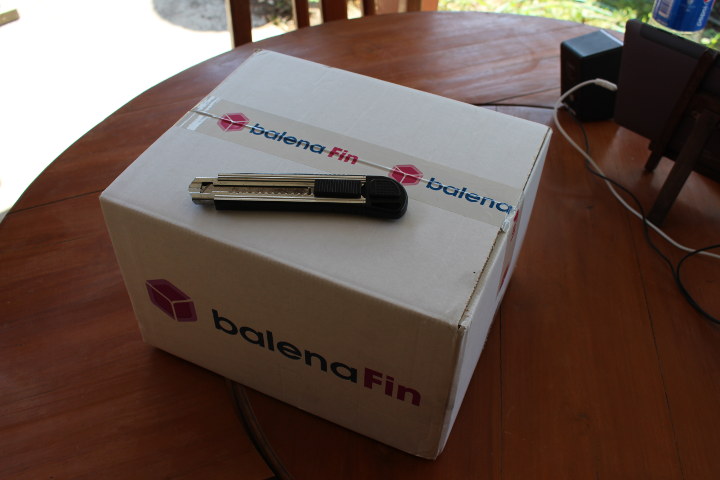
The local courier brought a largish balena Fin package.
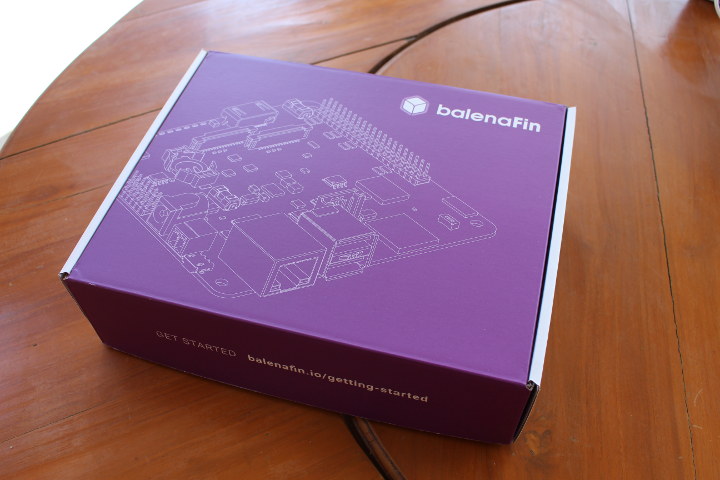
which contained a smaller balenaFin package, and the actual developer kit.
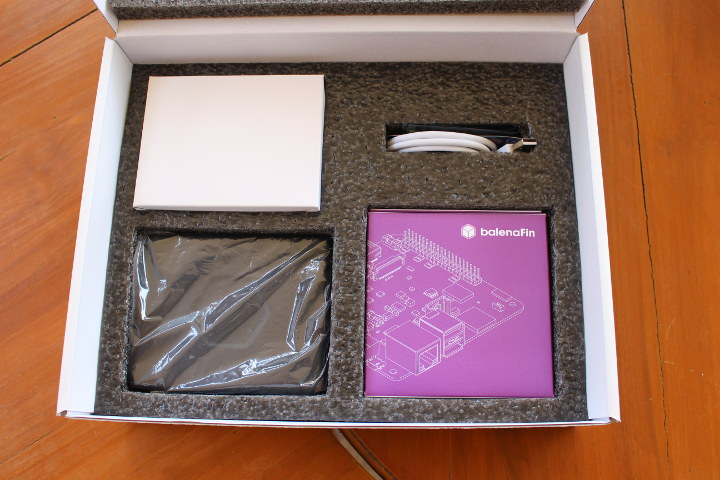
Everything is nicely packaged in the box with the part related to power supply in a white box, a small opening for smaller accessories and Raspberry Pi Compute Module 3, as well as compartments for the enclosure and a package with the actual balenaFin carrier board.
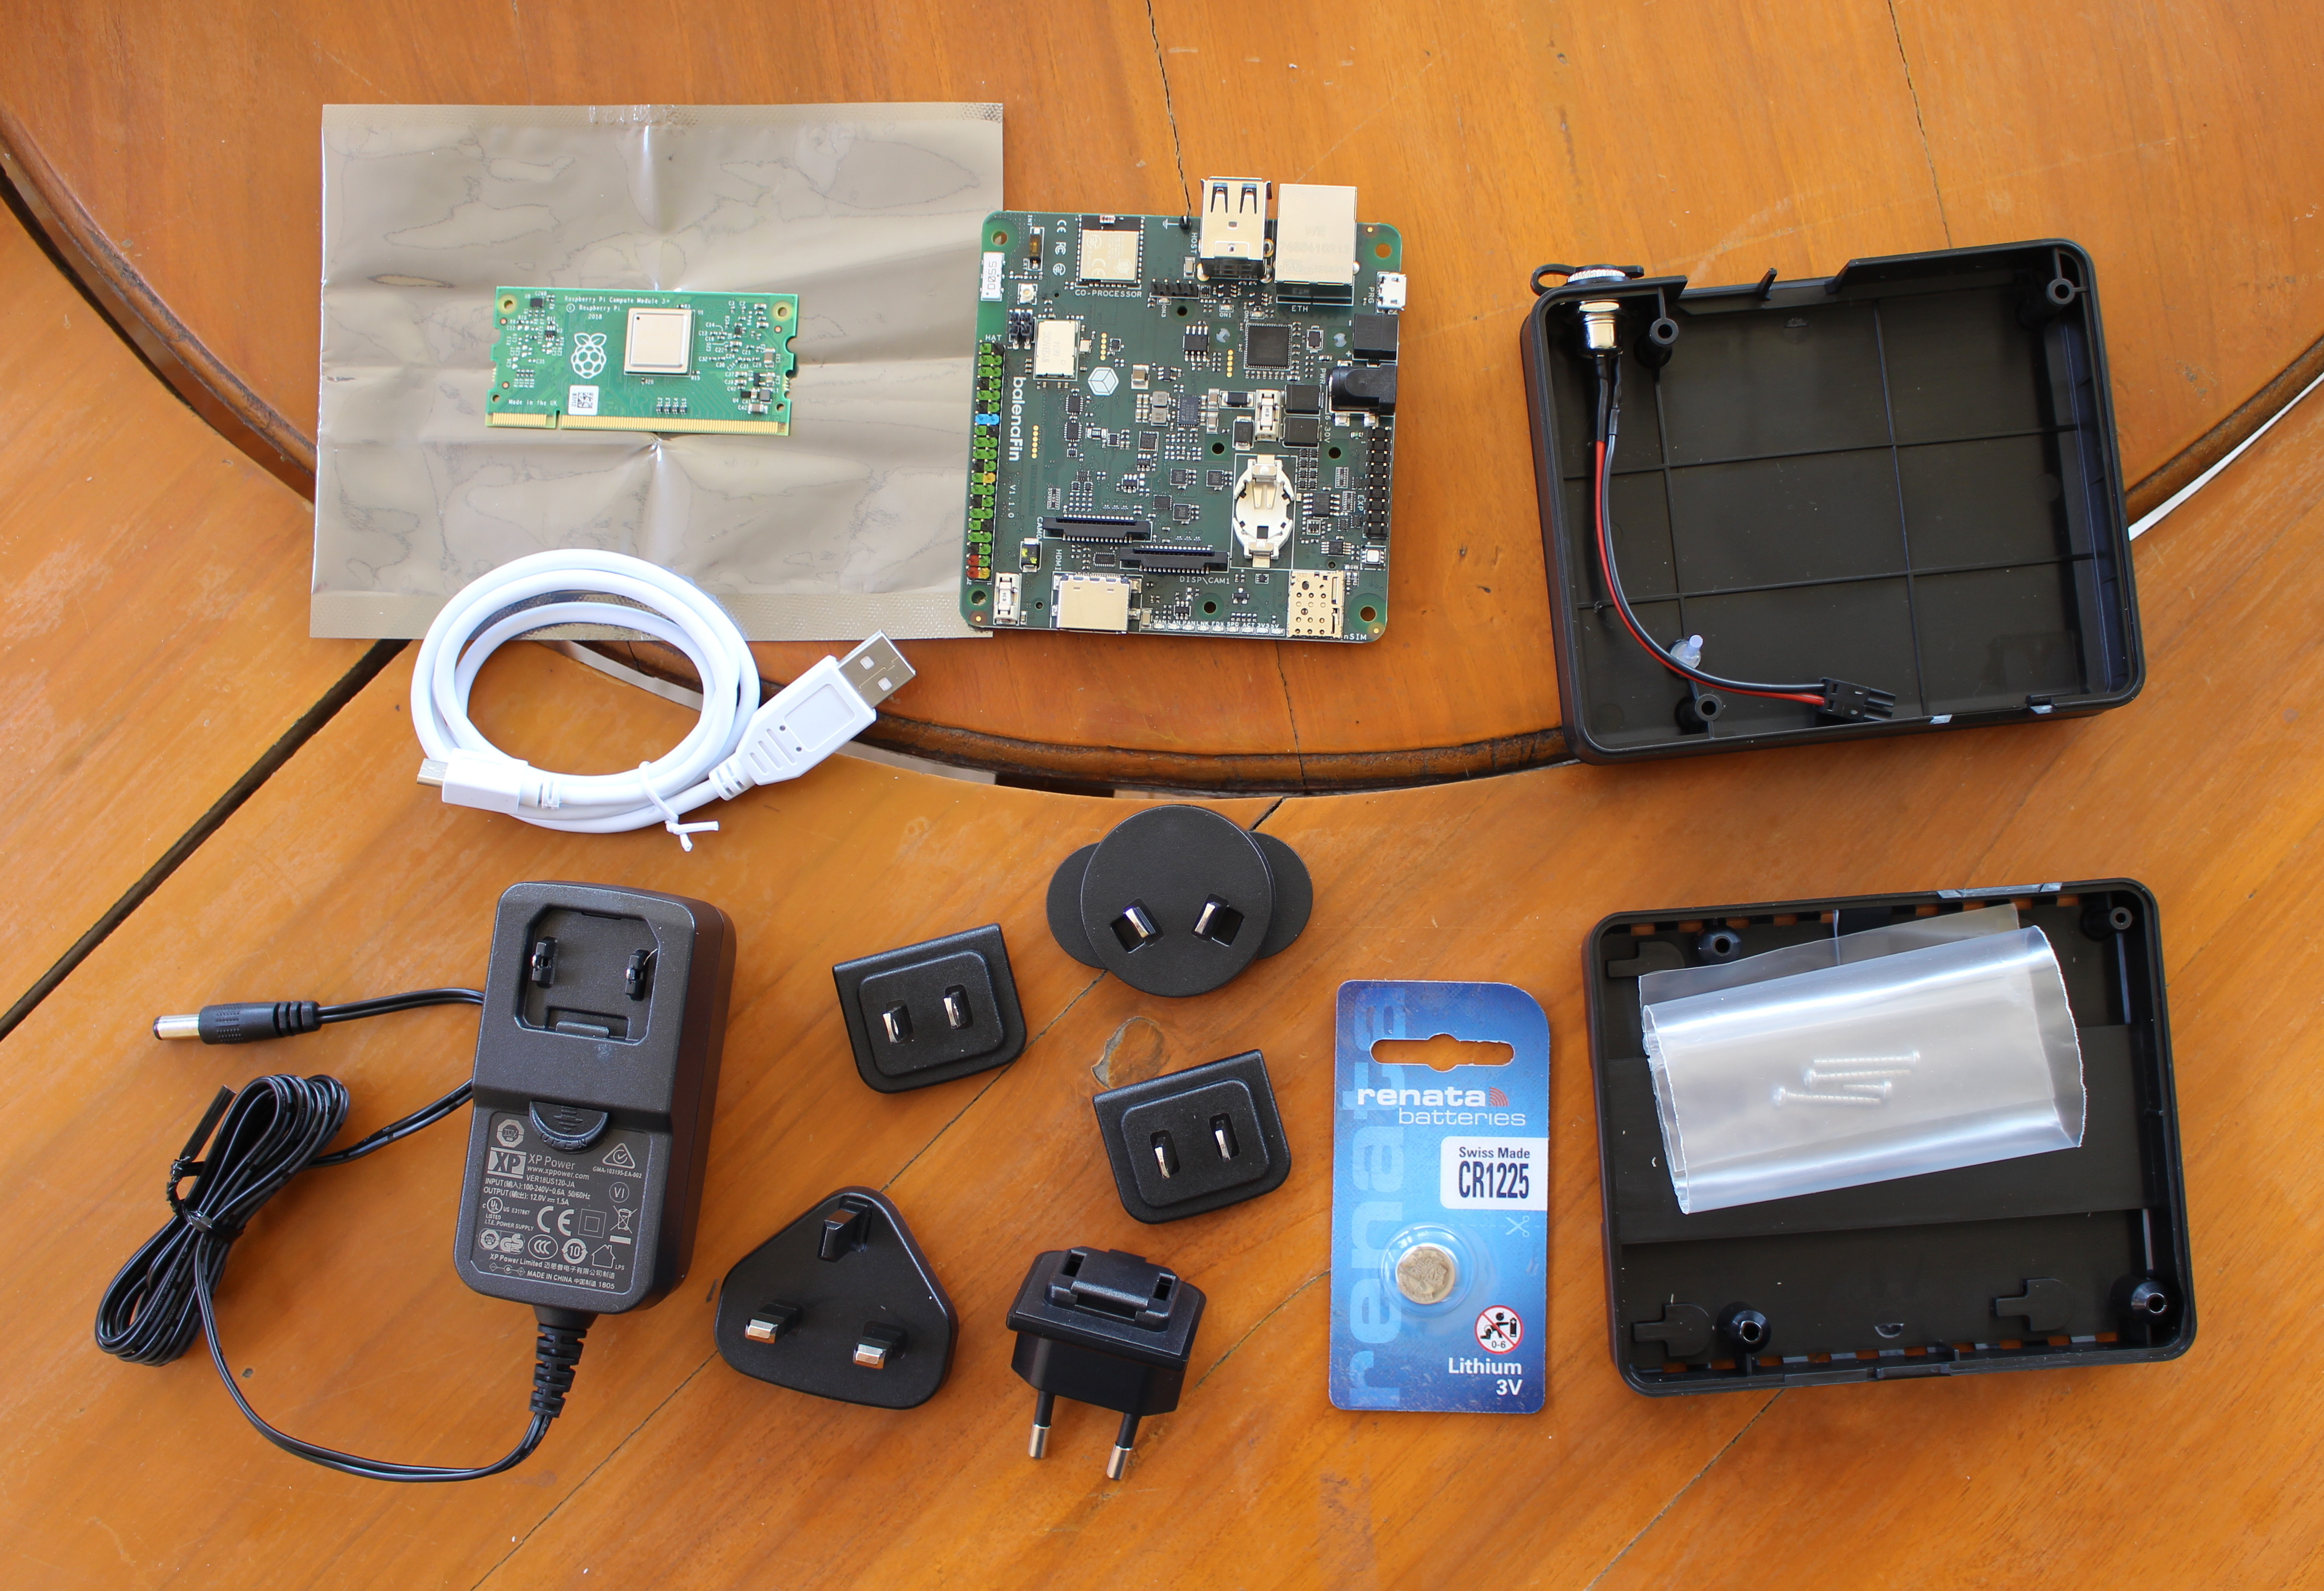
Let’s take all out of the boxes, and from top left to bottom right, we have: a Raspberry Pi Compute Module 3+, balenaFin 1.1 carrier board, the top part of the enclosure, a micro USB to USB cable, a 12V/1.5A power supply with various country plugs, a CR1125 battery for the RTC (Real-time clock), and the bottom part of the case with screws.
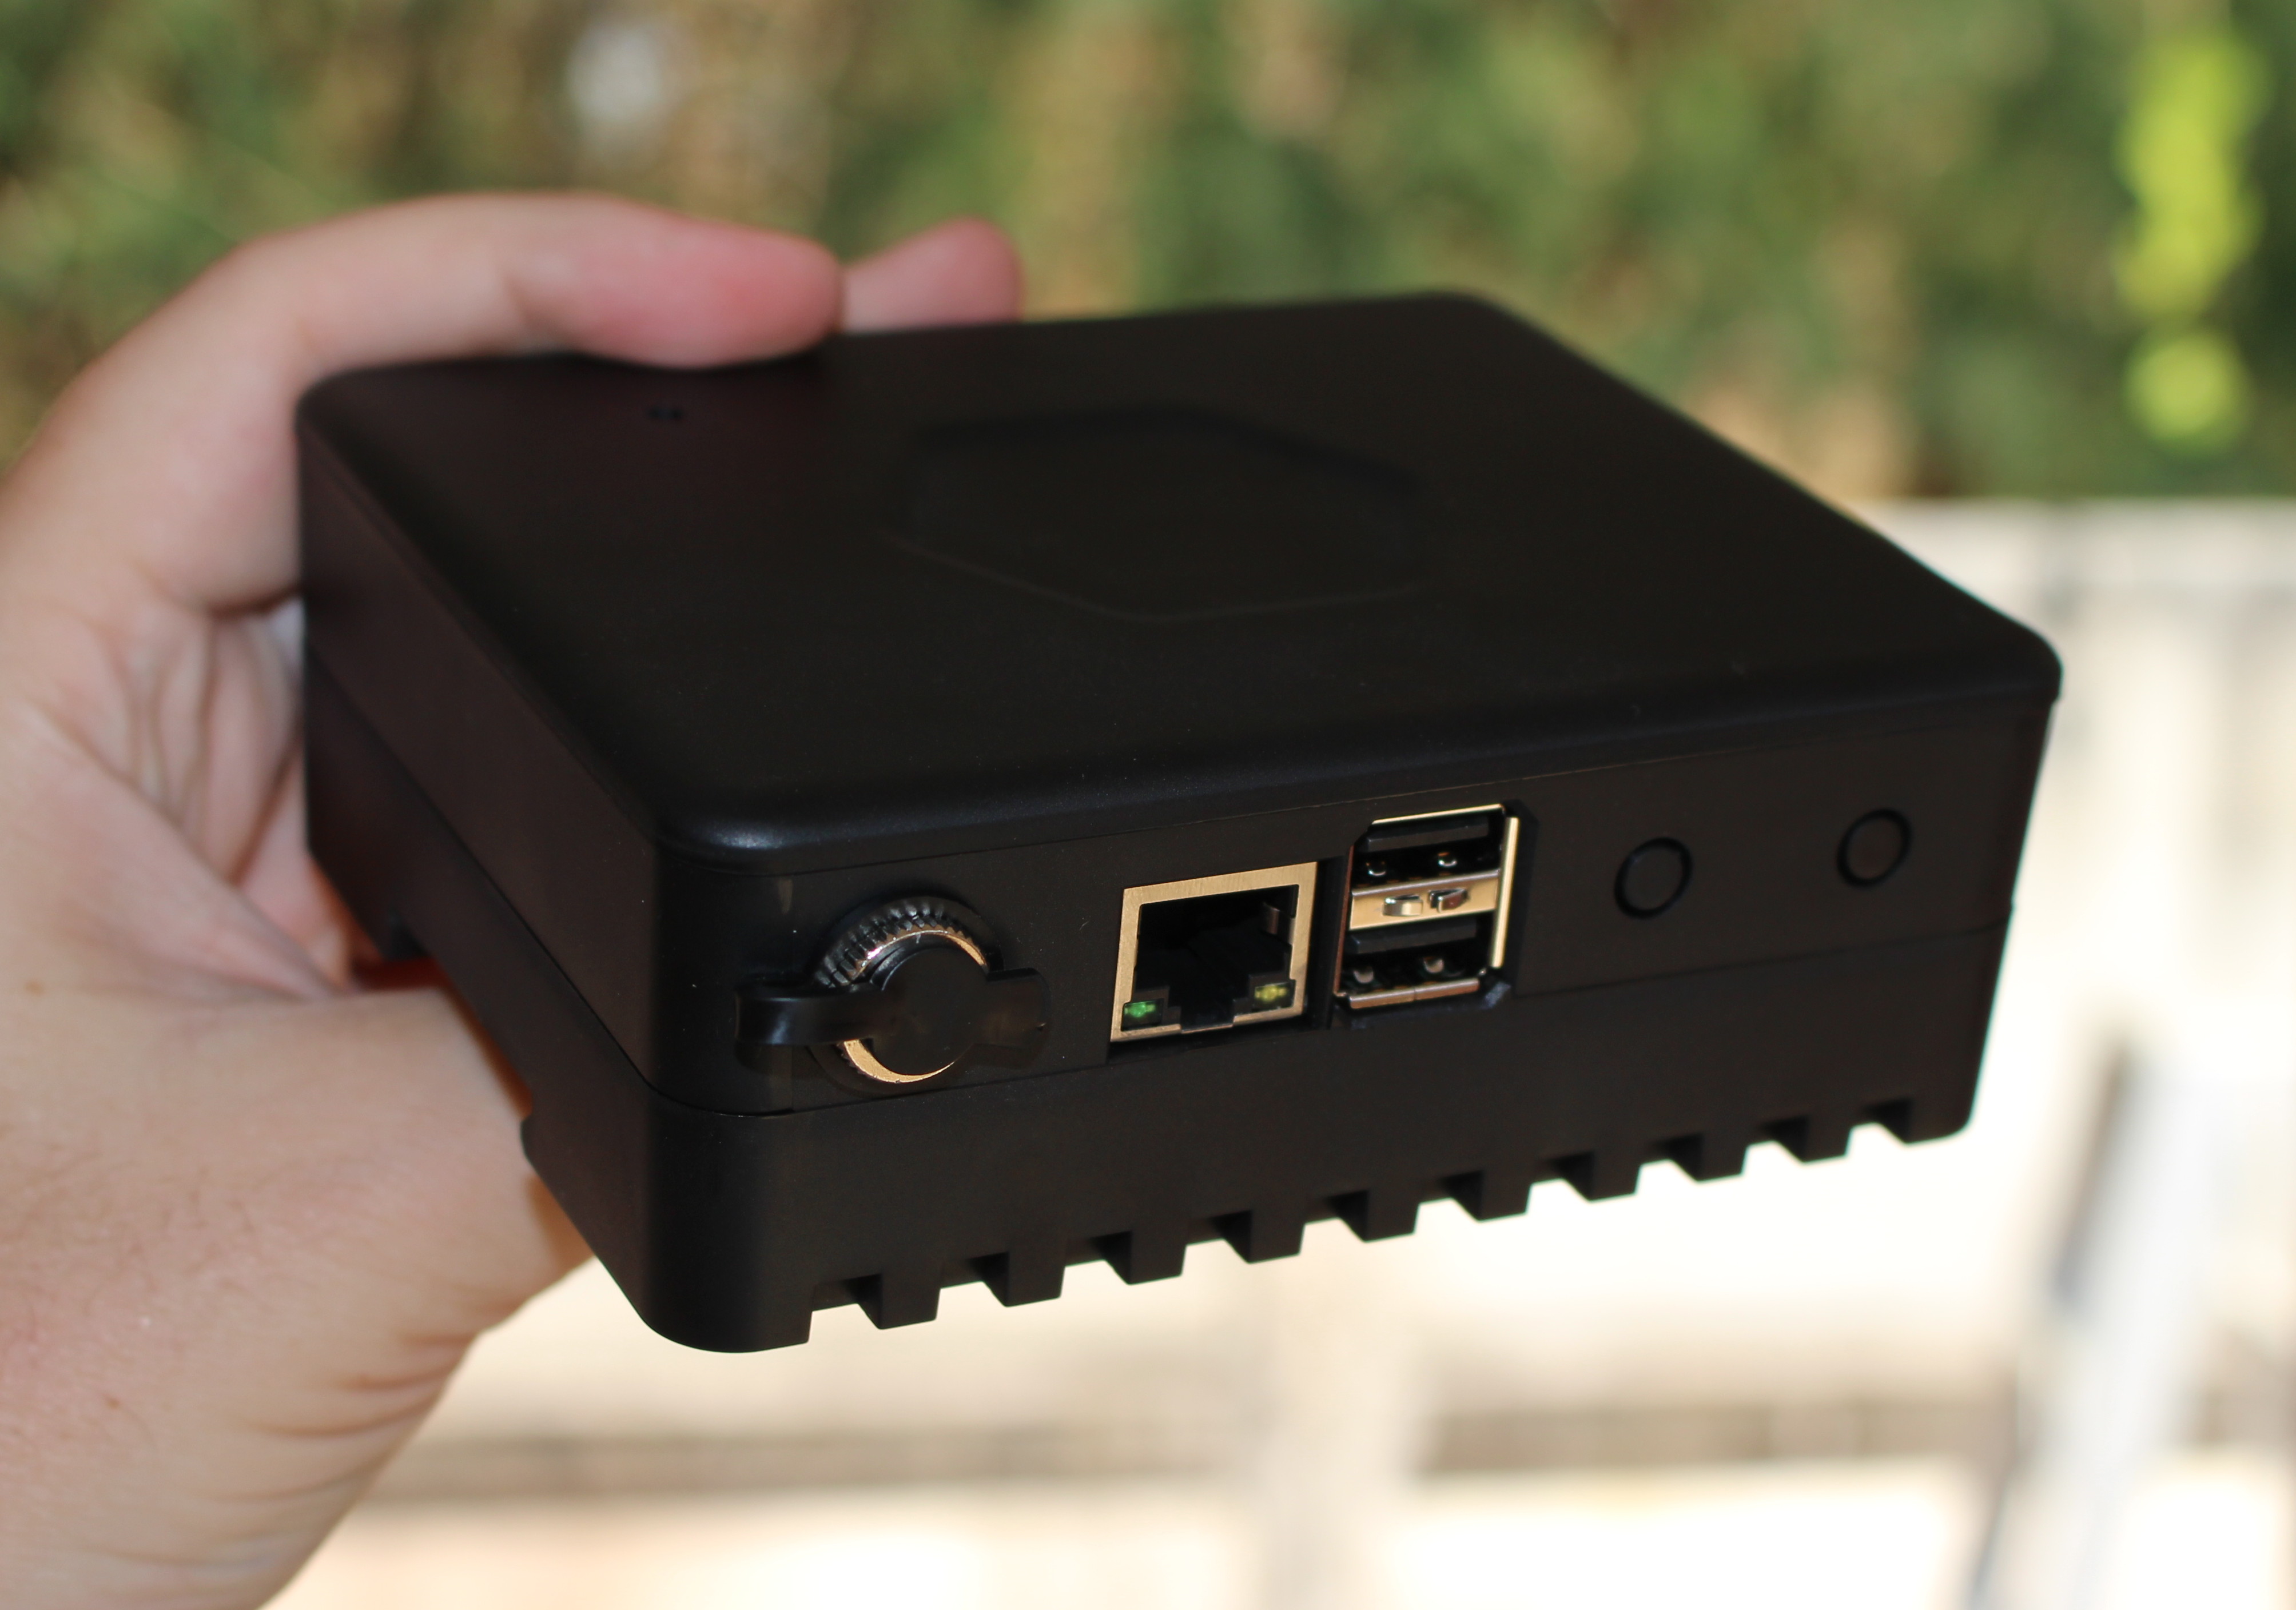
If we have a closer look at the carrier board we’ll see the micro USB programming board, 6-30V power input via a 2-pin connector or a power barrel, a 20-pin expansion header, micro SIM card holder, the slot for the CR1225 battery, Ethernet and USB ports going through SMSC LAN9514i USB to Fast Ethernet controller with industrial range temperature,
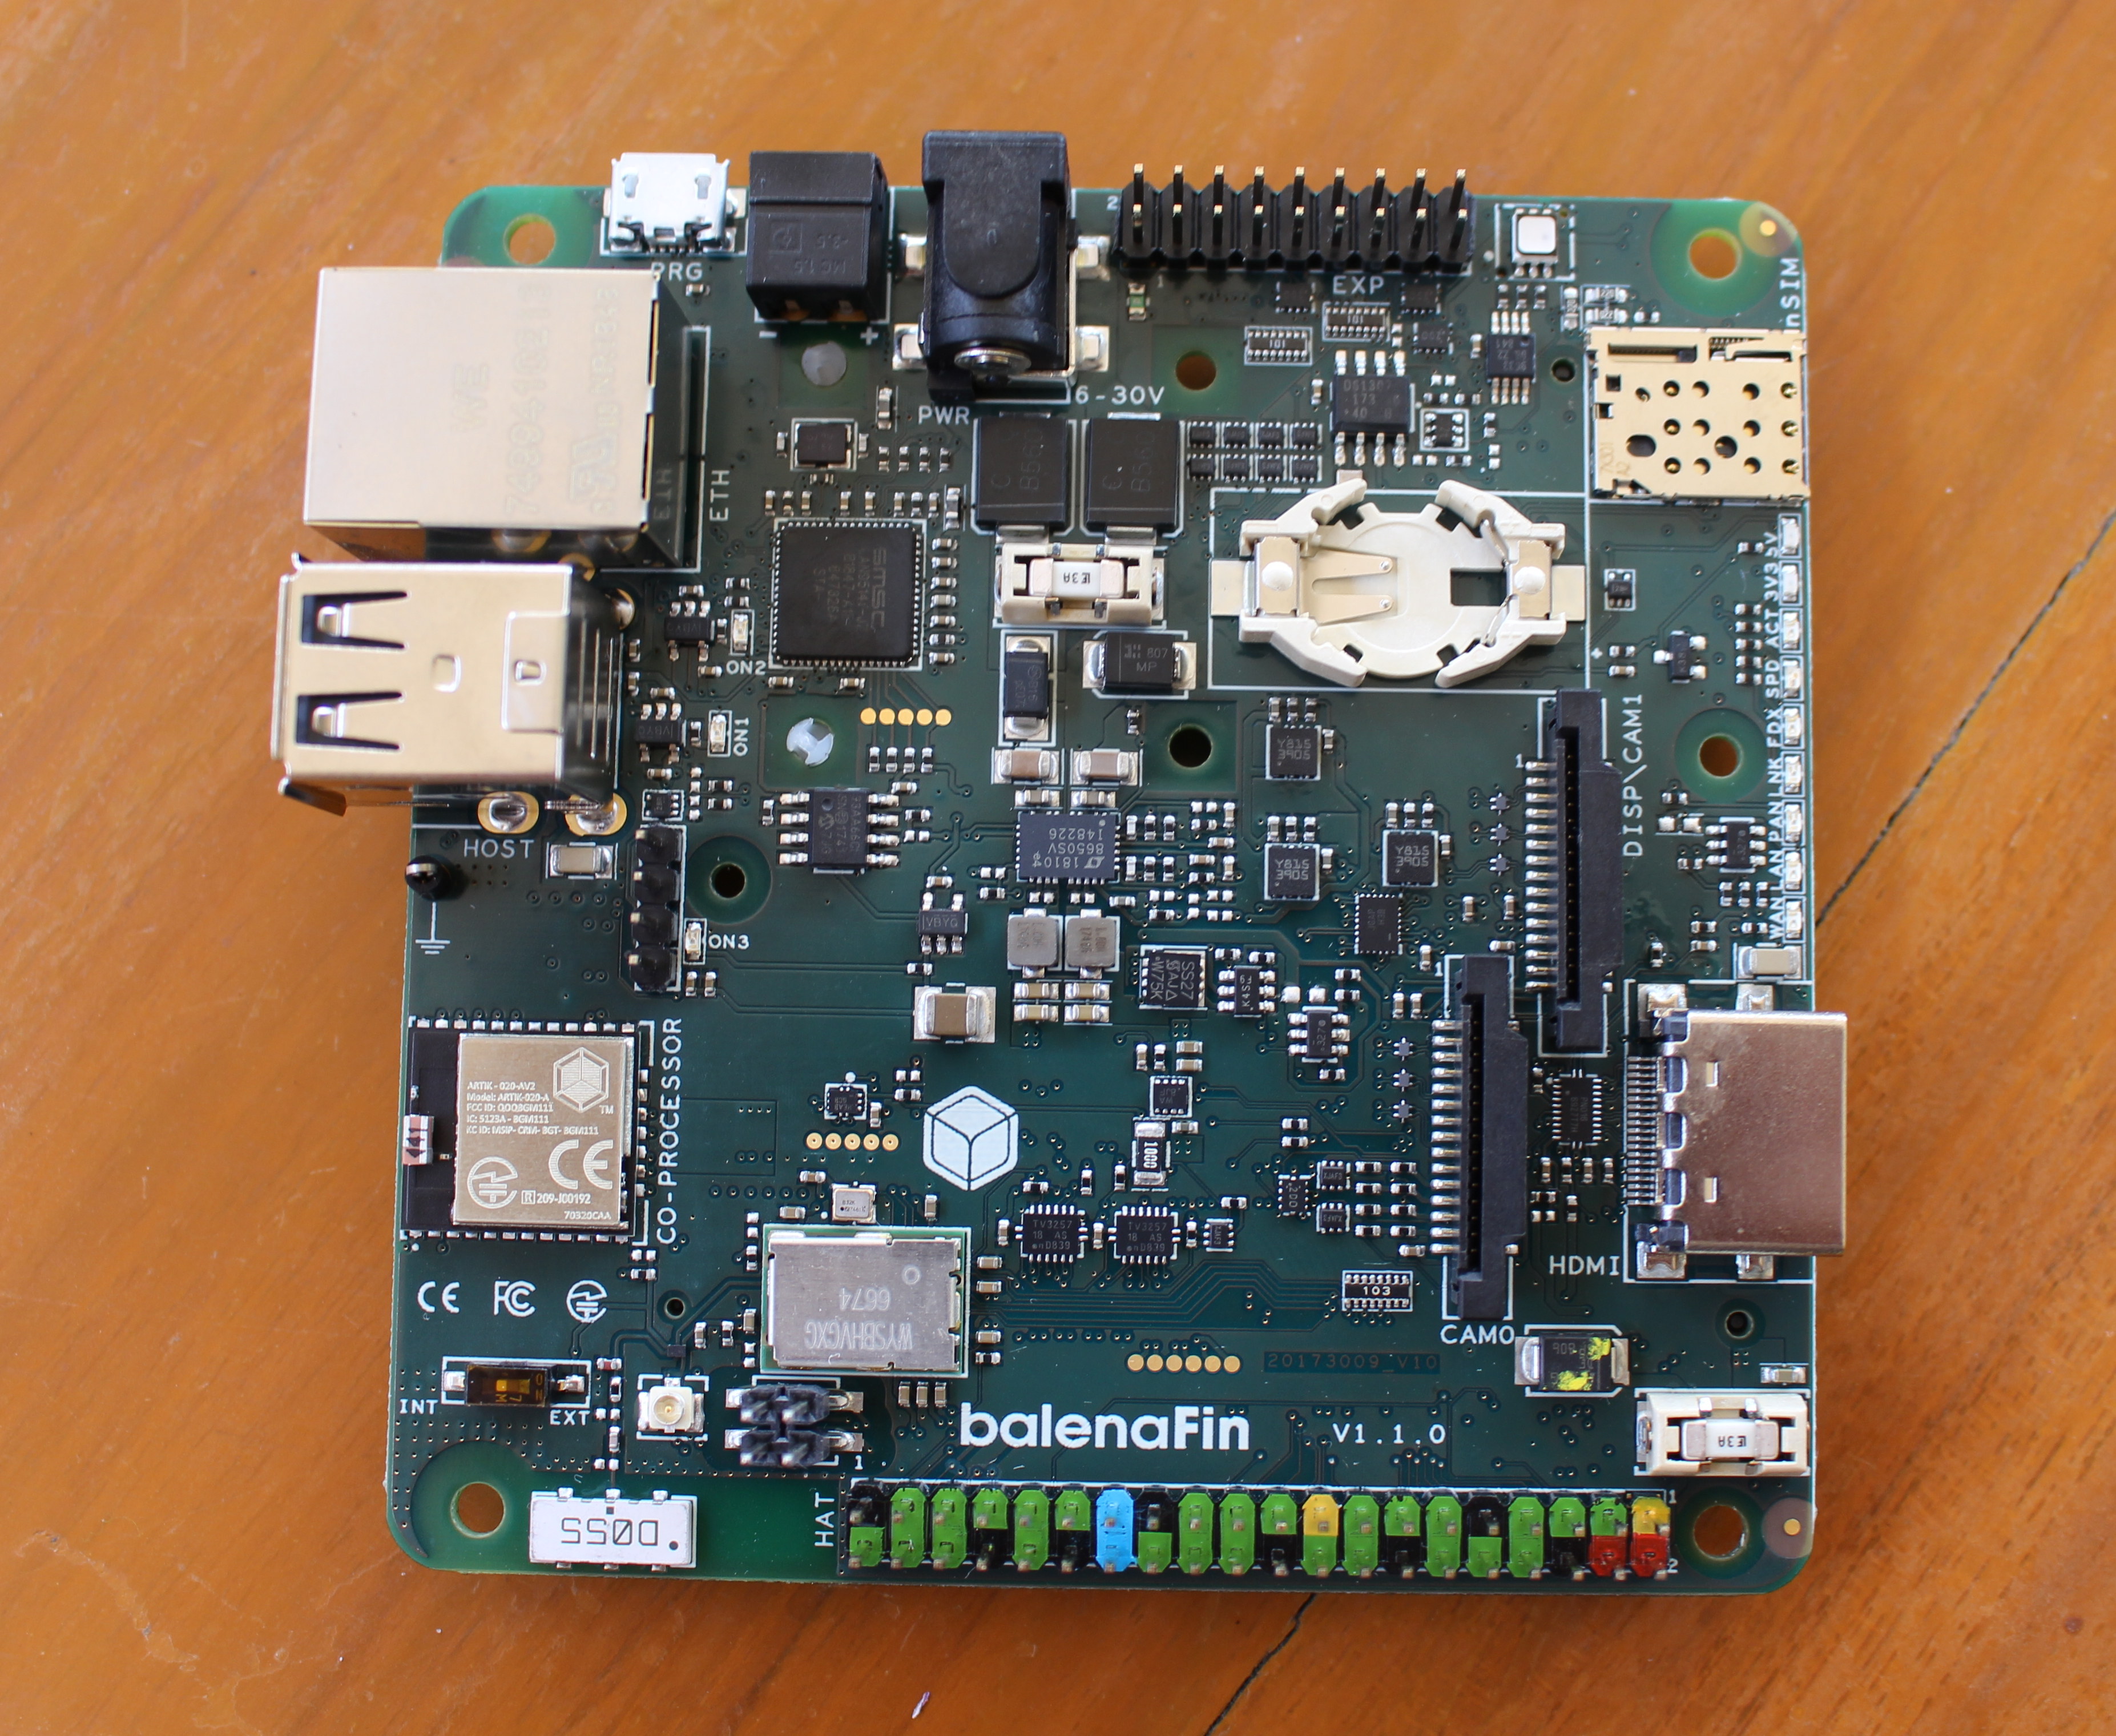
… the Samsung Artik-020-AV2 module with an Arm Cortex-M4 core and Bluetooth LE, one camera connector, a camera/display connector, HDMI outputs, two fuses, a Marvell 88W8887 based WYSBHVGXG 6674 wireless module with dual-band 802.11ac/a/b/g/n WiFi 5 and Bluetooth 4.2 connectivity, the 4-pin PoE connector, and a color-coded 40-pin Raspberry Pi header.
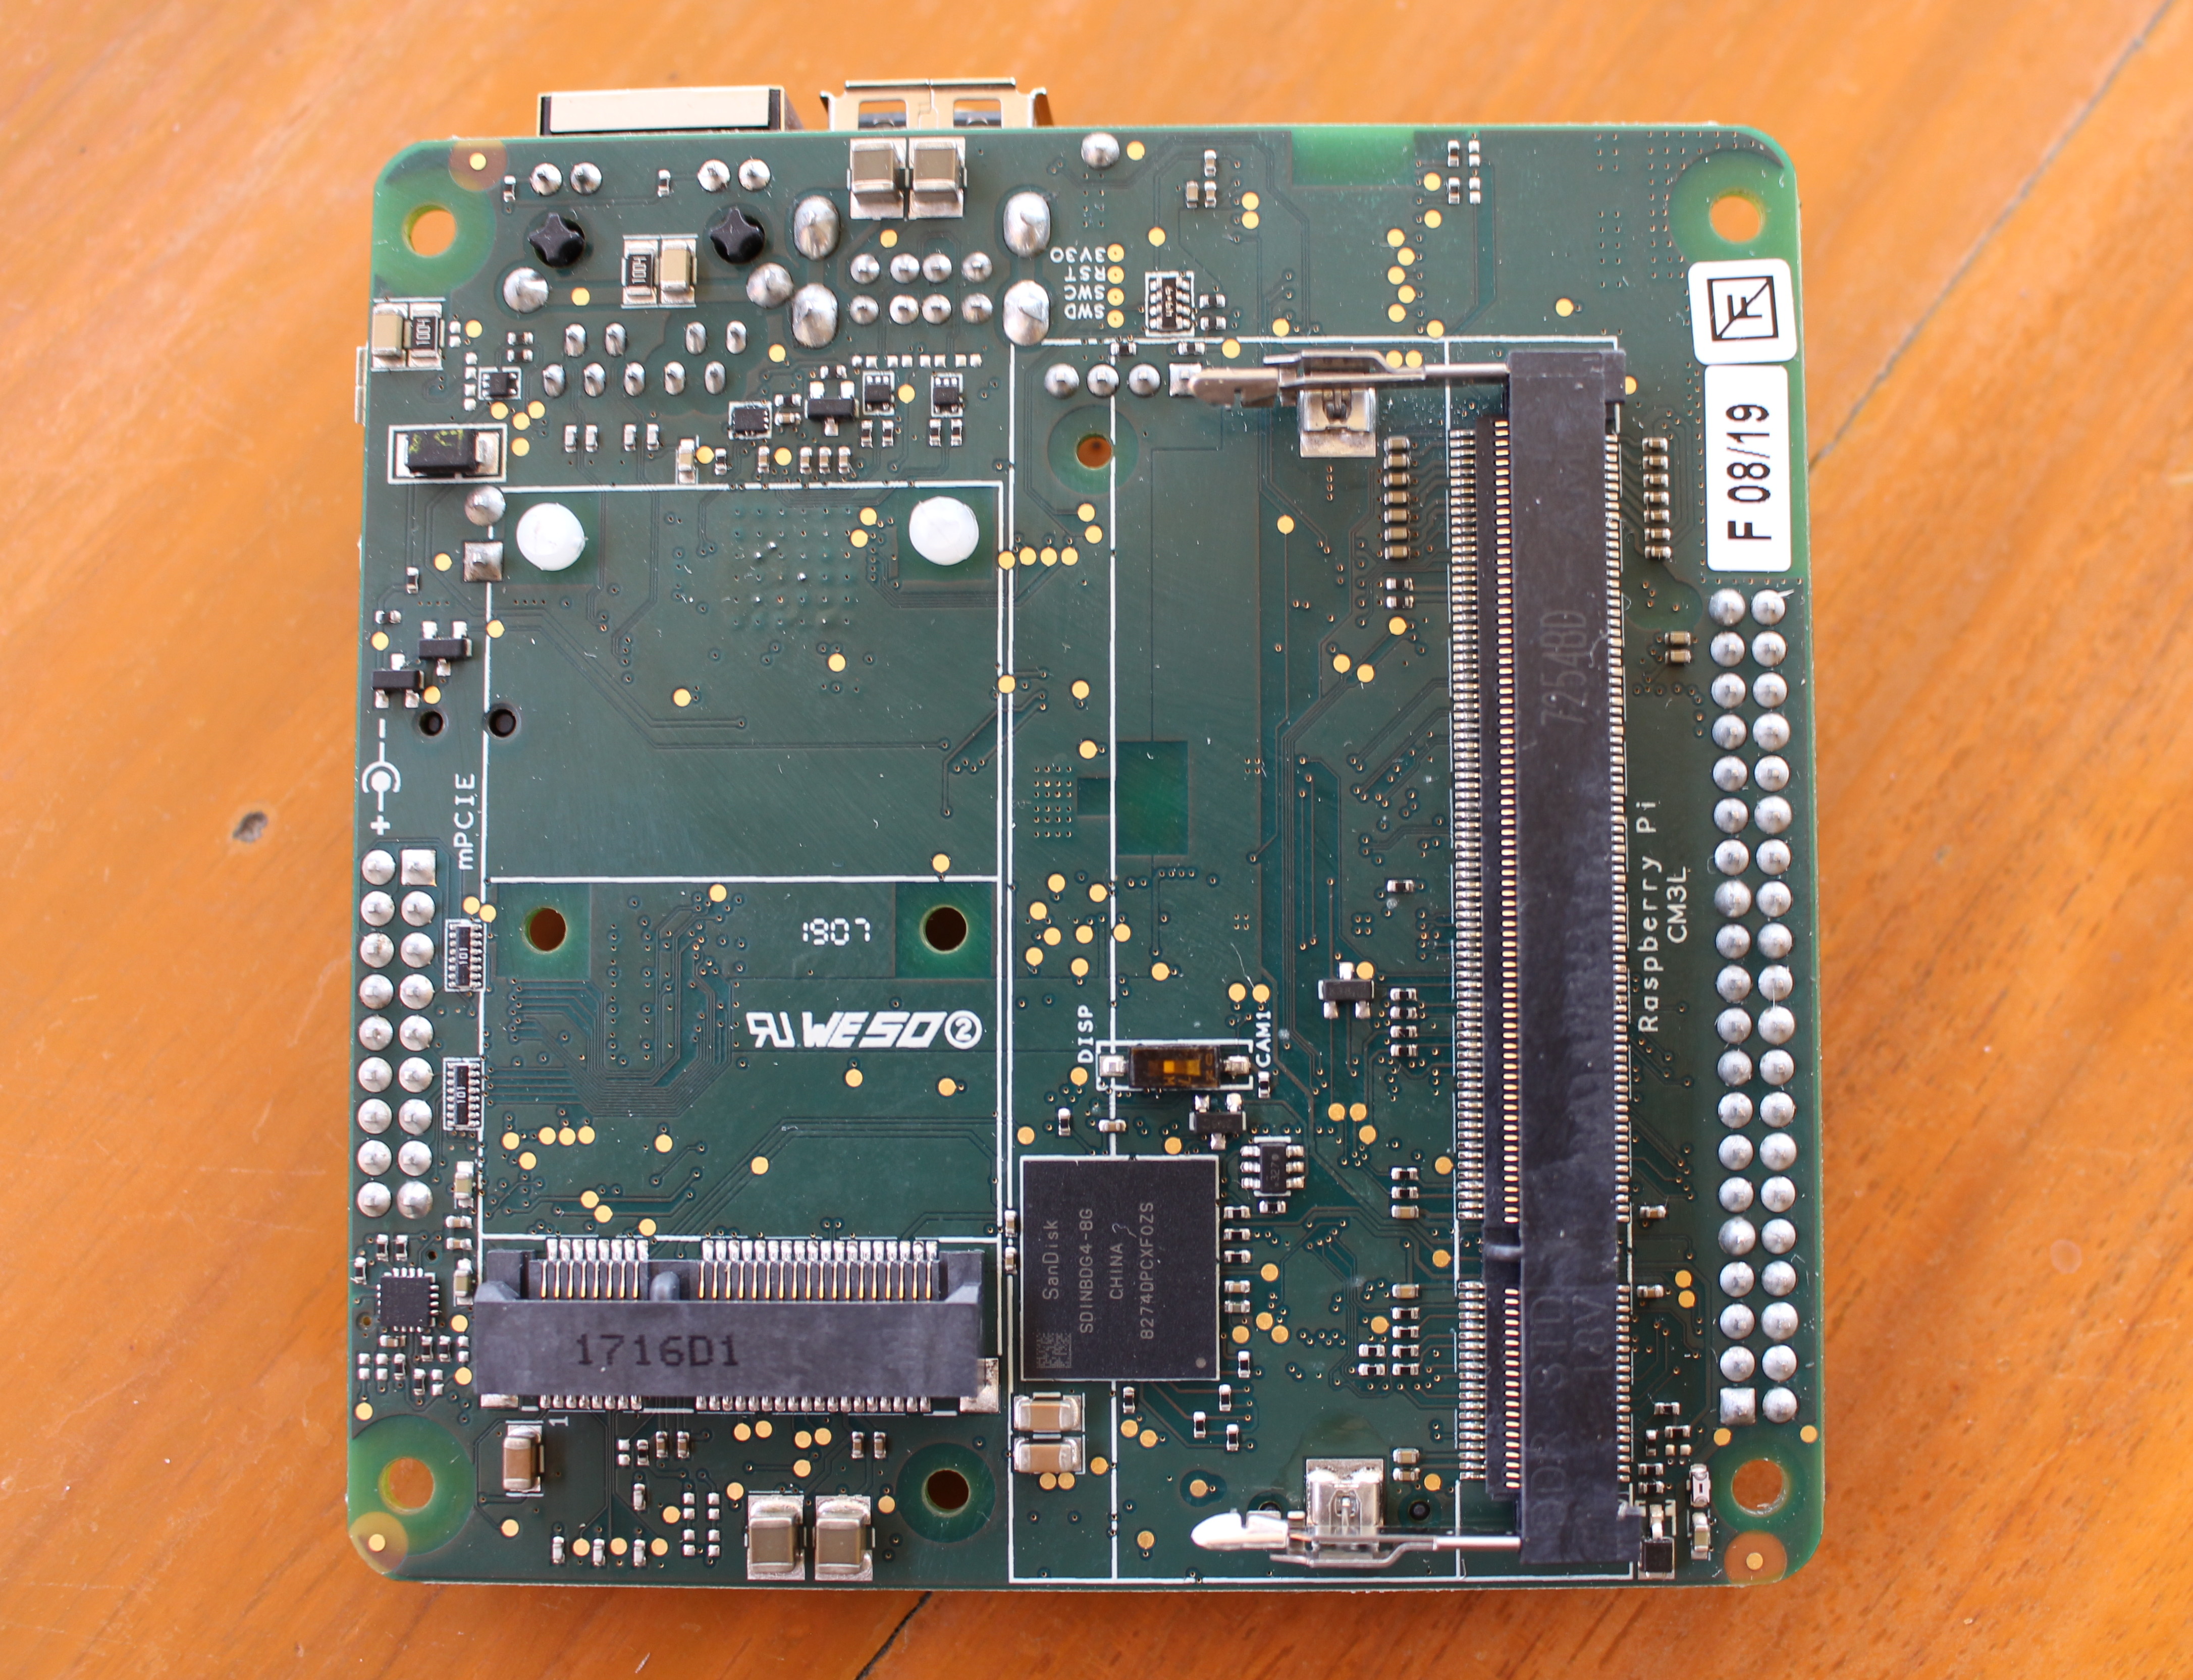
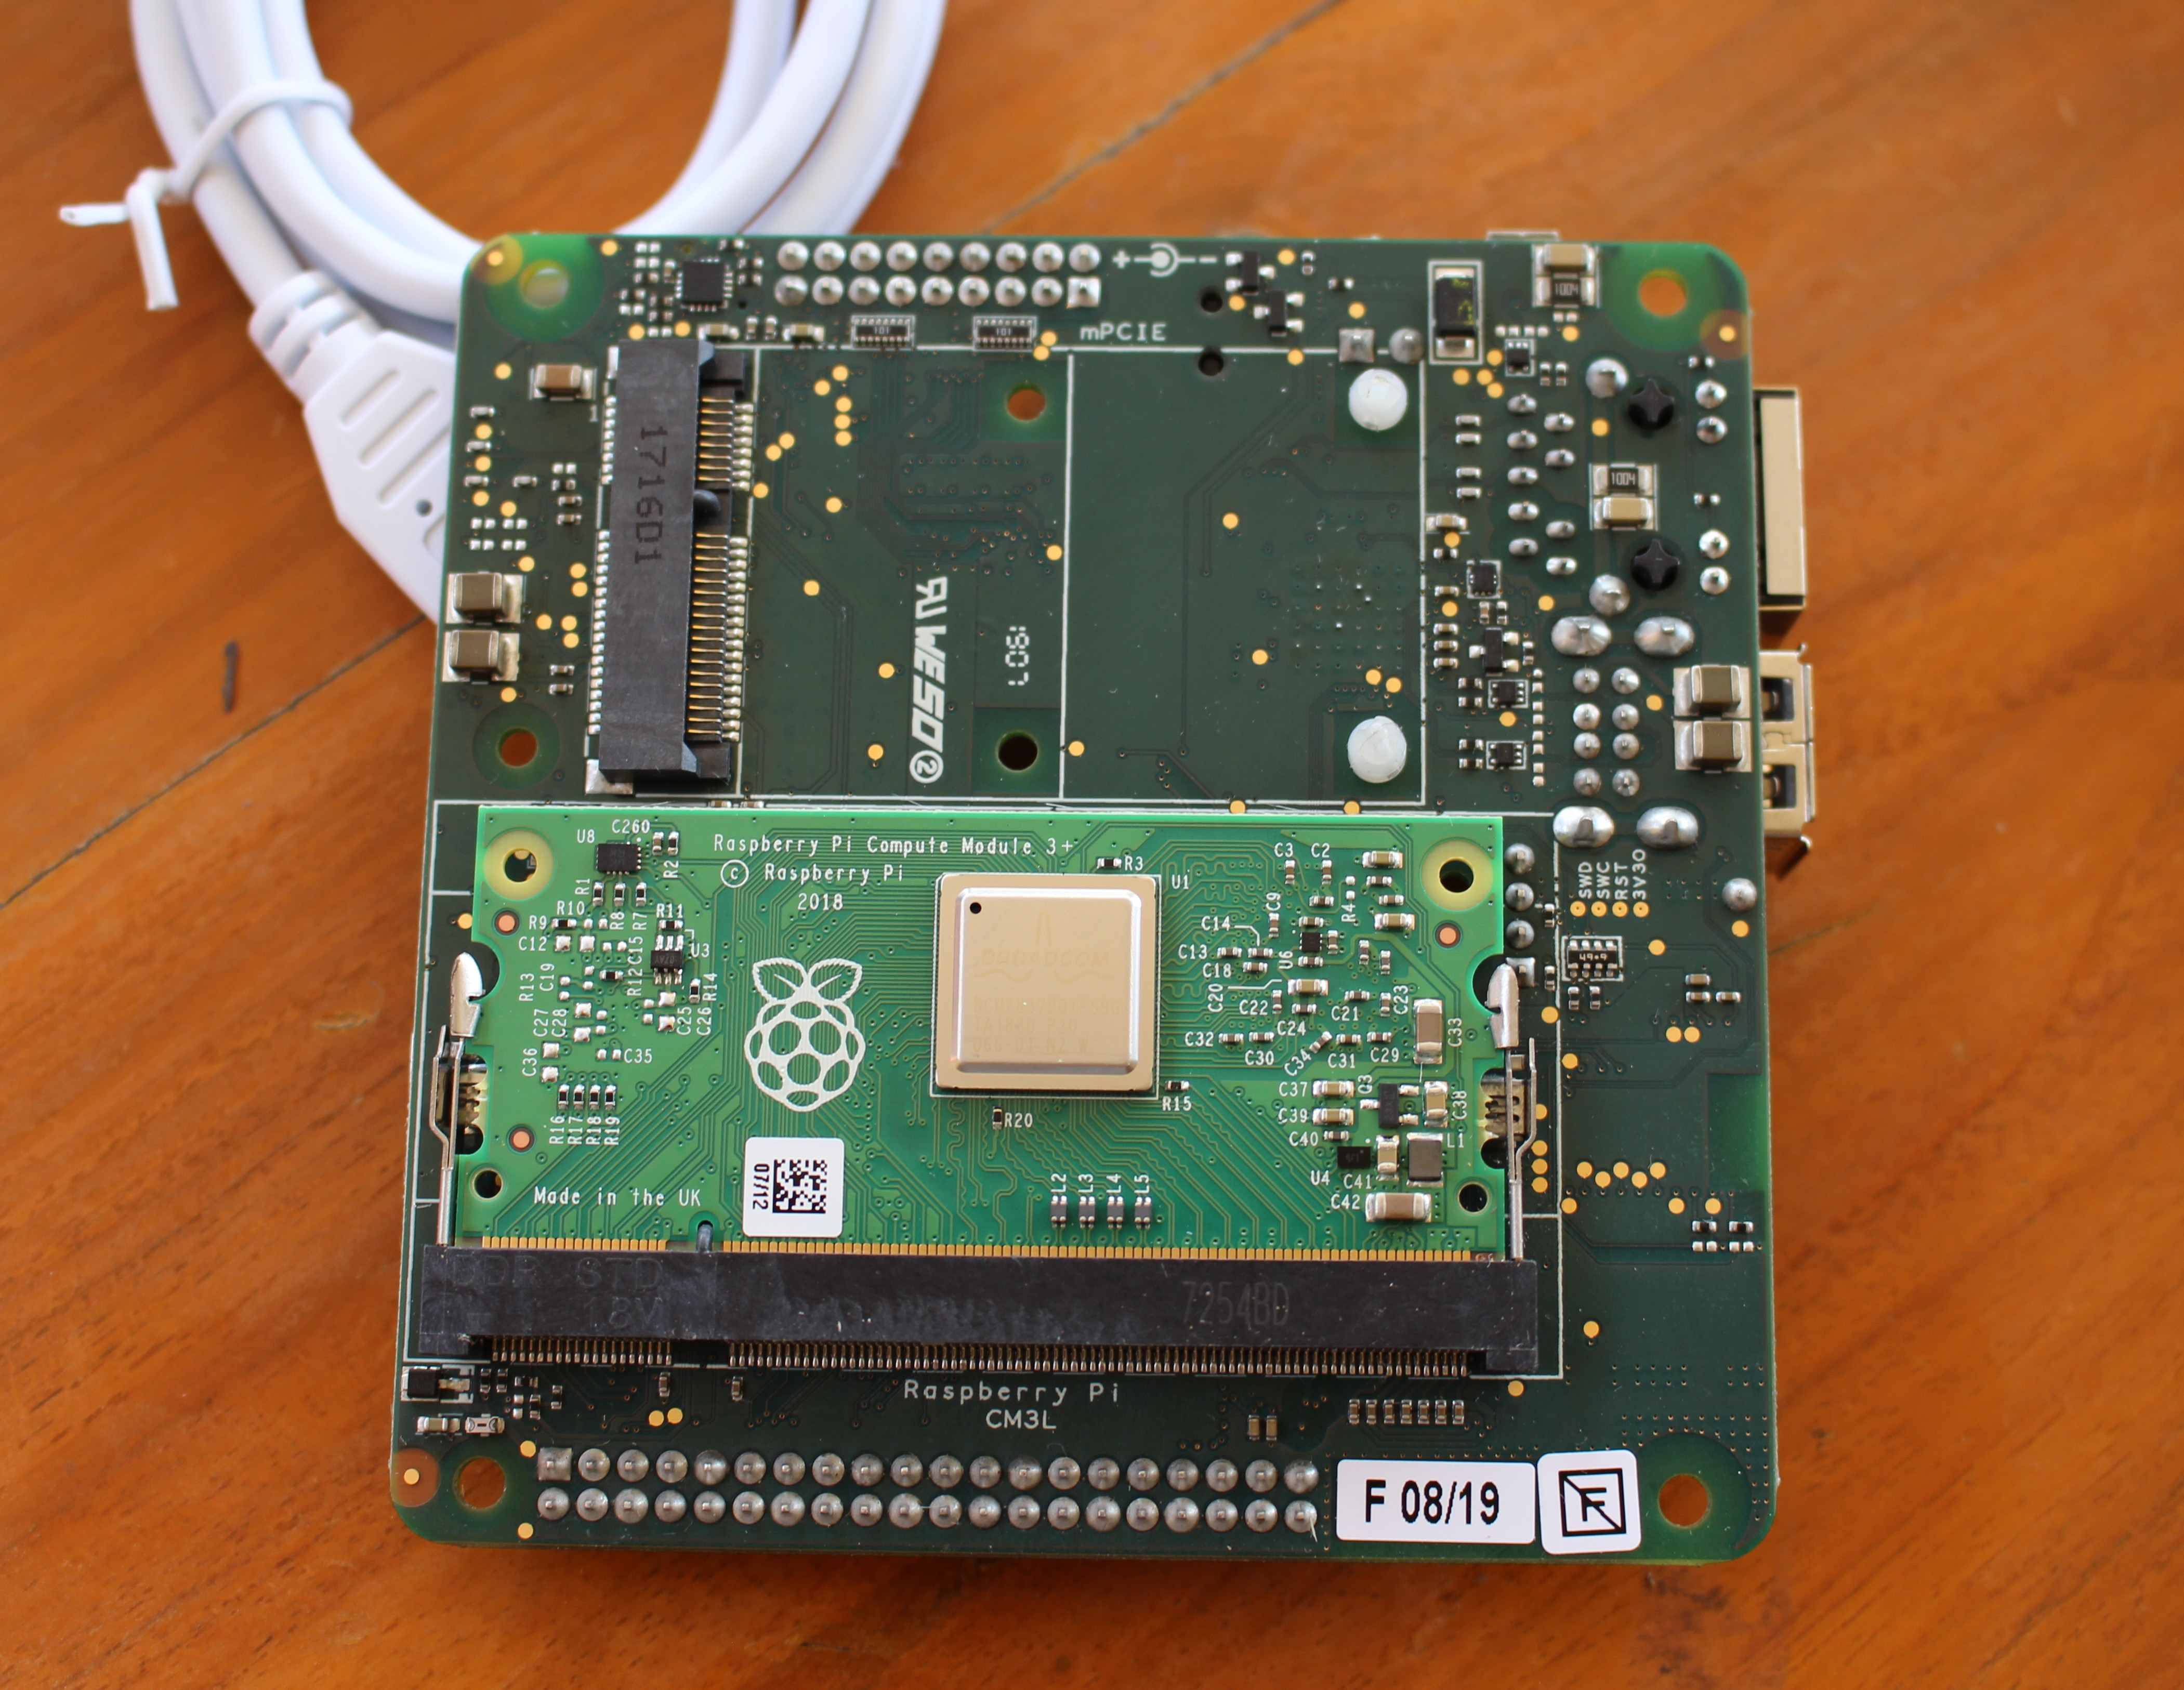
The bottom of the board include a mini PCIe connector with USB, UART and I2C signals, an 8GB industrial eMMC flash (they also have models with up to 64 GB), and the 204-pin socket for Raspberry Pi Compute Module 3/3+ Lite.
balenaFin Developer Kit Assembly Instructions
Time to assemble the kit, it’s mostly straightforward, and we can start by installing the Raspberry Pi Compute Module 3+ Lite into the dedicated socket. It’s just like installing a RAM module in a laptop, insert the module at an angle, and push it down until it clips. No screws needed.
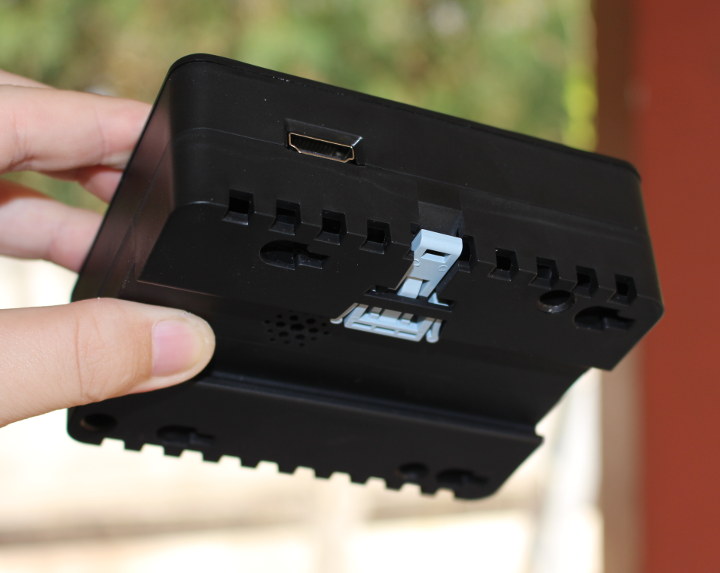
The next step is to install the CR1225 battery in the slot, connect the power cable to the 2-pin connector, and tighten the board with the small screw from the kit.
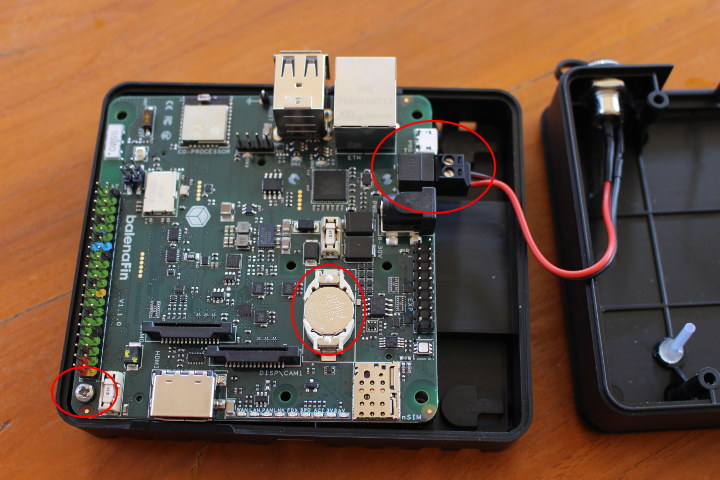
I first tried to tighten the screw with a precision screw driver, but I did not get quite enough torque, so I had to switch to a proper screw driver for the small screw, as well as the three longer screws needed to tighten both parts of the enclosure.
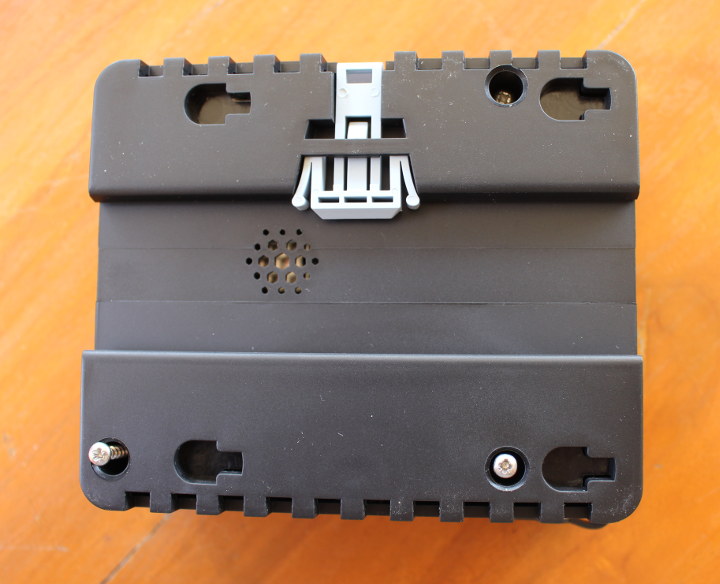
As you can see from the photo above, the case supports both wall mounting via four holes, or DIN rail mounting.
Here’s what the fully assembled balenaFin developer kit looks like:
That will be all for today. Next time I’ll report my experience playing with Debian-based balenaOS on the platform.
The kit reviewed sells for $199.00 plus shipping on balena store. If you don’t need the DIN rail enclosure you can save $20 by selecting “no case” option.

Jean-Luc started CNX Software in 2010 as a part-time endeavor, before quitting his job as a software engineering manager, and starting to write daily news, and reviews full time later in 2011.
Support CNX Software! Donate via cryptocurrencies, become a Patron on Patreon, or purchase goods on Amazon or Aliexpress. We also use affiliate links in articles to earn commissions if you make a purchase after clicking on those links.


It’s a nice toy. But I can’t see a reason for that price tag.
I would find $100 a lot for this… It still got the limitations of a rpi. For that price there’s a lot nicer toys to get.
All parts appear to be industrial grade (-40 to +85 C) so this contributes to the higher cost.
Also for reference the official baseboard for RPi Compute Module 3 goes for $100 on Adafruit. You need to add the compute module, power supply, and case.
That’s right; the board is designed to provide an industrialised solution and address the problems found by those who have been deploying the RPi in production settings without requiring any rework of the software stack. The big ones are temperature range, SD card storage – we’ve replaced it with eMMC, and input power tolerance and range. The standalone board is US$129 – the dev kit is more because it includes the CM3+L, PSU, USB cable, and case (optional).