I’ve recently received a TI F28069 Piccolo controlSTICK evaluation kit after winning a game organized by Mouser and Texas Instruments on Facebook.
I’ll show what’s the content of this C2000 MCU development kit and play around with the development tools provided.
Mouser sent the development tools by Fedex which took 6 days to arrive in Thailand, and the package with the development tools looks like the one below.
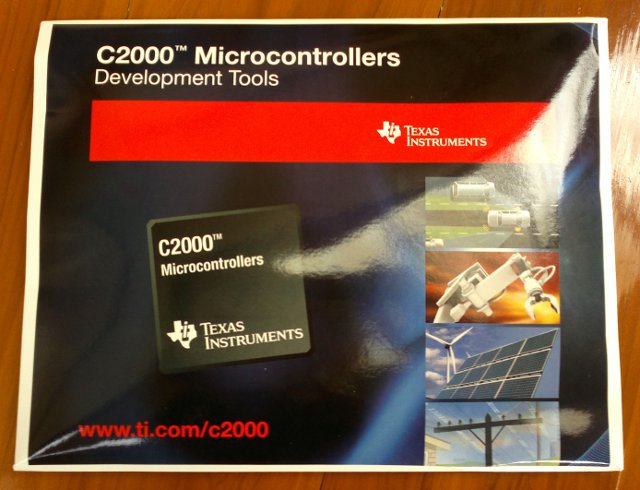
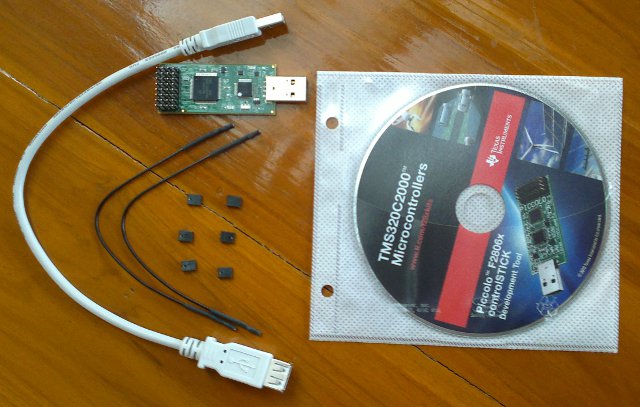
You’ll find the following in the package:
- F28069 Piccolo controlSTICK
- USB Cable
- 6x Jumpers
- 2x Cables to connect to external hardware
- CD with Piccolo F28069 controlSTICK development tools
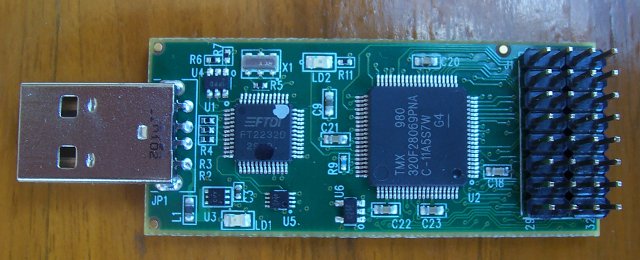
Here’s a closer look to the top of Piccolo controlSTICK, with (left to right) the JTAG emulator chip, C2000 MCU (320F28069PNA) and connector…
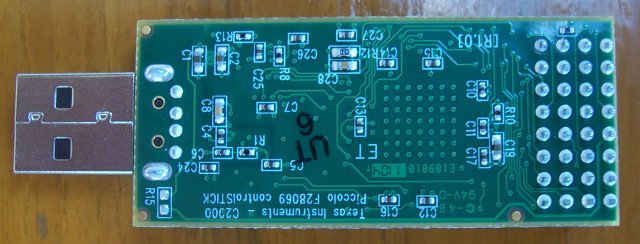
…and the bottom of Piccolo controlSTICK.
Now let’s have a look at the content of the CD:
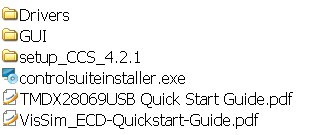
The Drivers directory contains the drivers needed for the controlSTICK development kit (also used for other TI tools), the GUI directory contains a FIR/FTT demo showing the MCU floating and fixed point capabilities and setup_CCS_4.2.1 contains Code Composer Studio v4 which can be installed to do development on the MCU.
controlsuiteinstaller.exe is a downloader tool to retrieve packages for the MCU you are using.
TMDX28069USB Quick Start Guide.pdf is a short document explains how to get started with Piccolo F28069 controlSTICK, including initial setup, using the FIR/FTT demo and troubleshooting.
VisSim_ECD-Quickstart-Guide.pdf explains how to use VisSim/Embedded Controls Developer for the Piccolo F28069, a visual block diagram environment for model-based development of embedded systems for Texas Instruments micro-controllers. This tool is not available on the CD, but can be downloaded. I won’t deal with this tool in this post.
To get start you just need to insert the controlSTICK in one of your USB host port and it will automatically be detected and if this is the first time you use TI MCU tool, simply indicate the Drivers directory on the CD during drivers installation.
Once this is done, you may want to click on GUI/F28069_controlSTICK.exe to start the FIR/FFT demo and play with the parameters.
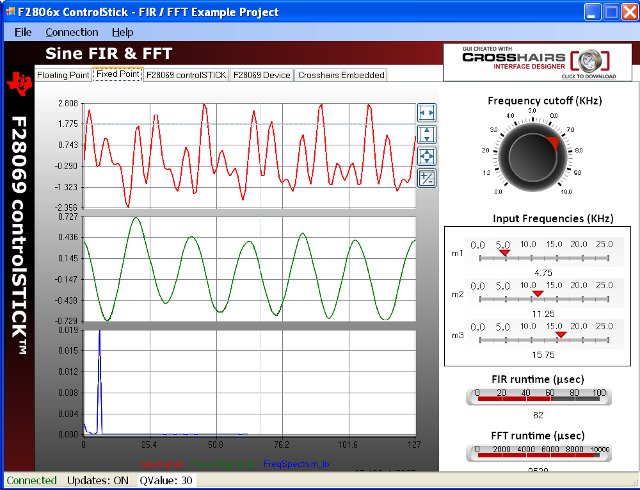
The other tabs in the application show the features of the controlSTICK including the details about the 32-pin header signals, the overview of the MCU including the block diagram and a link to crosshairembedded.com if case you want to download a trial version of Interface Designer, the tool used to design the sample application.
If you want to do anything useful with this devkit, you need to install Code Composer Studio v4. Click on setup_CCS_4.2.1.00004.exe to start the installation. Select Micro Controller Edition and C28x 32-bit Real-time MCUs, unless you also want to use Stellaris and MSP430 MCUs. The installation process will take a while and you’ll get 6 new icons showing up on your desktop. Double-clikc on” Code Composer Studio v4″ icon, the first time it will ask you the workspace directory, the next window will ask for the license (e.g. 30 day trial, free unlimited license…) and after you’ll be able to use CCS v4.
You can download sample applications. First you need to install controlsuiteinstaller.exe, this will also take a while as it will download lots of package from the Internet. Once the install is completed, go to CCS v4 and click on “Projects->Import Existing CCS/CCE Eclipse Project“. In the pop-up window, select “Select search-directory” and click on Browse and go to “C:\TI\controlSUITE\development_kits\F28069 controlSTICK\” to select one of the projects:
- ADC – Continuous ADC
- ADC – Simple DAC to ADC
- ADC – Triggered ADC
- Comparator – Compare Values
- Comparator – Trip Comp
- FPU – Sine FIR FFT 32
- PWM – Asymmetric PWM
- PWM – DeadBand PWM
- PWM – FilteredHR PWM
- PWM – Symmetric PWM
- PWM – Trip PWM
- RT – Sine FIR FFT 32_v1_5
- Timer – Blinking LED
I’ll select Timer – Blinking LED since this appears to be the simplest one to run and verify the results (and this is the one used in the Quick Start Guide).
This project includes several C, assembler and command files, as well as lots of header files.
Before running this sample, you’ll need to define the target by following several steps clearly explained in the Quick Start Guide, that involves creating a new target configuration file, selecting the connection type (Texas Instruments XDS100v1 USB Emulator) and the target device (Experimenter’s Kit – Piccolo F28069). Now you can click on the “Bug” icon (Debug active Project), it will build the project and load it to the Piccolo controlSTICK.
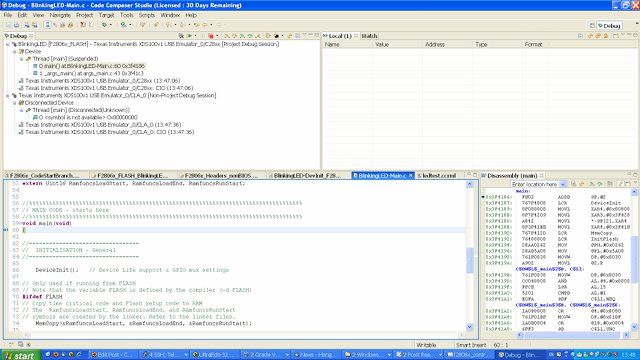
You should see the screen above with a Debug window, a variable watch window, the source code in C stopped at main and a disassembly windows. Now just click on run (arrow) icon in the Debug View to run the Program and see the red LED blink every second. The timer value can easily be modified to change the blinking frequency. Each time you click on Debug, by default the program will be loaded to flash, so the update will be a little slow. There must be an option to run from RAM by I haven’t found it yet.
This type of development kit is interesting to evaluate the capability of a particular MCU, however what you can do with such device is limited unless you have some external hardware (e.g. sensors. motors) to connect the 32-pin header. Personally, even though it’s kind of fun to use, I see little use to the GUI demo provided (build with crosshair embedded interface designer) and the most interesting and useful part is to use the sample applications provided with CCS v4 to get started with development. Even just using CCS v4 is interesting since this is a pretty powerful development and debugging tool.

Jean-Luc started CNX Software in 2010 as a part-time endeavor, before quitting his job as a software engineering manager, and starting to write daily news, and reviews full time later in 2011.
Support CNX Software! Donate via cryptocurrencies, become a Patron on Patreon, or purchase goods on Amazon or Aliexpress. We also use affiliate links in articles to earn commissions if you make a purchase after clicking on those links.




How does this compare to an Arduino? Same target market (hobbyists, artists), or more a professional market?
@ Sander
I cannot see any real community around Piccolo controlSTICKs, although it seems a few people are using it. It also seems that you need to unsolder a resistor to be able to boot from flash rather than using it connected to a PC.
I think this device is mainly used by professionals, for evaluation or/and to start working on a project before you get your hardware ready. Having said that, nothing prevents you from using it for your hobbyist project as it only costs 39 USD and sometimes it’s part of TI Deals (50% off).