In case you want to checkout Android but do not have any devices to do so, you can simply install it in your PC.
In this blog entry I’ll show how to install Android in VirtualBox with a computer running Windows XP, but this could be installed in any OS supported by VirtualBox or other virtual machine (e.g. VMWare).
If you don’t have it yet, download VirtualBox for your OS and install it first.
The first thing is to download Android-x86 ISO file.
While it is downloading you can add a new Virtual Machine to VirtualBox.
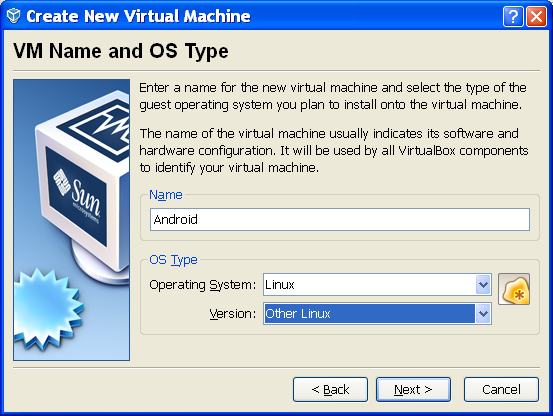
After you click on the “New” icon, click on Next and enter your machine name. e.g. Android, and select the Operating System: Linux and version: Other Linux.
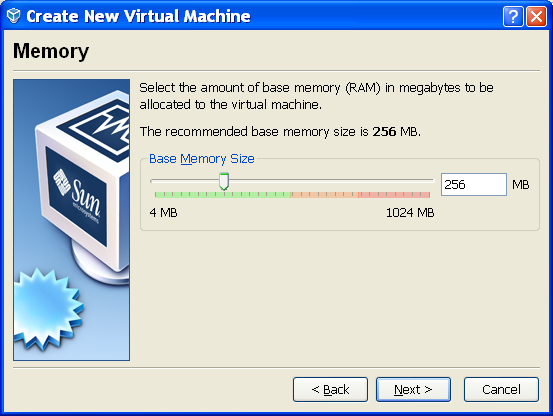
Click on next to select the memory size:
Click on next to select to create a new hard disk:
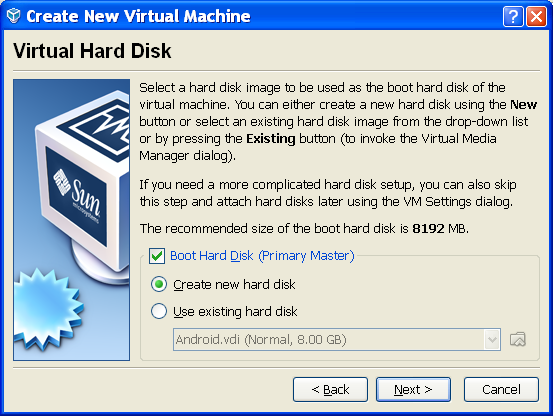
Then basically select Next for the following steps to use the default settings, you should now have a virtual hard disk of 8GB to install Android.
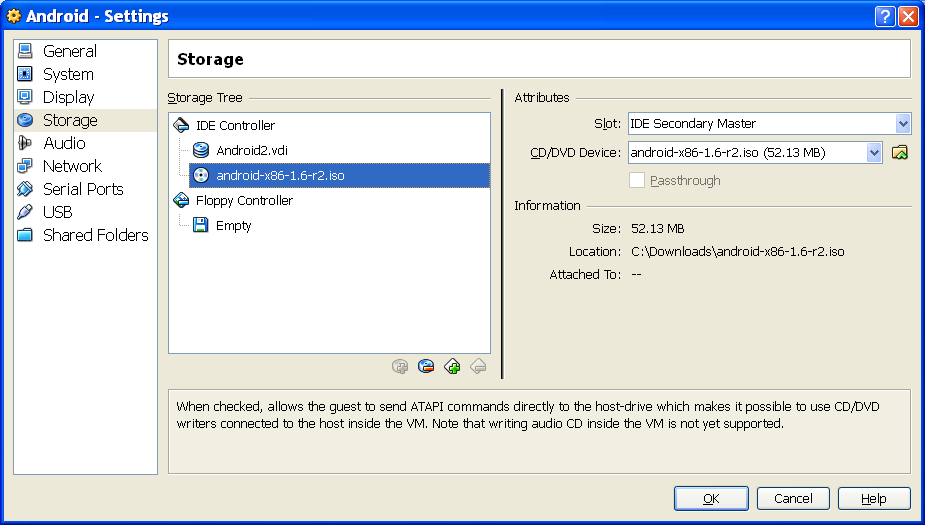
Once this is done, click on Settings->Storage to select Android x86 ISO as a CD ROM image. In the storage tree, select the Empty devices in IDE controller and browse your file to add the ISO to CD/DVD Device:
You are now ready to install Android.
Click on Start to start Android installation process:
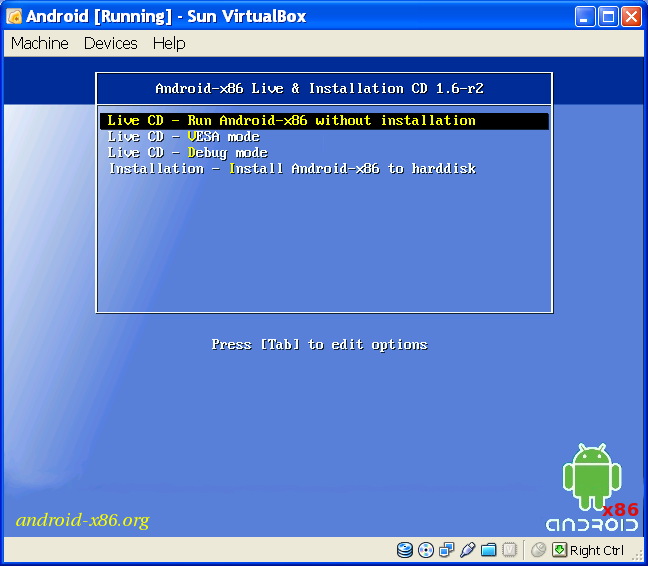
Select Installation – Install Android-86 to harddisk
In the next screen, select Create/Modify partitions
It will start cfdisk to create a partition. Select New->Primary, use the default size (full virtual disk), and answer yes to allow questions. Also select Bootable in order to have Android to boot from the harddisk.
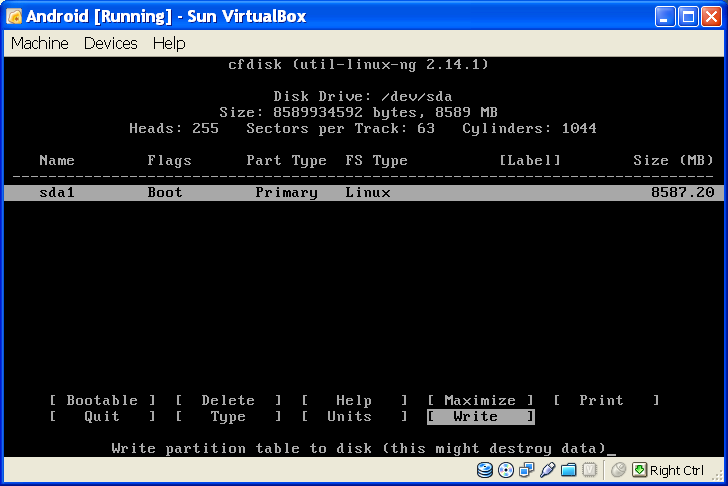
Finally select Write to validate the changes and Quit.
Select sda1 Linux VBOX HARDDISK and select OK.
Format the partition with one of the file systems available: ext3, ext2, ntfs or fat32. We selected ext3 for our installation.
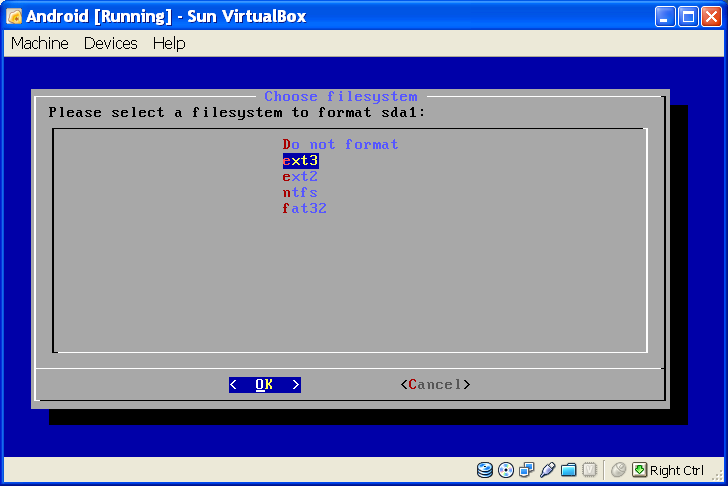
Once you hard disk is properly formatted, answer Yes to “Do you want to install boot loader GRUB?“. if you answer no, you want be able to boot Android.
After that it will proceed with the file installation (it took 5 seconds for us) and you’ll be able to start Android x86 (Android desktop below),
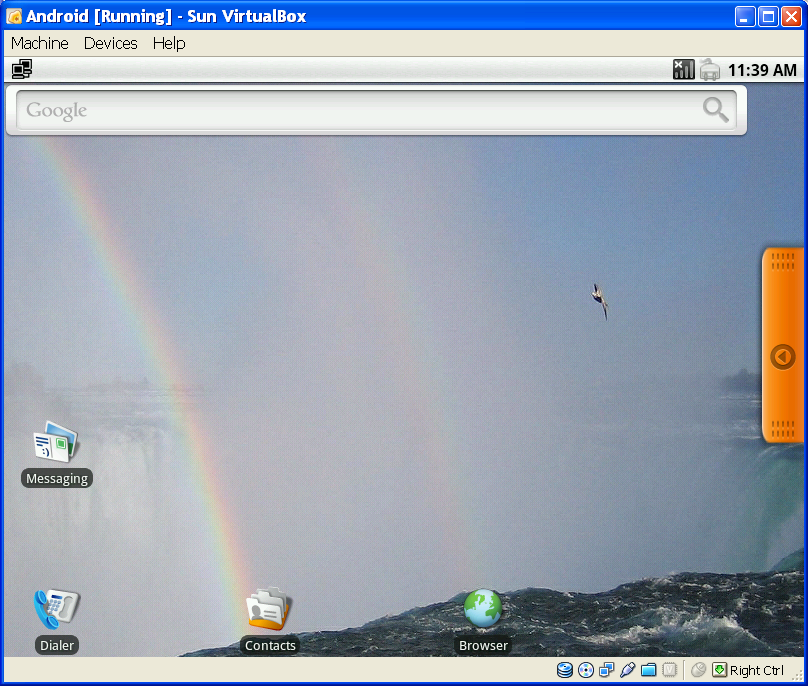
access the pre-installed applications
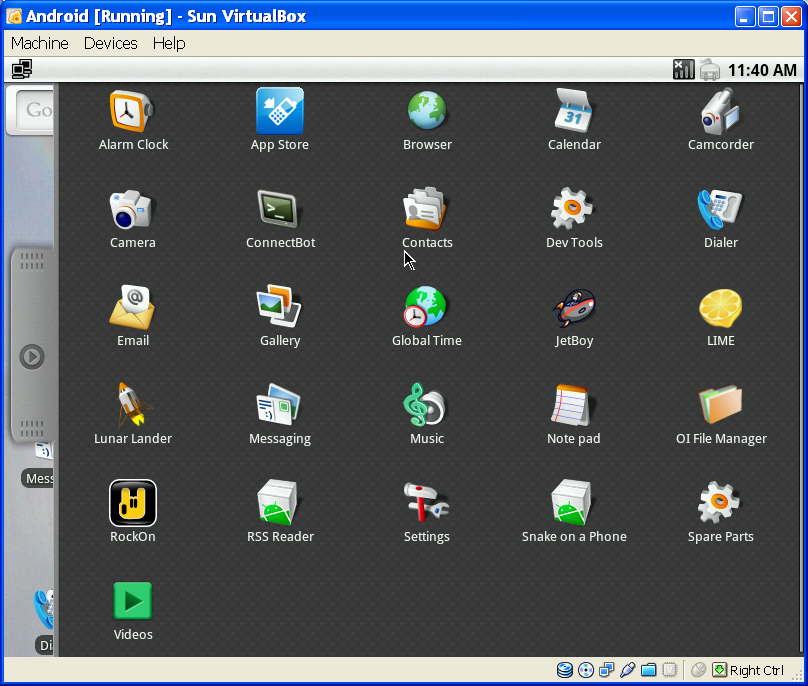
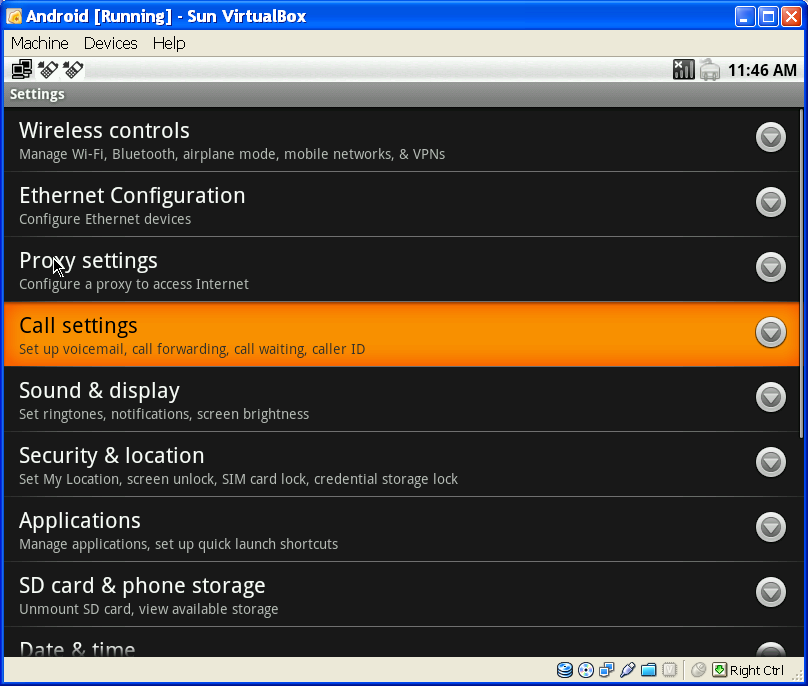
modify the system settings like in any device running Android,
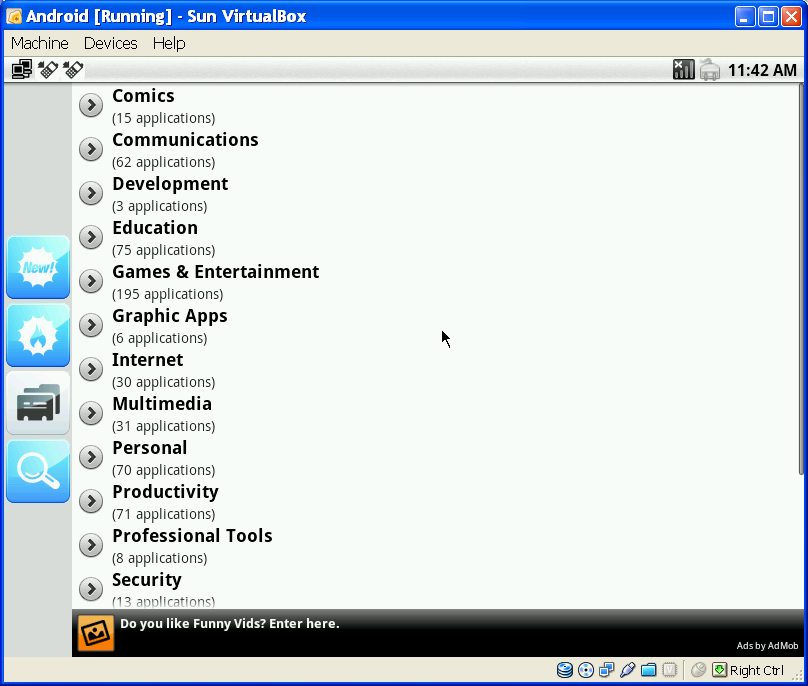
access Google App Store and download applications
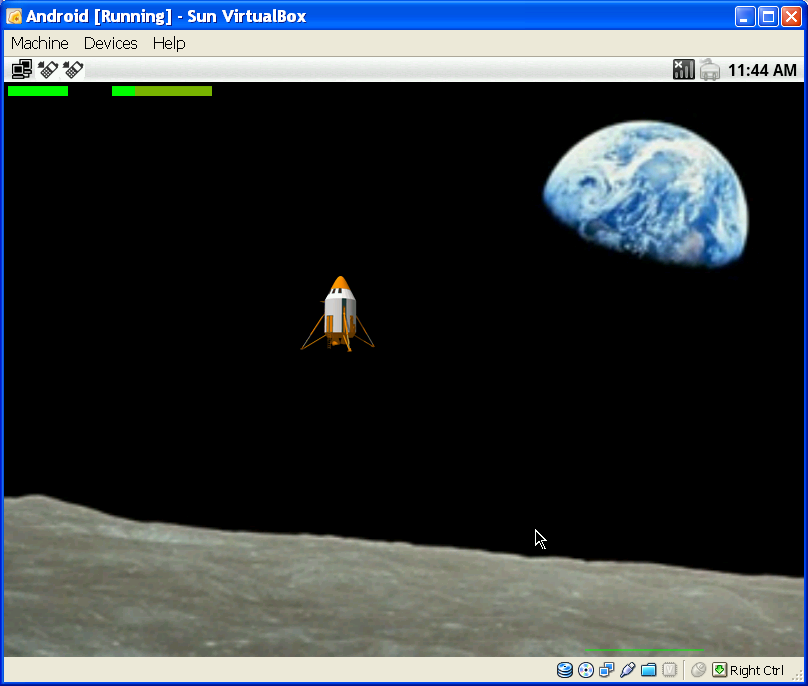
and play games (screenshot of Lunar lander).
The final step is to remove Android x86 ISO image in the virtual machine, so that you can start Android directly next time you start the virtual machine.

Jean-Luc started CNX Software in 2010 as a part-time endeavor, before quitting his job as a software engineering manager, and starting to write daily news, and reviews full time later in 2011.
Support CNX Software! Donate via cryptocurrencies, become a Patron on Patreon, or purchase goods on Amazon or Aliexpress. We also use affiliate links in articles to earn commissions if you make a purchase after clicking on those links.


