After I wrote about SimpleLink Batteryless power switch and receiver, the company decided to sent me a kit to try out by myself. So in this review, I’ll checkout the kit, install a demo to show how it works, and finally have a look at the internals.
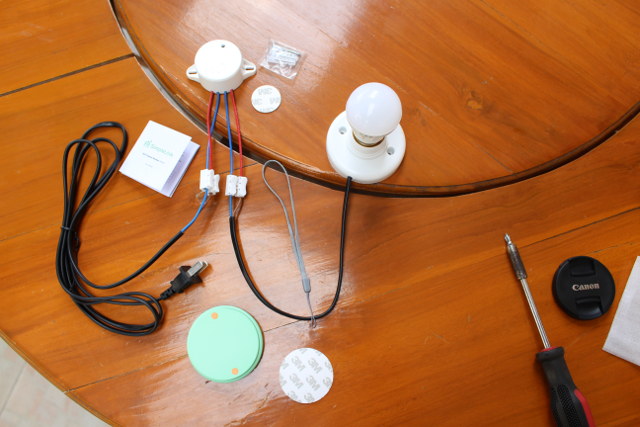
The kit include a power cord with a US plug and a holder and corresponding light bulb that you need to connect to the corresponding red and blue wire of the receiver (white cylinder), and you can control with the green power battery-less switch. Two 3M double face stickers are also included for the receiver and switch, as well as a strap for the switch, a screw set for either the light holder or receiver, and a user’s manual shown below.
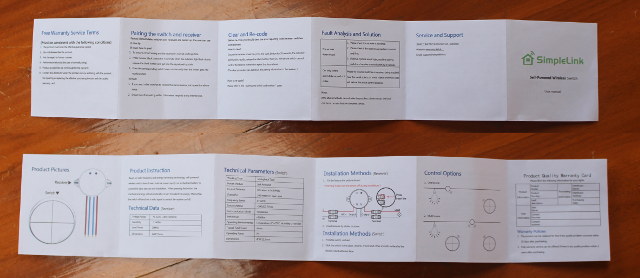
Installation is pretty self-explanatory, and you just need to connect the blue and red cables to the input (mains) and output (light) as indicated on the receiver.
Then you just need to connect it the mains (100 to 240V AC), and press the switch to turn the light on and off. You can watch a full unboxing, as well as a two short demos: one close to the receiver, one at around 5 meters starting at 3:11 in the video below.

This works using RF (433MHz) connectivity and in theory line of sight range is 100 meters, and indoors 30 meters, but I found the switch to because unreliable at around 20 meters with line of sight, and if I’m placed at the other side of my house, around 8 meters away, it’s also unreliable through multiple walls at this distance. So it works pretty well, but not exactly as far as in the specs.
I’ve started the teardown by opening the switch.
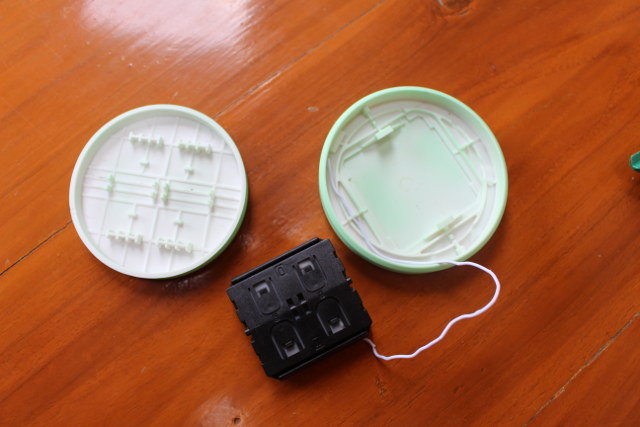
We can see a thin wire instead the enclosure that is used as the RF antenna. It starts to be a little more difficult to open after, and I broke a few clips.
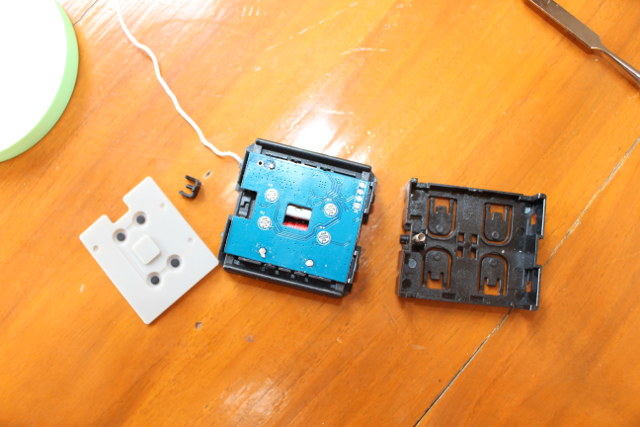
But the second step shows a rubber pad to cover the board, and a tiny button with a spring. After some more efforts I can finally take the board out.
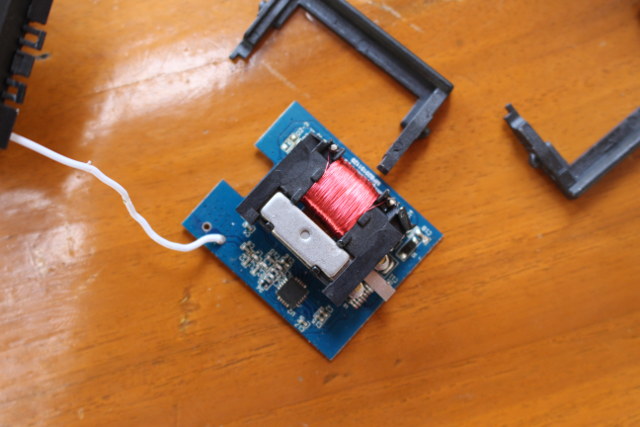
So the system is using some kind of coil for energy harvesting. I could not identify the model number, but for example, a company called Coilcraft provides inductors and transformers specifically designed for energy harvesting.
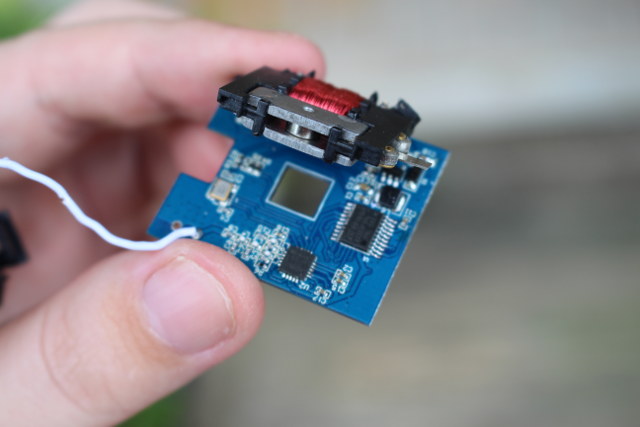
Lifting the coil revealed ST Micro STM8S103F3P6 8-bit micro controller, and Texas Instruments CC115L sub-GHz RF transmitter. The board name is SimpleLink-V05 MFB20151129.
Finally, I could reassemble everything together, with the switch still working! Yeah! But time to care of the receiver that is much easier to disassemble…
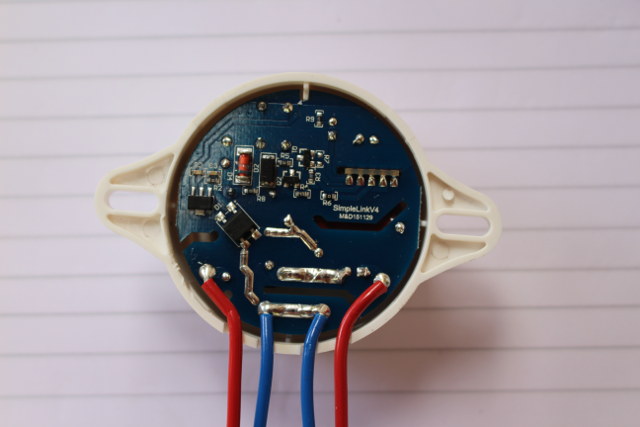
The solder looks thick and clean on the high voltage tracks, so I guess it’s reassuring. The board is called SimpleLinkV4 M&D151129, so both the receiver and switch boards are pretty recent, about one month old. I simply had to pull the board out to check out the other side of the board.
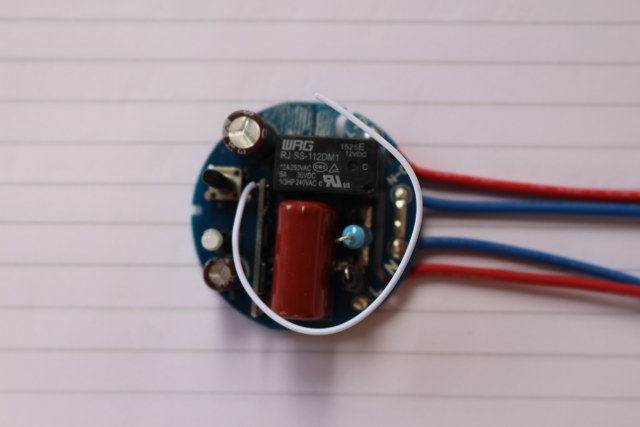
The relay is WRG RJ-SS-112DM1 operating at 12V DC, and supporting up to 10A @ 250V according to the specs. While the board itself is not UL or TUV certified, the relay is said to have some “SSA approval ratings” for “CQC”, cUL, and TUV.
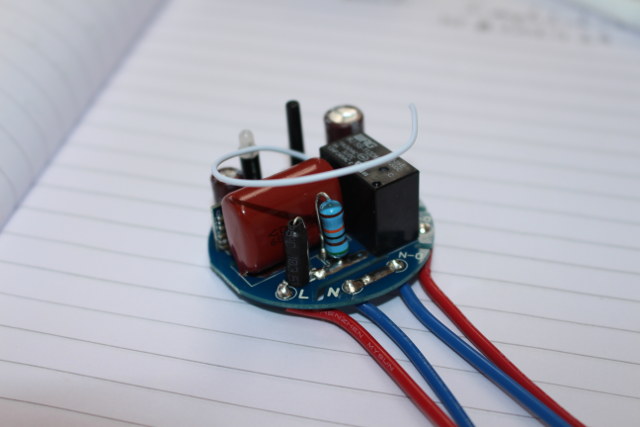
A short wire is again used as the RF antenna.
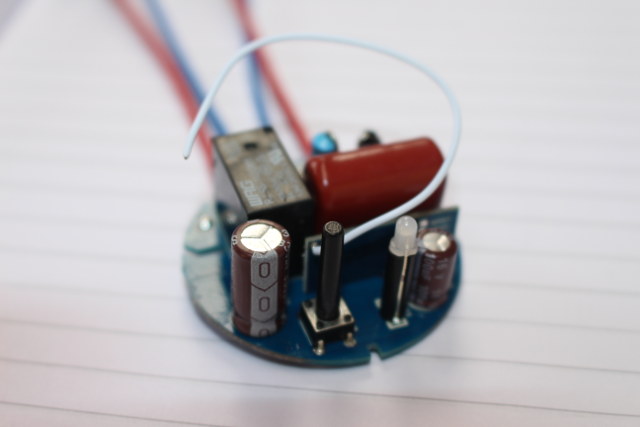
The long push button and LED are also interesting. The button is used to pair the receiver and the switch in case of issue, but I did not have to use it. The LED turn blue when the light bulb is turned on, and turned off with the light.
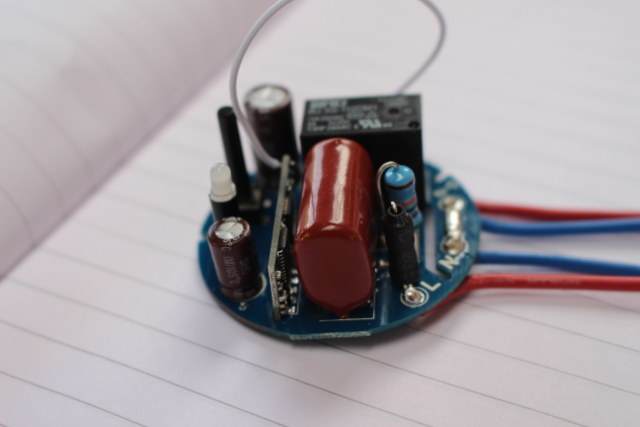
The RF board is soldered, and I did not remove it, but I can see two IC, which should be another STM8S MCU coupled with Texas Instruments CC113L smart RF receiver.
I’ll probably use the system with one of my outdoor fluorescent lamp. SimpleLink used to sell the kit on Aliexpress for $48, but they’ve since removed all product from their store. I found the price to be on the high side, and in a world of $3 WiFi modules, I’d expect a receiver + switch kit to be closer to $20 than $50. You can still check out SimpleLink wireless and batteryless switches on the company website.

Jean-Luc started CNX Software in 2010 as a part-time endeavor, before quitting his job as a software engineering manager, and starting to write daily news, and reviews full time later in 2011.
Support CNX Software! Donate via cryptocurrencies, become a Patron on Patreon, or purchase goods on Amazon or Aliexpress. We also use affiliate links in articles to earn commissions if you make a purchase after clicking on those links.


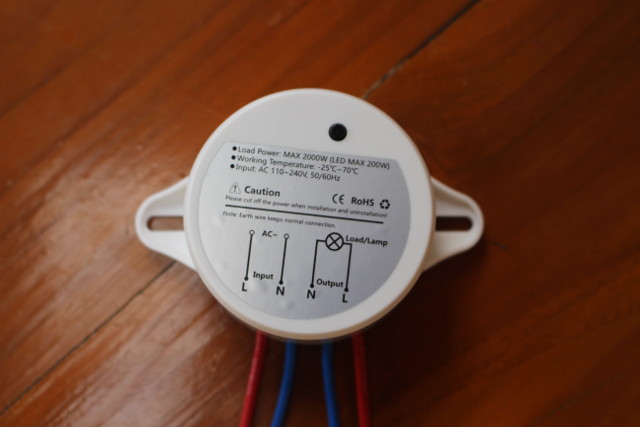


I’ve tried to use SimpleLink to control an AC water pump, but it would often stop, or fail to start.
That’s their answer:
we have two kinds of receiver, 200V~240V, and 85V~265V.
200V~240V is for asia market, control light.
You use it control water pump, higher power, make the voltage low than 200V, so turn off.
So despite the 110~220V voltage show on the receiver, it could be that I received a “200V~240V” version. I should receive a new “85 to 265V” receiver in April, but in the meantime, I’ve switched to NodeMCU + 10A relay, and control it over WiFi.