
Microchip launched MPLAB Xpress online IDE and board earlier this year, and as part of the launch they offered 2,000 free boards. I joined the program and received my board. The keyword for the board is “Xpress”, as you should be able to get started in mere minutes thanks to the operating system agnostic online IDE that works with Internet Explorer, Firefox, Chrome, and Safari. That also means you don’t need to install any other tool. All you need is a web browser.
MPLAB Xpress Board
Let’s start by quickly checking out the package, board, and offline documentation.
 Once you open the package, you’ll get the board, a folded sheet of paper for the schematics, and some information on the package itself with the pinout diagram, and a quick start guide explaining that the board acts as a mass storage device, and all you need is a web browser for programming it.
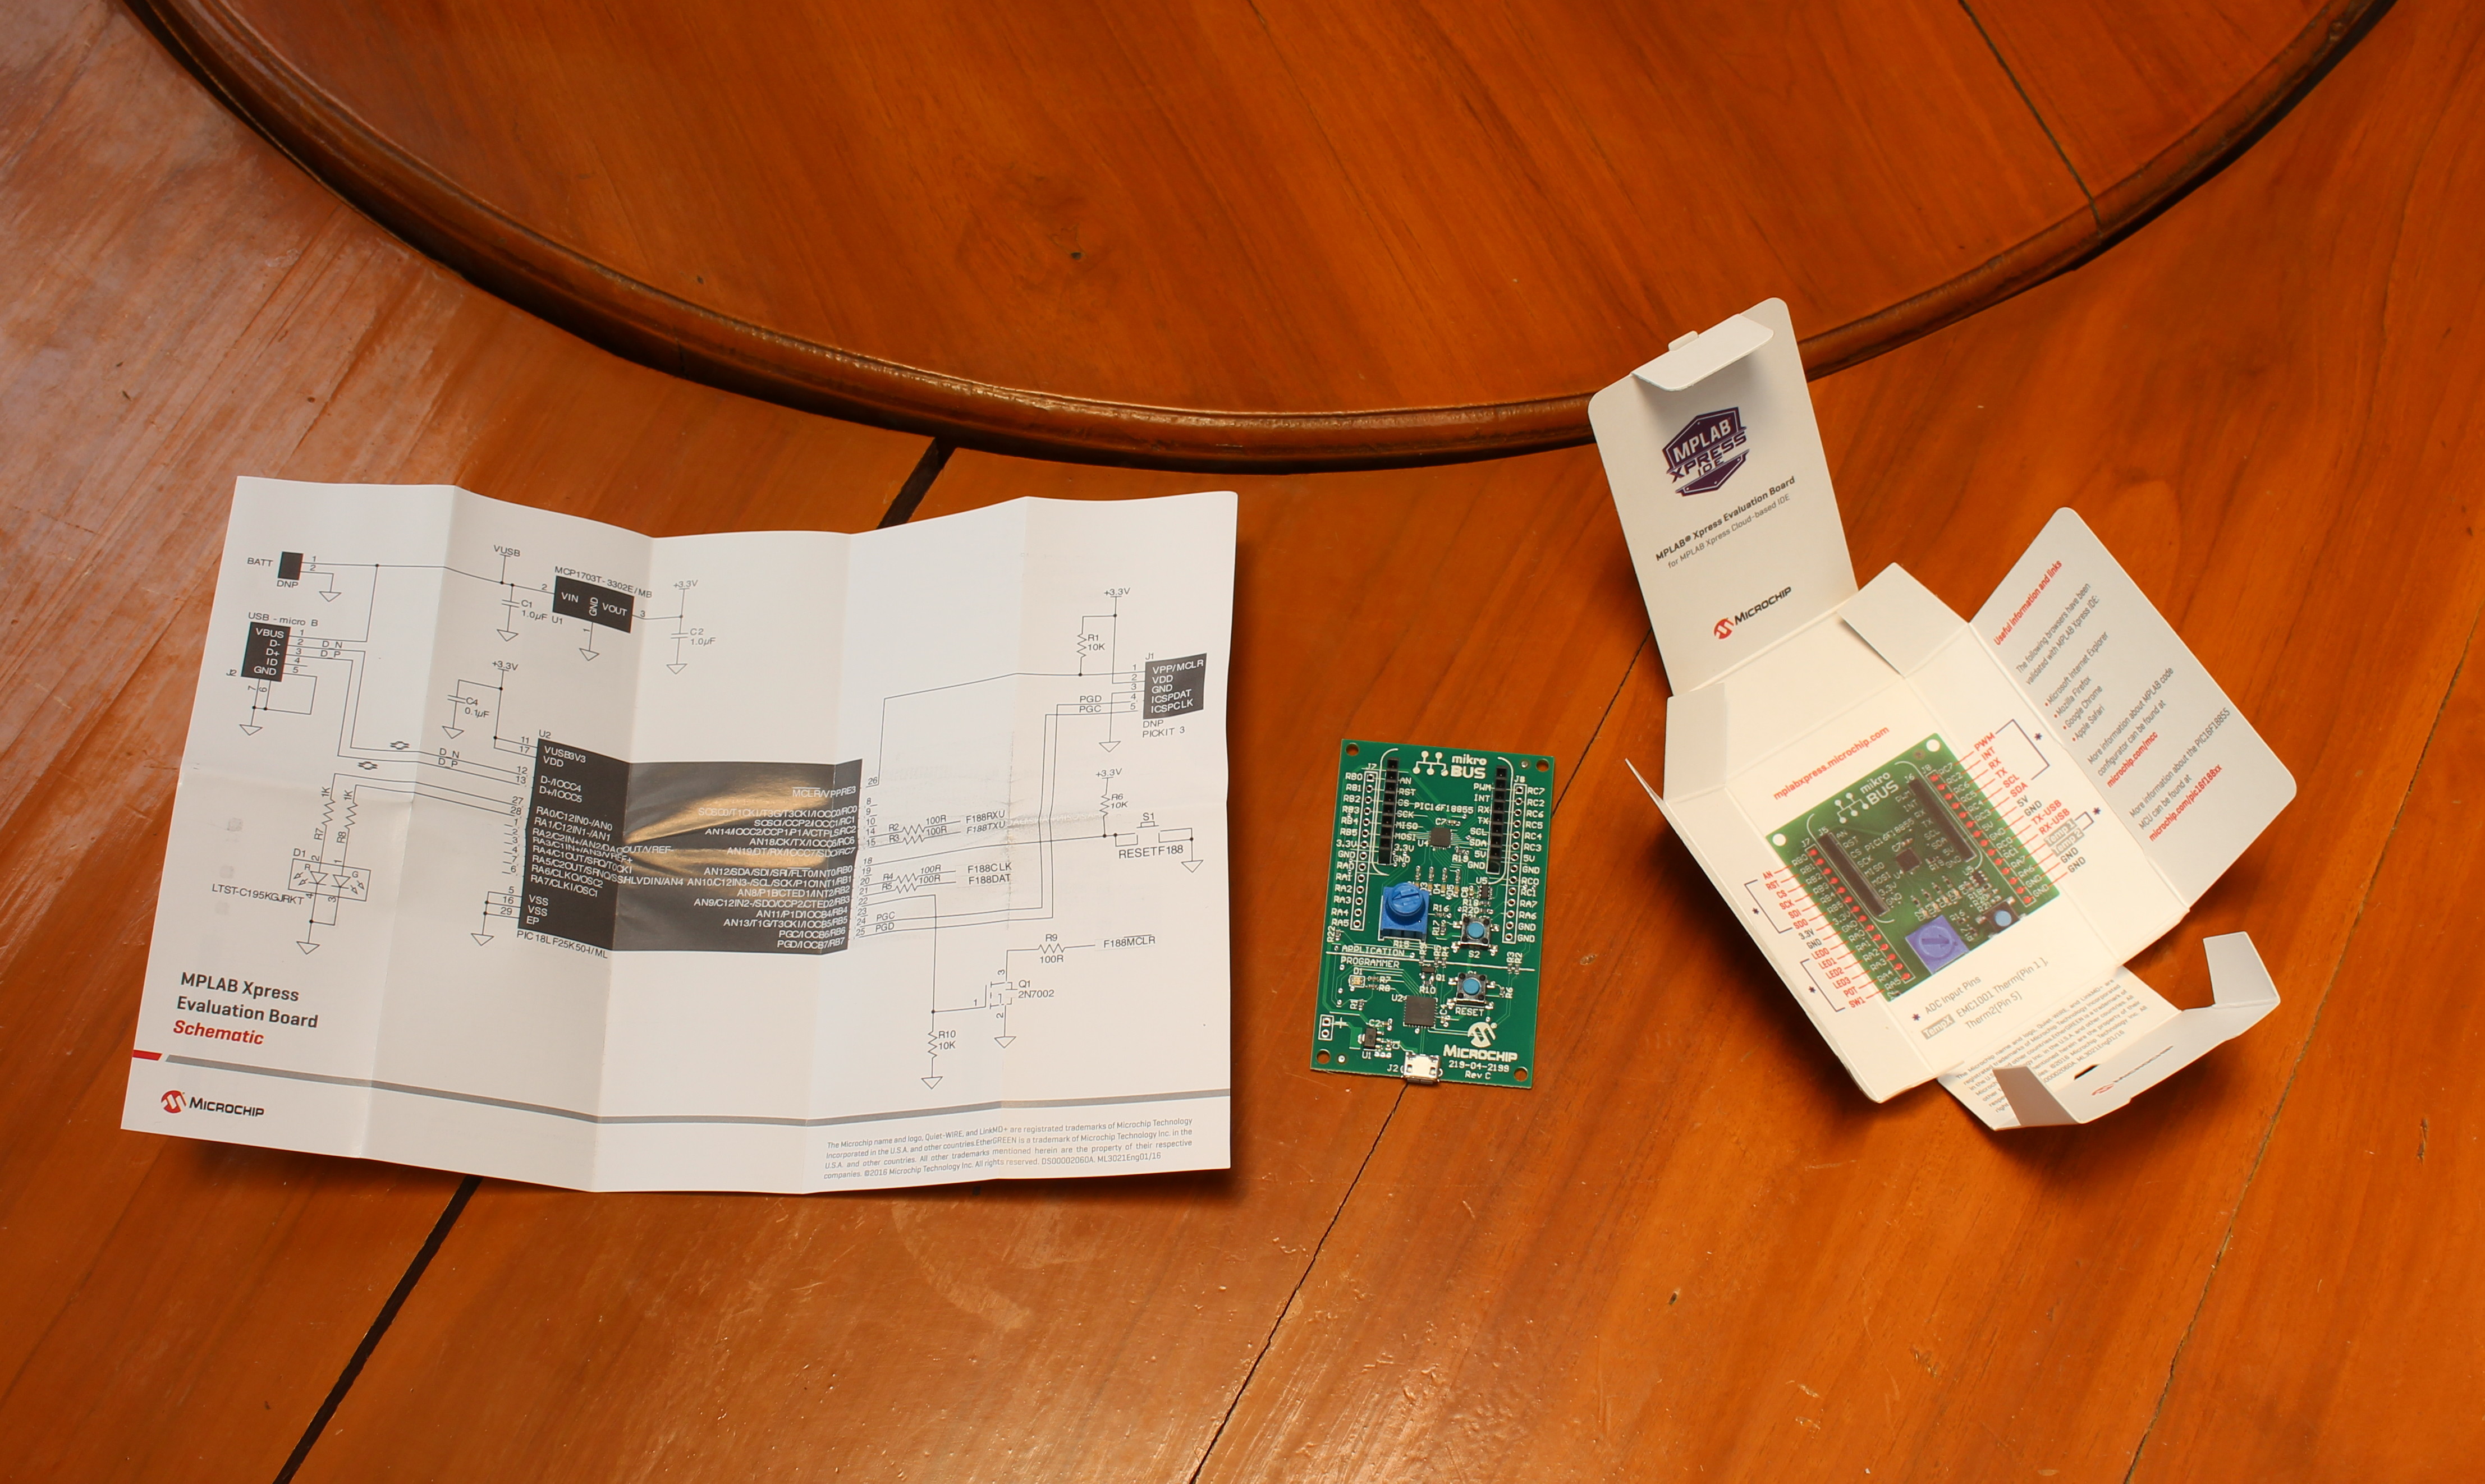
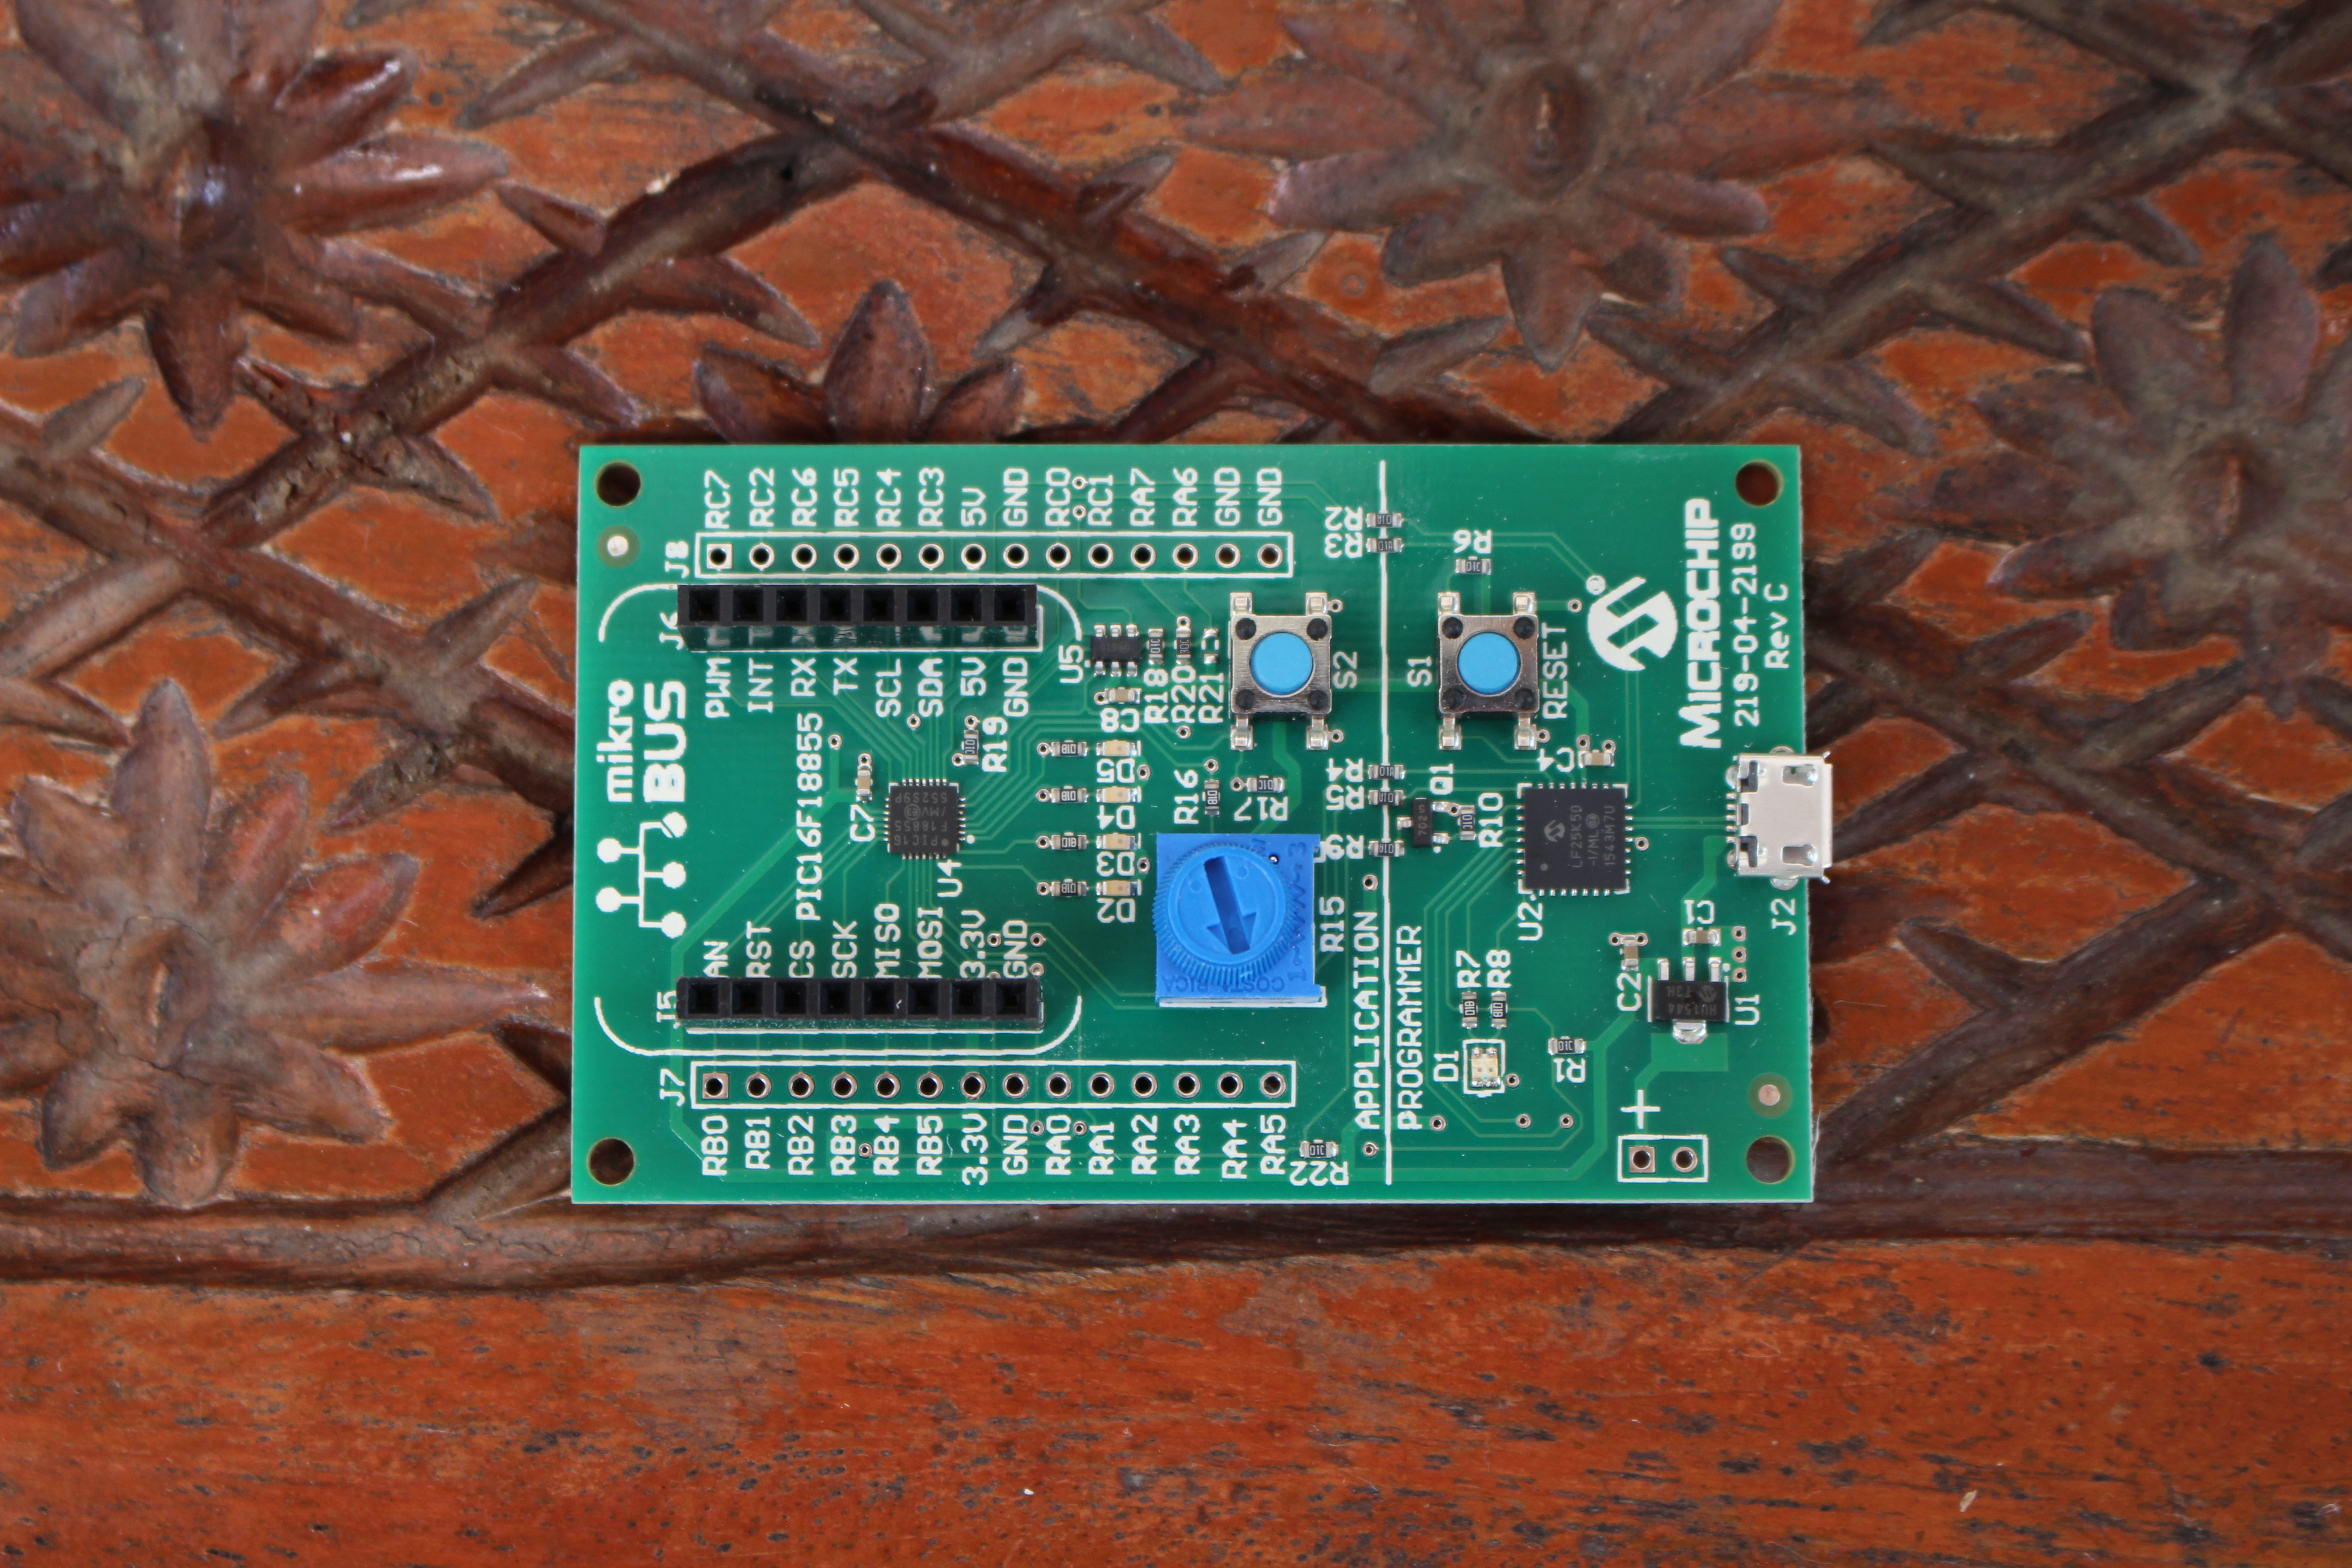
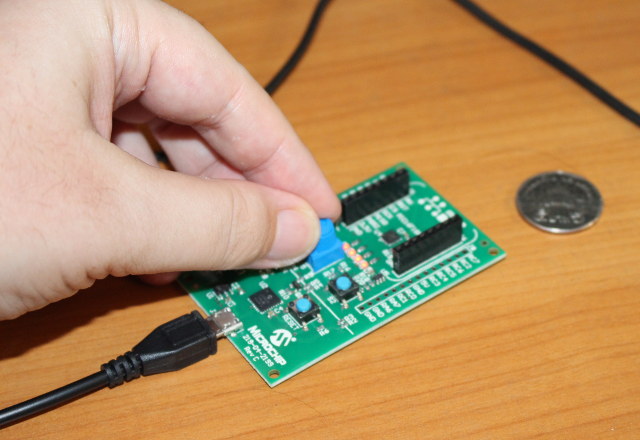
The part has two parts: “Application” and “Programmer”. The latter features the micro USB port, and the eleectronics to handle the USB connection with a PC. There’s also a 2-pin header to power the board with a battery. The application part comes with a mikroBUS socket to be used with MikroElektrona’s Click boards, two rows of through holes on the sides with GPIOs, SPI, I2C, UART, PWM, and analog input pins, a potentiometer, a user button, and Microchip PIC16F18855 MCU.
There’s not much to see on bottom of the board.
Getting Started with MPLAB Xpress
I had to find a commonly used micro USB to USB cable to connect the board to my computer. I’m using Ubuntu 14.04 and Firefox, but most operating systems and web browser combination should work.
The board four RED LEDs are blinking in sequence, and it is indeed detected as a mass storage device with a single file README.HTM. Clicking on the file will open your default web browser and redirect to the MPLAB Xpress page @ https://www.microchip.com/mplab/mplab-xpress. I scrolled down to the bottom of the age, and clicked on Examples in the Community section.

You’ll get a list of code example for Xpress and Curiosity boards made by either Microchip themselves or the developer community. I filtered the results for Xpress board and Microchip, and clicked on Open for LED brightness control using potentiometer example, which started the online IDE with the sample program:
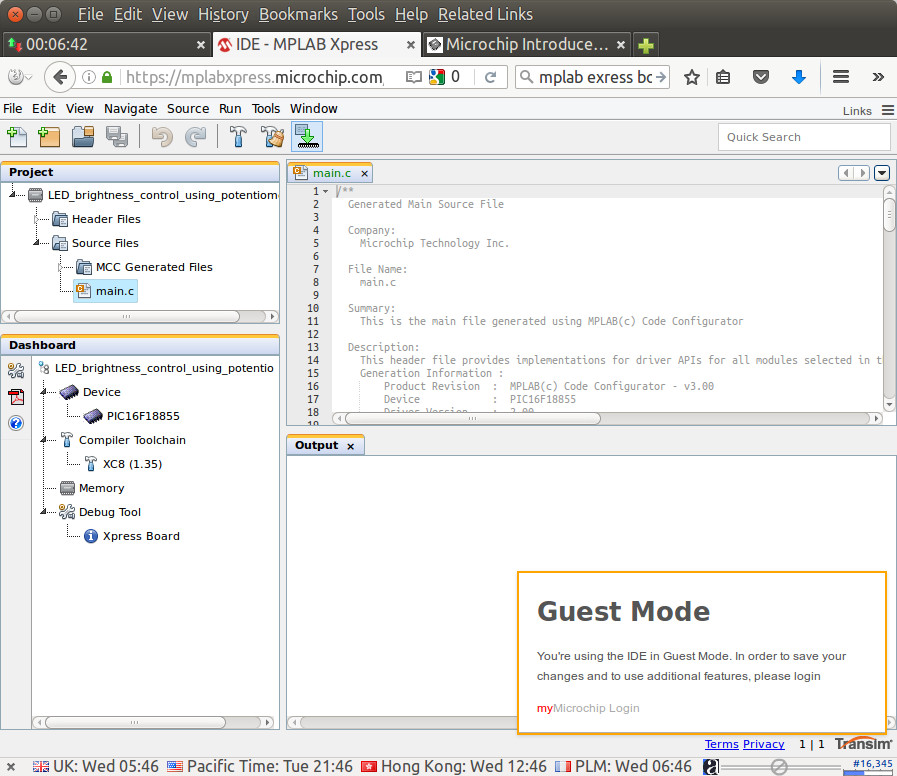
The code is written in C, and is pretty simple, as all complex initialization tasks are handled by the “SYSTEM_Initialize” function:
|
1 2 3 4 5 6 7 8 9 10 11 12 13 14 15 |
#include "mcc_generated_files/mcc.h" void main(void) { // initialize the device SYSTEM_Initialize(); while (1) { adc_result_t dutyValue = ADCC_GetSingleConversion(pot); //load the potentiometer value in a 16 bit variable if (dutyValue < 90) //if the potentiometer does not give 0 value dutyValue = 0; //set the value to 0 when it is below 90 to turn the LED off completely PWM6_LoadDutyValue(dutyValue); //load the potentiometer value to the PWM duty cycle } } |
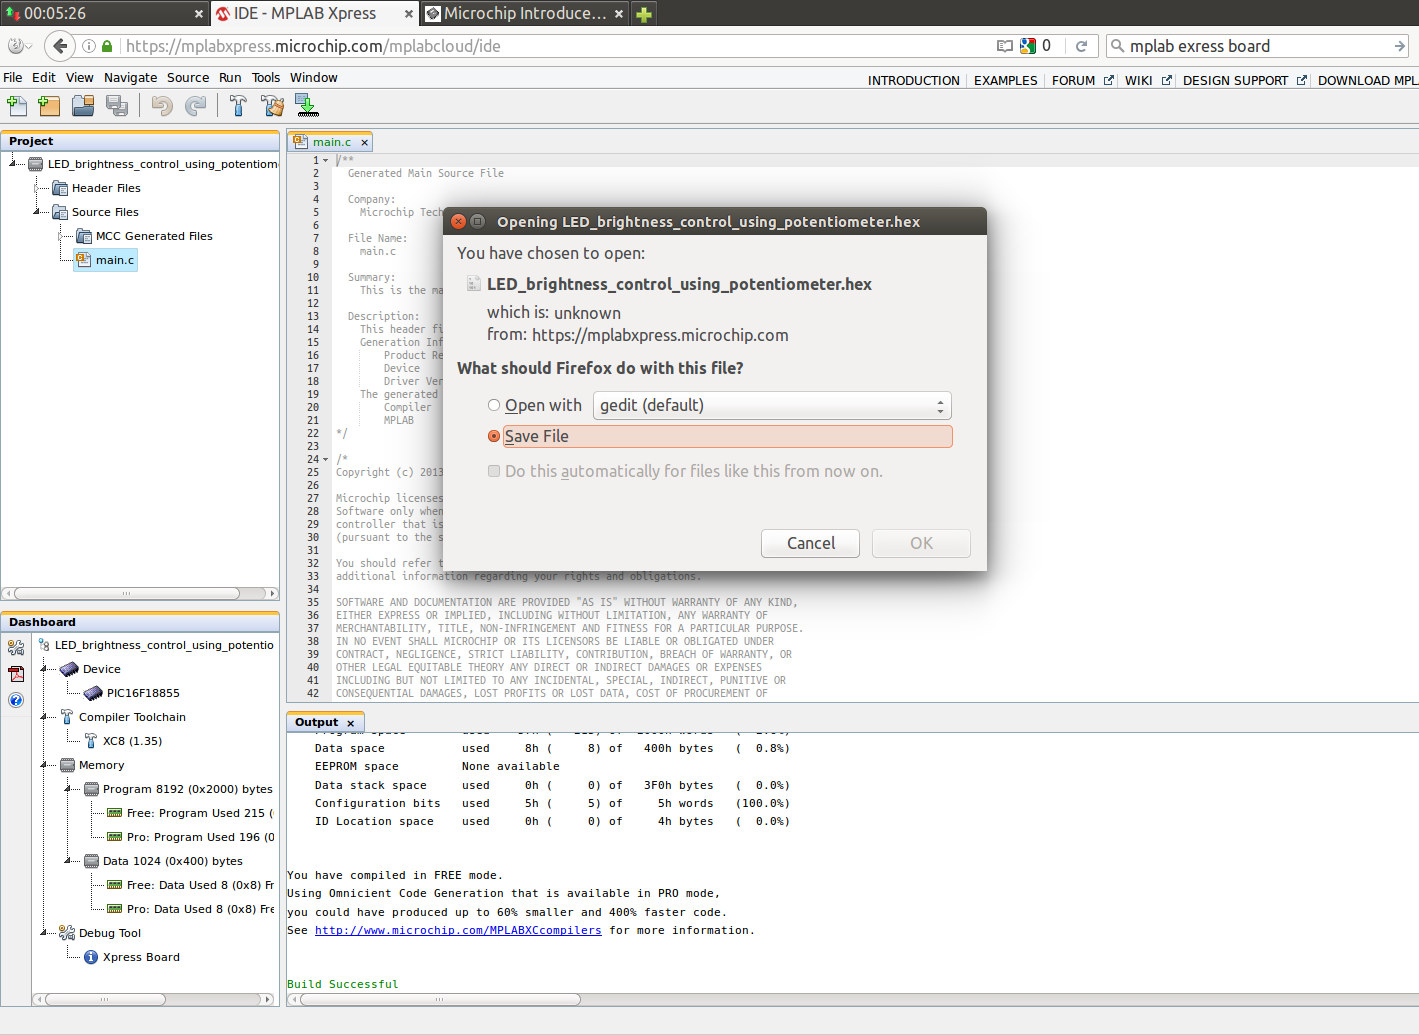
I then clicked on the Build icon right above “main.c”, and shortly after I was asked to download “LED_brightness_control_using_potentiometer.hex”.
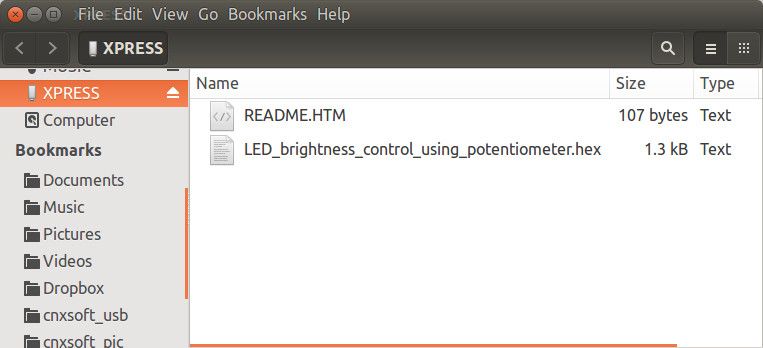
Finally I copied the binary to the board, just like I would coy a file to a USB flash drive.
 The program is then automatically started with the four red LEDs on, and I was able to dim and turn on and off the LEDs with the potentiometer.
 It must have taken me about 5 minutes from the time I open the package to the time I have the demo running. Quite impressive in simplicity.
It’s also possible to play with MPLAB Xpress IDE without board using the “Test Drive” option. The board is not for sale yet, but if you are interested, you can apply for an introductory discount to buy the board when it becomes available on microCHIP direct store.

Jean-Luc started CNX Software in 2010 as a part-time endeavor, before quitting his job as a software engineering manager, and starting to write daily news, and reviews full time later in 2011.
Support CNX Software! Donate via cryptocurrencies, become a Patron on Patreon, or purchase goods on Amazon or Aliexpress


Cool stuff but i don’t understand how they program the hex to PIC?
They propose to download a small program to handle pickit3/ICD3 from downloaded hex file?
It’s can be a wide opensource library program if they notice that online mplabx is GPL (they have your code all the time) to share to each other!
PIC16F and PIC32MX are a good choice for my project, happy to see Microchip try to see future…
@boobypi
I’m not sure how they do it internally, but you just copy the hex file to the flash (using your OS file manager), and then the program runs from there, or they flash it in the background somewhere else, and run it.
Nice cloud based development environment.
I looks very similar to the mbed.
@boobypi
There’s no additional hardware required to program the MPLAB Xpress board. Instead, this board uses a clever approach: a PIC18LF25K50 is used to emulate a USB drive, and it uses LVP to program the PIC16F18855. The .hex file remains on the PC, it just appears as being on the USB drive.
Besides this, the PIC18LF25K50 also performs USB-UART function.
If you wish to dig further, the source files of the Xpress loader can be found on https://github.com/MicrochipTech/XPRESS-Loader.