
Thanks to CNX for helping me get a hand on the 96Boards compliant Mediatek X20 board that was generously donated by Seeed Studio. In this article, I will walk through the steps to get the board up and running and also compile Android from the source code. The current Android is version 6.
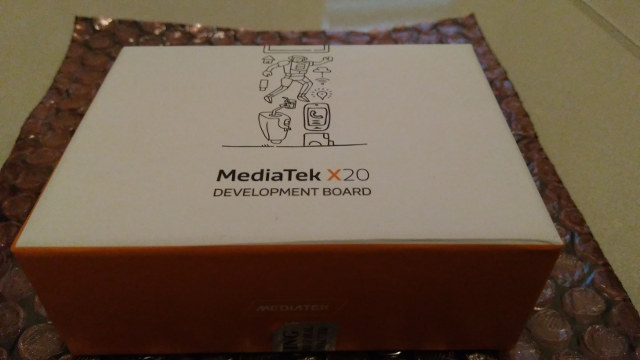
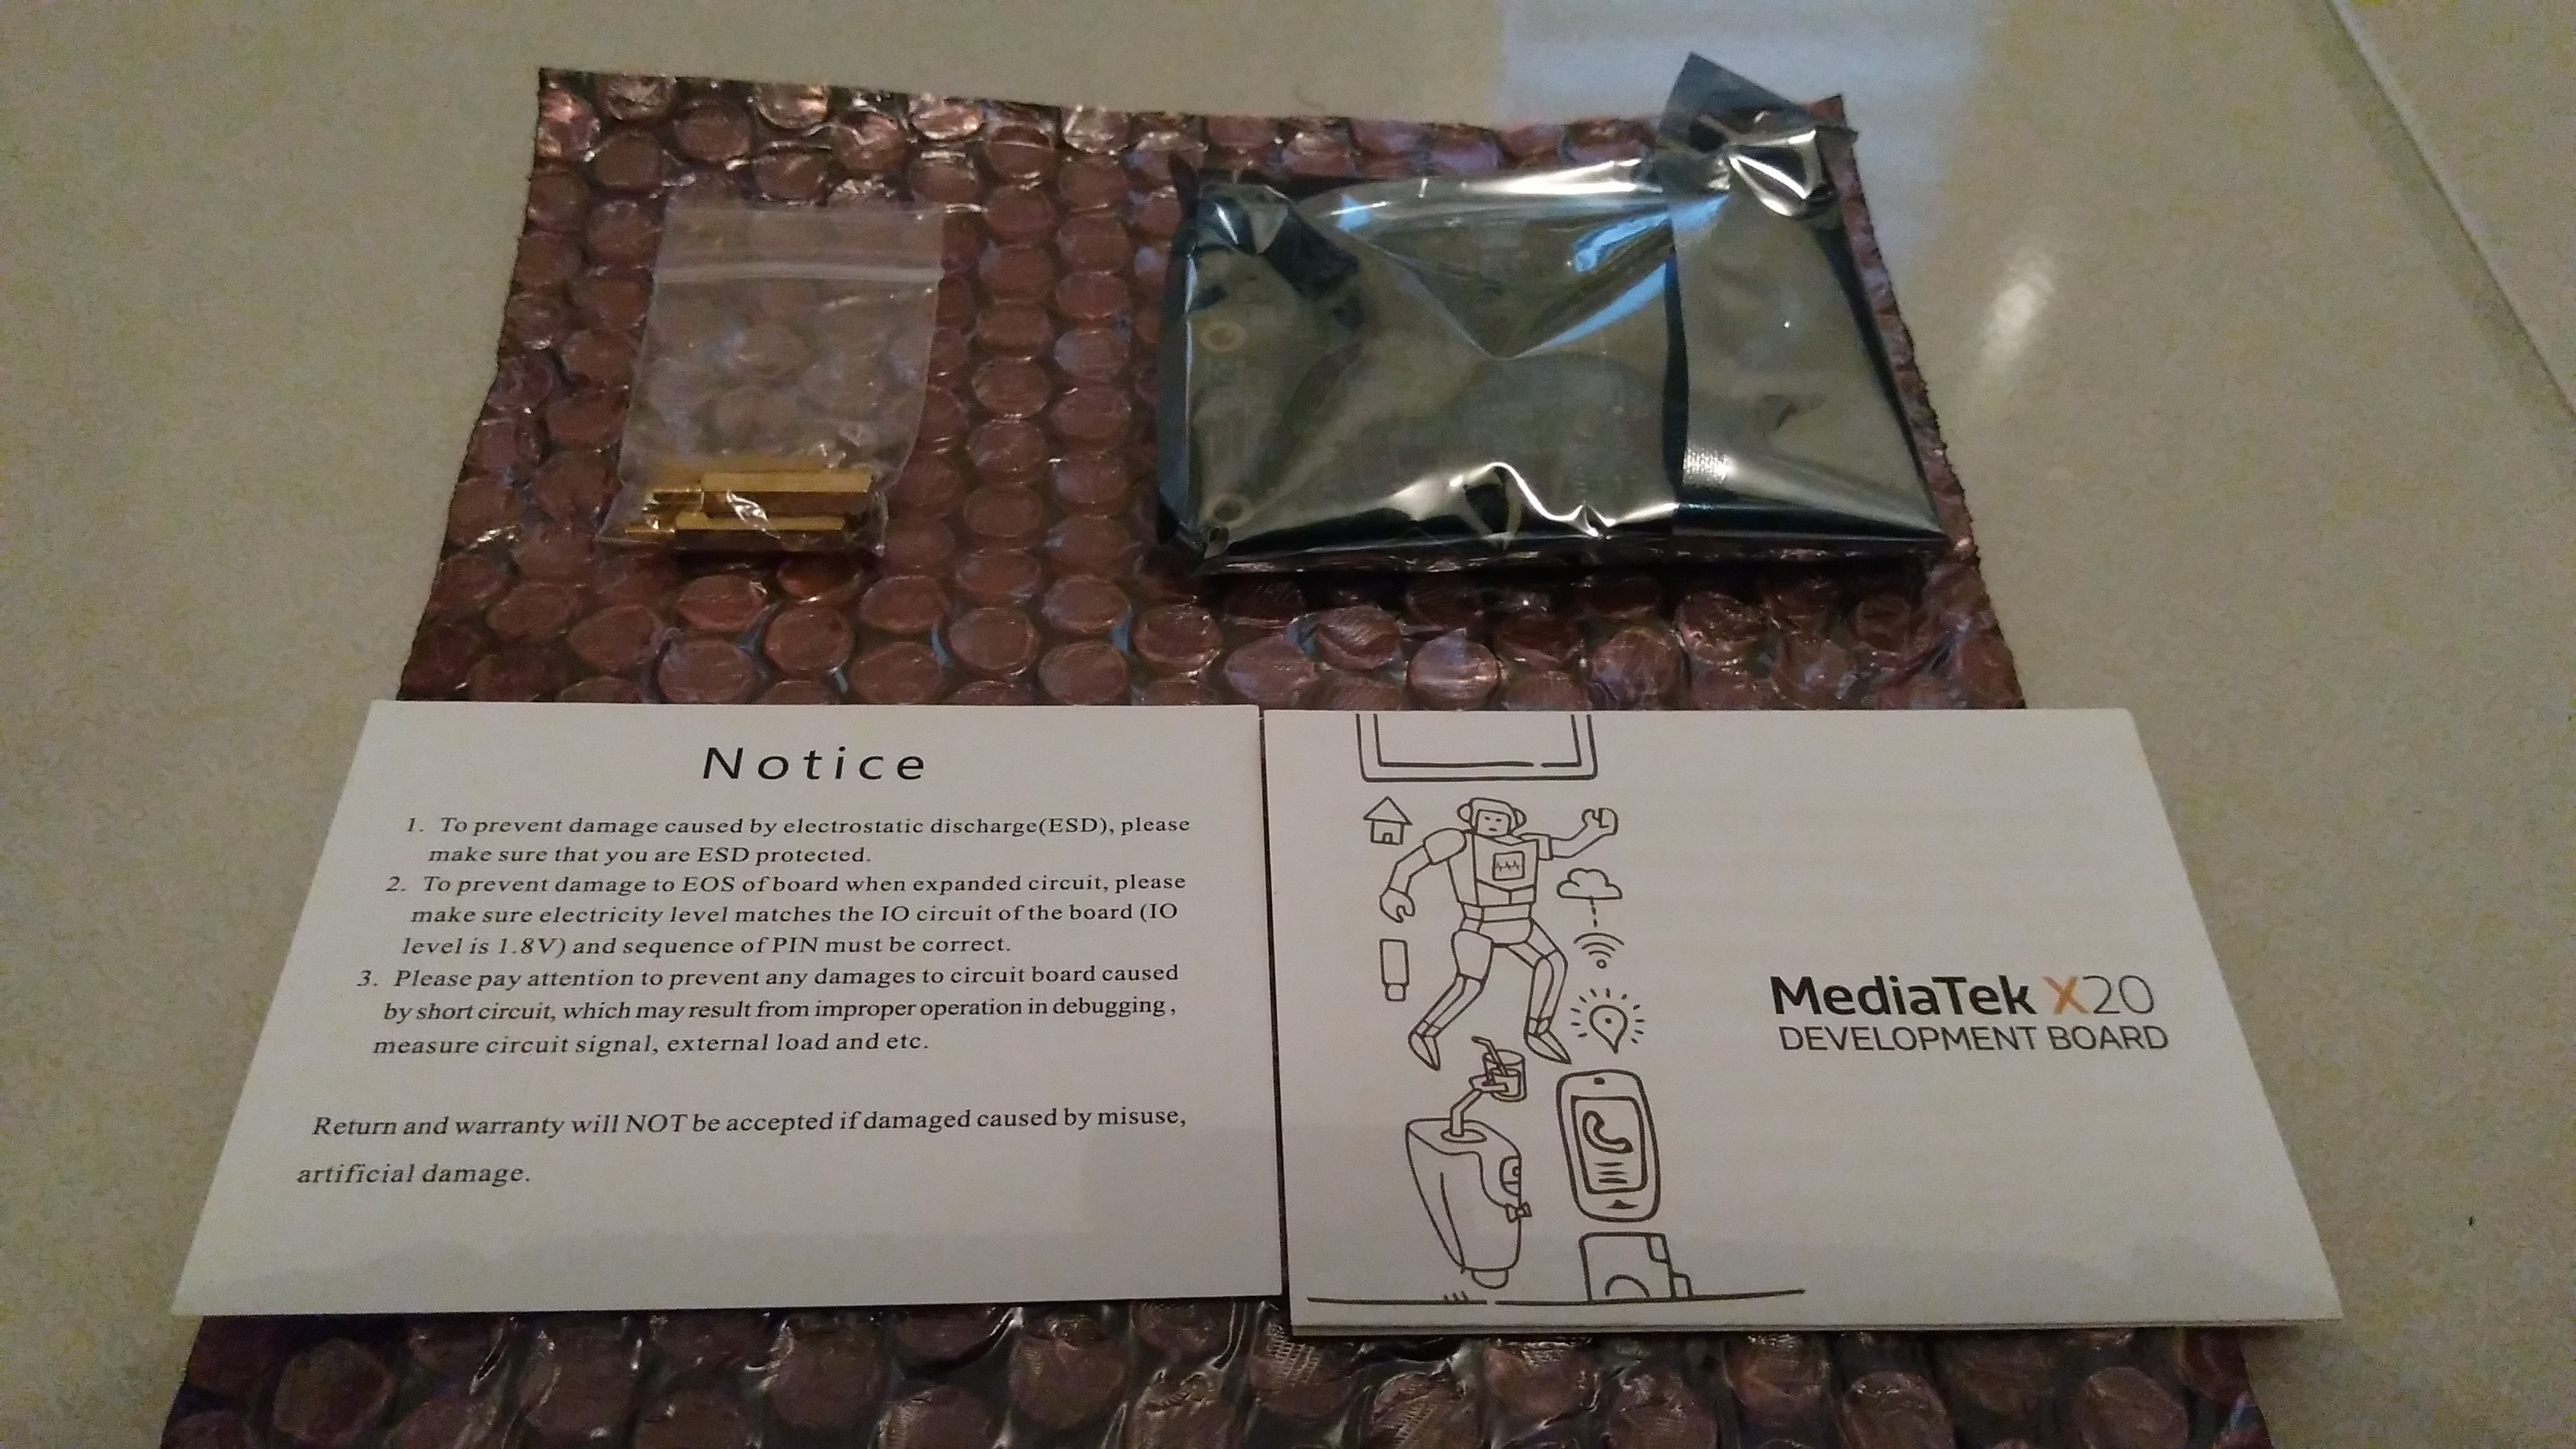
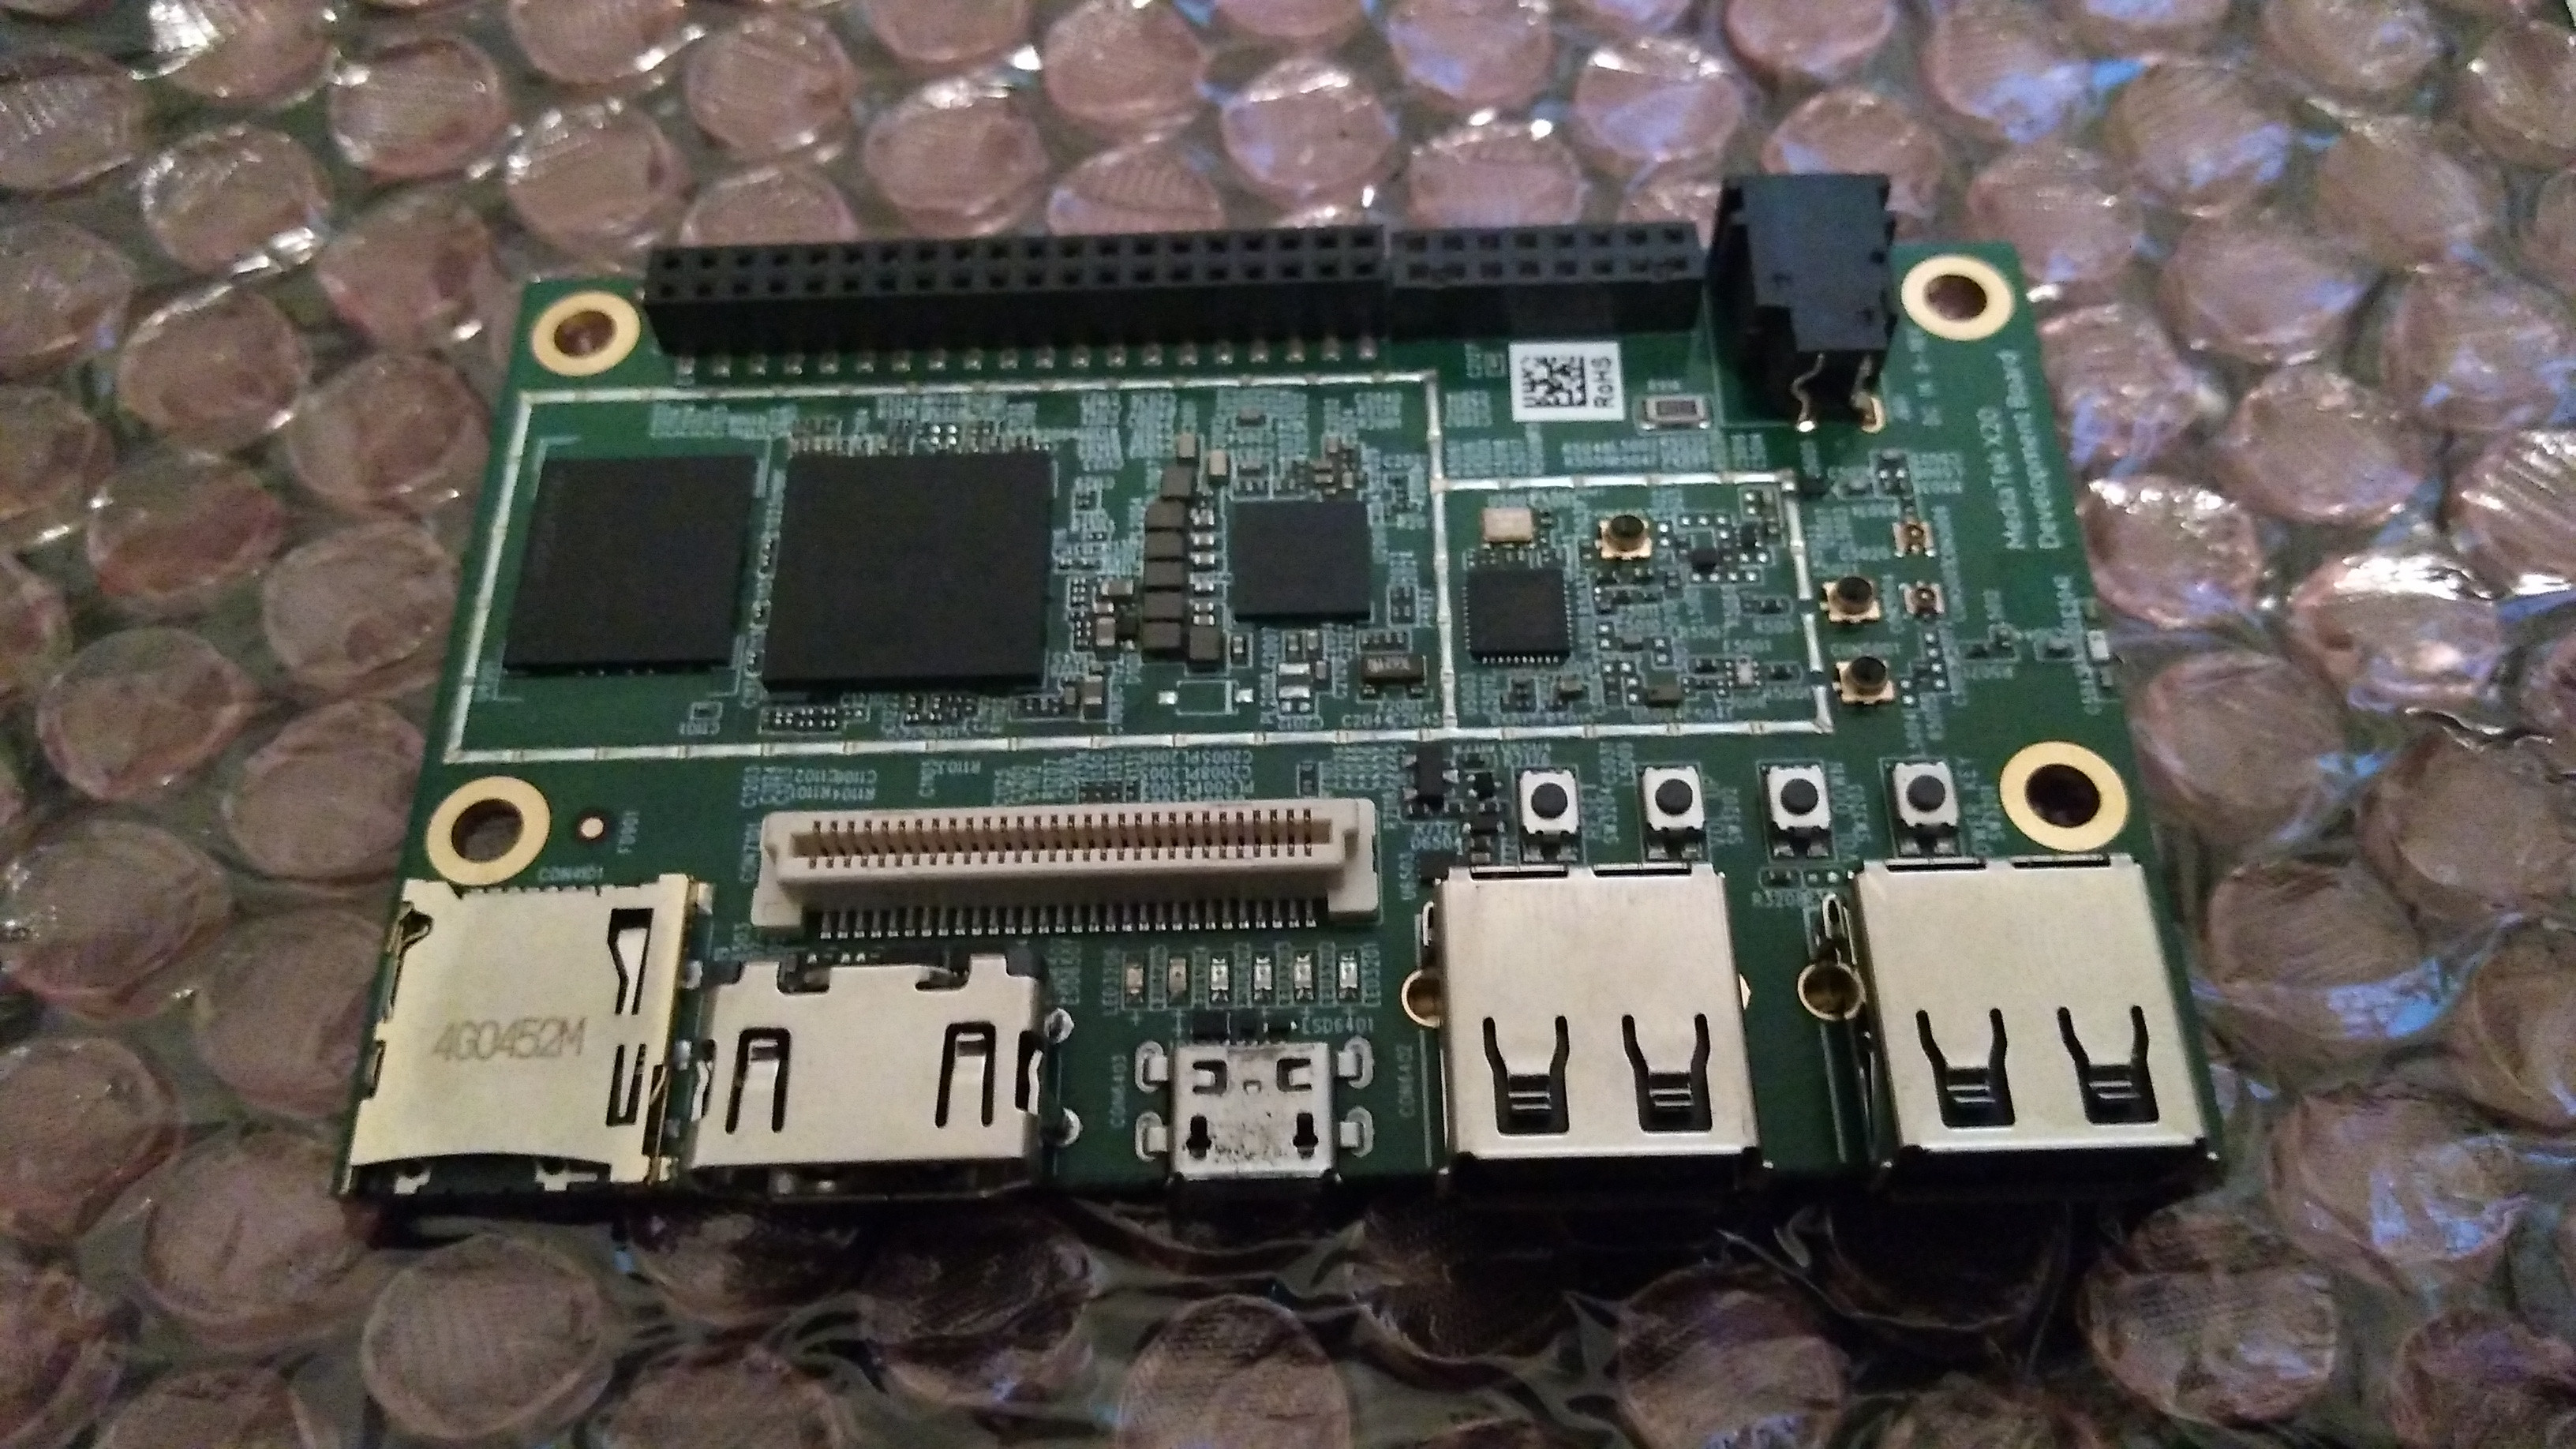
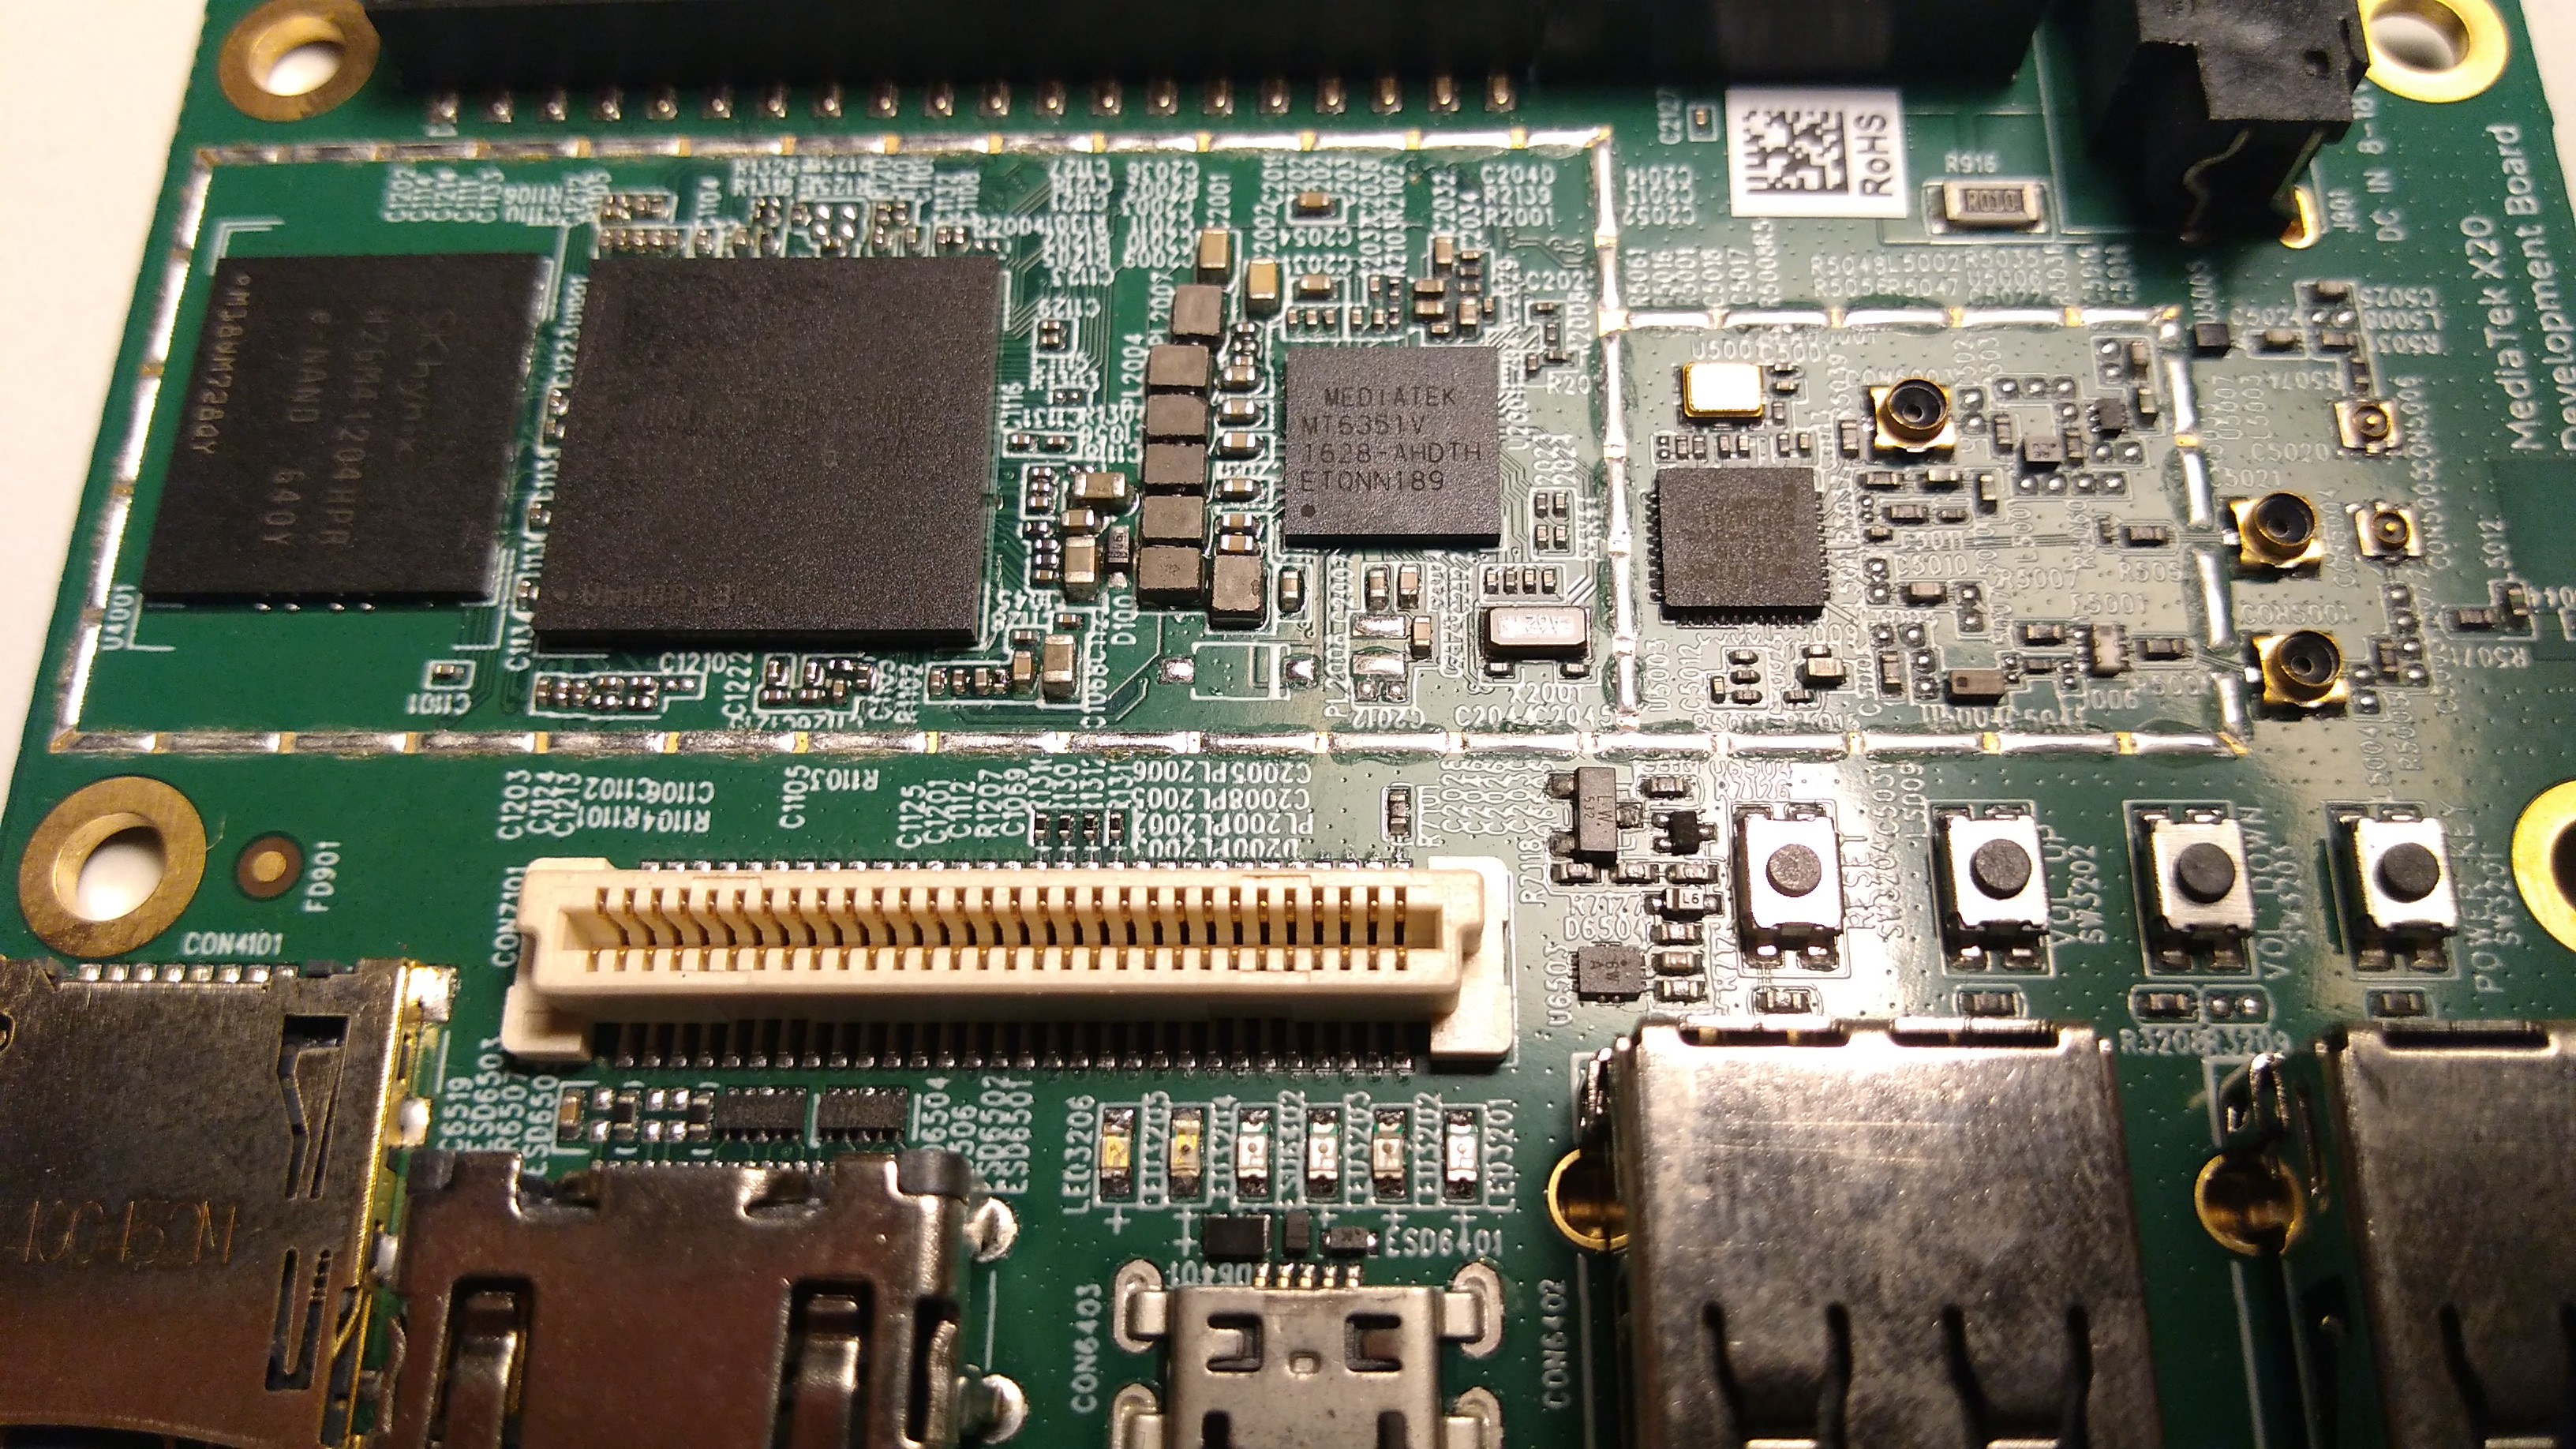
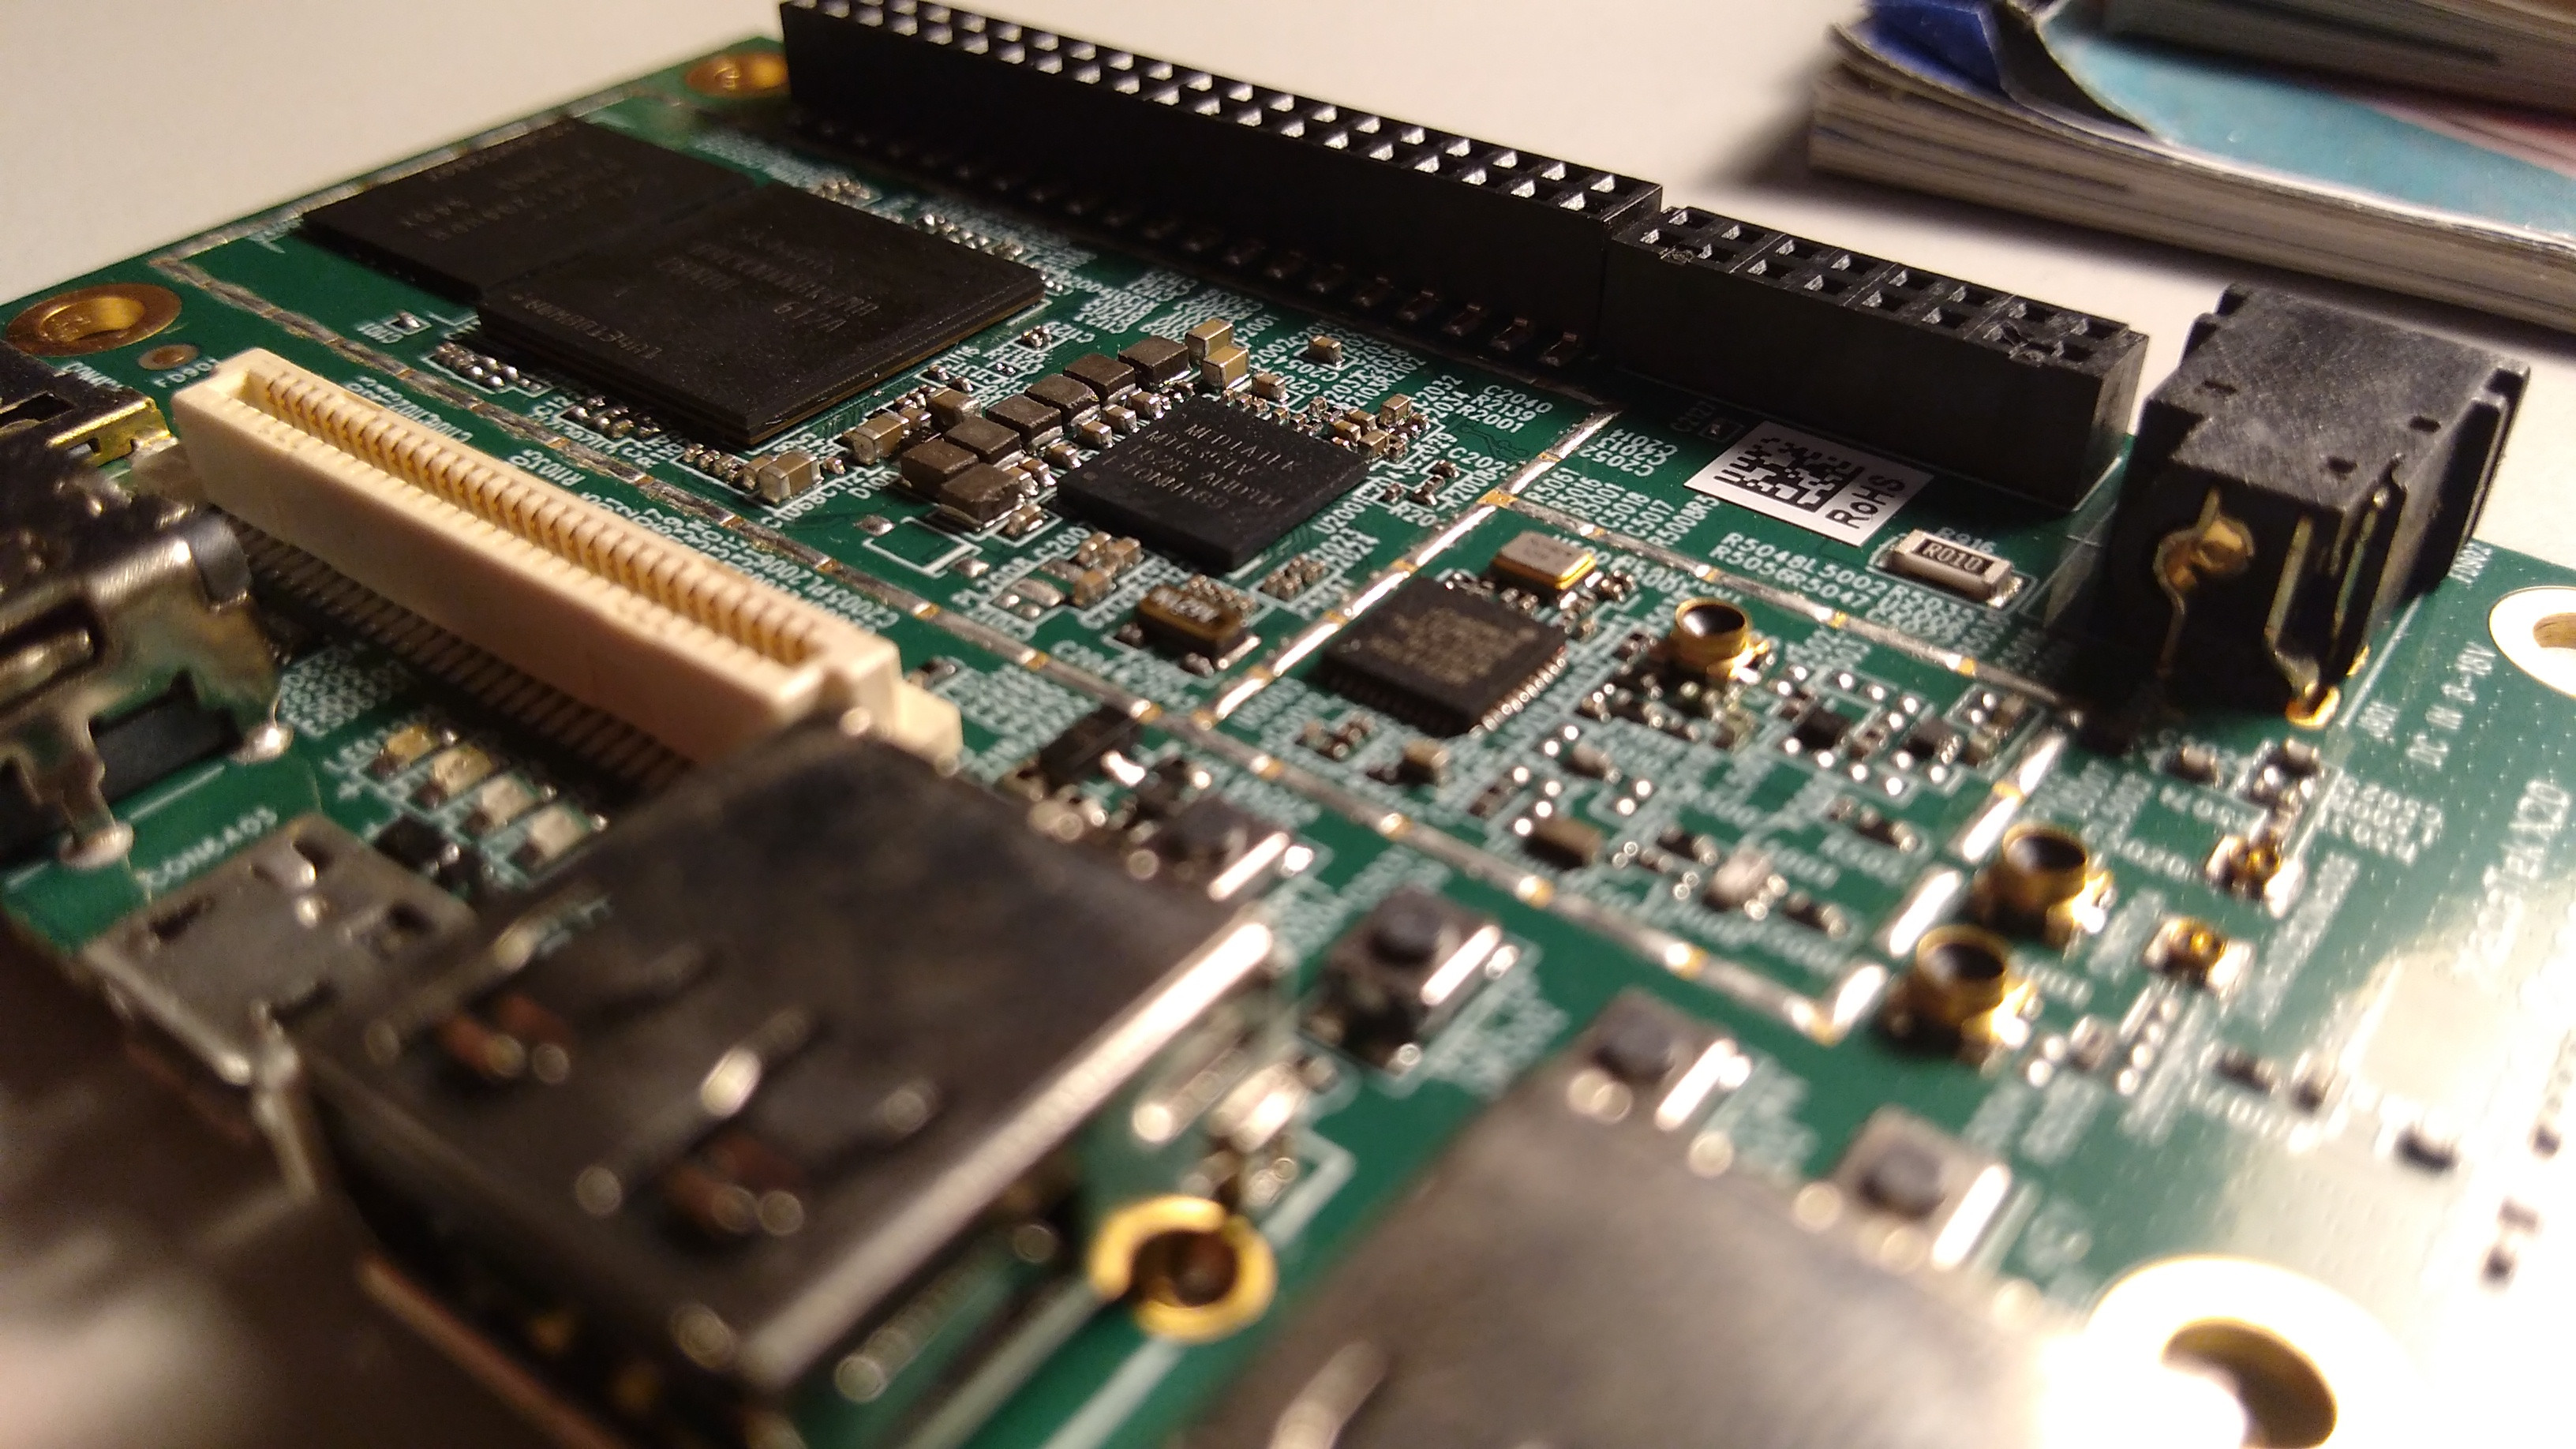
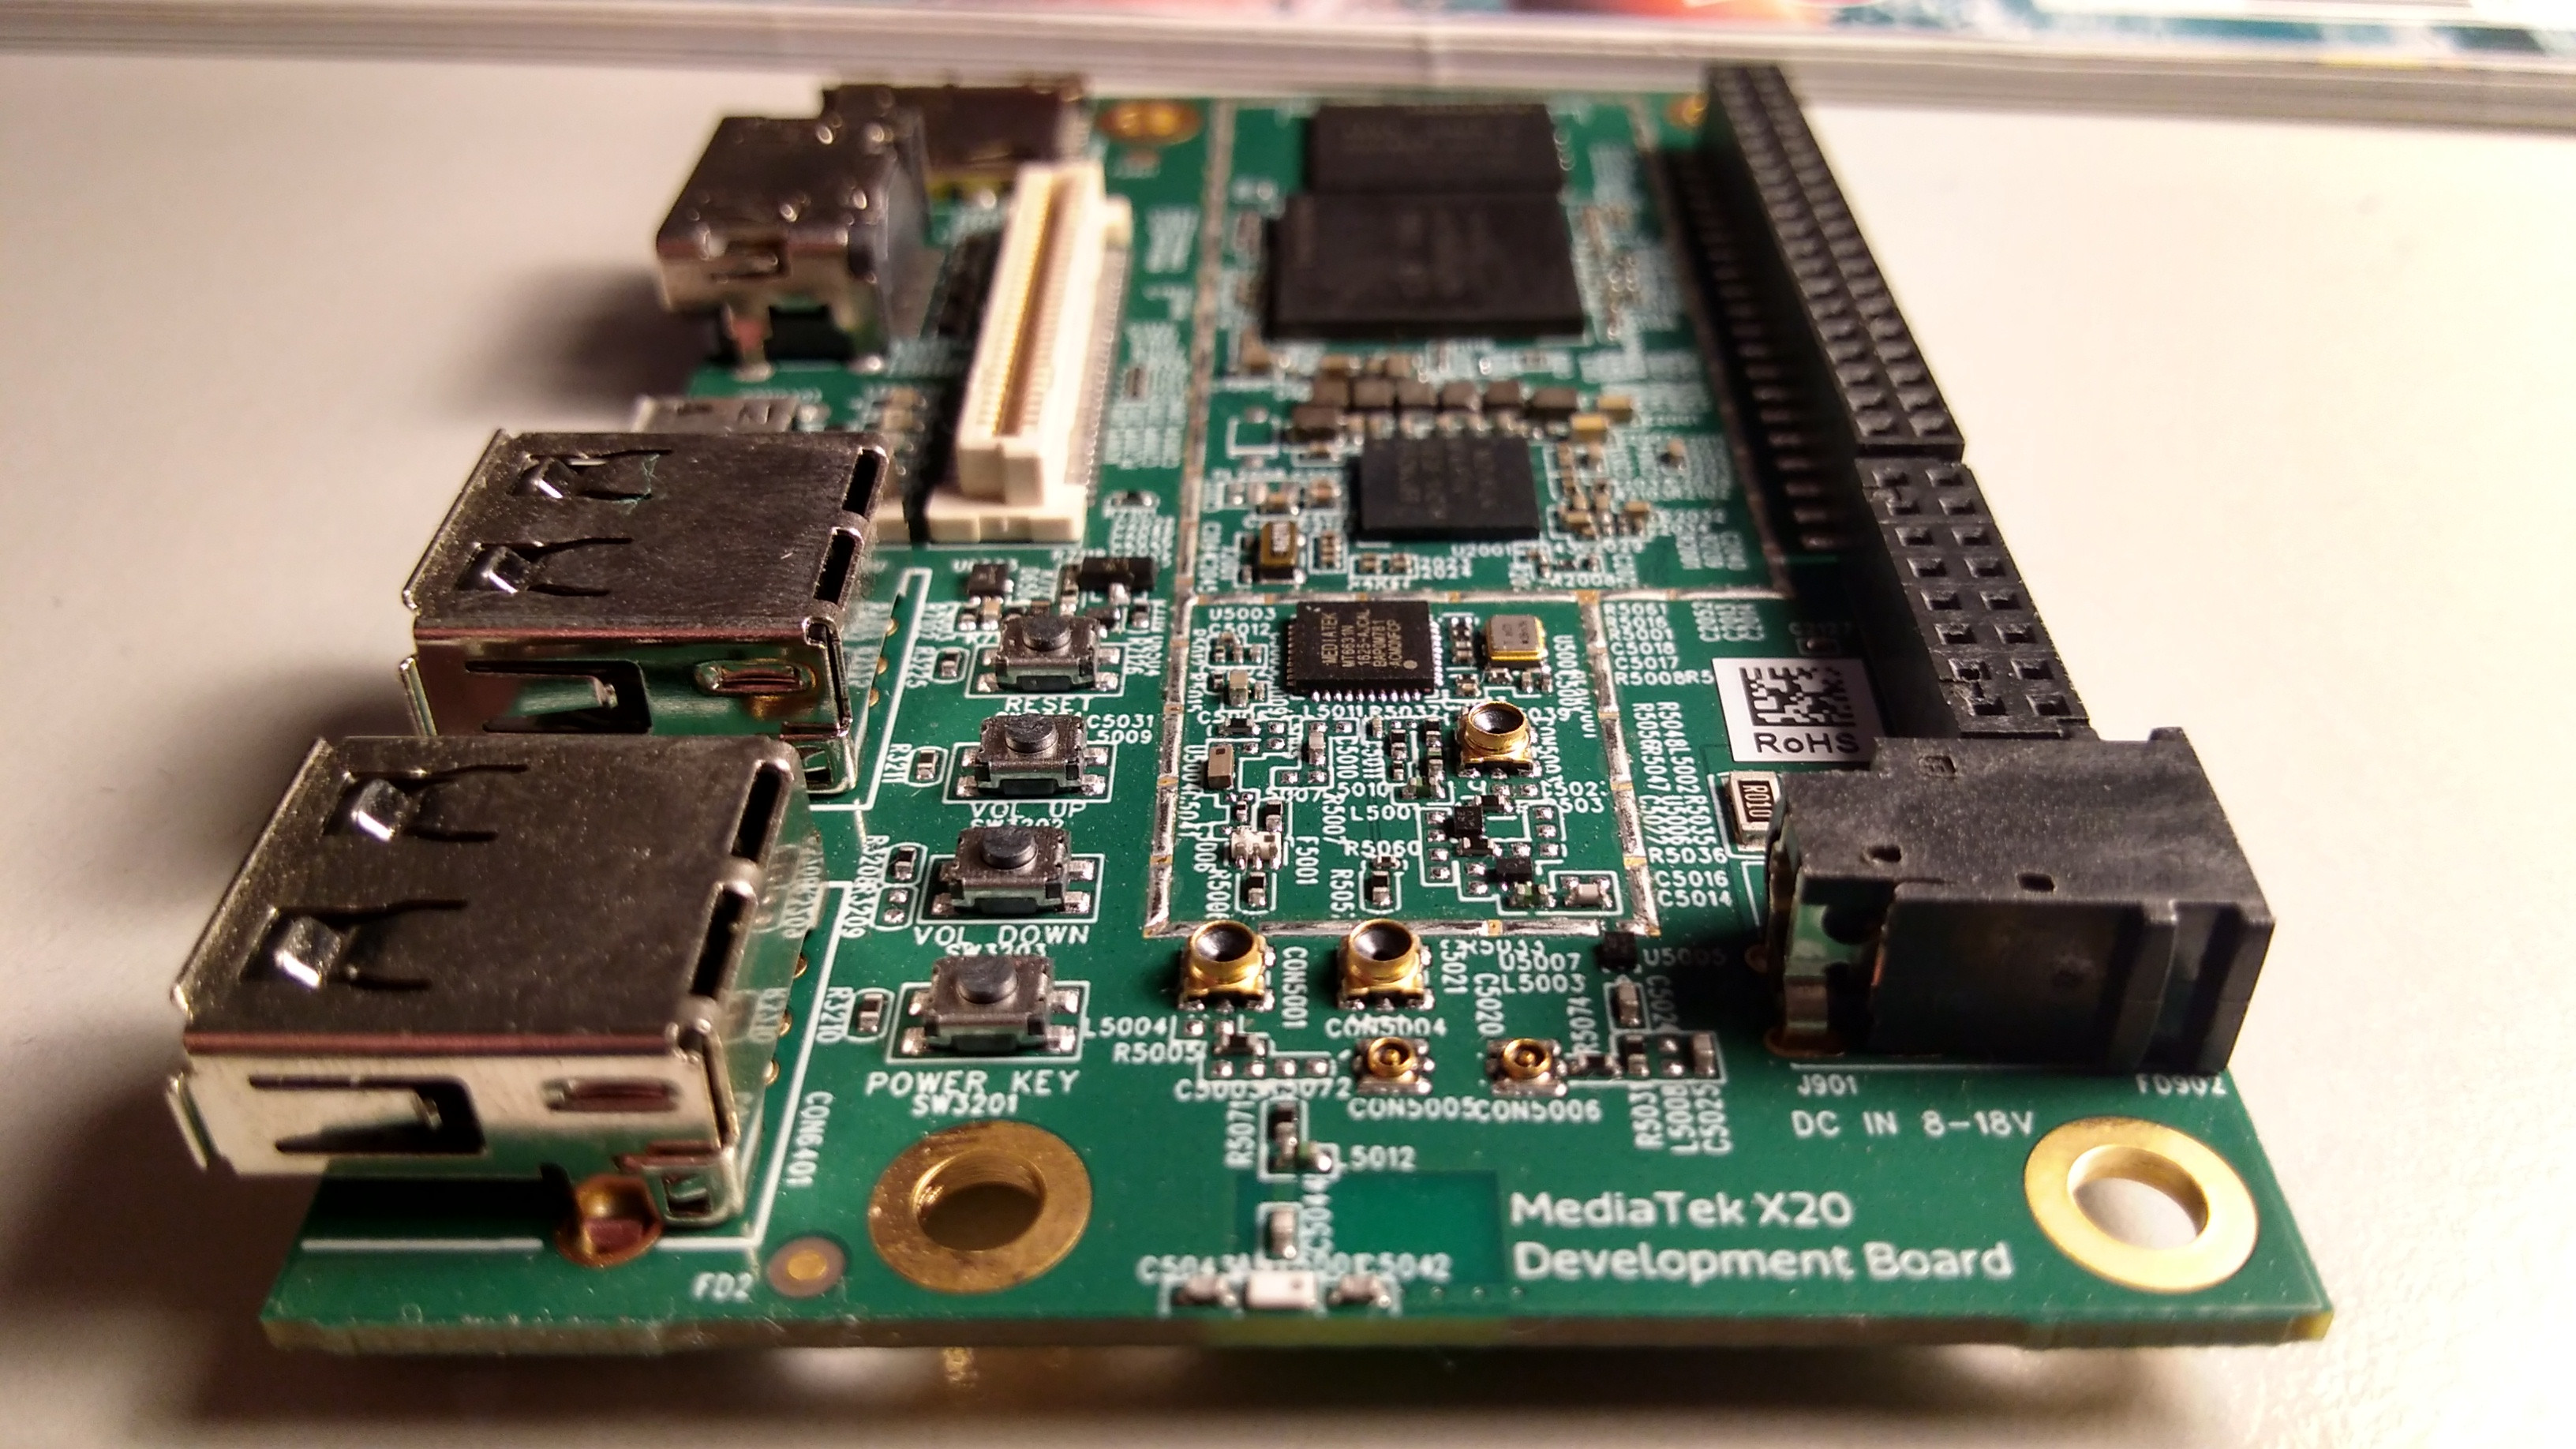
Unboxing the Beast
First Boot Up
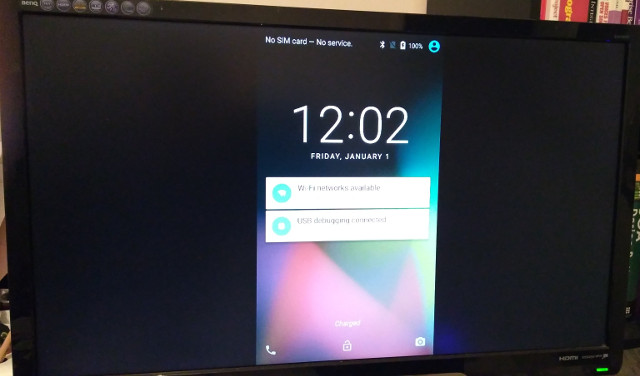
The board boots up from the eMMC, and the first time you boot up you will get Android screen as shown in Figure-9. This is the default Android image from the factory, which surprisingly looks like it was setup for a phone screen mode, which is not sufficient for a HDMI monitor. It would be better to install the images that are made available at Linaro website or build your own. See the other section to flash the board with different images.
Switching to Fastboot Mode
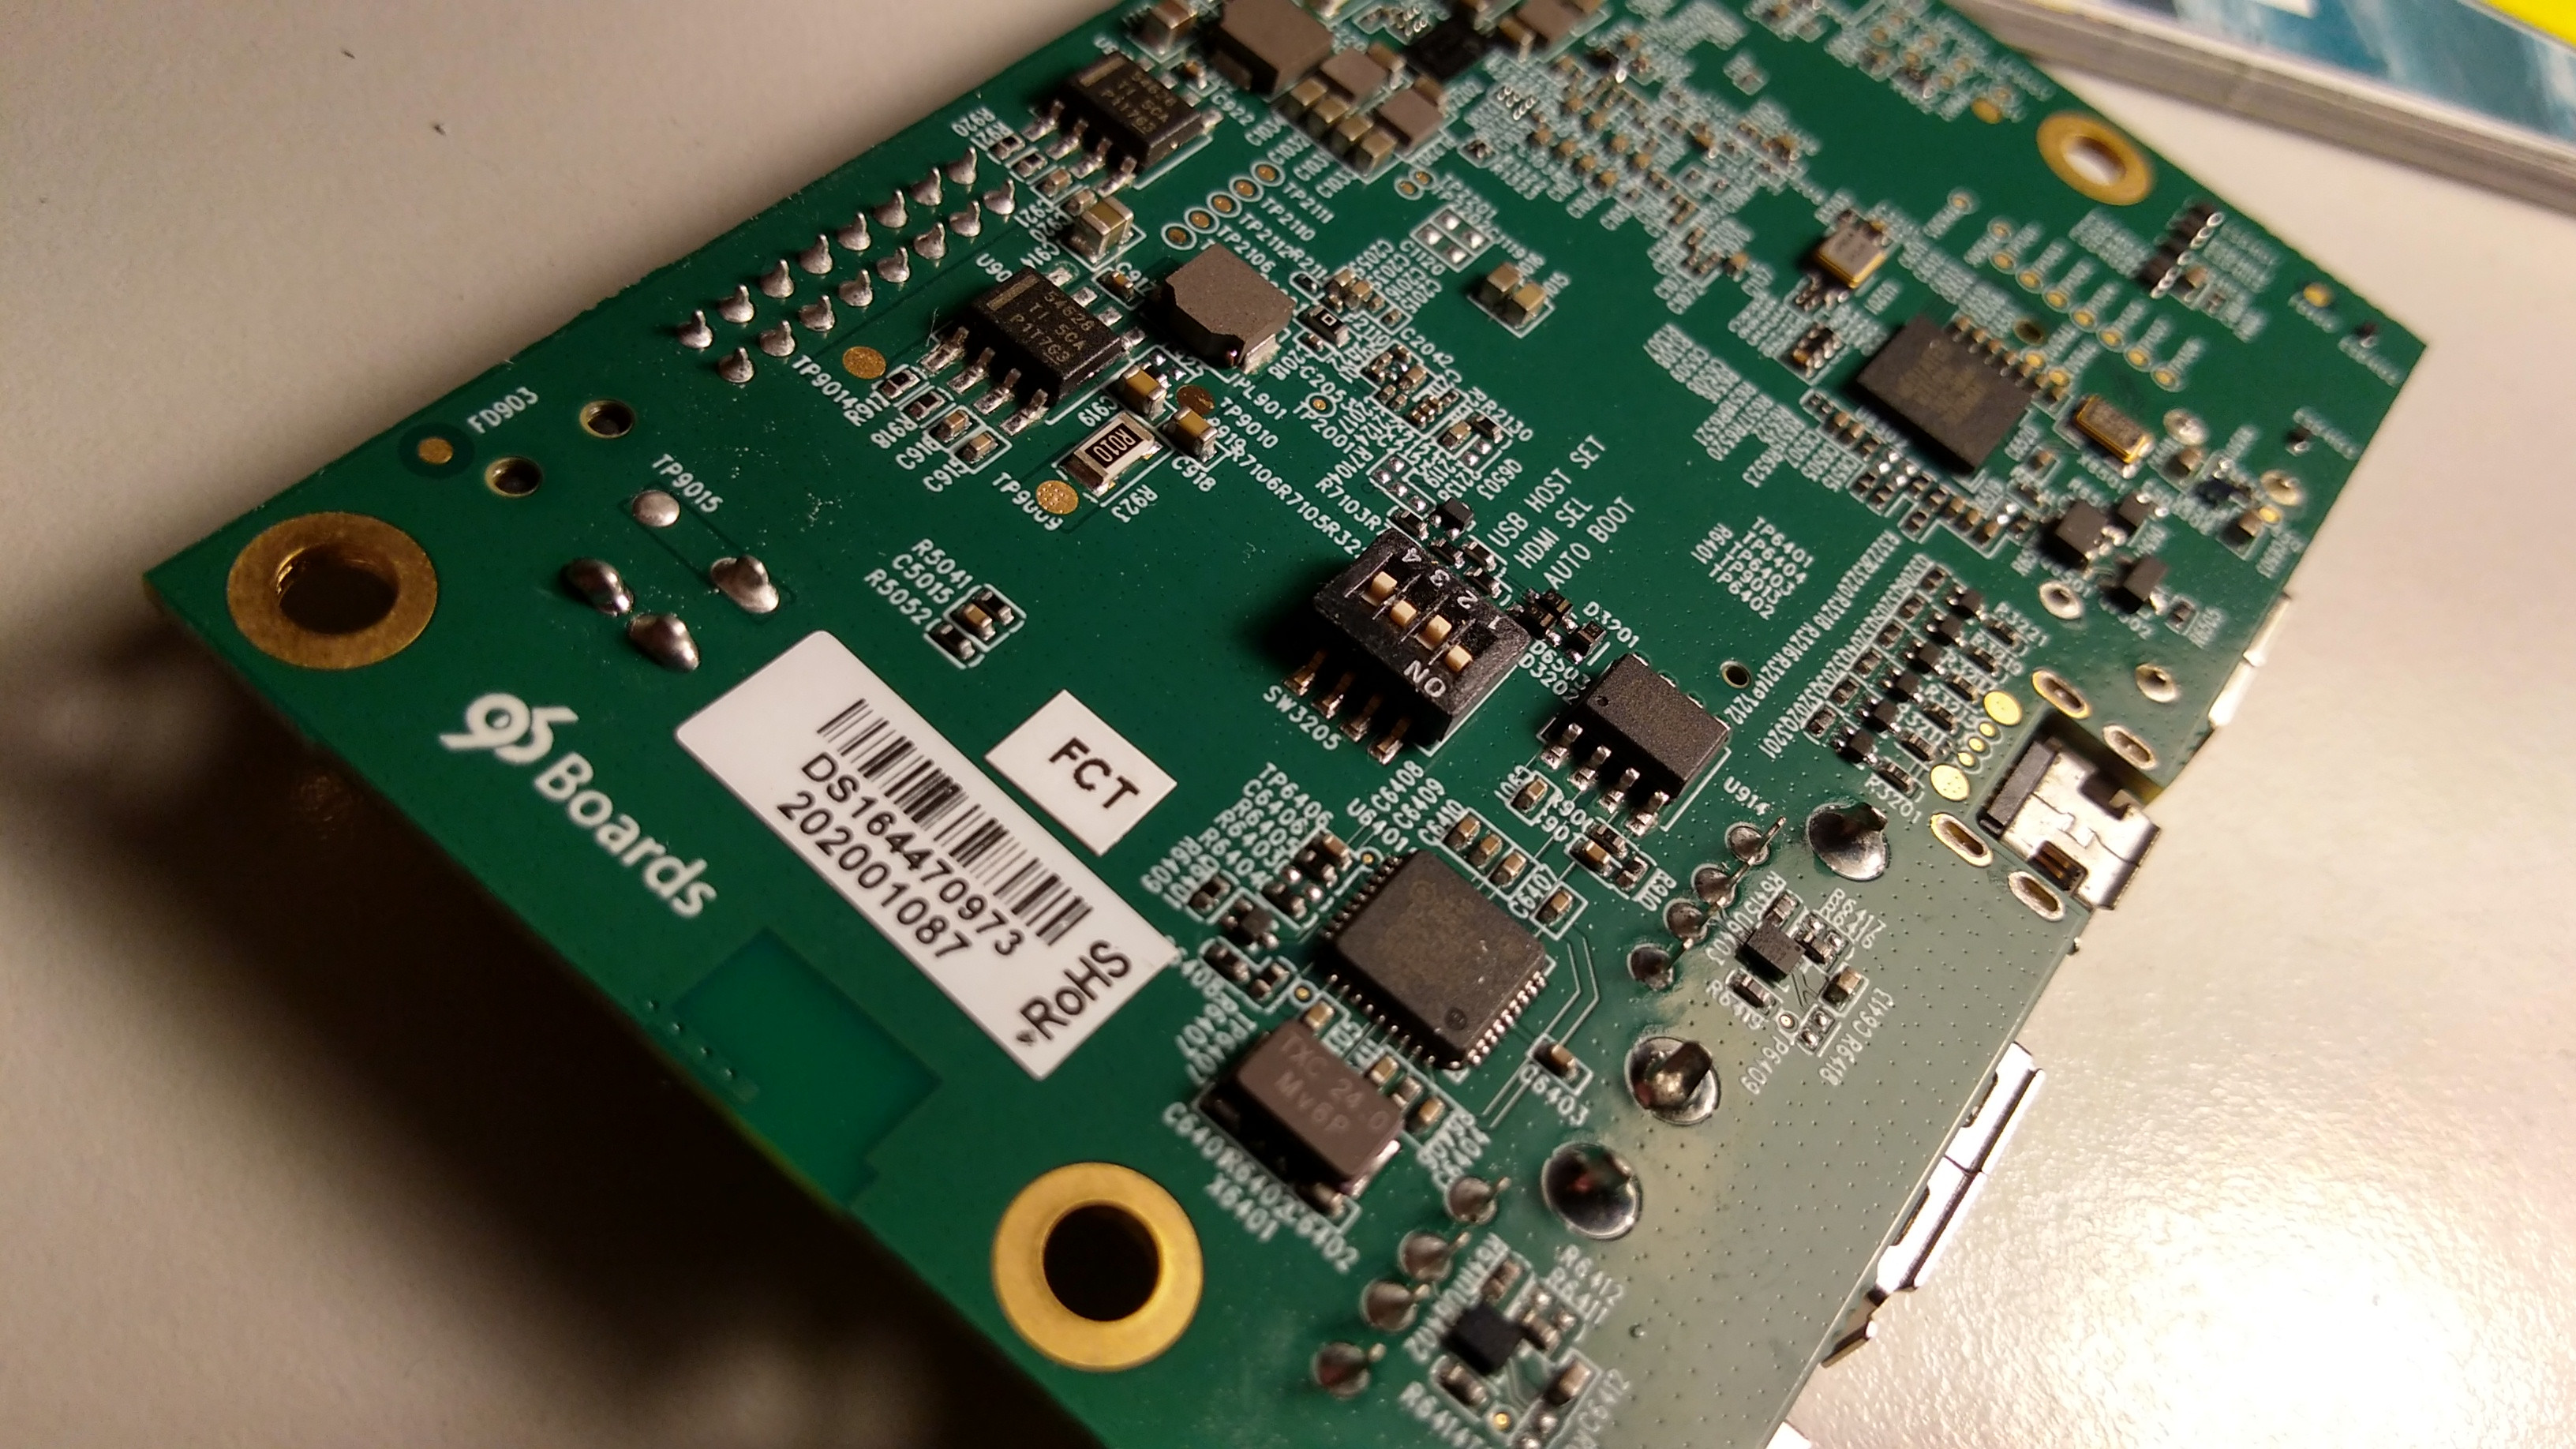
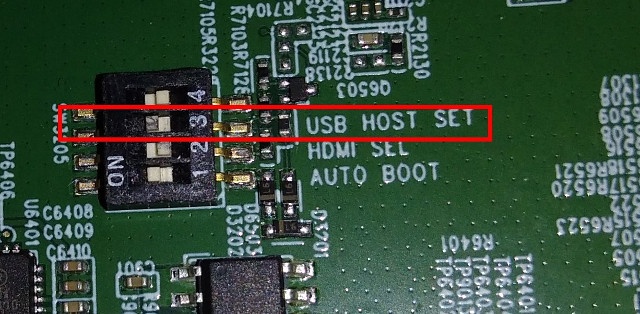
Flashing image files are done using fastboot tool in bootloader mode. There are 2 ways to switch to bootloader mode. To prepare the board to be flashed it will need pin 3 (USB Host Set) located at the back of the board as shown in Figure-11 to be set to OFF
Method 1
The first method requires that you boot your board into Android. Power the board and let it boot to Android. Once it boots to Android you can switch to bootloader mode by typing
|
1 |
adb reboot bootloader |
Once it switch to bootloader mode you can use the fastboot to flash the image
Method 2
The 2nd method require the xflash tool which can be downloaded from the following link http://builds.96boards.org/releases/helio-x20/mediatek/aosp/16.10/mediatek-x20-aosp-16.10.tar.xz. Unzip the file and you will see something like Figure-12.
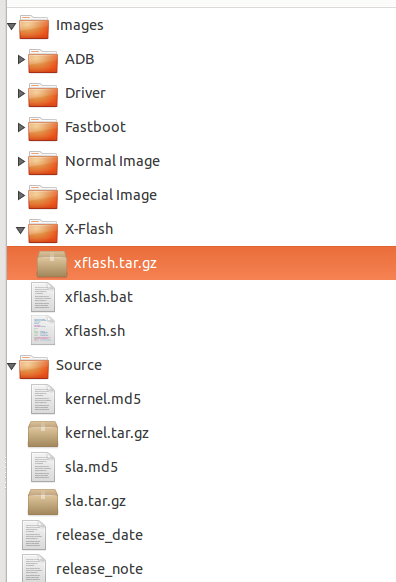
Extract xflash.tar.gz and you will see something like Figure-13.
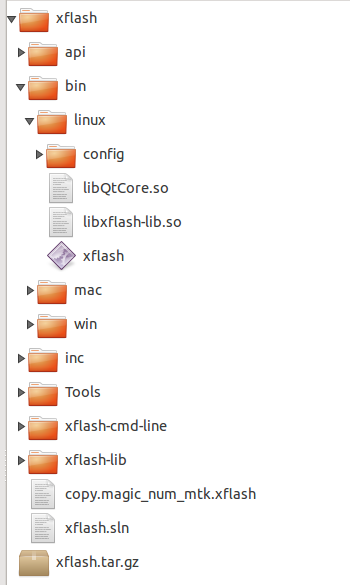
Unplug the power supply, and plug your computer USB cable to the micro USB cable of the board and run the xflash tool as follow
|
1 |
sudo ./xflash enter-fastboot "<directory>/MT6797_Android_scatter.txt" |
The location of MT6797_Android_scatter.txt can be found inside the <your_unzip_mediatek>/Images/Normal Image/ as shown in Figure-14

Power up your board after running the xflash tool. You will see print out on the screen as shown below.
|
1 2 3 4 5 6 7 8 9 10 11 |
START. wait for device. 8/dev/ttyACM0 connect boot rom. boot from preloader. download required partition images. #1 write to lk #2 write to logo #3 write to tee1 jump to: tee1 END. |
Once you see the text ‘END’ the board has been switched to bootloader mode, and is ready to be flashed.
Flashing Android Image
Before flashing the new Android image make sure your board is indeed in bootloader mode by running the following command
|
1 |
fastboot devices |
You know that you are in bootloader mode, once you get a reply like the following
|
1 |
0123456789ABCDEF fastboot |
You can either flash using the image files provided by Linaro or build your own custom image. You can download a ready made image file from http://builds.96boards.org/releases/helio-x20/mediatek/aosp/16.10/mediatek-x20-aosp-16.10.tar.xz (the image file are inside the <directory>/Images/Normal Image).
The extracted mediatek-x20-aosp-16.10.tar.xz wil look like Figure-15.
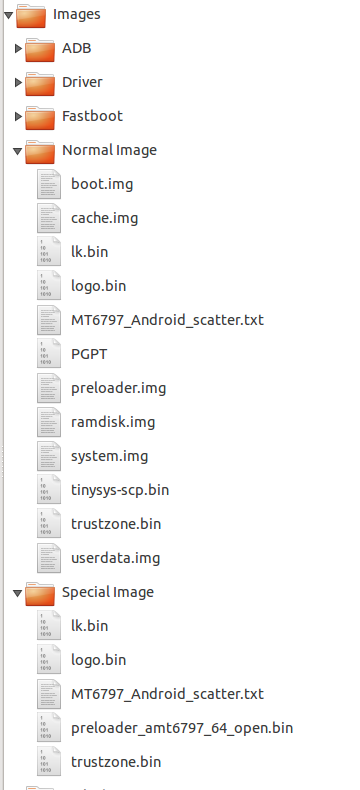
Copy all the different files inside /Normal Image and /Special Image to a separate folder and flash the files using the fastboot command as follows:
|
1 2 3 4 5 6 7 8 9 10 11 12 13 14 |
fastboot flash gpt PGPT fastboot flash preloader preloader_amt6797_64_open.bin fastboot flash recovery recovery.img fastboot flash scp1 tinysys-scp.bin fastboot flash scp2 tinysys-scp.bin fastboot flash lk lk.bin fastboot flash lk2 lk.bin fastboot flash boot boot.img fastboot flash logo logo.bin fastboot flash tee1 trustzone.bin fastboot flash tee2 trustzone.bin fastboot flash system system.img fastboot flash cache cache.img fastboot flash userdata userdata.img |
Building From Source
Android 6.0 is supported on the X20 board. Use the following command to checkout the AOSP source code
|
1 |
repo init -u https://android.googlesource.com/platform/manifest -b android-6.0.0_r1 |
You will need to download the binary drivers from Linaro website. The driver binary can be downloaded from https://builds.96boards.org/releases/helio-x20/mediatek/aosp/latest/. Download the file called sla.tar.gz and unzip it. You will see something like Figure-16.
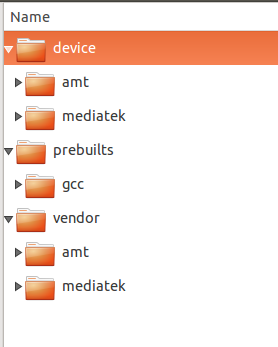
Copy the contents of device/, prebuilts/ and vendor/ into the AOSP directory. After completing the copy steps follow the steps below to start compiling
- source build/envsetup.sh
- lunch
- You will be shown the selection like Figure-17
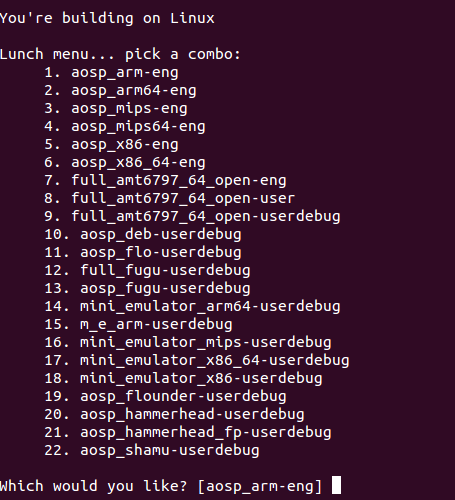
Figure-17 : Lunch menu - Select 8 (or even 9)
- make -j10
Once the build process is complete, you will see list of files as shown in Figure-18.
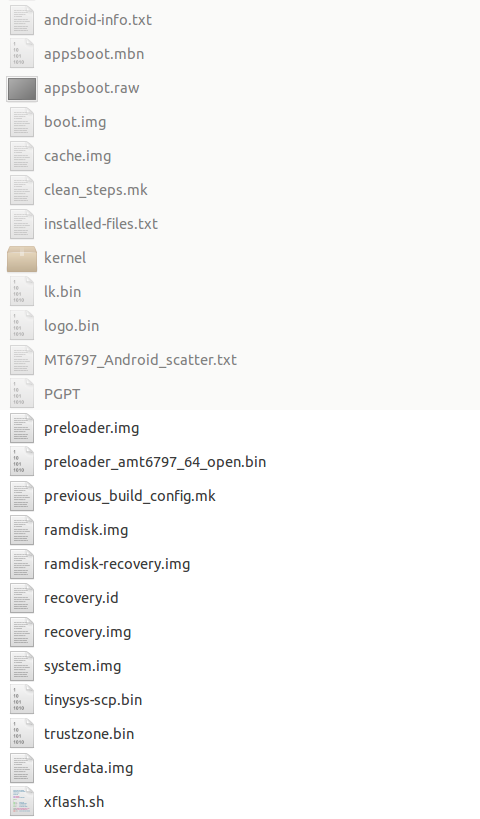
The image files are now ready to be flashed to the board. Use the same flashboot commands as above to flash the new compiled image.
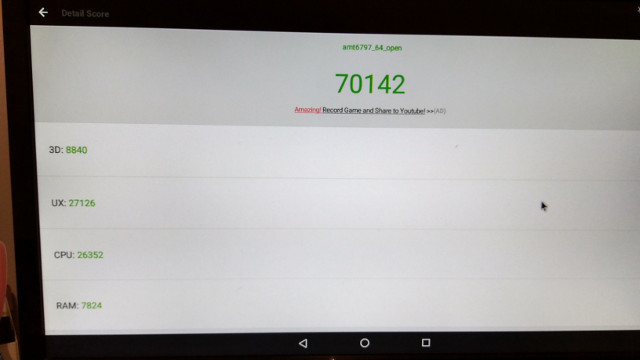
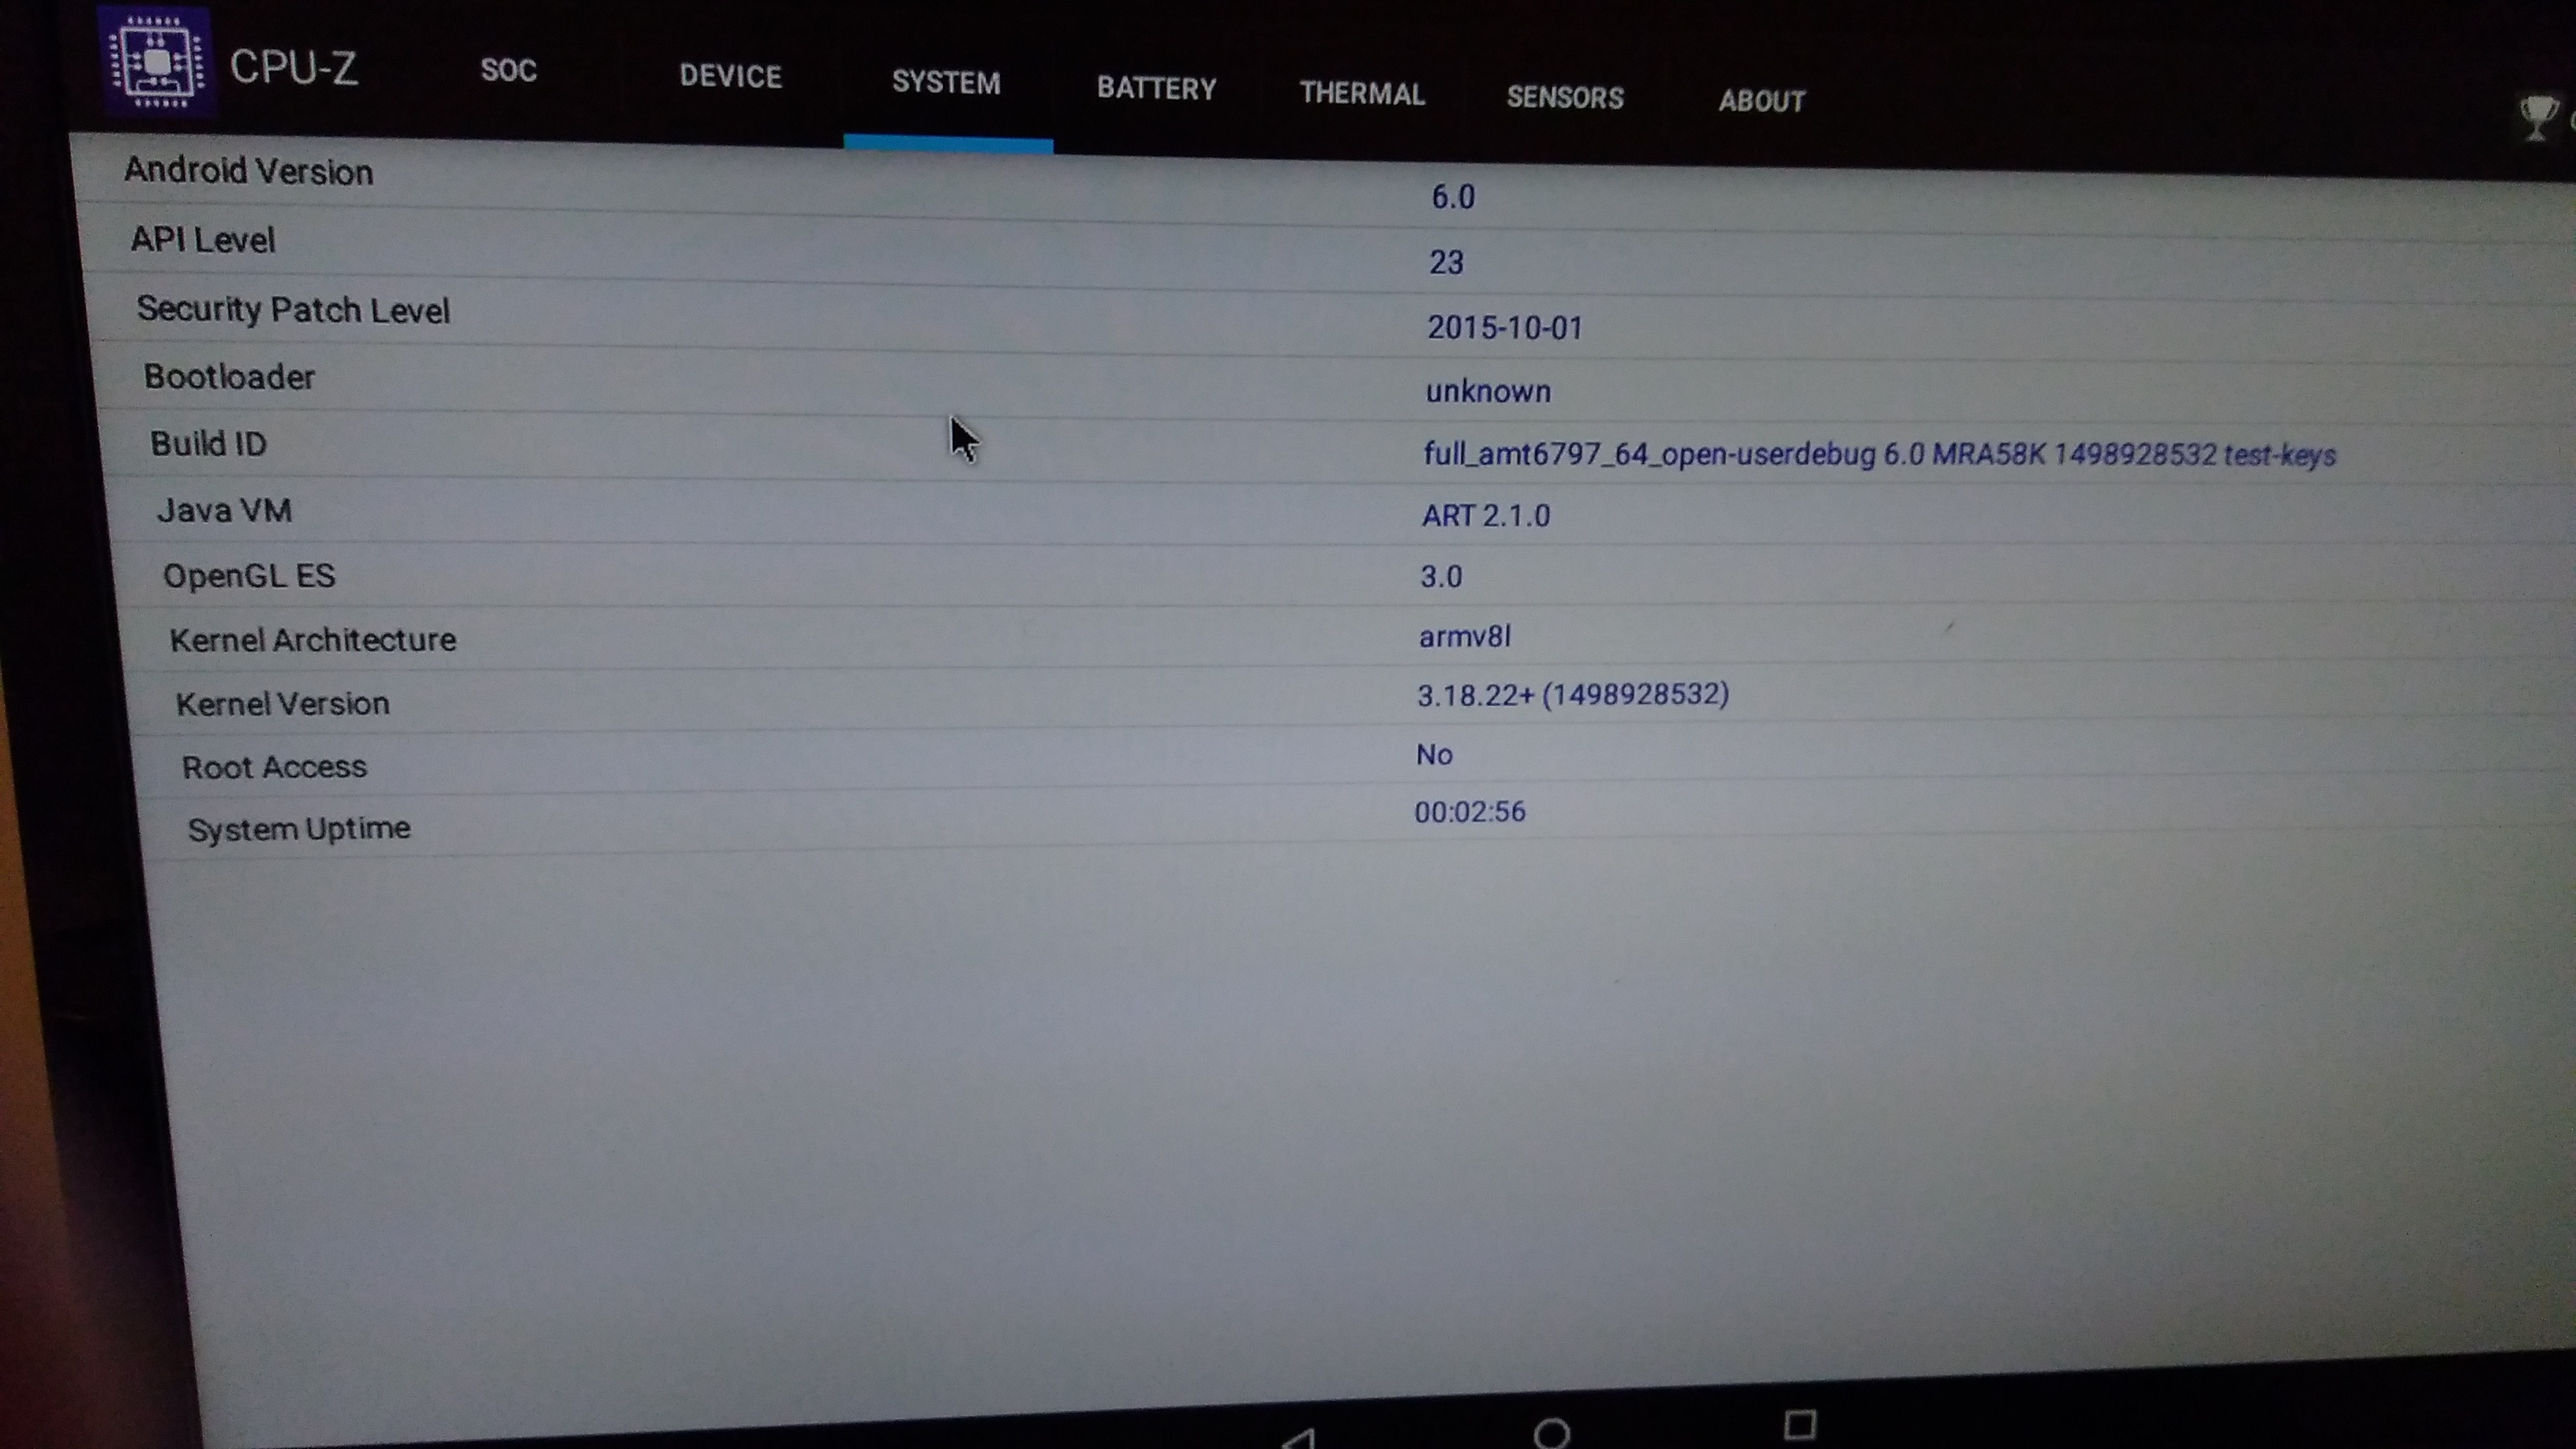
Mediatek X20 Board Info and Antutu Benchmark
I’ll complete this guide by showing the info provided by CPU-Z and Antutu benchmark for the board for people wanting such details.


If you’re interested in the board, you can purchase it for $199 plus shipping on Seeed Studio.
References:
- http://builds.96boards.org/releases/helio-x20/mediatek/aosp/16.10/
- http://www.96boards.org/documentation/ConsumerEdition/MediaTekX20/Downloads/ThirdParty/AOSP/LinuxFastboot.md/
Support CNX Software! Donate via cryptocurrencies, become a Patron on Patreon, or purchase goods on Amazon or Aliexpress. We also use affiliate links in articles to earn commissions if you make a purchase after clicking on those links.


