
Hey Karl here. Today I am here to share my initial experiences with the Ortur Laser Master 2 Pro laser engraver. That is a mouth full so I will refer to it as the LM2Pro for the remainder. The LM2Pro is the successor to the Ortur Laser Master 2. I have only had 1 experience with a diode laser and that was quite a long time ago and a lot has changed in the desktop laser department. I have used the LM2Pro for almost 2 weeks and I am blown away by what I have been able to achieve in such little time. I don’t know if it is better software or the machine itself. Probably a mixture of both. There are 3 different models with different power lasers. The 20W version was sent for review. It is dishonest to call this a 20w laser. I am not sure which company started this but the 20W is the input power. The laser power is 5.5W.
Specs:
- Motherboard: 32 bits motherboard with STM32 MCU
- Firmware: Ortur Laser Master Firmware
- OS of Upper Computer: Windows ( Working with LaserGRBL ), MAC OS and Linux ( Working with LightBurn )
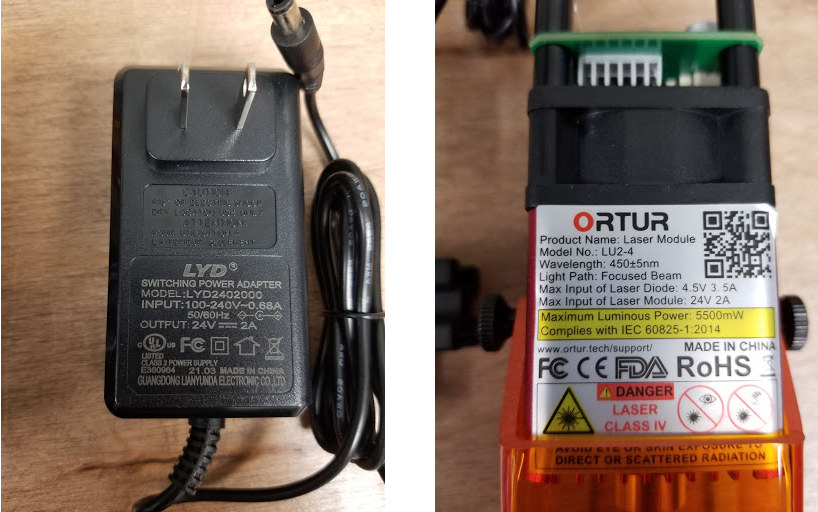
- Power of Laser Engraver: 36W, 24V 2A
- Electrical Power of Laser Module: 7W, 15W, 20W
- Wave Length: 445nm
- Variable Focus: Yes
- Default Focal Length: 55MM for 15W & 20W Laser Module; 58MM for 7W Laser Module
- Input Format: NC, BMP, JPG, PNG, DXF, etc.
- Engraving Area: X: 400MM x Y: 400MM
- Engraving Speed: up to 9000MM / Min.
- Image size: No Limit ( The pixel accuracy could be adjusted freely, and the default is 300 pixels per inch, it’s about 0.81um pixel precision )
I do not have any other Ortur laser engravers and it looks like the updates include a drag chain, metal has been substituted for acrylic feet, grounding wires, emergency stop, flame detector. 24V instead of 12V, and a better Focus adjuster.
Build
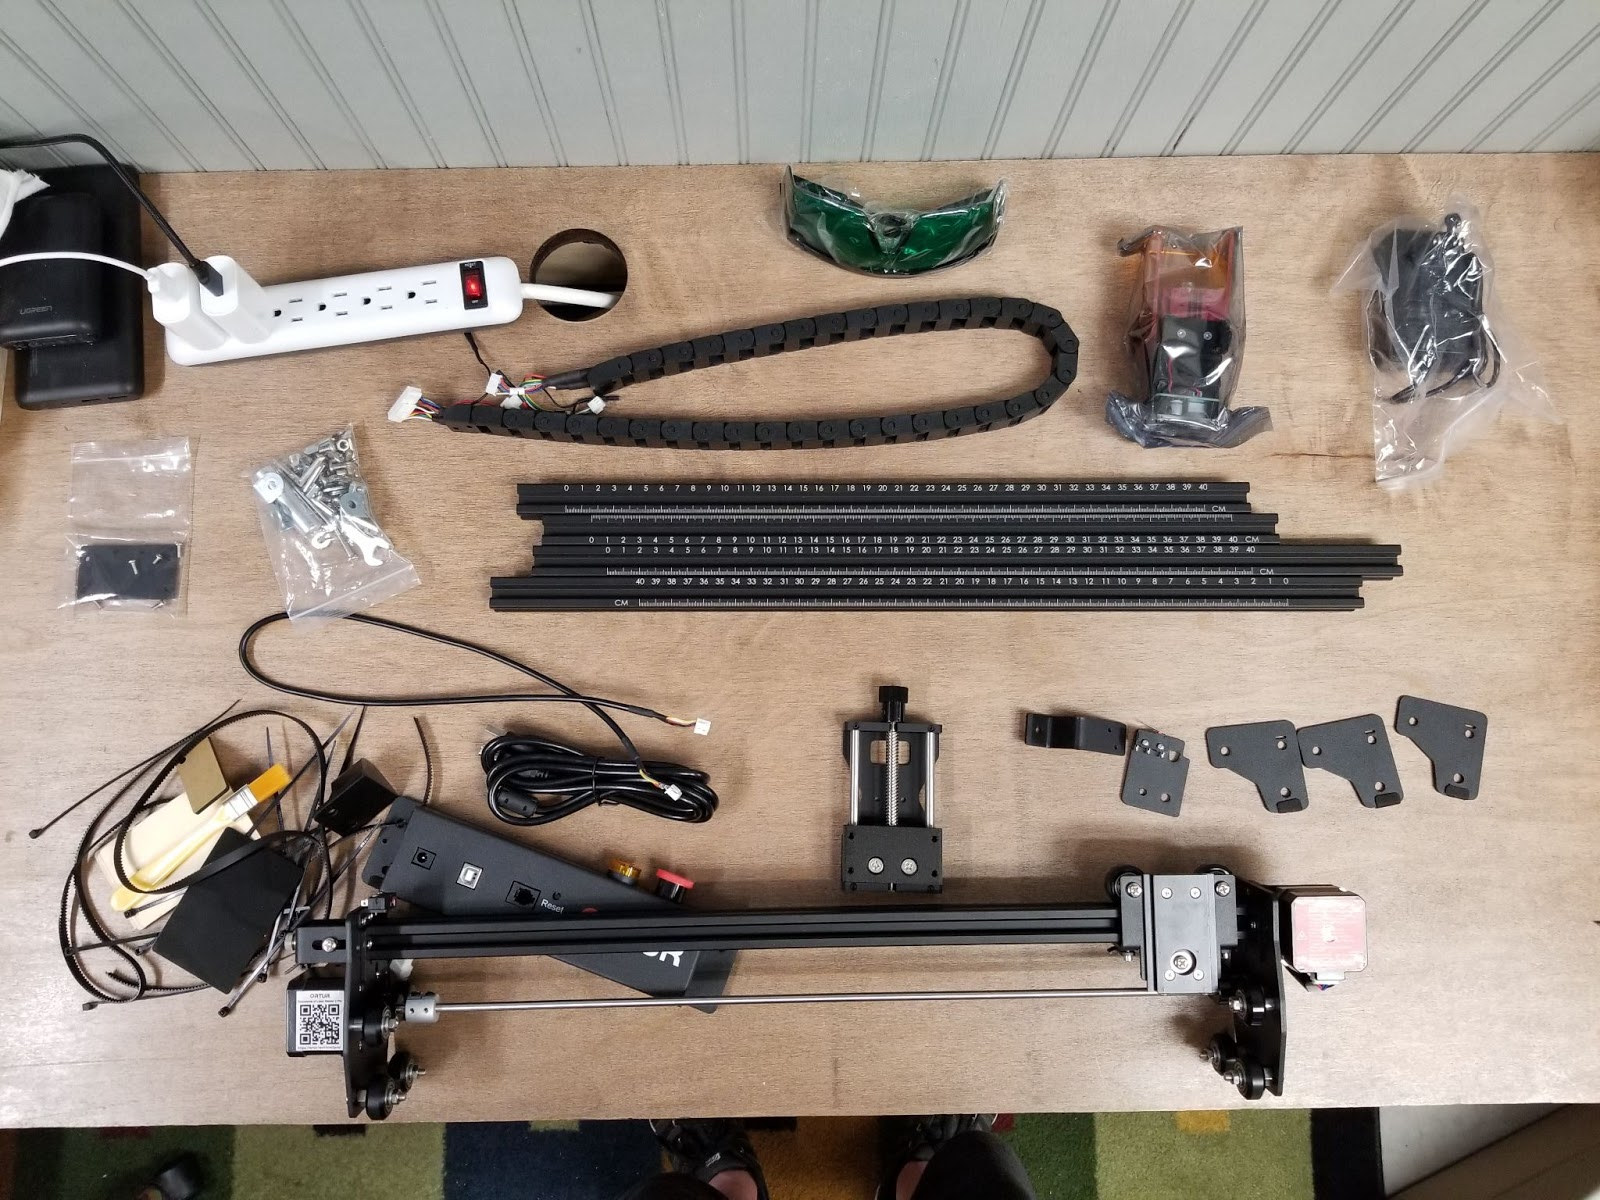
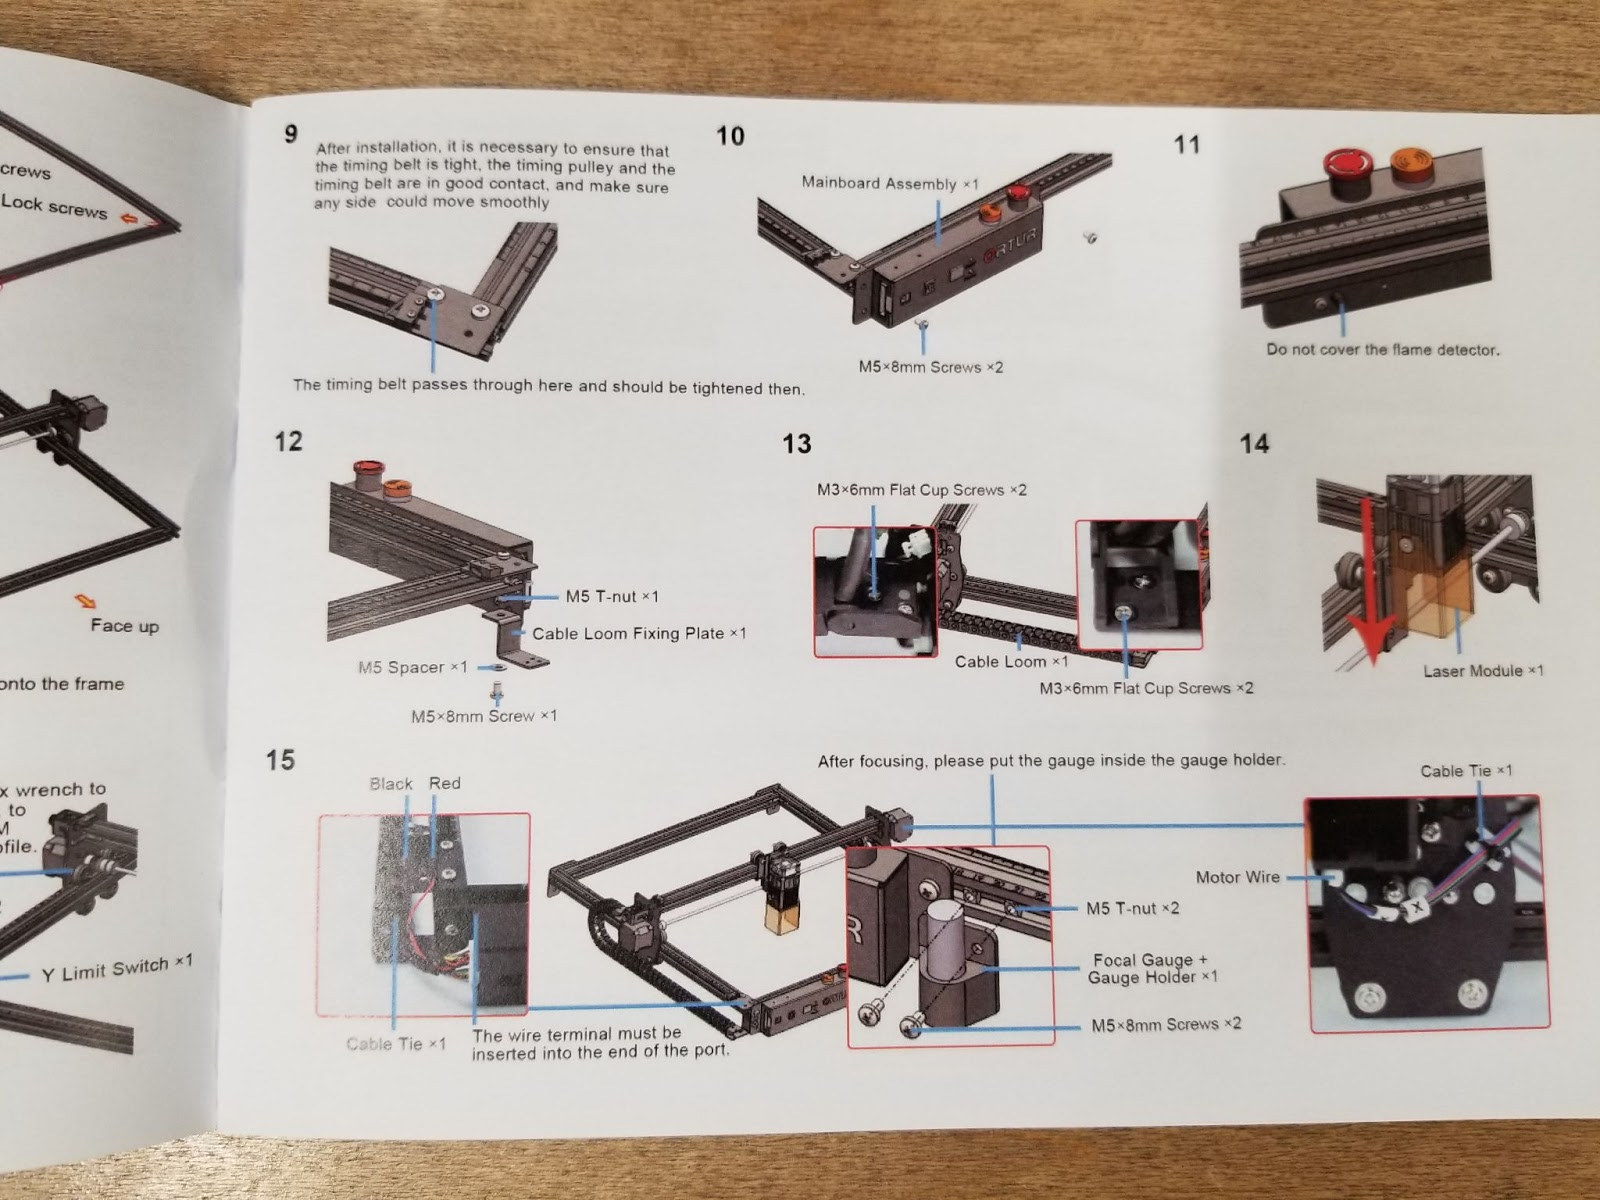
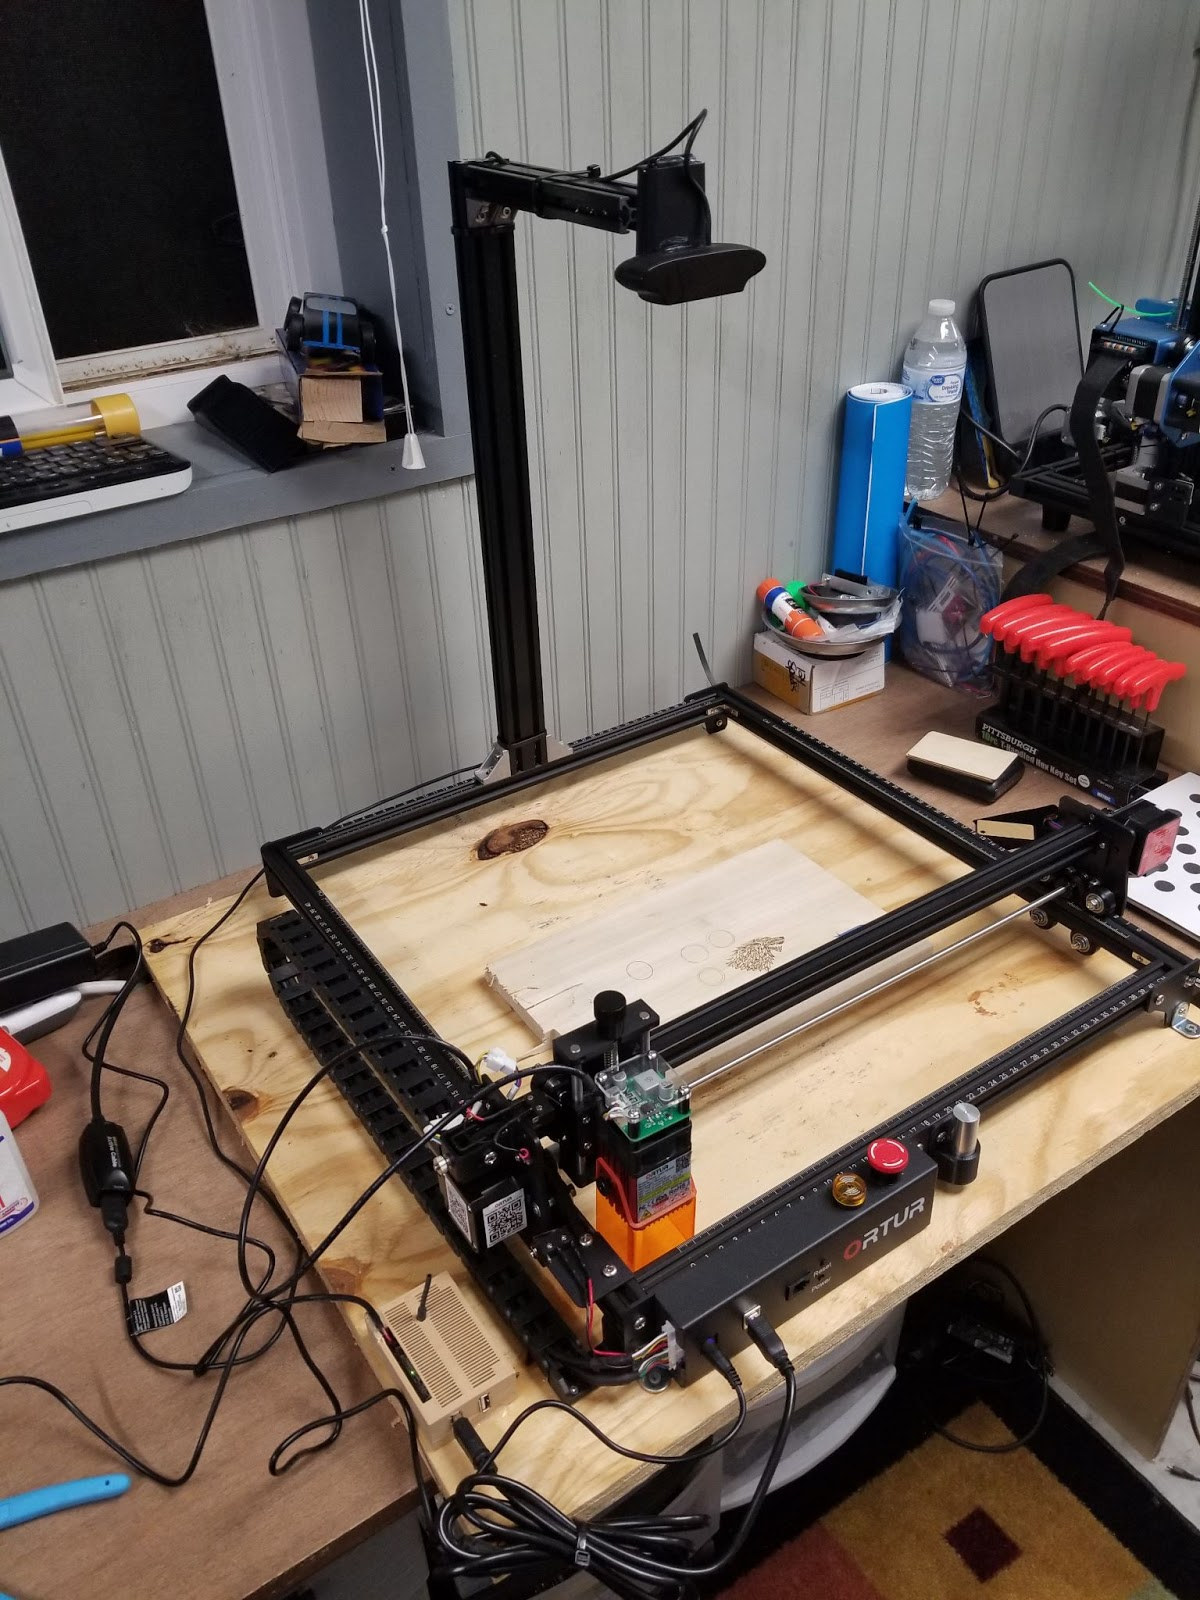
Building the machine was relatively easy. The printed instructions were small but I was able to work my way through them. The most difficult time I had was installing the timing belts. It took about an hour to fully build. I then installed the LM2Pro on a piece of scrap plywood.
Ortur Laser Master 2 Pro – Firmware
Ortur has done a good job of tuning the firmware. The LM2Pro comes with a custom board with an STM32 microcontroller. Depending on how you think about it this is a good and bad thing. If GRBL is ever updated you have to wait for Ortur to provide firmware files and on the other hand, they seem to do a lot of testing and tuning. I haven’t run into any of the artifacting issues that I have experienced previously and GRBL is rarely updated.
I did run into one firmware issue but I was able to work around it. I really dislike sending G-code from a Windows machine so I started sending it via cncjs. cncjs would error out on some burns. After some troubleshooting and observations, I believe the Ortur board is sending something in its serial communications that cncjs is not interpreting properly. If I directly restart the connection between cncjs and the LM2Pro it works fine with the exception that the machine position is not updated nor the buffer window showing the status. If I reset the connection and start a burn I get updated positioning but the planner buffer always shows 0 and the receive buffer slowly fills up and errors out. I suspect that since the planner buffer is always showing 0 that cncjs keeps sending G-code until there is an overflow. I reported this to Ortur through its website and I am optimistic Ortur will provide an update to resolve this. I assume that this is super simple to fix. I was thinking about breaking out my logic analyzer but taking the easy route for now. The simple workaround is to always close and reopen the connection between each burn.
There has already been an update to firmware that I was hoping to fix the issue above but it did not. Upgrading firmware turned out to be really easy. Press and hold the power button for 5 seconds then while holding the power button tap the reset button. The board will show up as a drive on your machine. Drag and drop the firmware file to the root folder and after a bit of time the machine reboots. Then check your console to make sure it reflects the new firmware version. Directions were very clear and easy to follow.
Lightburn Software

If you have a laser engraver, I am convinced Lightburn is the way to go. It is not free but is extremely powerful. The $40 cost is well worth it in my opinion. There is a 30-day unrestricted trial. The feature that really got me excited is its webcam integration. If you notice in the picture above I installed a fixed webcam. It is a Logitech C930. All cameras have lens distortion and the software guides you through a calibration process to remove this (see video guide). What this allows you to do is place an object in your burn area and perfectly line up whatever you are engraving.
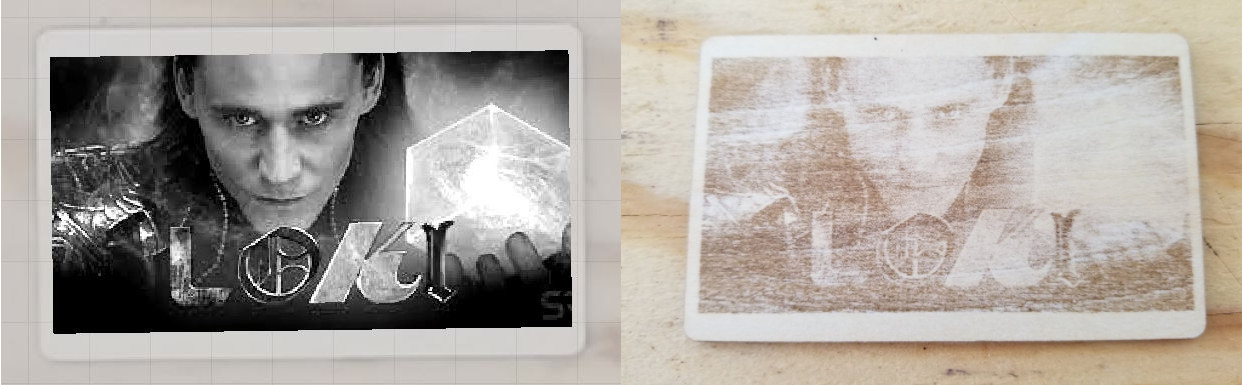 This was nearly my first test. You can see in the black and white image that I had purposefully put my test piece on an angle. Then the other image shows the outcome. Please overlook the lightness of this burn.
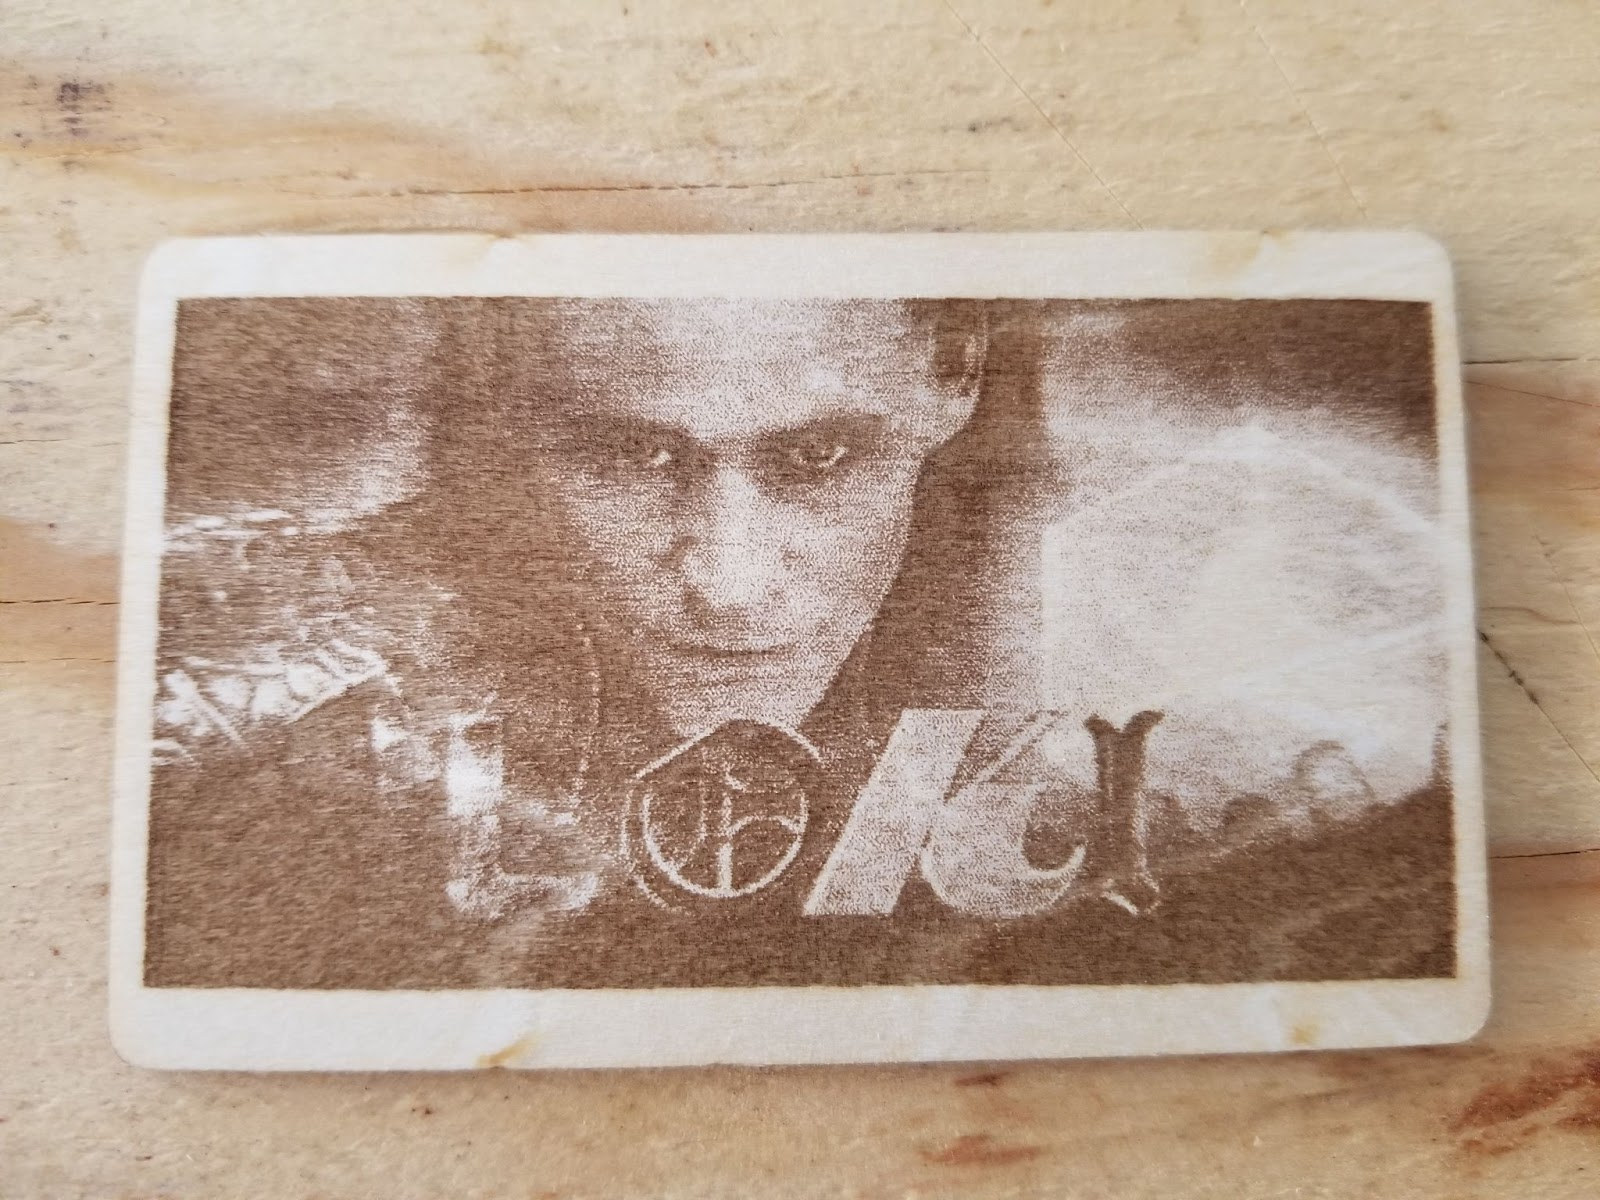 I flipped the piece over and ran it again, slightly hotter and the image turned out much better. This is one of the test pieces that came with the engraver. This test piece is approx 90mm x 55mm.
There is one detail that was not obvious with this webcam setup. I didn’t notice it with the very thin first test above. I started testing on a 19mm thick piece of wood and started scratching my head. What I was seeing in software and what was burning was not lining up. After some digging, I finally figured out why in a forum post. This software is frequently used with larger machines. These machine beds move up and down to focus the laser. The whole diode is adjusted up and down with the LM2pro which causes a problem with calibration. The calibration is based on a fixed length between the webcam and the burning surface. If your surface is raised it throws the calibration out. The software allows you to save calibrations so my plan is to calibrate @ different heights. When I follow up with a long-term review I will have more time to make a repeatable solution. Ideally, it would be great to do this in software and I submitted a feature request to Lightburn.
First Burn
I do nearly all my tinkering at night after my kids go to bed and limit my time each night. So after building the LM2Pro and getting the webcam installed I went to bed. I was anxious after work the next day and my son has been saying bruh all the time…so I made him some bruh bread. My family got a kick out of it….he bagged it up and brought it to school the next day and got a few laughs.
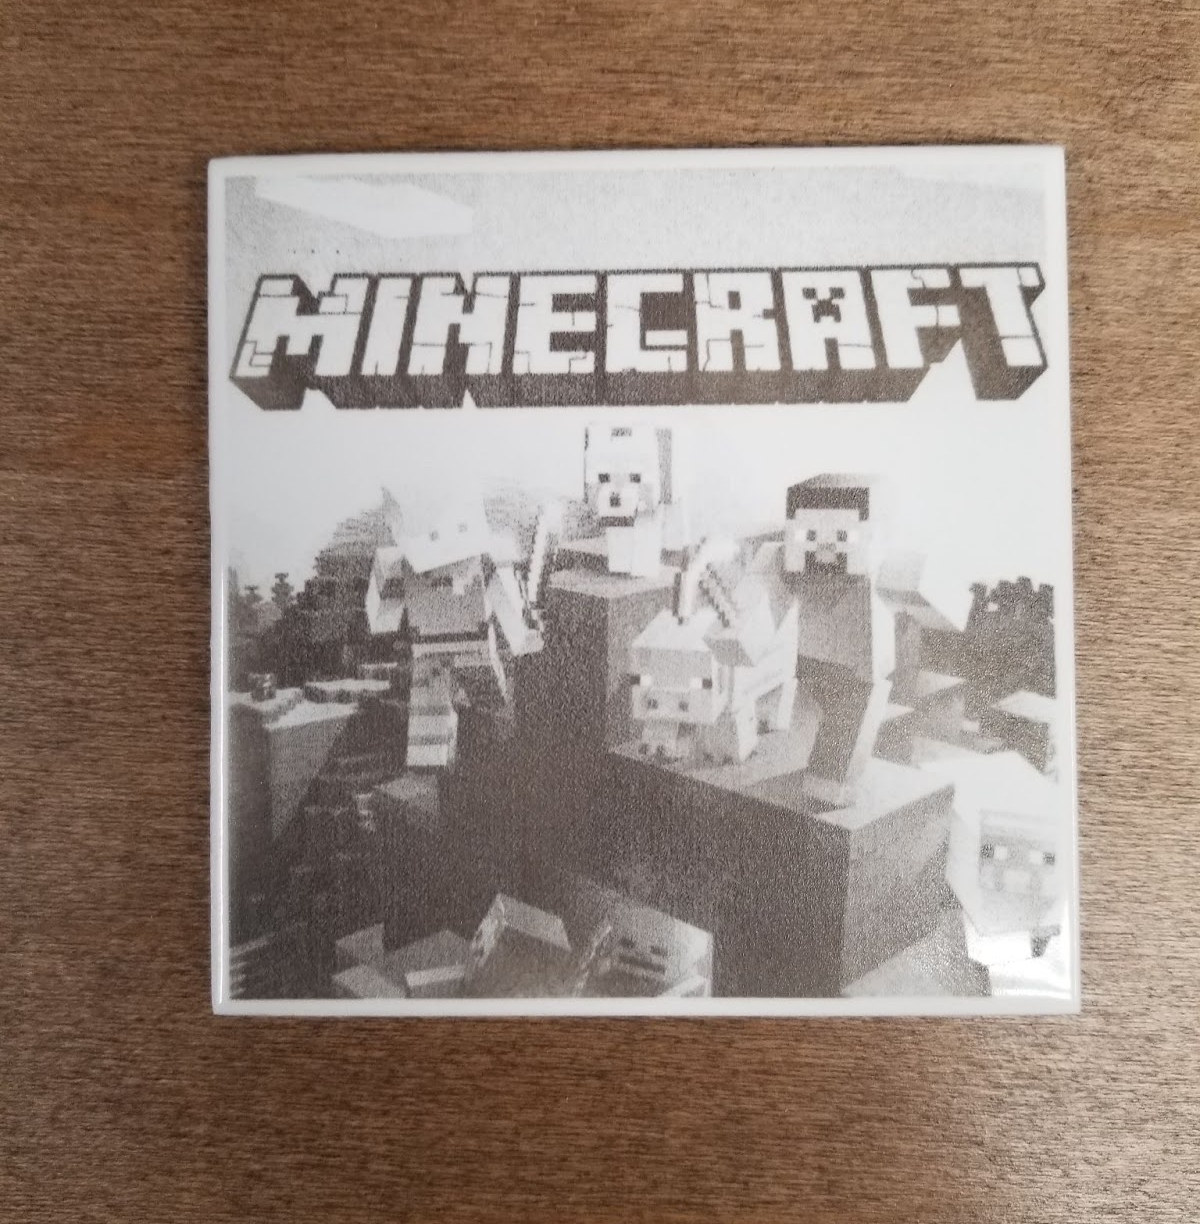
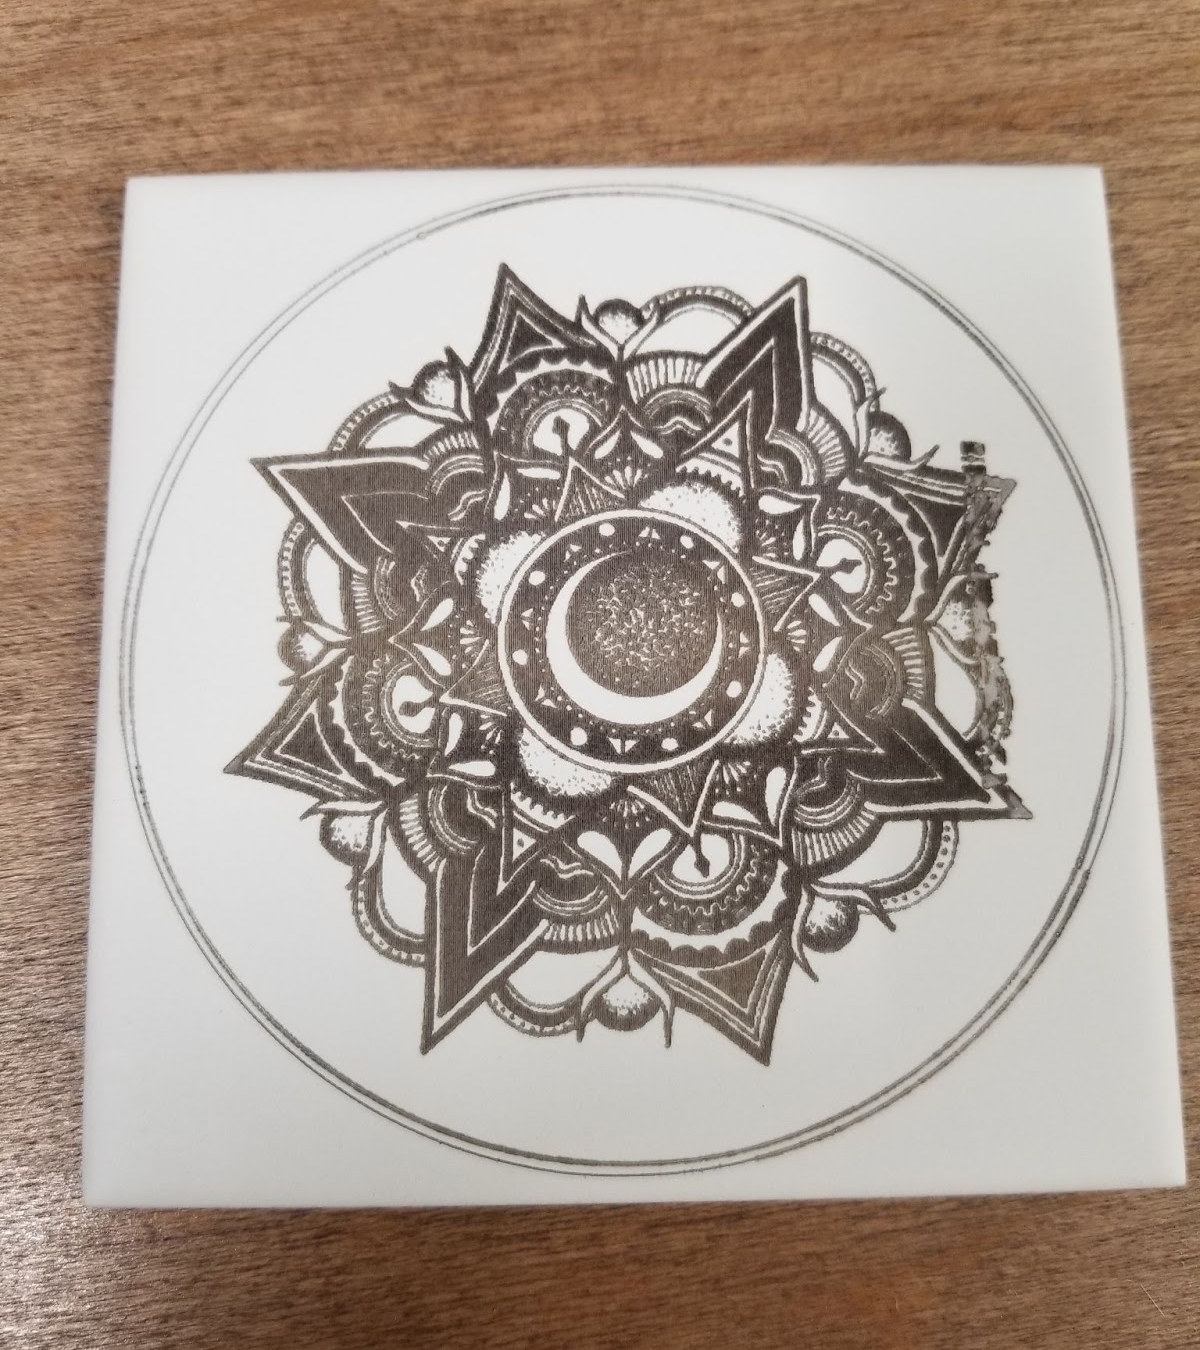
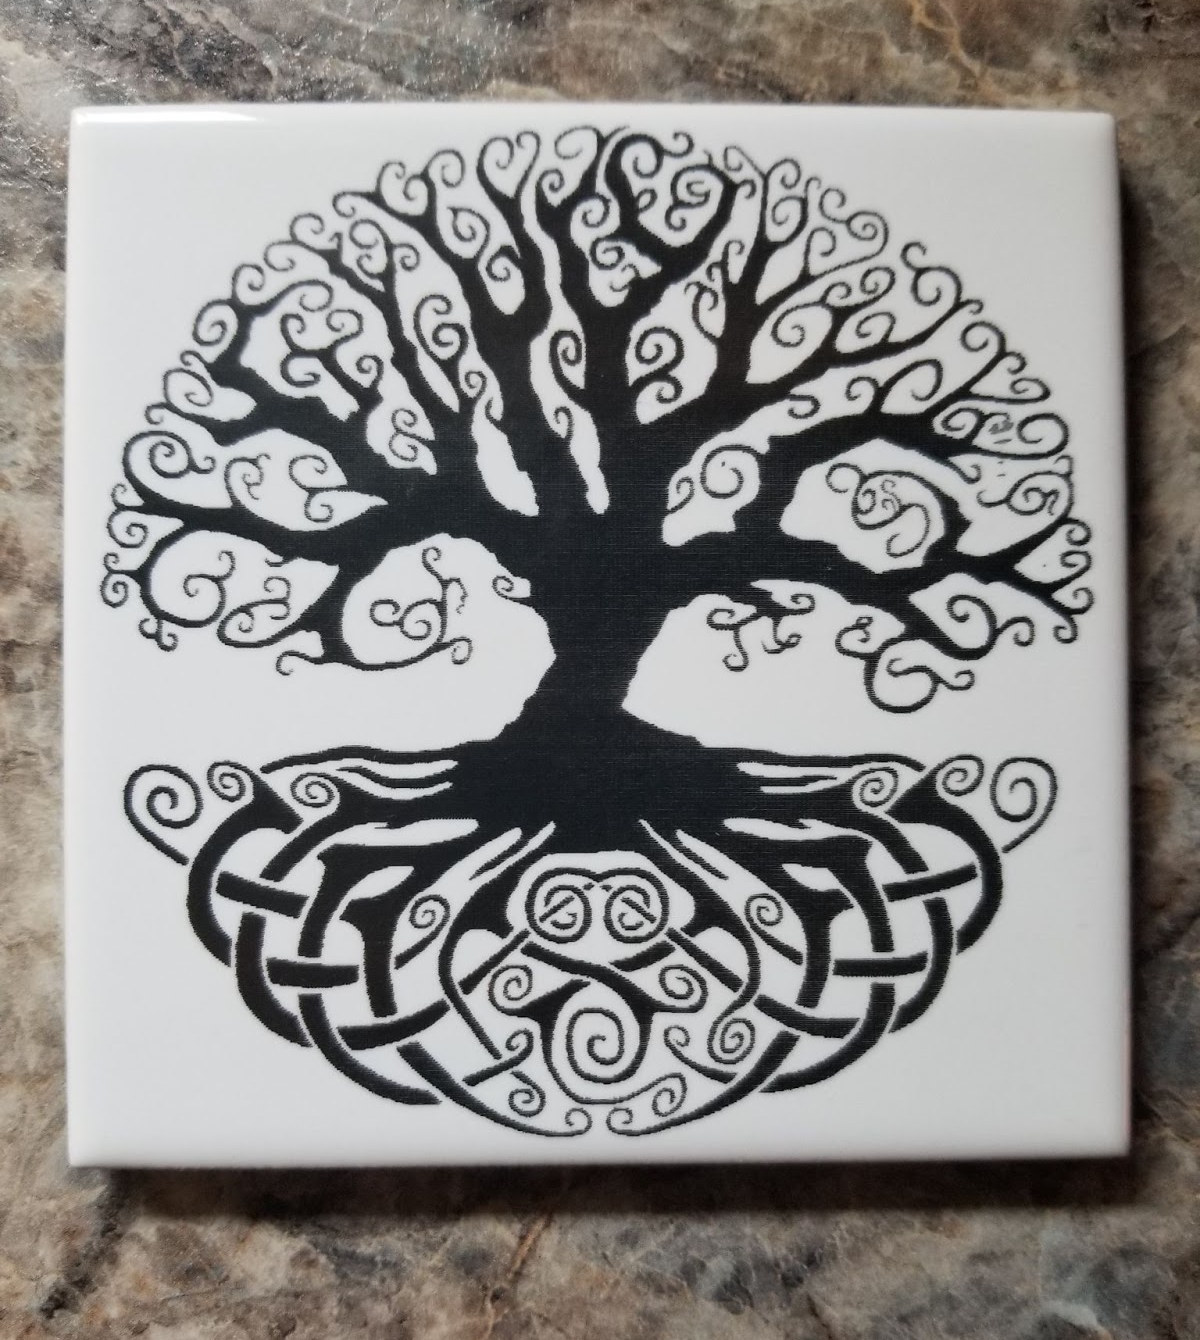
Tiles
About 9 months ago YouTube channel 3dPrintFarm posted a video about etching ceramic white tiles. Nicky Norton was the originator of the process but this was the first time I had seen it. I was instantly hooked. This is a permanently marked 4” white tile. I spent weeks with a 3018 and a 2.5w laser trying to make it work. I got about 3 decent tiles. I purchased lenses. Followed all the advice I could. I finally gave up.

Wood Engraving

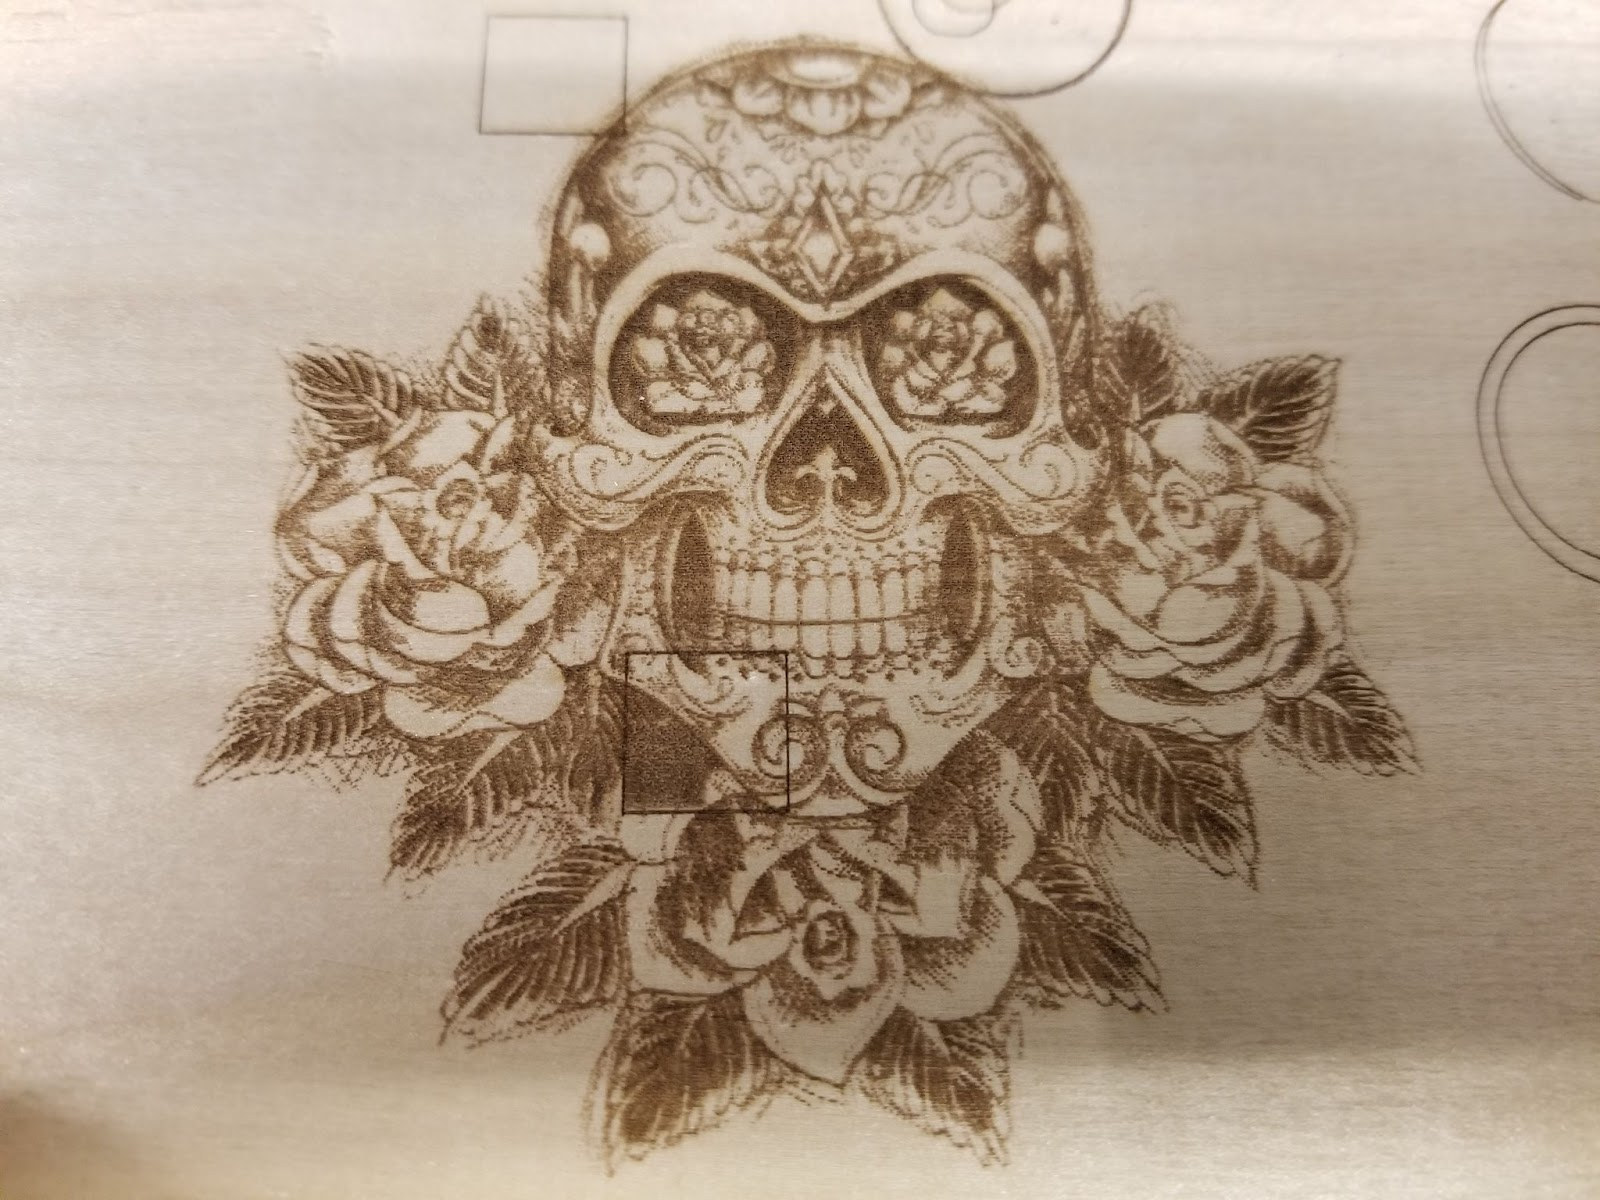
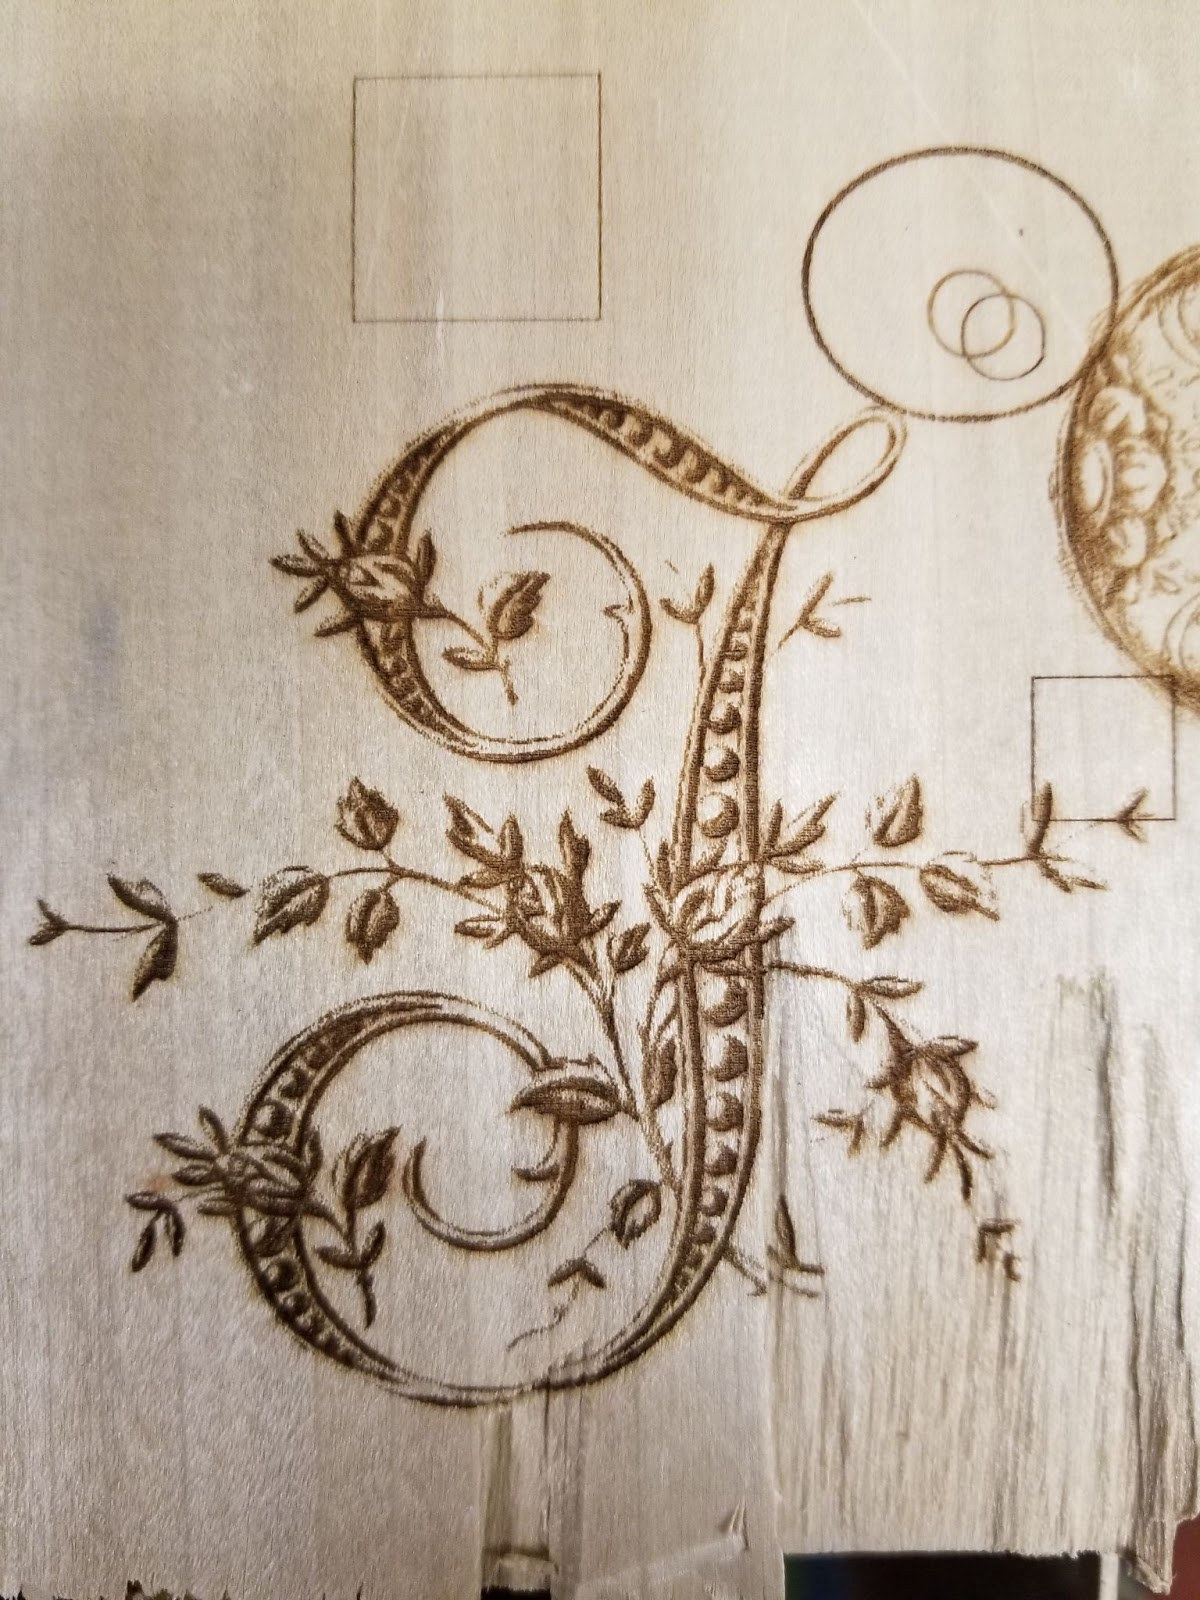

My kids got this tray for my wife for Mother’s day and after receiving the engraver I asked her if she wanted something engraved on it. It turned out pretty good. The only part I don’t like is where the 2 different woods meet. The darker wood absorbs better and is noticeably darker. She still really liked it. In the future, I would split this image apart and burn each wood individually to get a consistent look.
First Impressions
My first impressions are great. Especially, after spending so much time trying (and mostly failing) with the previous laser setup doing the Norton tile method. I found the LM2Pro easy to assemble. I will follow up with a long-term impression post. I ordered and received a small pump to test out air assist with cutting. I also went to a dollar tree and bought a bunch of test items to try different techniques. Canvases, Plates, Glass items, cheap stainless steel knife, and some wooden craft items from a dollar general. I also have some ideas for some bigger projects with the tile method. I also want to try incorporating the LM2Pro with CNC work. So many possibilities.
If you are interested in purchasing here is a link. For the first month, they are running a promotion and the first 5 orders every day will get a free rotary tool. Additionally, you can get an early bird discount with code “ORTURPRO” to get some additional savings for the next 30 days. The price after the code is $389.
Disclaimer: The link above is a commissionable link. Last time I reviewed a product for this firm they got really upset because I didn’t. The commission is not my motivation for reviewing products. If any commission is generated I will use it to help offset out-of-pocket expenses. I do this for fun!
Continue reading “Laser focusing on Laser Master 2 Pro and optimal line spacing“.

Karl is a technology enthusiast that contributes reviews of TV boxes, 3D printers, and other gadgets for makers.
Support CNX Software! Donate via cryptocurrencies, become a Patron on Patreon, or purchase goods on Amazon or Aliexpress. We also use affiliate links in articles to earn commissions if you make a purchase after clicking on those links.


Hi Karl,
Interesting review! I like the fact that you have an adjustable screw on this model to make it easier to adjust the focus. On mine I still have to release the screw that holds the module and adjust it by hand, which is less convenient.
Regarding the false power advertising, I first saw it practiced by NEJE, when I ordered their “20W” model which is in fact 5.5W. That was new and highly criticized on many sites so I really think they were the first ones. I’ve read somewhere a comparison with LEDs where it’s done similarly, while in both cases it’s difficult to measure the real power. That’s indeed true. But that also encourages plenty of vendors to just use less efficient converters and advertise even higher powers!
I’m pretty sure you’ll be interested in further exploring possibilities with new modules. A few months ago I bought the NEJE “30W” (7.5 real). It’s very powerful but the beam is a line of 5×1 approx (roughly 20um high x 100um wide when properly focused). It’s impressively efficient for cutting wood and acrylic but terribly bad for engraving because horizontal pixels are merged, while vertically they remain spaced. For now the best option I’ve had was Eleksmaker’s 2.5W module which can be focused to approx 90×90 um and can even draw on anodized aluminum (the 3 times more powerful NEJE is less contrasted there and only draws thin lines). NEJE finally created a series of “FAC” (fast axis correction) modules which employ a cylindric lens to make the dot square instead of having a bar. They’re the “A*” models there (“30W” and “40W”). I’ve ordered the “40W” (15W real) to test this and am impatient to receive it. That could be great both for engraving and cutting, instead of constantly having to change the module depending on the work (changing the module is particularly problematic when you want to precisely cut around something you’ve drawn since the dot default position significantly changes).
The next step should be to replace the controller for a faster 32-bit one.; engraving at 1500mm/min with limited power is painfully slow.
Thanks for the info. I think I did read somewhere that the more powerful the laser the bigger the beam. I had such limited time to review. I started looking at beam width with a microscope tonight and supplied focus card. I did all the previous burns at .1 I think I can get quite a bit smaller and make a custom cylinder for focusing….but then it increases time considerably. I also started working on bumping up the speed. I got up to 6000 mm/min on the canvis technique and think I can do tiles that fast as well. I think need to increase overscan to allow the head to get up to speed. Anyway lots more to test.
That’s it, the beam is larger when you have more power because they stack many diode elements, so it forms a bar. The smallest I have is an old 1W one which is roughly a 50um dot. Well, not exactly a dot, maybe a 2×1 ratio, but it quickly looks like a dot when not perfectly focused.
A nice way to run your focus tests is by using engraving a horizontal then a vertical line on an oblique piece of wood or cardboard: by measuring the height at the thinnest location, you’ll figure exactly how to focus it. You’ll also notice that you can’t have a thin X and a thin Y at the same time, but this will help you figure the laser module’s optimal height depending on what you want to do (engraving or cutting).
One of the claims on the review documentation was that beam was smaller than usual and more round. I will see how I can test this and take in your suggestion. Documentation is claiming the old laser module was .23x.23 and the new is .08x.15. I have been running & .1 so I do think it is improved. Tiles really made this apparent. With the previous laser if I had any overlap it would burn the previous line off the tile.
Yeah I can imagine. In my case the line is horizontal, meaning that the hash patterns I’m using to avoid burning don’t work anymore and that up to 2/3 of the vertical surface is left untouched (the line is even getting smaller than the motors’ physical resolution). I turned a previous one vertically and it went better because the pixel keeps a width while the head is moving horizontally, so at least the whole area is filled. But there’s still this overlap issue. On the 1W, I turned the “dot” 45 degrees so that it’s oblique. It gives good results as there’s neither horizontal nor vertical overlap; But using this for cutting shows funny forms when cutting small curves as they’re not symmetrical anymore and one side requires more passes than the other one. Bah, we want round (or square) spots!
So I received my “40W” (15 real) NEJE module. It’s impressive. By far the best module I’ve ever had. The spot is an almost perfect square. Even at 25% I draw on anodised aluminum at 0.075mm precision, and the anodisation is totally removed, leaving a nice silver white. I’ve cut 3mm plywood in a single pass at 240mm/min without burning it. The focus is factory-set to 17mm and I don’t think I’ll need to change it. I regret having bought the previous 30W model with its large line when I hesitated, as in the end it costs less to buy this module and without trying all other ones before! I’ve only got it sold as a kit with the power brick, the fastener, glasses, and the two test PCBs that I don’t need, but that’s worth it anyway. If you have $250 to burn to please yourself, just give this one a try, you probably won’t regret it! Now back to doing new tests 🙂
Hi great first impression review. I’m curious to know where you got the mount for the camera. Produced by you or is it one from another setup?
Thank you. I made it with some aluminum extrusion and a 1/4 20 bolt. And a bunch of super glue to make everything fixed…I committed this camera to this function lol.
Hello Karl I was reading your review and found it very informative. My question to you if you don’t mind sharing… is where did you purchase the air assist for the lu2-4 pro?
Please i realy need this but i dont how Can i found it bécasse i’m live in west Africa
I can see they don’t ship to Africa except for a few countries. You may try to contact Ortur, and they may find a way.