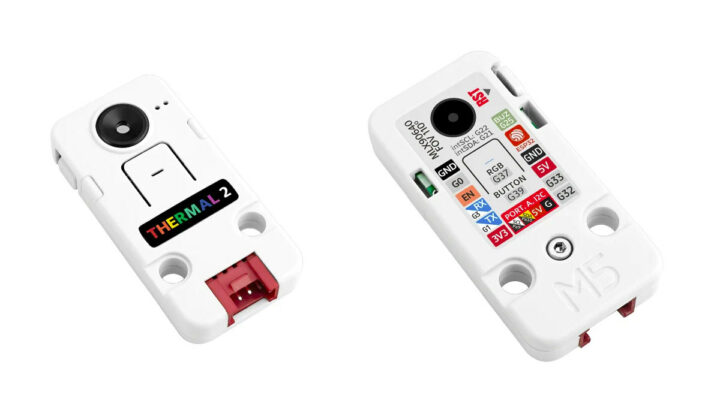
We’ve already seen the ESP32 used with a thermal camera (Flir Lepton 3.5) in the tCam-Mini IR board, but M5Stack Thermal Camera 2 Unit offers a more affordable ESP32 thermal camera solution thanks to the MLX90640 IR array thermal camera with a 32×24 resolution.
Based on the ESP32-PICO-D4 system-in-package (SiP) with a dual-core microcontroller offering WiFi and Bluetooth connectivity, the camera module offers a field of view of 110°x75°, and a temperature measurement range of -40°C to 300°C.
M5Stack Thermal Camera 2 Unit specifications:
- SiP – ESP32-PICO-D4 system-in-package with ESP32 dual-core Tensilica LX6 cores, 448 KB ROM, 520 KB SRAM, 4MB SPI flash, 2.4 GHz WiFi 4 and Bluetooth 4.2
- IR camera – Melexis MLX90640 Infrared (IR) sensor with 32×24 pixels IR array, range: -40°C to 300°C with +/-1.5°C resolution, FoV: 110°x75° (See datasheet)
- Expansion – Grove I2C HY2.0-4P interface (“Port A”)
- Misc – Reset button, passive buzzer, user RGB LED
- Power Supply – 5V @ 0.5A via Grove connector (“Port A”)
- Dimensions – 48 x 24 x 8mm
- Weight – 4.9 grams
- Temperature Range – -40°C to +85°C

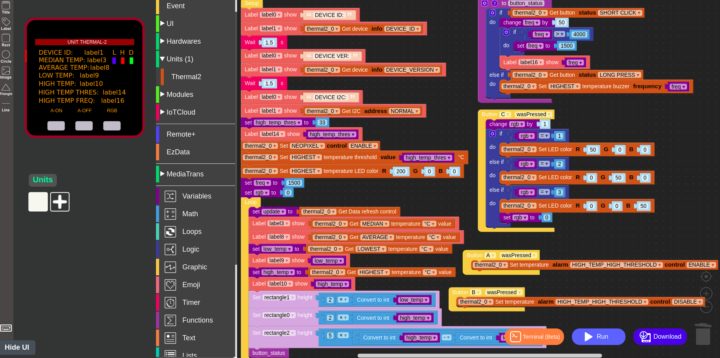
The company says the device can be programmed with the Arduino IDE or UIFlow visual programming web interface, but the documentation only shows the UIFlow sample shown above. It looks like the program it meant to run on an M5Stack Core2 module (or similar) to which the Thermal 2 Unit is attached. For reference, Melexis also released a C/C++ library for the MLX90640 IR sensor and Sparkfun published Arduino samples, both of which have been available for several years.
The MLX90640 IR thermal camera and by extension, the M5Stack Thermal Camera 2 Unit, can be used for high-precision non-contact temperature measurement, motion detection, as a visual infrared thermometer, and in various DIY projects.
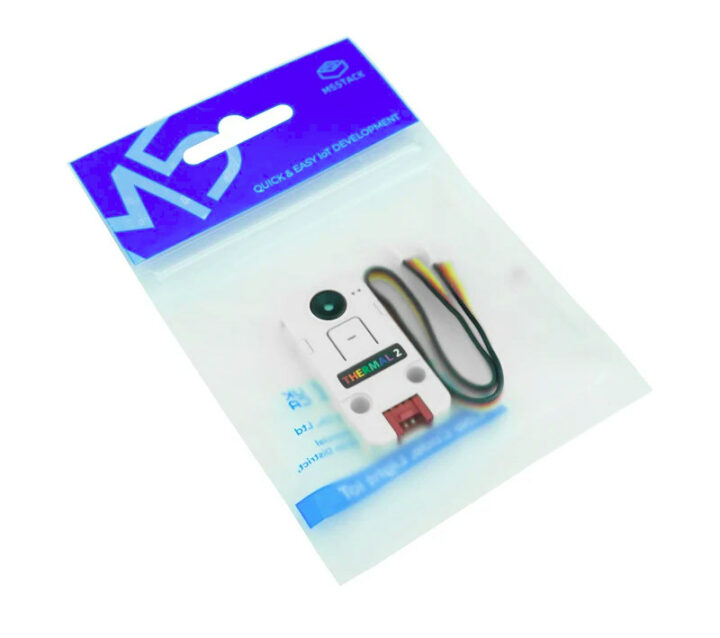
The M5Stack Thermal Camera 2 Unit ships with an HY2.0-4P cable and sells for $69.99 on the company’s online store.

Jean-Luc started CNX Software in 2010 as a part-time endeavor, before quitting his job as a software engineering manager, and starting to write daily news, and reviews full time later in 2011.
Support CNX Software! Donate via cryptocurrencies, become a Patron on Patreon, or purchase goods on Amazon or Aliexpress


I’d be curious to know the effective frame rate they reach. I have this thermal sensor attached to an Odroid-Go (ESP32 as well). It’s read over I2C and thus is not particularly fast. You need to read it twice to get a full image since it’s interlaced like a checker board. I’m using a default refresh speed of 4Hz which in practice gives me only 2 frames per second due to the slow transmission over I2C. The real problem is blurred pixels if you move a little bit. Note that for the price it remains an excellent deal and I’m… Read more »
@Willy said: “I’d be curious to know the effective frame rate they reach… I’m using a default refresh speed of 4Hz which in practice gives me only 2 frames per second due to the slow transmission over I2C.” I do not have this sensor but I skimmed the datasheet. The refresh rate goes up to 64 frames per second, user-set. One frame has two interlaced subframes, 0 & 1. There are 32 x 24 = 768 pixels per full frame. So 32×24 = 768 pixels/frame x 64 frames/sec = 49,152 pixels/sec max. The I2C port supports 400 kHz or 1… Read more »
Oh rest assured that I’ve read the datasheet plenty of times and I can confirm it’s reading the device that slows things down. Just read it twice and it takes twice as long. It’s in part due to the software I2C implementation in the ESP32 that’s too slow. Also one calculation was wrong in your example, you forgot to count the number of bits of resolution for each sample (I don’t remember right now but I think it was something like 12 bits). I also seem to remember that there was something inefficient in transferring data following the checker board… Read more »
OK Willy, thanks for the reply. It’s discouraging to hear you are still experiencing slow read rates.
What possible uses could there be for a thermal camera with such a low resolution? It’s only 32×24, that’s only 768 total pixels! That’s only 0.0008 megapixels.
It allows for presence detection with more precision and/or targeting than regular PIR sensors which only have 2 or 4 pixels, and only see variations in differences and nothing more. A regular PIR sensor will see someone arriving, leaving or moving (within specific conditions). This sensor will also see someone actually staying in the same location without moving or moving very little. Also a regular PIR sensor will have a fixed field of view (determined by the Fresnel-like lens in front of the actual sensor). Anything within the field of view will be detected and you can’t do anything about… Read more »
What resolution you expect from IR camera?
I found that I’m using mine about every weekend. With such devices, you slowly discover new use cases you hadn’t thought about. I built it initially to see if I could spot hot parts on an SBC, and it ended up being useful to detect a hung machine on a shelf that was very hot, finding that some laptop power supplies are really inefficient because they’re hot on the floor, adjusting my fridge’s temperature and checking where the coolest/hottest place are, detecting leaks under doors, spotting dead batteries within a LiPo pack during charge, distinguishing two identical components that you’ve… Read more »
Enough to see a heat leak or cold spot.
This article is inadequate without a sample image taken with the sensor or at the very least a simulated image.
You can find a sample image from the MLX90640 sensor by clicking the “Arduino samples” link in the article -> https://github.com/sparkfun/SparkFun_MLX90640_Arduino_Example