Videostrong VS-RD-RK3399 development board is a full-featured development based on Rockchip RK3399 hexa-core processor with up to 4GB RAM, and 32GB eMMC flash, and plenty of I/Os. The company has sent me a sample, and after getting some trouble going through customs with questions like “what is a development board?” and “is it a board for TV boxes or computers?”, I finally got hold of the parcel. Today, I’ll check out the board and its accessories, show how to assemble it, and since the company shared more info about documentation and software, quickly go over what’s available.
Videostrong VS-RD-RK3399 Development Kit Unboxing
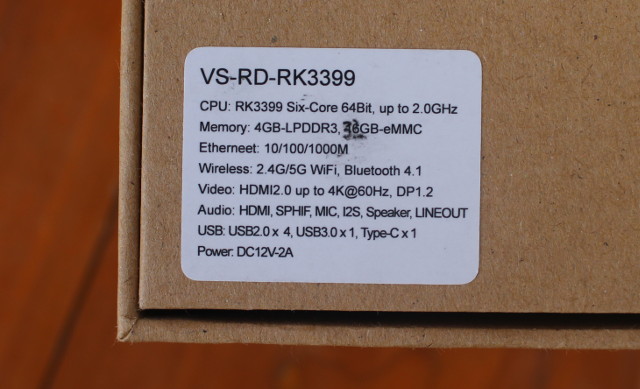
The board was in a bland carton box, which is fine since it’s not a consumer product, with a stick showing I got the 4GB LPDDR3 / 32GB eMMC flash version. There’s also a board using 2GB/16GB configuration.
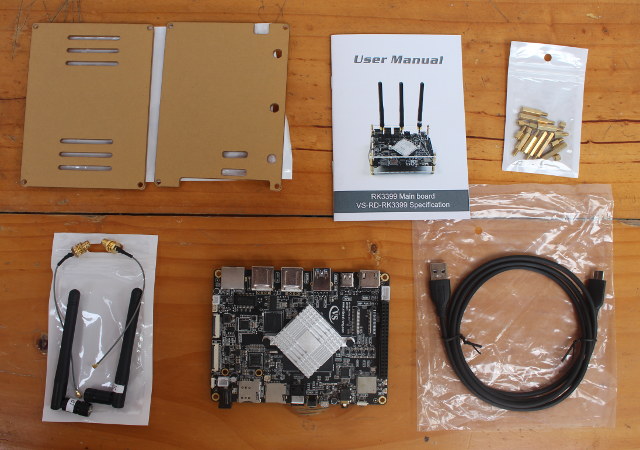
The package includes the board, bottom and top acrylic plates for the “case”, some spacers, WiFi and Bluetooth antenna, USB 3.0 type A to USB type C cable, a user’s manual detailing the board’s specifications and pinout diagram…
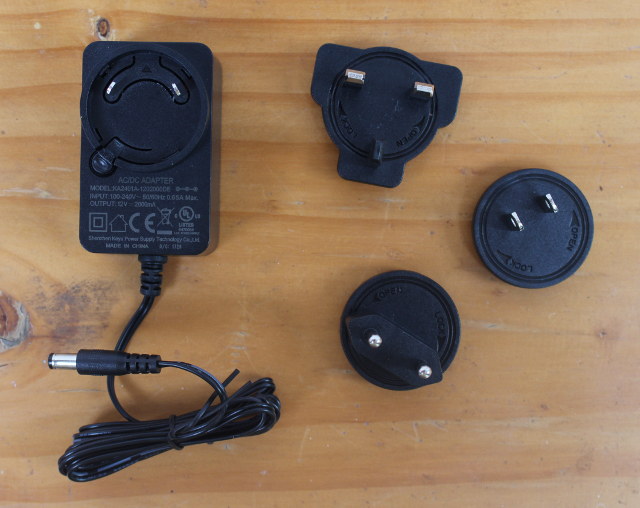
… and a 12V/2A power adapter and EU, US, and UK plug adapters.
I also took some closer photos of the development board, and it will only report new information that I have not already written in the announcement post. First, the eMMC flash is Samsung KLMBG4WEBD-B031, the cheapest 32GB eMMC flash from the company, but still with acceptable performance: 246/46 MB/s R/W speed, and 6K/5K R/W IOPS.
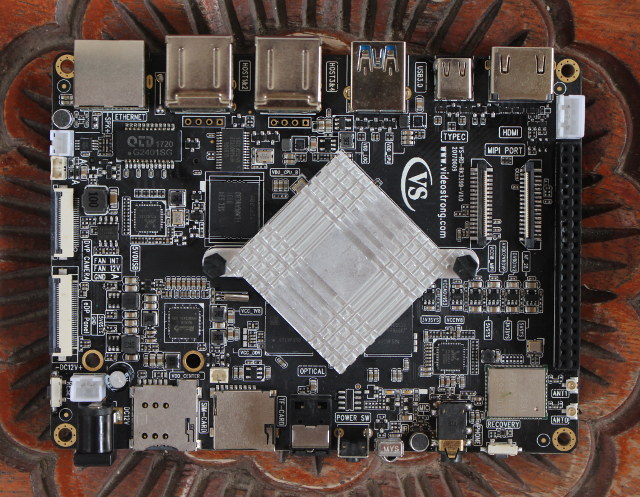
There are many USB ports in the board’s design, and this is done via Genesys Logic GL850G USB 2.0 hub chip, while the audio codec is Realtek ALC5640.
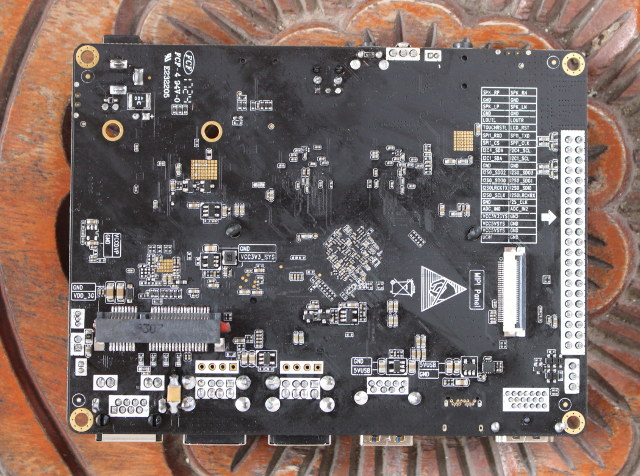
The back of the board includes an mPCIe slot for a 4G LTE card, and a MIPI DSI connector.
VS-RD-RK3399 Kit Assembly
The assembly of the kit is mostly straightforward for may be a little confusing at the beginning. First, we’ll need to remove the protection on the acrylic plates, and use the bottom one with the 6 ventilation lines, and tighten the small and medium spacers around the base, with the small ones facing down. I thought it was a good idea to connect the u.FL to SMA cable for the antenna at this stage, but they come off those easily, it’s better to do it later.
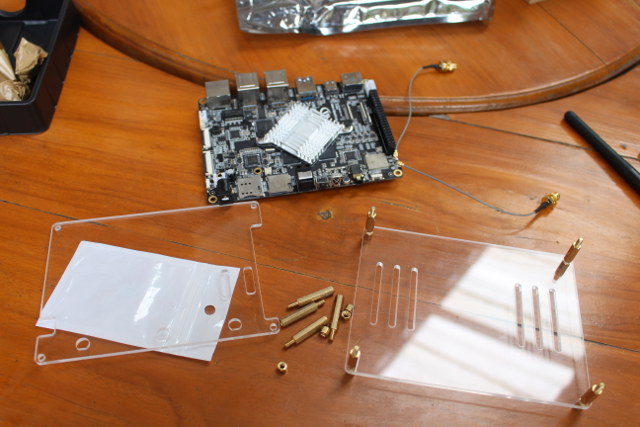
Then we’ll place the main board on top of the medium spacer, and tighten the longer spacers on top. Once it’s done we can remove nuts from the SMA connector, insert the antenna cables on the right and middle hole in the top acrylic, and screw the nuts back to keep the cables in place.
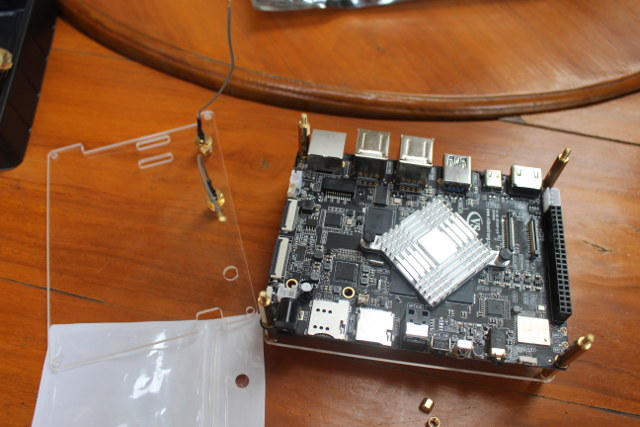
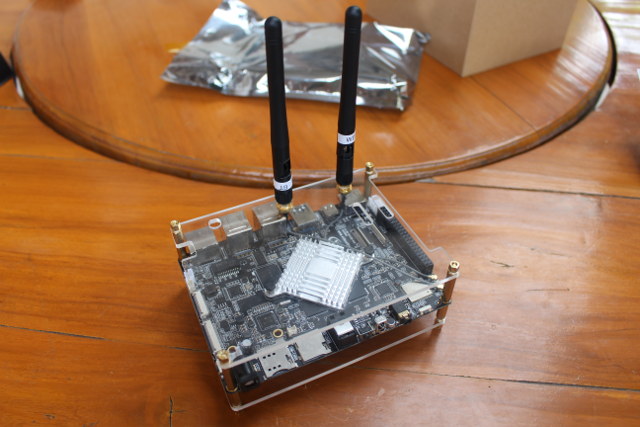
We can now connect the antenna cables the ANT0 (for Bluetooth), and ANT1 (for WiFi) u.FL connectors on the board, place the top cover with the two opening aligned over the MIPI CSI connectors, and tighten it with the four remaining nuts we have, before completing the assembly by installing the two antennas.
VS-RD-RK3399 Board SDK and Documentation
When I asked about Android/Linux software development kit, and documentation last week, the company had nothing to offer, saying the SDK will be provided via a link… Today, they gave me that link on MEGA with most of what is needed for development.
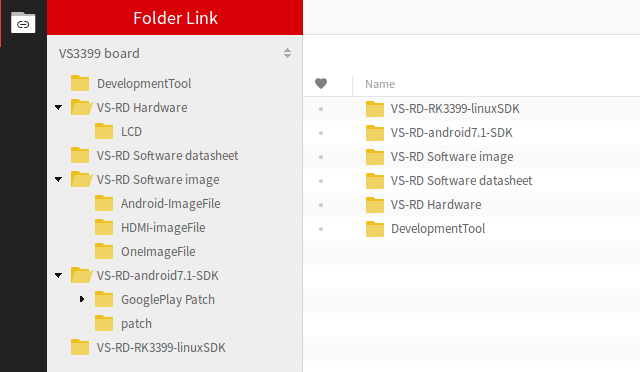 The download is too big for a free MEGA account, unless you are really patient, but you should be able to download everything using megaupload tools in a terminal.
I haven’t completed the download yet, and I’ll look into details during the next part of the review, but we can see 6 main directories:
- VS-RD-RK3399-linuxSDK – The Linux SDK
- VS-RD-android7.1-SDK – Android Nougat SDK
- VS-RD Software image – Android firmware, apparently no Linux OS (yet)
- VS-RD Software datasheet – Linux, Android, Dual OS documentation
- VS-RD Hardware – Parts datasheet, RK3399 TRM, LCD datasheet (No schematics apparently)
- DevelopmentTool – Various tools for development like AndroidTool, DriverAssistant, etc…
If you are interesting in the platform, you can purchase it by contacting Videostrong via Alibaba.
[Update: Part 2 of VS-RD-RK3399 / Mecool VS-RK3399 board: Checking Out Debian and Linux SDK for VideoStrong VS-RD-RK3399 Board]

Jean-Luc started CNX Software in 2010 as a part-time endeavor, before quitting his job as a software engineering manager, and starting to write daily news, and reviews full time later in 2011.
Support CNX Software! Donate via cryptocurrencies, become a Patron on Patreon, or purchase goods on Amazon or Aliexpress. We also use affiliate links in articles to earn commissions if you make a purchase after clicking on those links.


Four metric gigs or RAM, yay! Vendors are finally getting the idea of self-hosted devboards.
Like the ” customs with questions like “what is a development board?” and “is it a board for TV boxes or computers?” ”
Fits RPI 3 etc
Did you try confusing customs by saying it was a professional Arduino style board, that would puzzle their heads.
@theguyuk
This is not the UK here :), they would probably not have any idea of what a Raspberry Pi is…
I even had to spent considerable amount of time trying to explain what a 3D printer is.
Wow, DisplayPort 1.2! I guess it will be missing on any retail designs.
I wish more ARM boards shipped with DisplayPort. Does it support DisplayPort MST? Then you could daisy chain multiple displays.
I’m pretty sure that Rockchip RK3399TRM V1.3 Part2.pdf wasn’t meant to be released, at least not yet, since it is not present on Rockchip wiki page.
@cnxsoft, if you need to upload images/firmware/SDK etc, let me know so you get a Free account with some amount of storage space at https://owndrive.com.
The board is listed on GeekBuying with either 2GB or 4GB RAM -> https://www.gearbest.com/tv-box/pp_728987.html
And on Aliexpress: https://www.aliexpress.com/store/product/VS-RD-RK3399-Six-Core-64-bit-High-Performance-2GDDR-16GEMMC-dual-cameras-demo-board-for/1382212_32825845250.html
found a cheaper place on Ali Express than the deal that @Fossxplorer saw
https://www.aliexpress.com/item/MECOOL-VS-RK3399-DIY-RK3399-Mali-T860-TV-Box-Set-top-Boxes-Super-Development-Board-4K/32834143706.html