
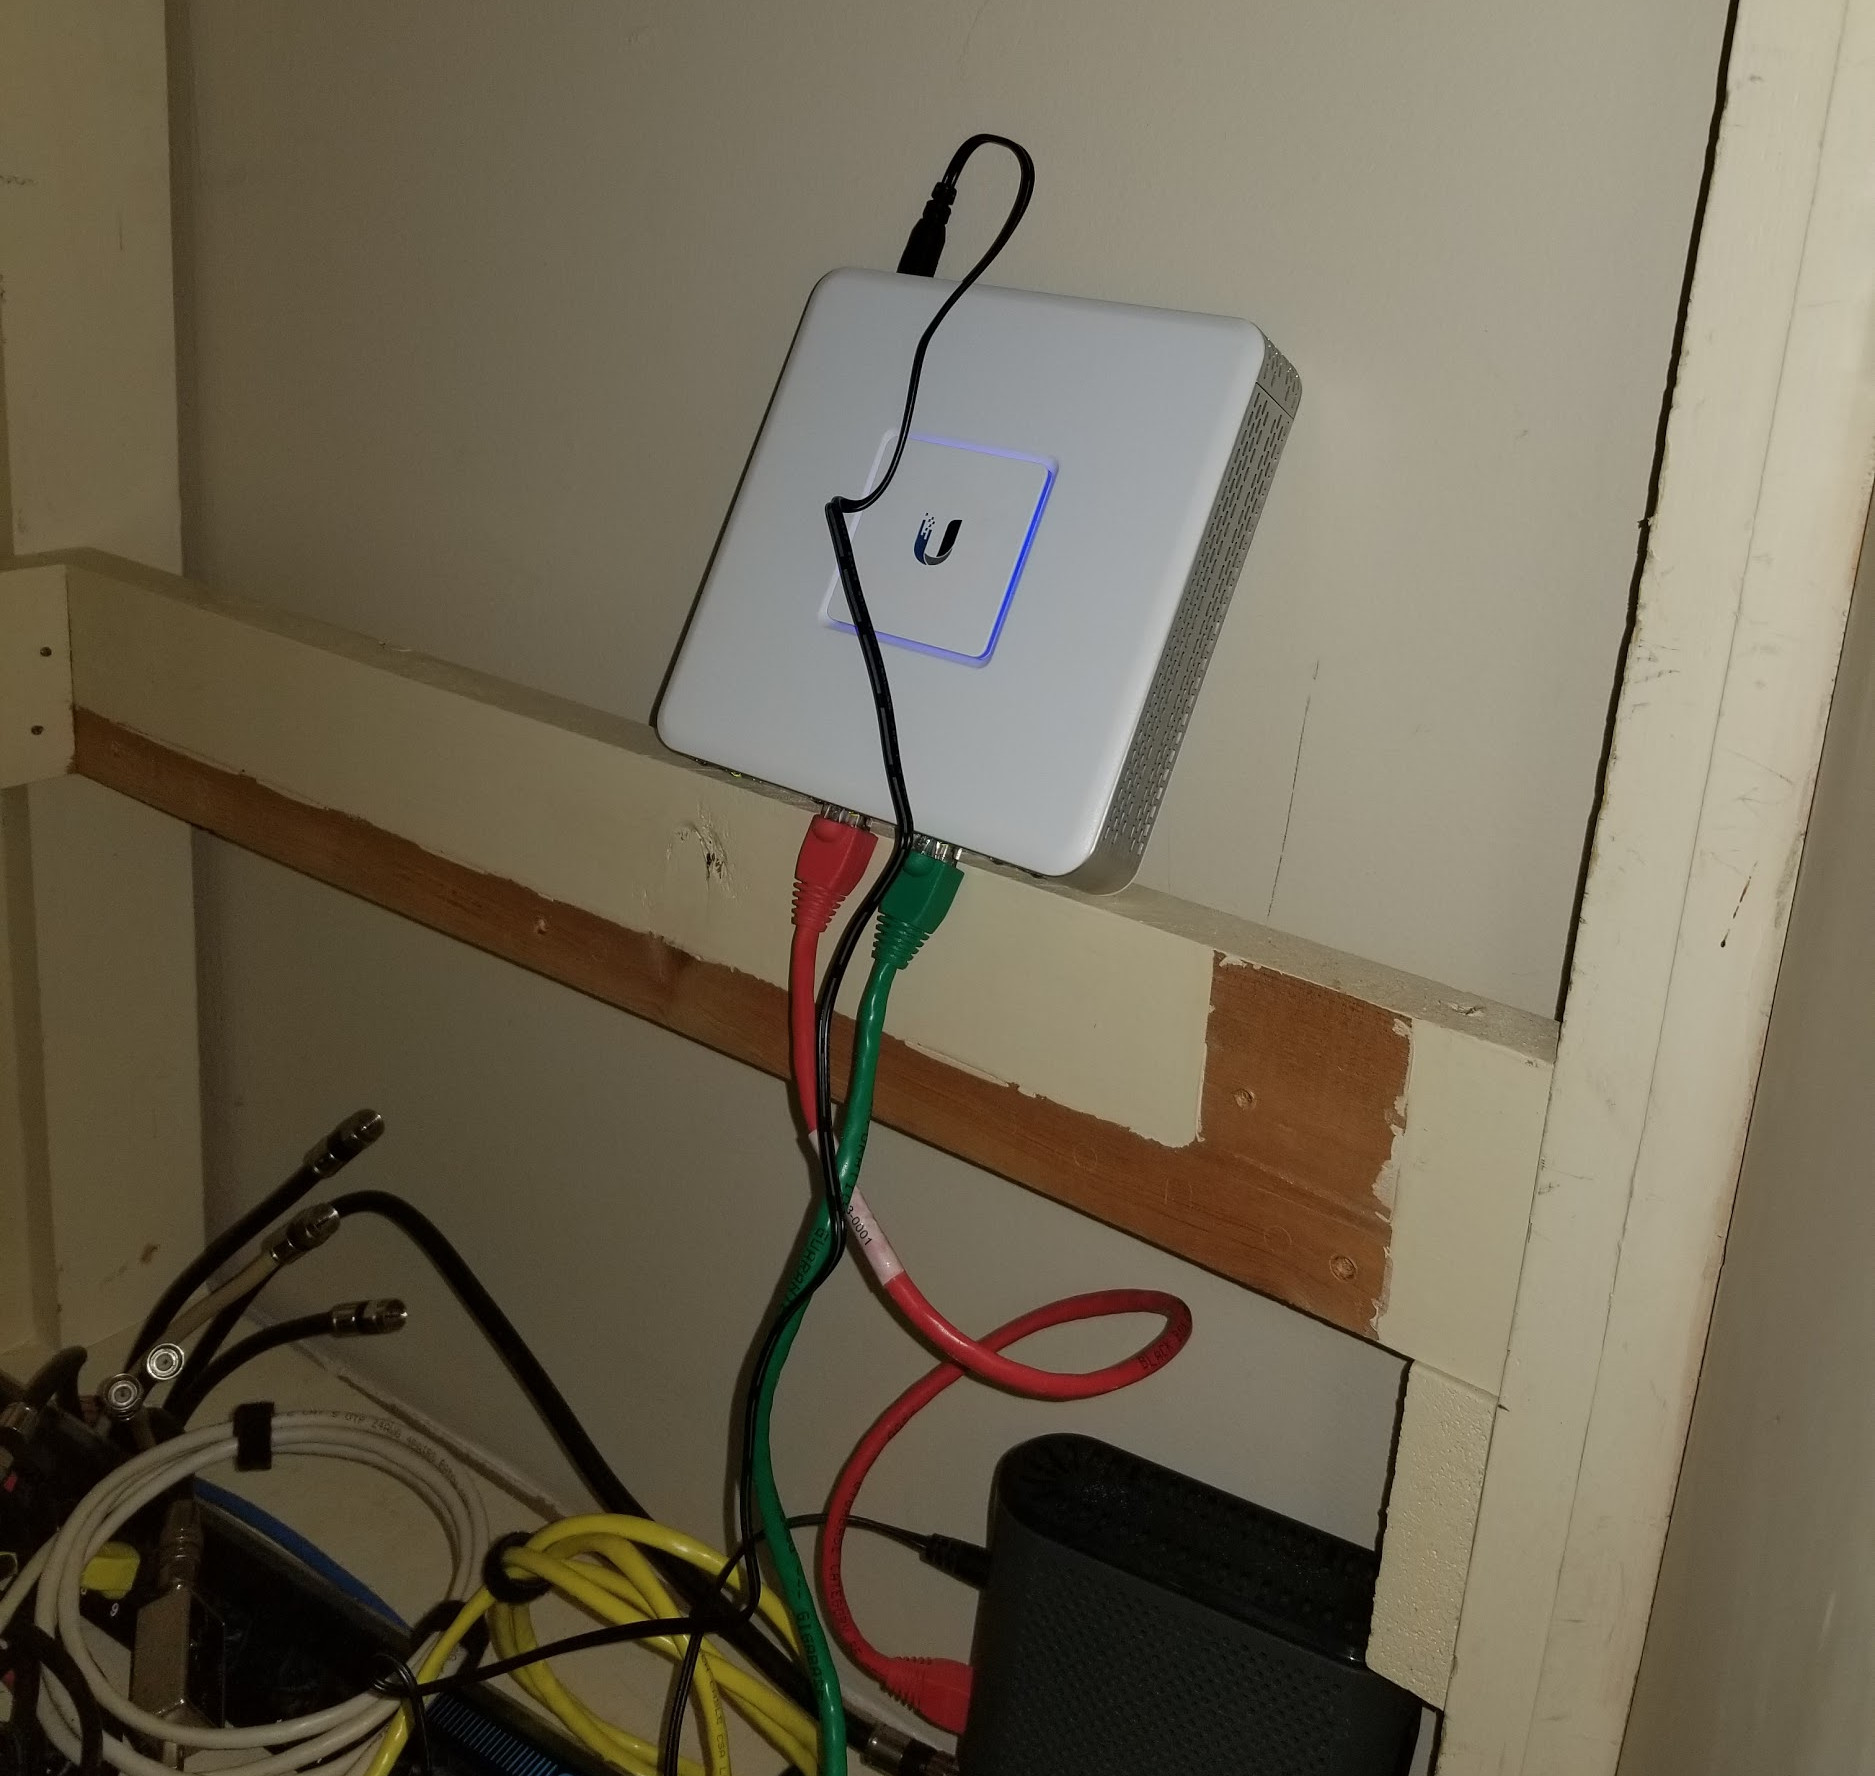
Hey Karl here with a quick write up on how I adopted a Ubiquiti Unifi Security Gateway (USG) into my existing home network. I ran into a few issues so I wanted to share and hopefully help someone else. I have had 2 Unifi access points cover my home for several years now and I recently upgraded my internet to 100 Mbps. I was maxing out at about 95 Mbps with downloads on my existing 100 Mbps Linksys router and I knew I was leaving some bandwidth on the table. Spectrum is my internet provider and I have always got more than what I paid for. I placed an order on Amazon and 24 hours later it was delivered.
I have a couple of things that made this challenging. First I run my network on a 10.0.0.1/24 subnet with devices that have static IP address and I host my own Unifi controller and don’t use the cloud version. I also did not want to change anything on the network.
After the upgrade to the Ubiquiti USG, I am now getting 115 Mbps. About an 18% increase over 95mbps.
Before I started adopting the Unifi Security Gateway I set all my network settings in the controller.

Steps I took
This is not the way I wanted to adopt it because it caused more downtime but no one was home so I took the opportunity and setup the device. This took me about an hour longer than I wanted and the steps below were the final working steps and should take about 15-30 minutes depending on your skill level.
Step 1 – Swapping routers
I did a 1:1 swap of the existing Linksys router. Wan to Wan and Eth to Eth and rebooted my router and plugged in power to the USG.
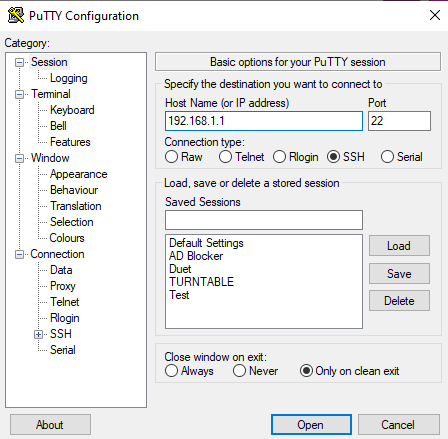
Step 2 – SSH login & configure Unifi Security Gateway
Wait until your wired PC gets an IP address. It should be in the 192.168.1.1/24 subnet. Then SSH with your favorite terminal emulator to 192.168.1.1. The default login is “ubnt” and password is “ubnt”.
I ran these commands
|
1 2 3 4 |
configure set interfaces ethernet eth1 address 10.0.0.1/24 delete interfaces ethernet eth1 address 192.168.1.1/24 commit |
Substitute 10.0.0.1/24 with your old existing subnet.
Step 3 – PC Configuration
Set your PC to an IP address in your old existing subnet. I set mine to 10.0.0.123 with subnet 255.255.255.0.

I run windows 10 so I went to Network and Internet settings
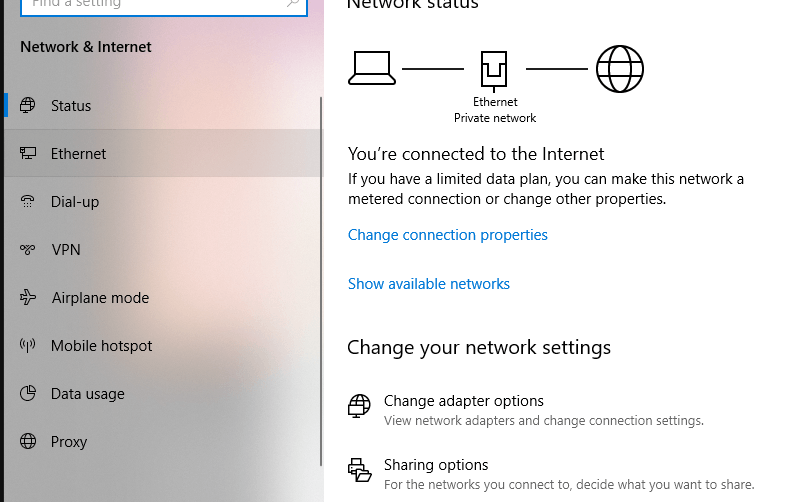
Then ethernet

Then change adapter options.
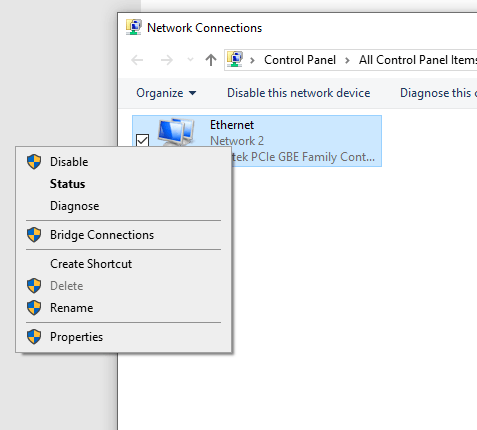
Right-click on your network connection.
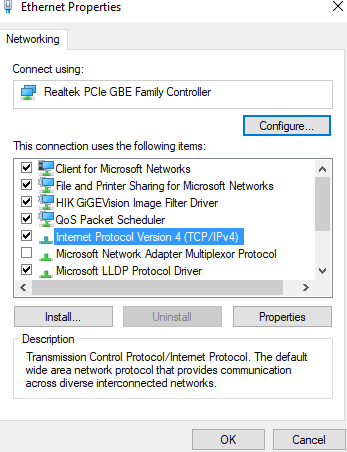
Select IPV4, then properties.
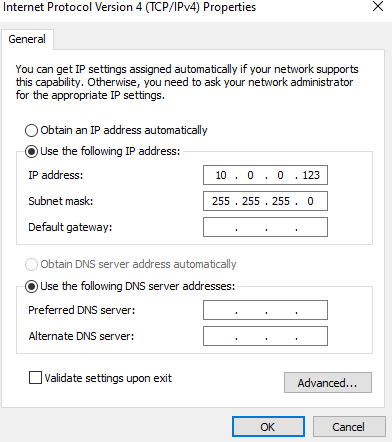
Set IP and subnet
Step 4 – Final Step
I already had an existing controller setup on a mini PC with an Atom Z8300 and Windows 10. It would not find the USG so I had to do an extra step. SSH over to the USG with putty and the IP address you gave earlier. In my example, I use 10.0.0.1 with the default login still ubnt:ubnt and run these commands.
|
1 2 |
mca-cli set-inform http://10.0.0.200:8080/inform |
Substitute 10.0.0.200 with the IP address of your existing controller. Now, wait. It took quite a bit of time for it to show up. After it found the USG I told the controller to upgrade the firmware and adopt. A few minutes later everything started to get back to normal. I went and changed my PC back to DHCP and all is right on my home network. Home automation and everything was working.
Future changes to Home Network
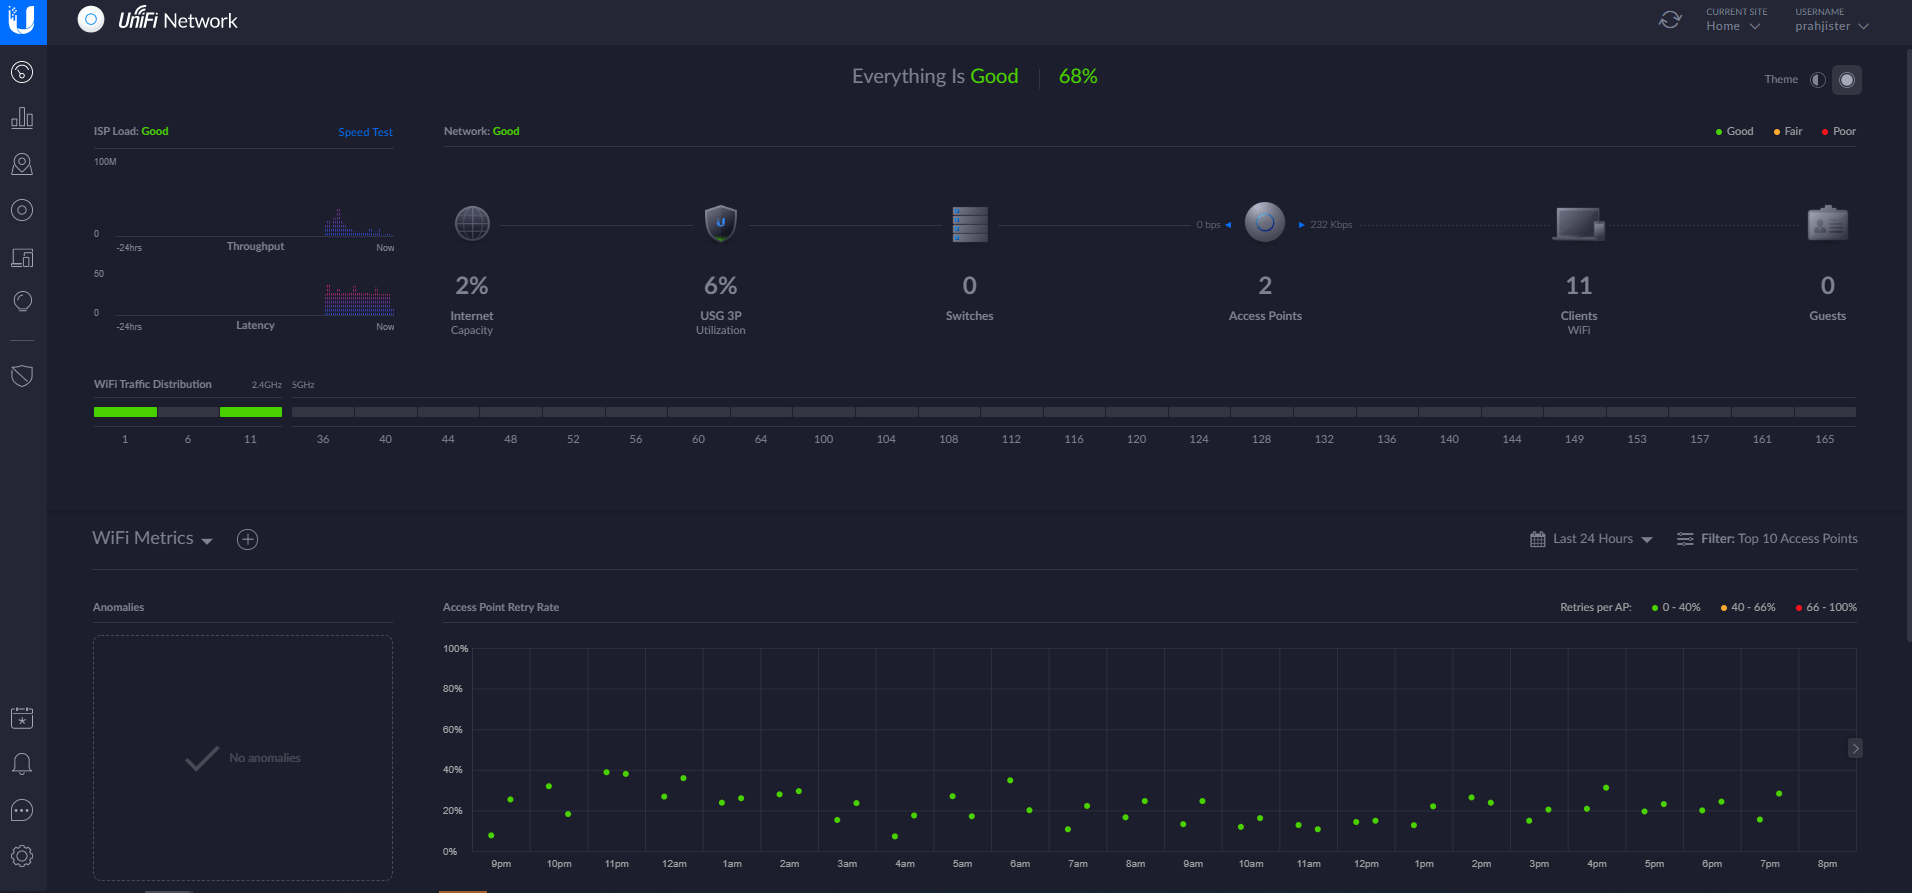
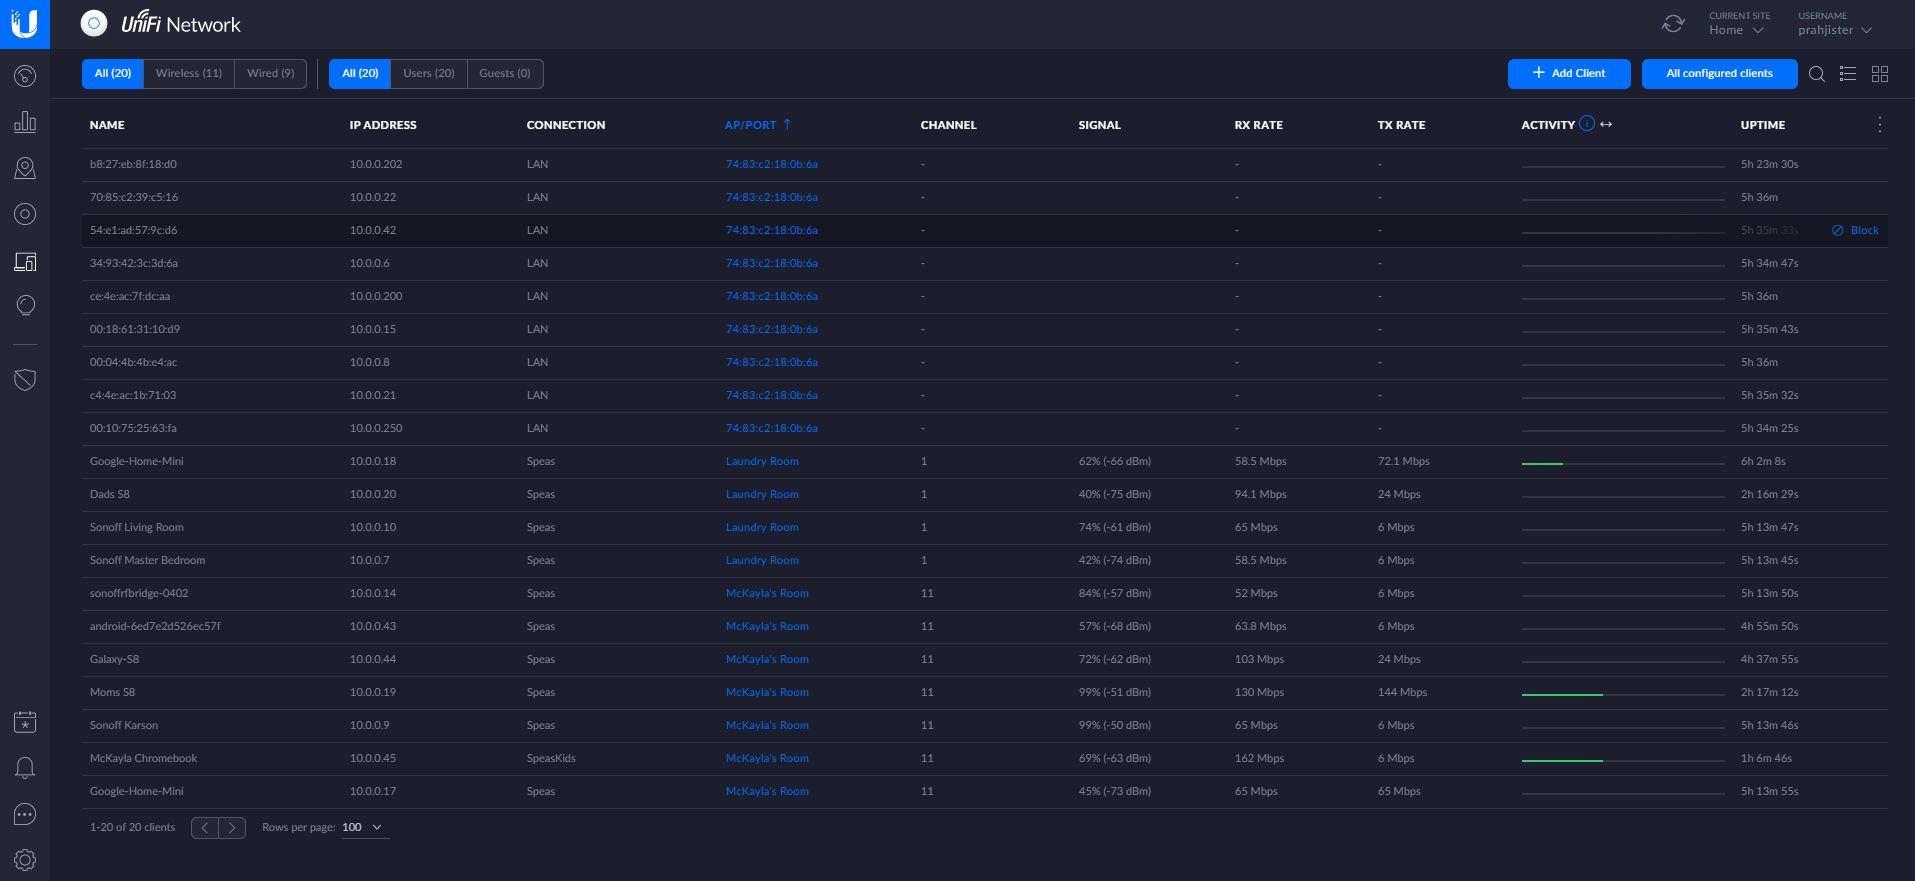
My next step is to start replacing the access points over to UniFi UAP-AC-PRO with 802.11ac WiFi 5. I am still running on the original 2.4 GHz only n versions. They have served me well. I will probably replace the one in my laundry room and move it out to my shop as a first step. If you are unfamiliar with the Unifi line by Ubiquiti check them out here. I started with access points long ago. They have been rock solid. I never have to reboot them. The only reason I want to upgrade is to get some more speed on my modern devices. I may check out the deep packet inspection later and spy on the kids now I can see every device on the network. Below are some screenshots of the interface.

Karl is a technology enthusiast that contributes reviews of TV boxes, 3D printers, and other gadgets for makers.
Support CNX Software! Donate via cryptocurrencies, become a Patron on Patreon, or purchase goods on Amazon or Aliexpress


I understand your tutorial, but wouldnt it be easier if you adopted the security gateway into your unifi controller and then make the necessary network changes?
Best regards.
Ps: ok, sorry. .. Just saw now your controller wasnt getting the gateway to adopt.
That is basically what I did. Thank you
Can u post a video
I never understood how you can inform the controller (network application). set–inform http://[controllers ip]:8080/inform
thank you