
This morning I received a message from DHL informing me of an incoming package from Hong Kong and sent by a company (i.e. an agent) I had never heard of. My first reaction was “Ah” shortly followed by “Why?!”.
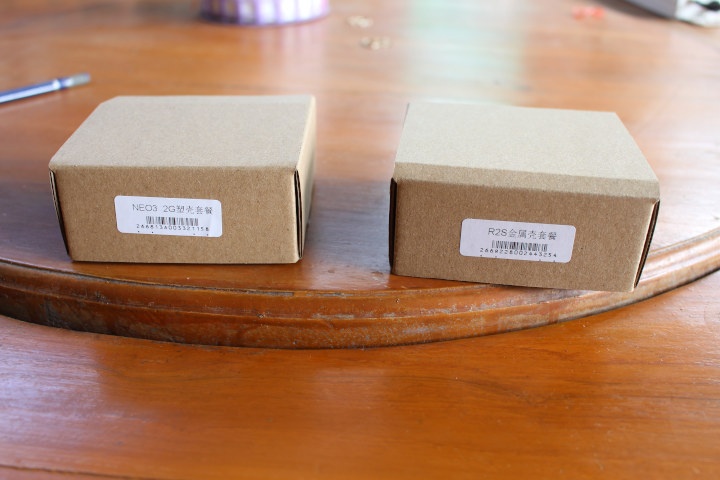
But in any case, I’ve just received the package, and after tearing the plastic out, I found a FriendlyELEC branded package. So I thought to myself it must be a NanoPi board for review. Wrong! I actually got two NanoPi “boards” namely NanoPi NEO3 with 2GB RAM, and NanoPi R2S both of which are Rockchip RK3328 powered SBC’s designed for Linux headless applications.
Unboxing
After opening both packages, I realized I did not get the SBC versions, but instead the complete gateways with their respective enclosure.
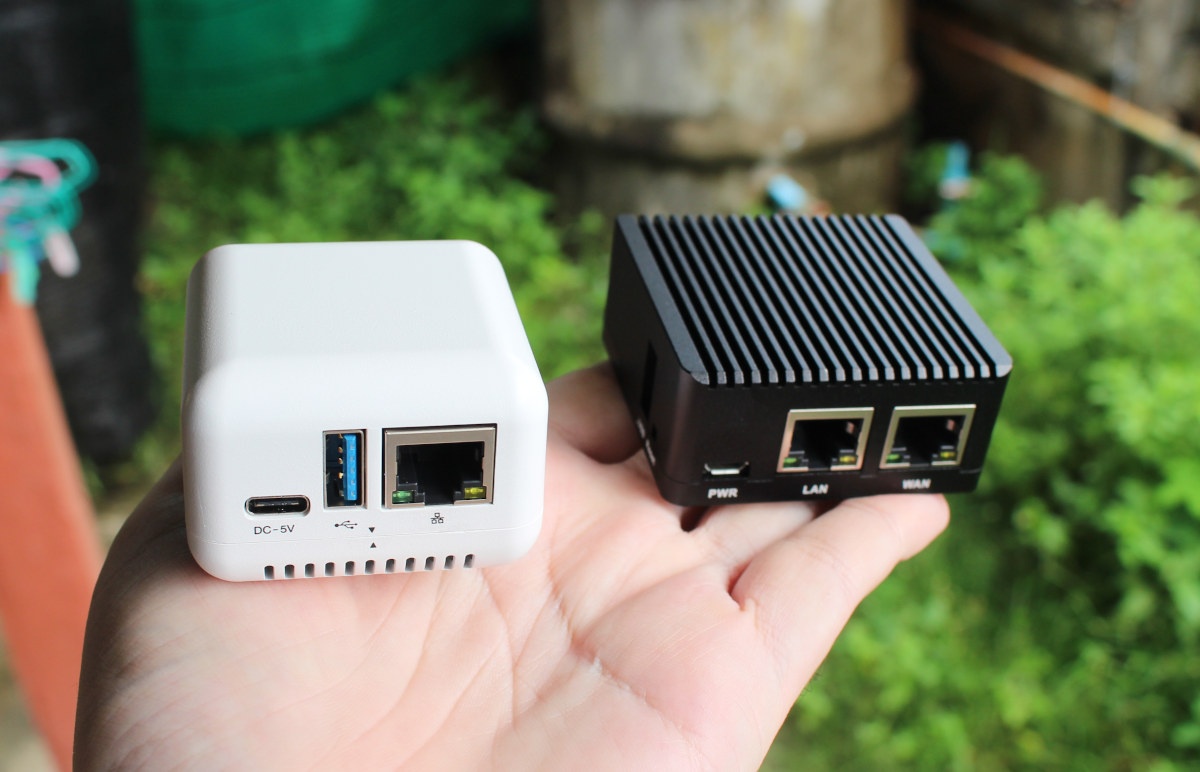
NEO3 is really light since the case is in plastic, while R2S is a bit heavier due to the metal case. NanoPi NEO3 gateway comes with Gigabit Ethernet and USB 3.0 as well as a USB Type-C power port, while R2S includes dual Gigabit Ethernet (one native one via USB 3.0) and a Micro USB port for power.
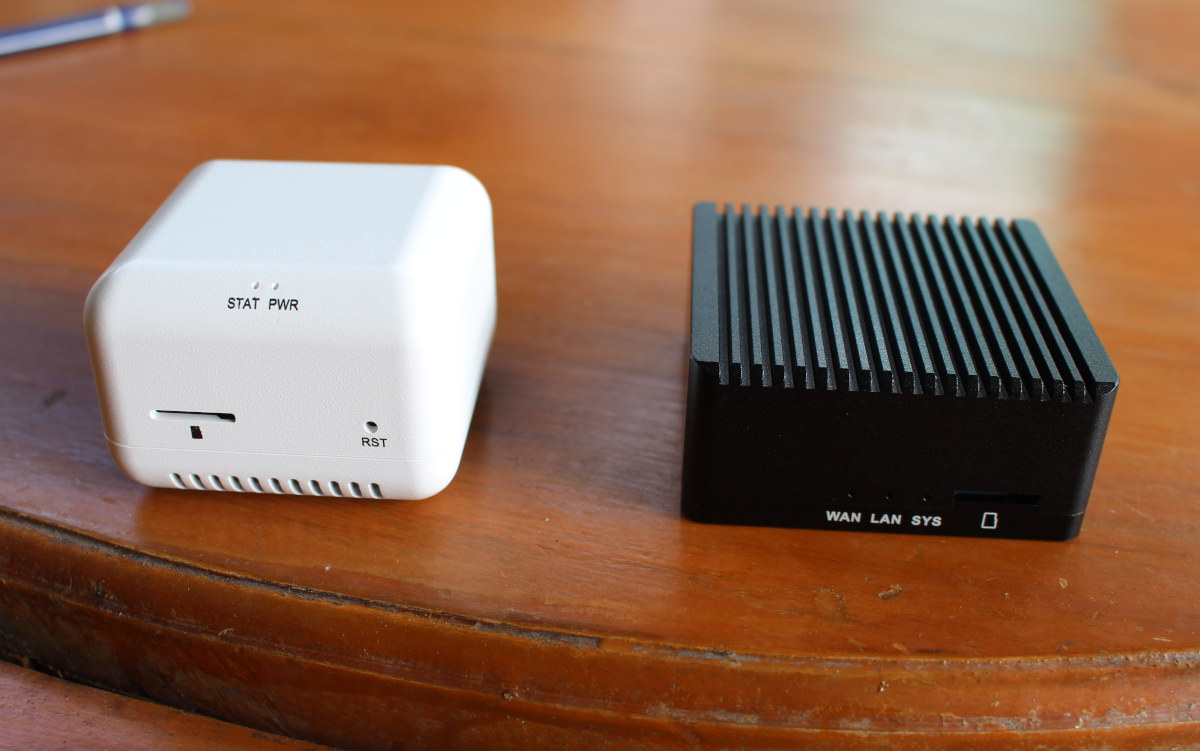
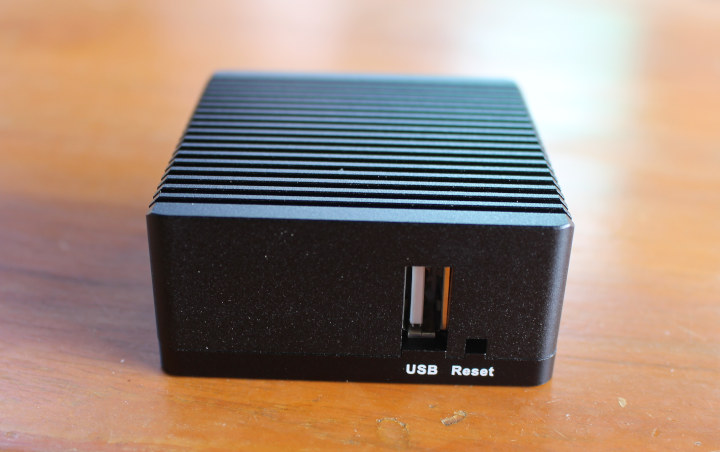
The opposite side of both devices includes a MicroSD card to boot the system since none of them come with an eMMC flash (note: R2S does have an SPI flash footprint for network boot), as well as power and status LED’s. NanoPi NEO3 also has a reset pinhole that is found on another side of R2S together with a USB 2.0 port.
 The company did not provide any other accessories with the gateway, but that’s OK as all we need are USB power supplies and some Ethernet cables.
Teardown
Neither enclosures are made to be disassembled. The two parts of NanoPi NEO3 plastic enclosure are just clipped together, while NanoPi R2S case comes with four screws including one topped with what looks like a “warranty void” sticker.
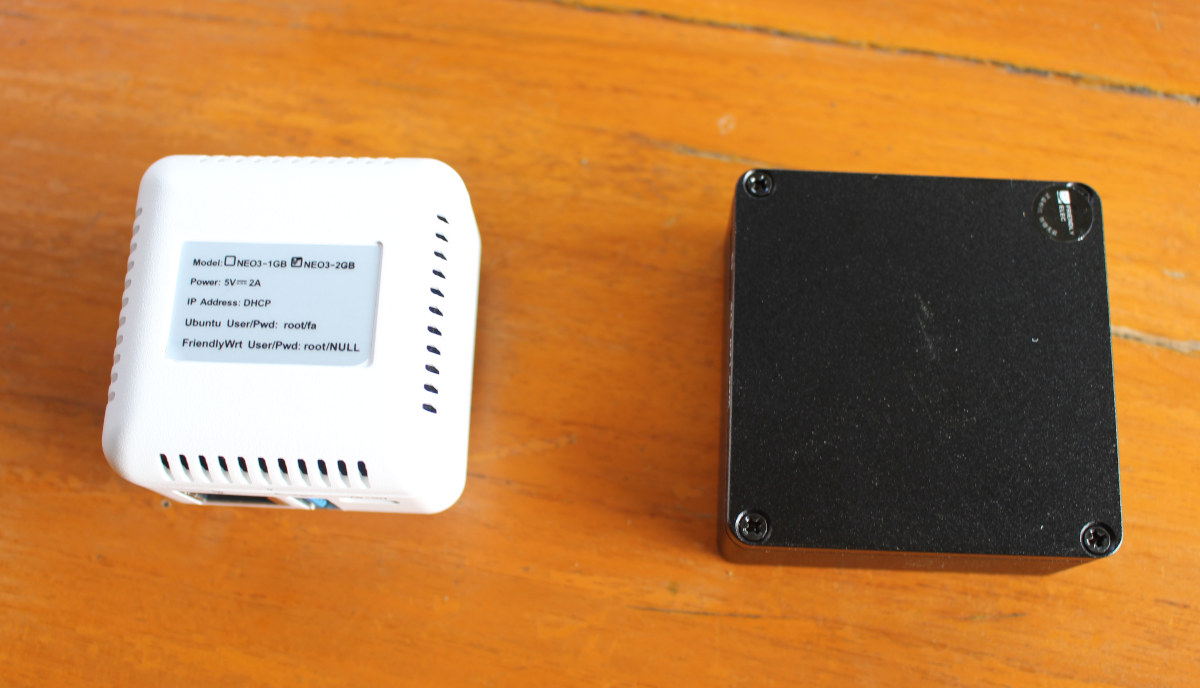
The bottom side of NanoPi NEO3 also shows the username and password for the Ubuntu and OpenWrt images provided by FriendlyELEC.
Let’s start with NanoPi R2S teardown. Once we have loosened all four screws, the cover will come off easily. Note at the top left corner of the photo below, we have the SPI flash footprint.
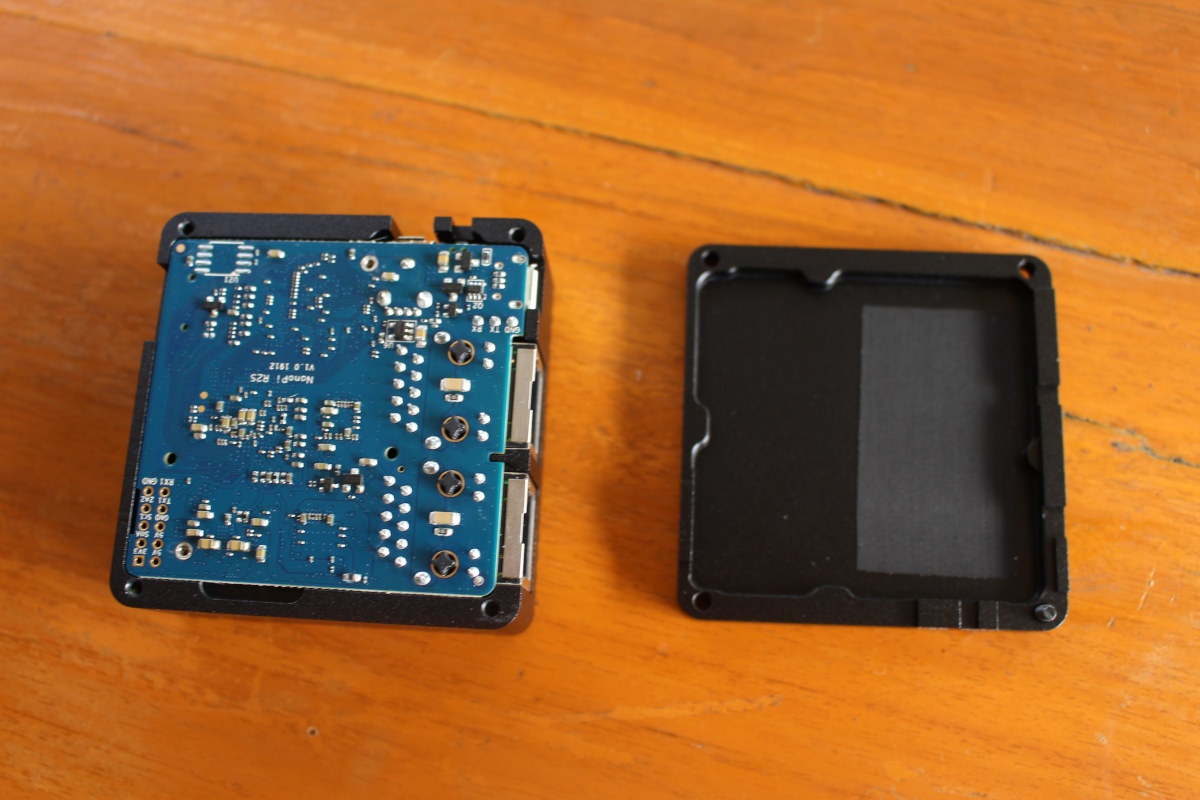
Then the board can equally be removed from the top part of the enclosure. This allows us to see the Rockchip processor is covered by a thermal pad directly in contact with the metal case, which should be good for cooling.
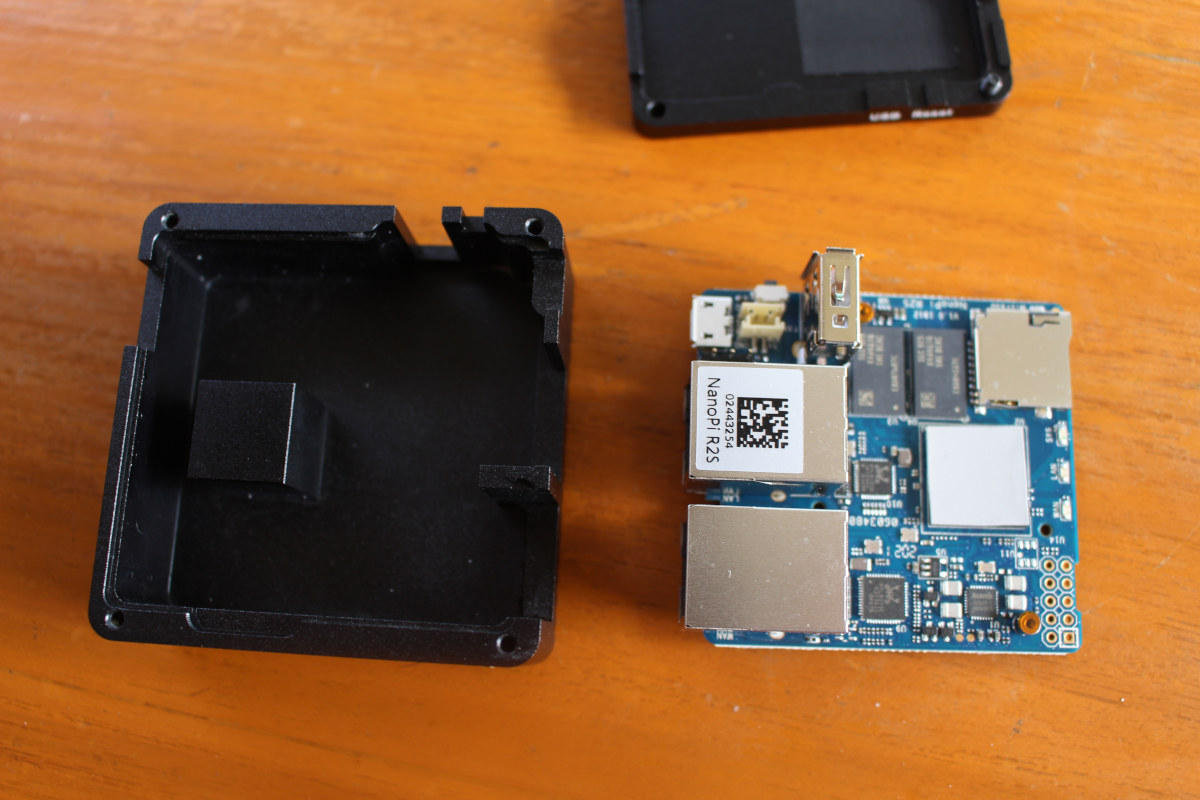
This may be important as people using the board with a plastic case noticed the board suffered from thermal throttling. The metal case is probably worth the extra $3 the company asks for.
There are really only three reasons people may want to open the case to access NEO3 or R2S SBC:
- Access the 3-pin UART header for kernel/uboot debugging or troubleshooting via the serial console.
- Connect a 5V fan (obviously not useful with this case)
- Access the GPIO header(s).
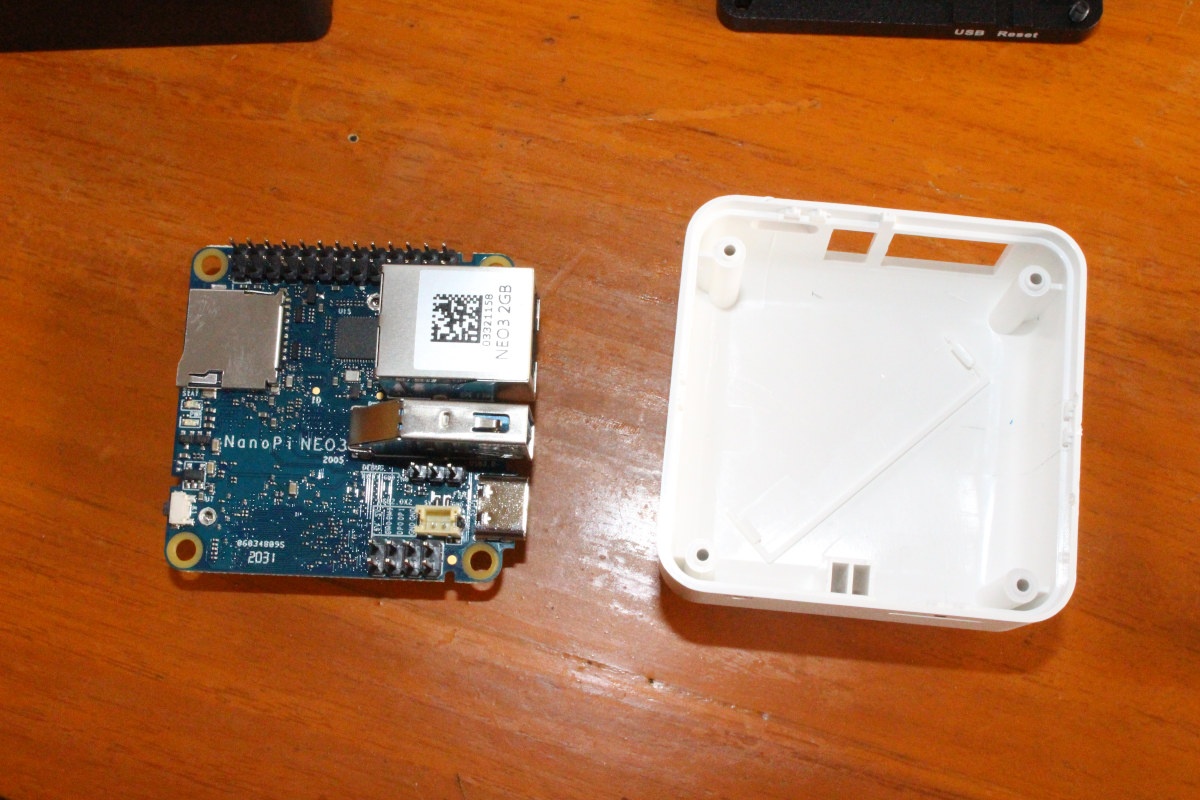
Let’s switch to NanoPi NEO3 gateway teardown.
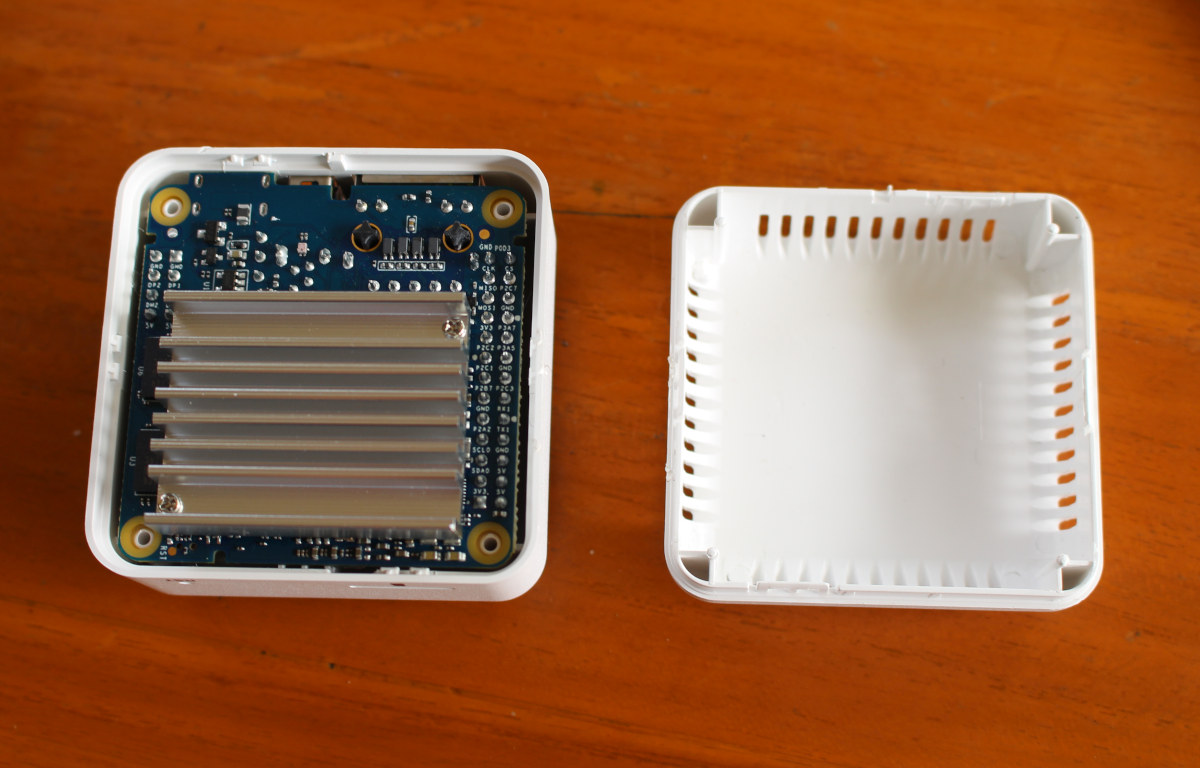
Somehow I could not find my plastic tools, so I opened it with a metal tool, and if you look close on the right side I slightly damaged the case in the process. Cooling is achieved with a largish (considering the enclosure size) heatsink and ventilation holes on each side of the enclosure. I wonder if placing the device upside-down may yield better cooling, so I’ll test that once I have Linux running on the board.
Again, the board comes very easily from the top part of the enclosure. If your project requires I/Os, you’ll have many more I/Os to play with than with NanoPi R2S.
NanoPi NEO3 with 2GB RAM and the plastic enclosure is sold for $27 and up on Aliexpress or FriendlyELEC store, while NanoPi R2S goes $25 and up on Aliexpress or FriendELEC store.
Continue reading “NanoPi R2S & NanoPi NEO3 tested with Armbian – Thermal test, Ethernet and USB performance“

Jean-Luc started CNX Software in 2010 as a part-time endeavor, before quitting his job as a software engineering manager, and starting to write daily news, and reviews full time later in 2011.
Support CNX Software! Donate via cryptocurrencies, become a Patron on Patreon, or purchase goods on Amazon or Aliexpress. We also use affiliate links in articles to earn commissions if you make a purchase after clicking on those links.


Probably asking for way too much but PoE support would very helpful with these sort of devices.
It wouldn’t even have to meet PoE specs, just allow 5v power to be supplied via the ethernet port. Anything except mini-usb.
For example, this would allow both the gateway device and a remote wi-fi access point to be easily powered from one custom built source with minimal cabling.
Nanopi R2S with its Dual GbE at such low price is a great device for installing a software based dedicated router/firewall/VPN. Sadly, the lack of PoE limits its headless functionality. I’m interested to have ClearOS or OPNsense running on it without too much tinkering rather than OpenWRT.
ClearOS? Never heard of it. I just checked it out, most apps in the marketplace were last updated 2017 and the last release seems from 2019, despite their statement of a new release every quarter. Are they still active?
And OPNsense provides amd64 images, so that should not run on a Rockchip RK3328.
@CNX if you have heat issues on the Neo3. A poster on the Friendlyelec purchase page reviews suggested this,
” Statscowski 08/03/2020
@Kenneth
I also got my Neo3 recently and the idle temperature is around 65C.
I have a hunch why yours is 80 because mine had the same issue.
Can you please try the following command:
systemctl stop rk3399-bluetooth.service
The current armbian tries to activate the bluetooth service and that permanently occupies one CPU core at 100%. “
That problem should be fixed in upcoming 20.08 build.
I can see Armbian 20.08 has just been released so it should be fixed for people downloading the latest version now.
I can’t get OMV to install from armbian-config. But when I select OMV and install, it runs for a bit but then ends up back in armbian-config with OMV deselected. Home Assistant installation works fine.
> it should be fixed
Some silly bug in Armbian might be fixed but not the thermal problems those two FriendlyELEC designs are plagued with. 65°C in idle without any load are way too high for RK3328.
With ‘design’ I refer to board and enclosure. For sure those little plastic ovens result in overheating even if a huge heatsink is inside since where should the heat go?
But since people also report temperatures too high without any enclosure there must be something wrong with those two boards as well. There exist various other RK3328 boards and none of them shows that high temperatures. My Rock64 with just an el cheapo mini heatsink does not exceed 65°C when running cpuminer for 5 minutes: http://ix.io/1iHB
As a starter, it could be useful to measure the Vcore on the CPU on various such boards. Maybe the voltage is too high when in idle on the NanoPIs. Or maybe for whatever reason it’s always slightly too high. I remember that for the RK3288 the recommended voltage was not clear depending on the datasheet you read, it was between 0.9 and 1.2V or something like this, and the difference varied roughly between not supporting the highest frequency, and overheating.
If I would have the hardware on my desk I would first look at /proc/device-tree/opp_table0. Maybe there’s something wrong/missing and the CPU cores are being fed with 1350mV or even above instead of the default 950mV at low clockspeeds.
Yes that’s my point. It could indeed even be purely a software issue. Maybe that’s something Jean-Luc can check on his boards. If the voltage look OK in the opp, then using a voltmeter will tell us if that works; maybe the driver is the problem.
Being able to power these devices with 802.3af PoE would be an awesome addition.
Nice boards. I’ve also received the same and I’ve created a Yocto BSP layer using the armbian patches for both boards. The nice thing is that they both share the same device-tree and you can boot both with the same build. For anyone interested, the Yocto layer is here.
hey guys! I got my neo3 toy in the mail today and I was happy to find this page.
I got fedora server 33 beta for aarch64 installed and running. I used a similar trick like dimtass, to graft the friendlyarm uBoot onto the fedora rootfs, after I nixed out the LVM and xfs filesystems (I strongly prefer ext4). fedora userland is so awesome: 53,000 .rpms!
Its a little bitchy about dev-zram.swap and lm-sensors doesnt work (but python glances can read the SoC temp via psutil = 52C).
I can’t AFFORD to build a 8-node openshift/k3s/OKD cluster out of these things, but I WANT TO.
There’s NanoPi R4S in the works with RK3399, 1 to 4GB RAM, dual Gigabit Ethernet (RGMII + PCie) and dual USB 3.0. A bit larger at 66x66mm.
I just ordered my Neo3 from aliexpress.com!
It has exactly what I was looking for: Gb ethernet and USB3.
It will replace a Tinker Board as my home NAS (lacking USB3).