Hey, Karl here. A lot of our readers know I do most, if not all of the 3D printer reviews for the site. I feel very fortunate to be able to review them. It does take quite a lot of time but sometimes a gem comes along. I was fortunate enough to be chosen to review and share with you a new printer from Kywoo. The Tycoon 3D printer ticks all the boxes I have been asking for.
- Easy assembly
- Direct Drive
- Linear motion (Rods and rails in this machine)
- Smooth filament holder
- Touch Screen
- Auto Bed leveling (Until now I didn’t know I wanted this…more on that later)
- Rock Solid frame
There are a few shortcomings and I hope what I am sharing is addressed before the final shipment. I will go into more detail later on. As far as the physical printer I am super happy with the one exception. The rest of the critiques are user experience.
- Documentation needs improvement
- Provide a Cura profile
- UI tweaks with the touchscreen
- Ability to easily tension x and y belts
This is a Kickstarter printer. This is very hard for me not to get behind because there have been so many bad 3D printer campaigns. I do have a very good feeling about this printer as you will see. I knew this was a good one after the first print.
Notable Specs
- 240x240x240mm build volume
- Direct drive
- Auto bed level
- Power loss
- Filament runout sensor
- Touch screen
- 32-bit board MKS Robin
Kywoo Tycoon Unboxing & Assembly
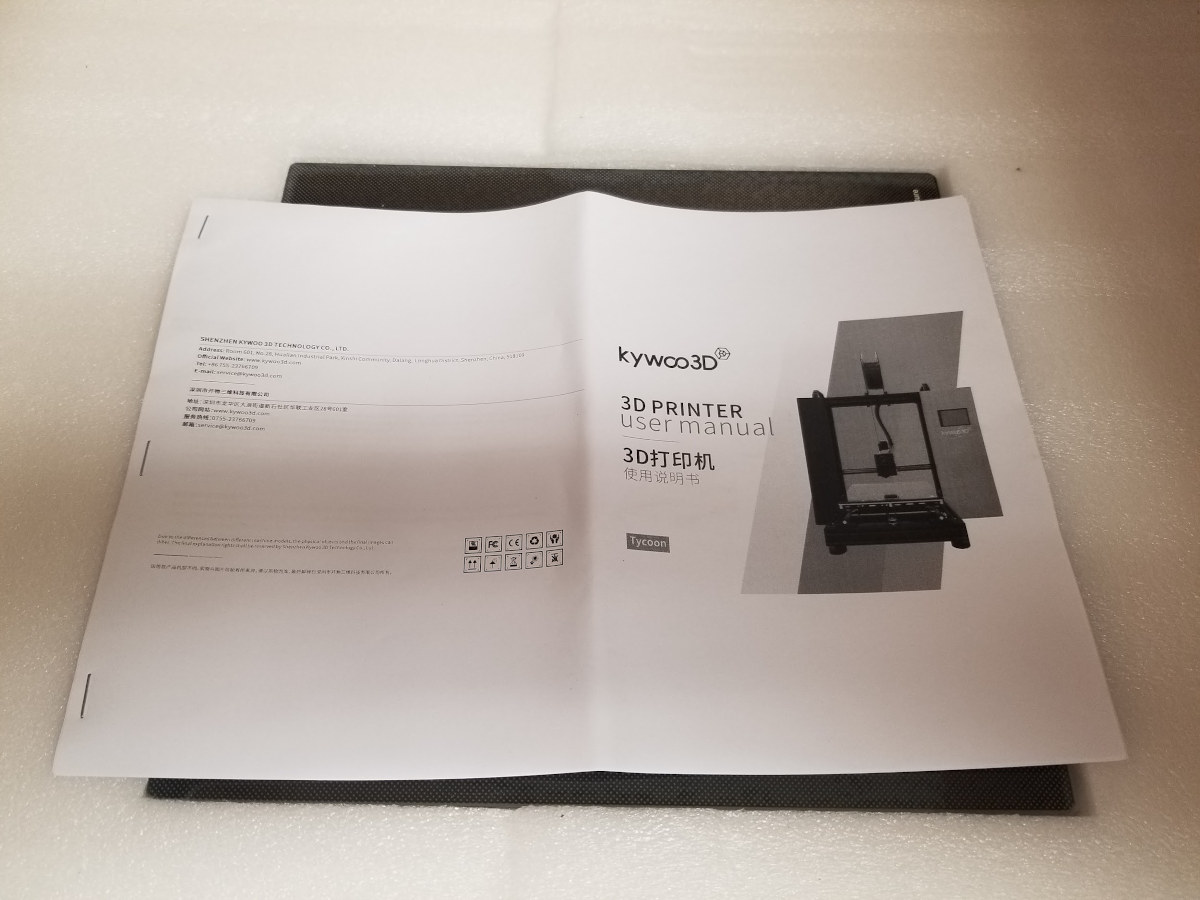
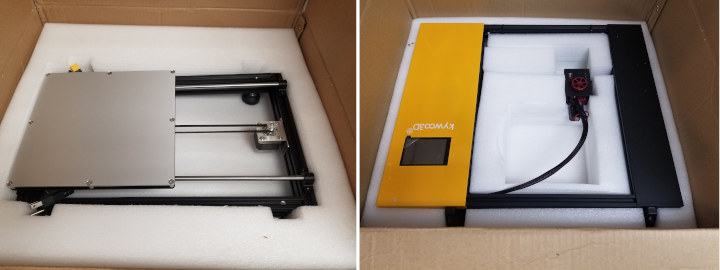
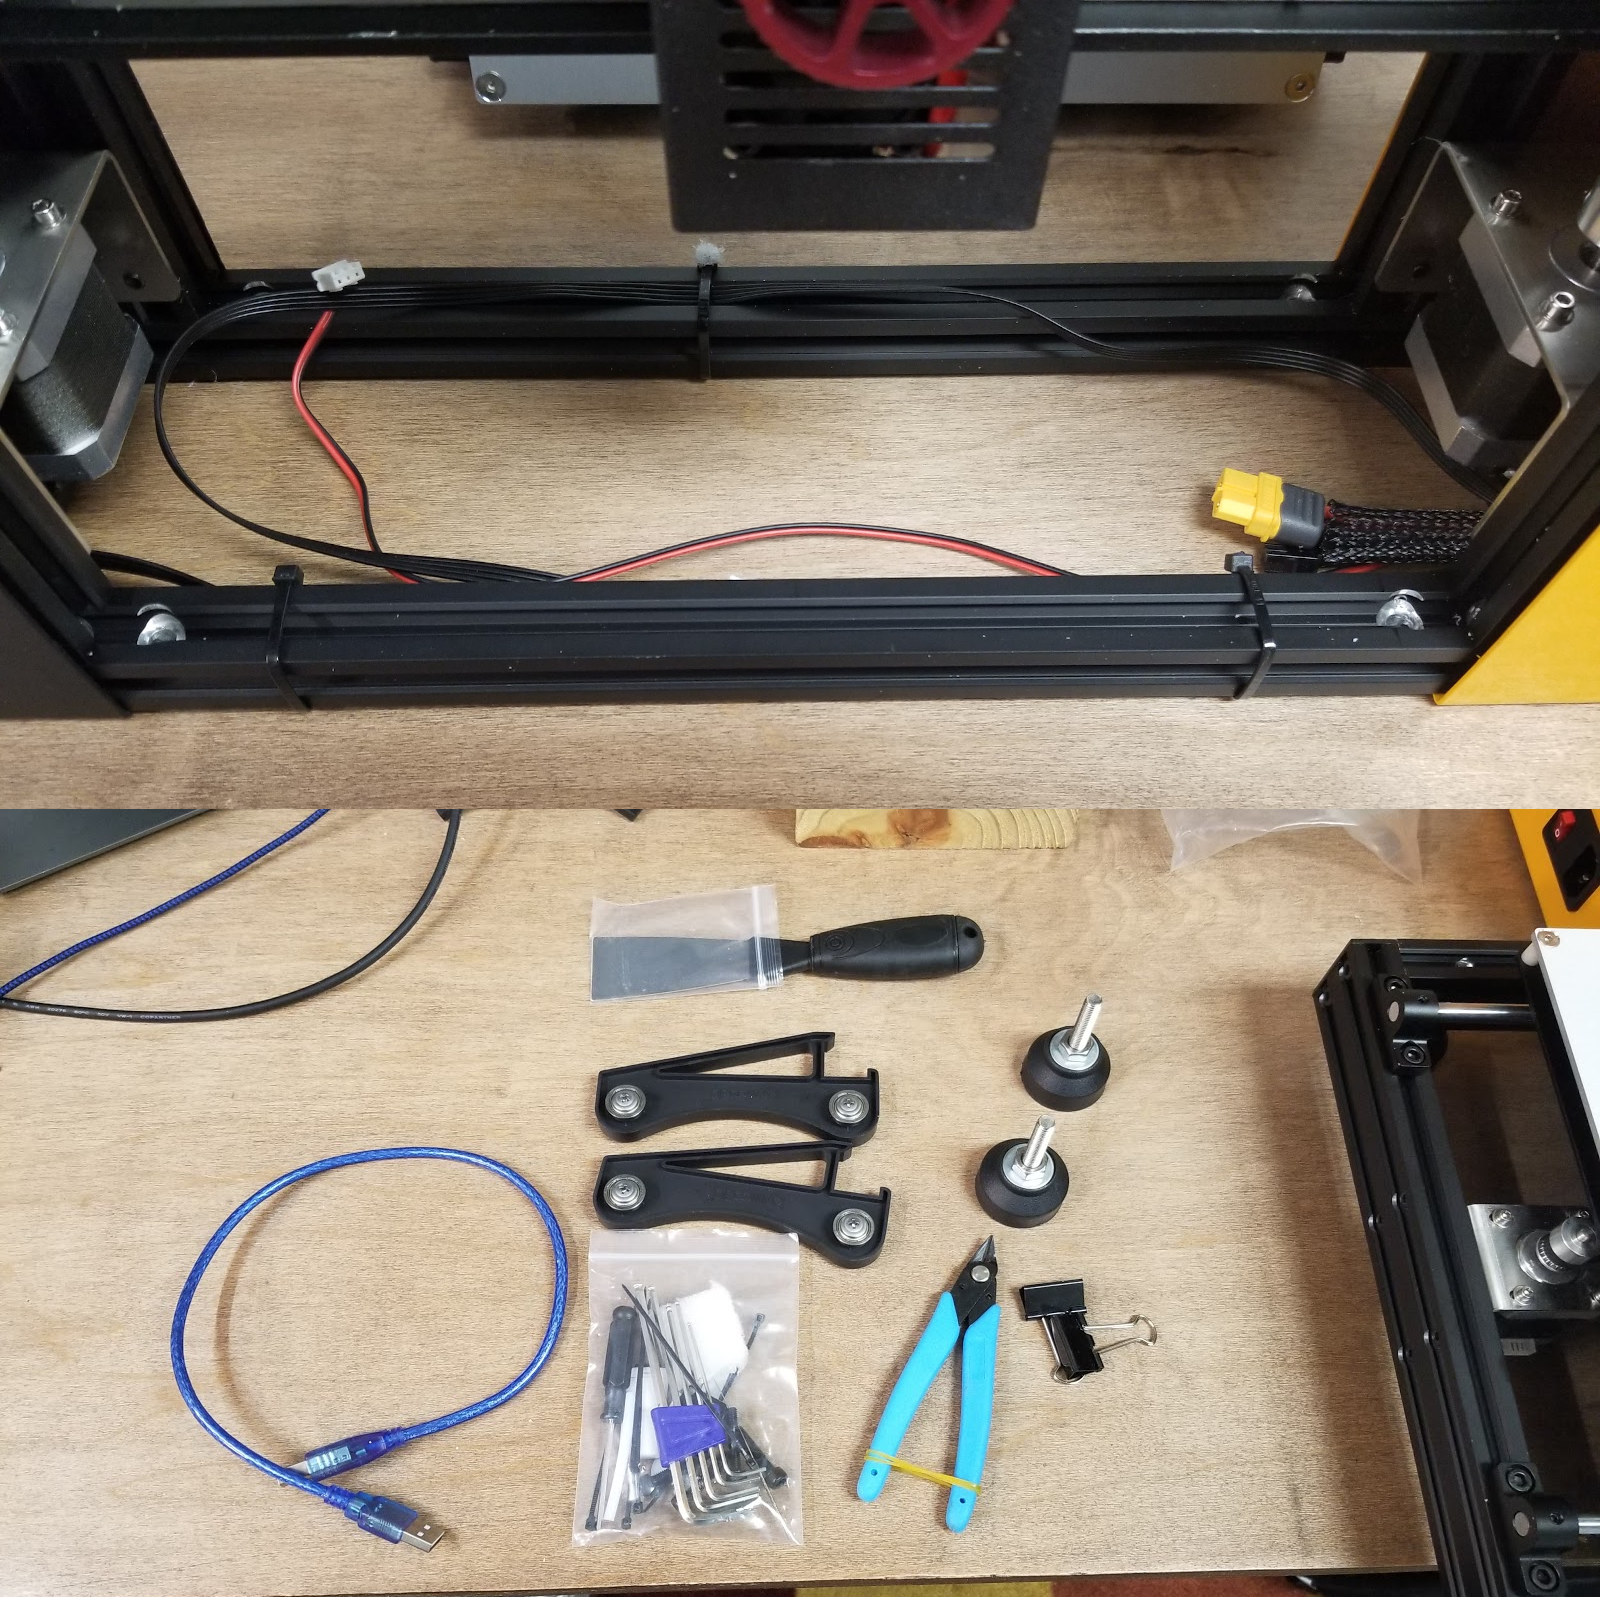
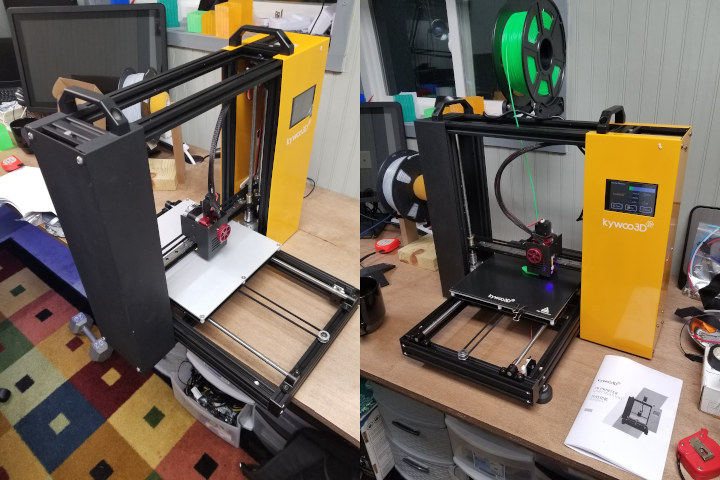
Assembly was easy. A handful of bolts. I let it hang off my desk to secure the bottom bolts. All the usual starter parts and tools. The printed manual needs some help. I did receive a preproduction model and for the most part, it is solid. There are some changes they are making to the final printer from reviewers’ feedback:
1) change the package to protect the two couplers of Z-Axis from stretching and protect from the wrong Z-axis home direction;
2) unscrew the Y-Axis end-stop to make the assembling easier;
3) change the socket of the thermistor cable below the hotbed to make the original two cables different;
4) change the air blow direction of the extruder fan;
5) use the power supply with protection;
6) make the manual easier for beginners to read and add slicer instruction to SD card;
7) add hotbed binder clip from two to four;
8) make the wheel of filament rock thicker to hold the filament steady, and we are also considering to change the holder shape;
9) add stickers on the footpads to make instruction about assembling.
10) change the shape of the feed-in knob to avoid glue and slip.
Gripes
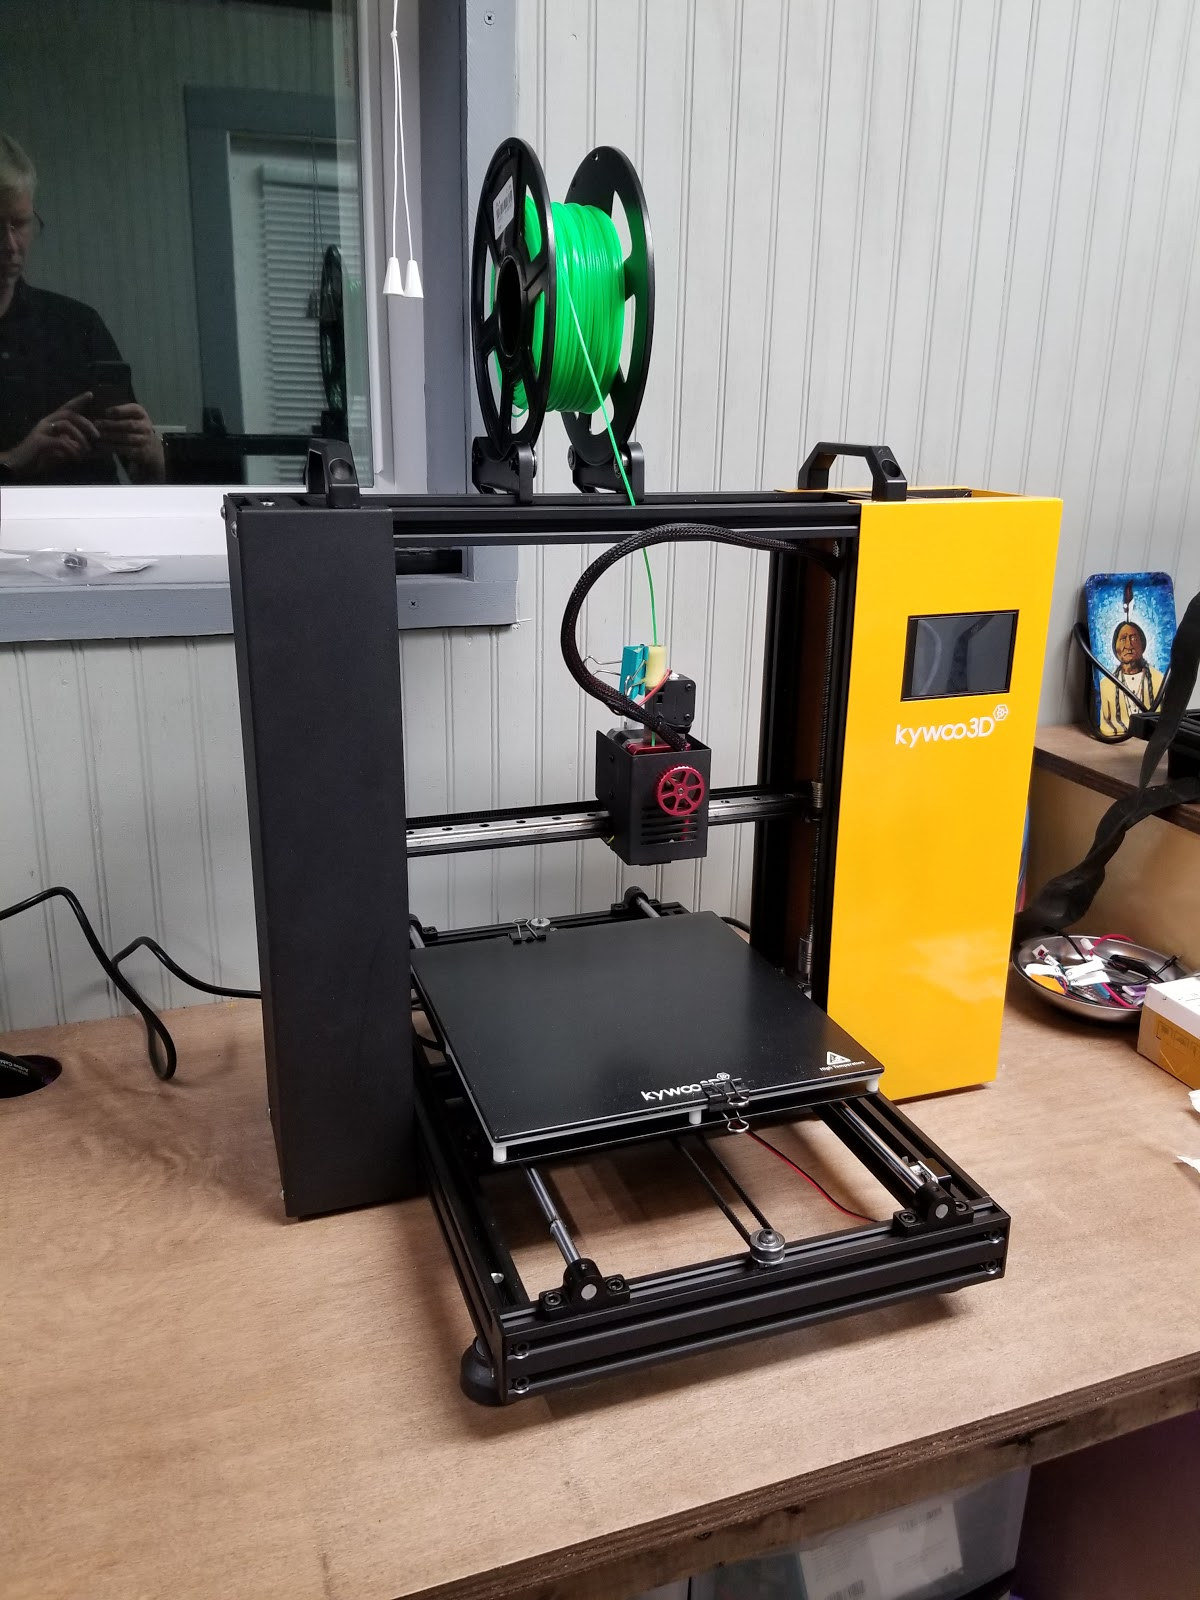
The Kywoo Tycoon printer itself is very good in my opinion. All of my gripes are around tweaking user experience. It really just needs a little refinement. Idiot proof the manual. Clean up the UI on the touch screen. Get rid of the icons that go nowhere. I would like to see the auto-level function on the main screen. The leveling process takes about 2 minutes to complete. When I am ready to print, as soon as I turn it on I go to auto-level. Then I go and slice whatever I’m printing. Additionally, it needs a couple of 1 button pre-heat options.
I would like to suggest a few changes to Marlin. Turn on fading for auto bed leveling. The way it is set up now is that the printer constantly adjusts the Z-axes for the entire print. If fading is turned on, it can be set up to stop after a few mm. It would also be nice to save a level into EEPROM and restore it so the user doesn’t have to level every single time. (Firmware can be found on Google Drive)
Two more items I would like changed. Adding a zip tie to act as a strain relief for the cables going to the bed. I added one. Finally, swap the Z stepper driver for a silent stepper driver. It really only matters when probing but I still hate stepper noise.
First Prints on Kywoo Tycoon 3D printer
I have to admit I have never really used auto bed leveling. The couple times I tried it never really made sense. My thinking was just level the bed and avoid those steps. I have seen some cases where someone had a warped bed…but even if I were in that situation, I would rather fix the problem than try to mask it.
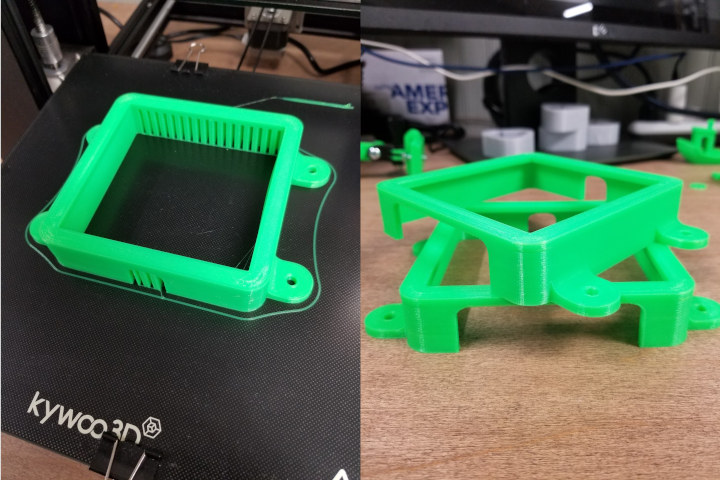
I did not notice in the pictures when we first started talking about this printer that the bed was fixed. After unboxing I panicked a little. How the heck am I supposed to level the bed. Kywoo’s instructions said to run the bed leveling routine after turning on the machine. I did and the first print came out perfect…. this was when I had an aha moment.
My eyes were opened to another perspective. Ease of use. The problem before was that the few times a printer came with an ABL (Auto Bed Leveling) sensor, the offset was not set from the factory. Sure, it had an ABL sensor, but you had to do the setup. I asked Kywoo if all printers would come factory calibrated and they said yes.
This is the first printer I have reviewed that I can say I pulled out of the box, assembled and it was immediately ready to print.
This is the way.
Yes, this is what we need. It seems like a small thing but for an inexperienced person wanting to get into printing, this removes one major step to be successful.
It is not all roses. I did have a minor issue with the ABL sensor. It seems like if I put the auto bed leveling in my start gcode that it would not work 100% of the time. I think maybe the sensor is getting interference from the hotend heating up. If I run as I described earlier when I turn on the printer. I had no problems.
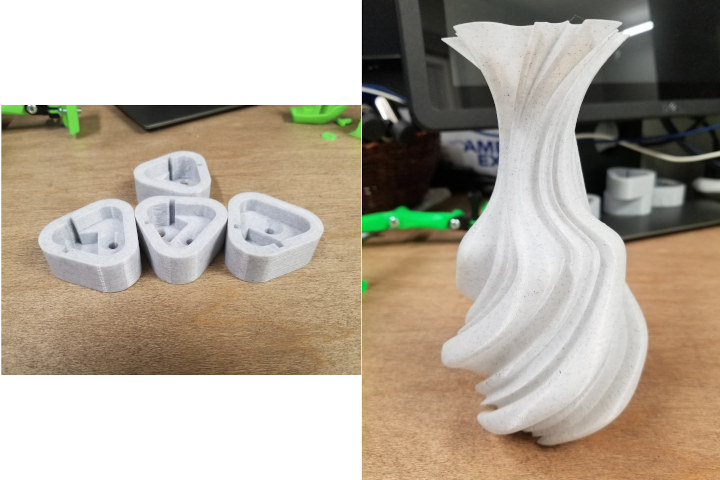
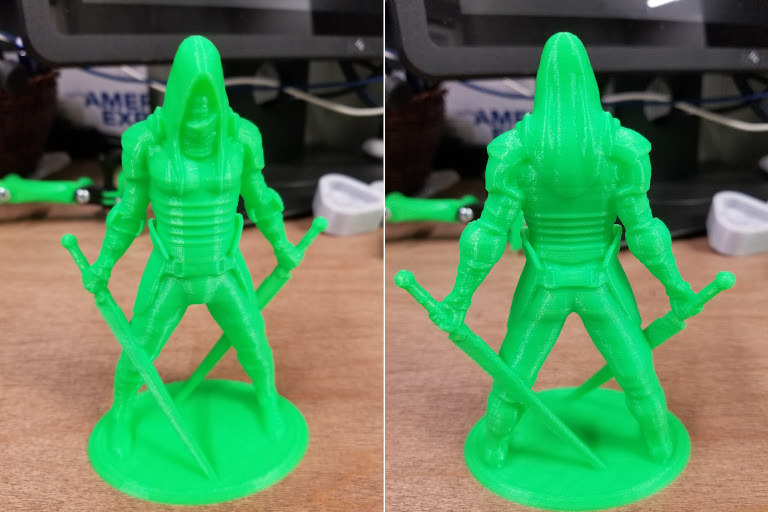
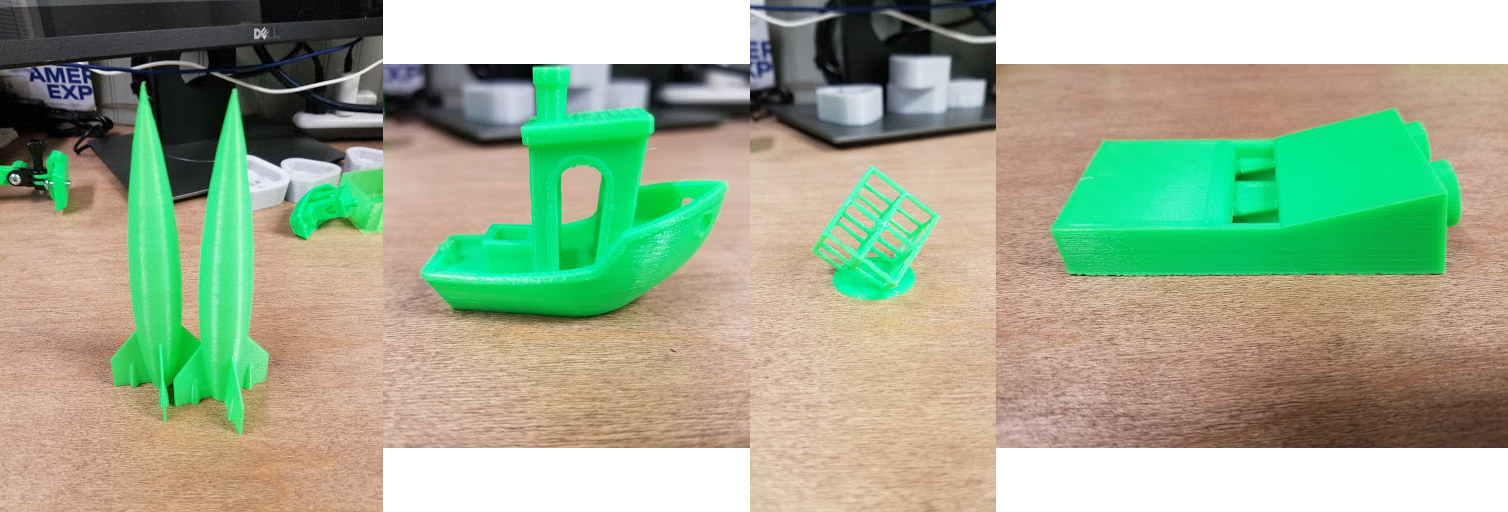
Prints
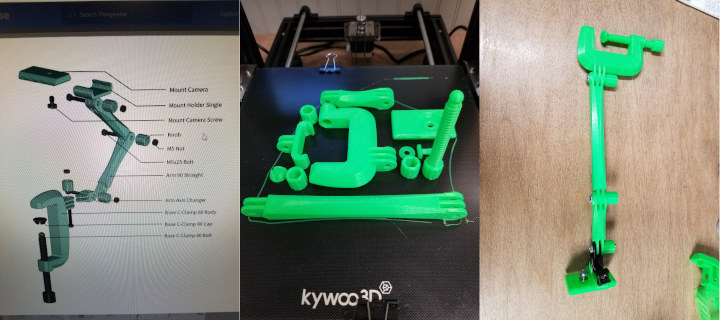
Final thoughts
I think the Kywoo Tycoon 3D printer will force other manufacturers to this next level. I will continue using this printer and do a follow-up after I get more time with it. I will break it down and go into the internals. I wanted to share my user experience with it so far before the Kickstarter ran out. I am super pleased with it. I will never suggest backing a Kickstarter but this one comes close to it for the simple fact of saving some money. It’s $279 on Kickstarter, but will retail for $439. I believe this printer will be the next CR-10. We will have to watch and see.
You can find their Kickstarter here. A huge thank you to Kywoo for sending the Tycoon over for review.
Karl is a technology enthusiast that contributes reviews of TV boxes, 3D printers, and other gadgets for makers.
Support CNX Software! Donate via cryptocurrencies, become a Patron on Patreon, or purchase goods on Amazon or Aliexpress




Thanks for the review and HighRes photos, too!
Your experience is very different than Joel’s. Also there is some shadiness going on in their Facebook group. They posted a large ABS or Nylon calibration cube print which I asked them about using an enclosure which they stated it was printed in an enclosure and that heating to bed to 100°C or whatever the temperature was warped the aluminum heated bed. When I called them on this they deleted their comment about the warp and my question about it. When I confronted them about this the response was “it must have been an accident”. The printer is worth the… Read more »
Looks reasonable for the money, but the best part of reprap is building your own printer, all these complete printers take the fun out of it if you ask me.
It’s a lot less trouble to build your own printer using a printer.