
As we’ve seen in our Reolink RLC-810A review, AI security cameras greatly reduce the number of false alerts generated by motion sensors, and the Reolink 4K security camera we tested was capable of people and vehicle detection.
The Reolink model does not support WiFi, so I had to run a long Ethernet cable, plus a power extension to connect a 12V power adapter since I don’t own a PoE injector. But I’ve been given the opportunity to review another AI security camera, namely Vacos Cam, that also supports human detection, but relies on WiFi connectivity and can be powered by a solar panel removing the need for potentially long cable. As a bonus, it comes with eMMC for storage, so there’s no need for a MicroSD card. In the first part of the review, I’ll list the specifications, unbox the power panel and camera, and tear down Vacos Cam to see what it is made of.
Vacos Cam Specifications
- Storage – 16 GB built-in storage or cloud
- Image Sensor – 1/2.8” Sony IMX307 Scan CMOS Sensor (2.13MP for Full HD video)
- Lens – 2.6 mm @F 1.6/120°
- Field of View – 120°
- Motion Detection – AI Human and PIR Detection
- Night Vision Range – 10 meters (Full Color Night Vision)
- Video Compression – H.264
- Audio – Speaker and microphone for two-way audio
- Connectivity – 2.4 GHz WiFi 4
- Power Supply
- 5V via USB charger or solar panel
- Battery Life – Up to 6 Months
- Dimensions – 88 x 76 x 76 mm (Durable PC-ABS)
- Temperature Range – -20° C to 50° C
- Humidity < 95%
- IP Rating – IP65 for both outdoor and indoor operation
Unboxing
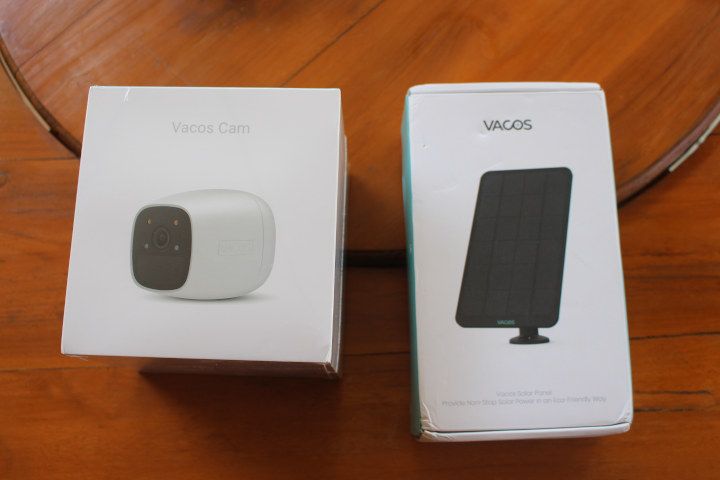
The company send me both the camera and solar panel.
Let’s check out the solar panel first. It comes with a four-meter cable with a Micro USB plug that should be covered with the included waterproof lid during installation, as well as a mounting bracket and associated screw bag.
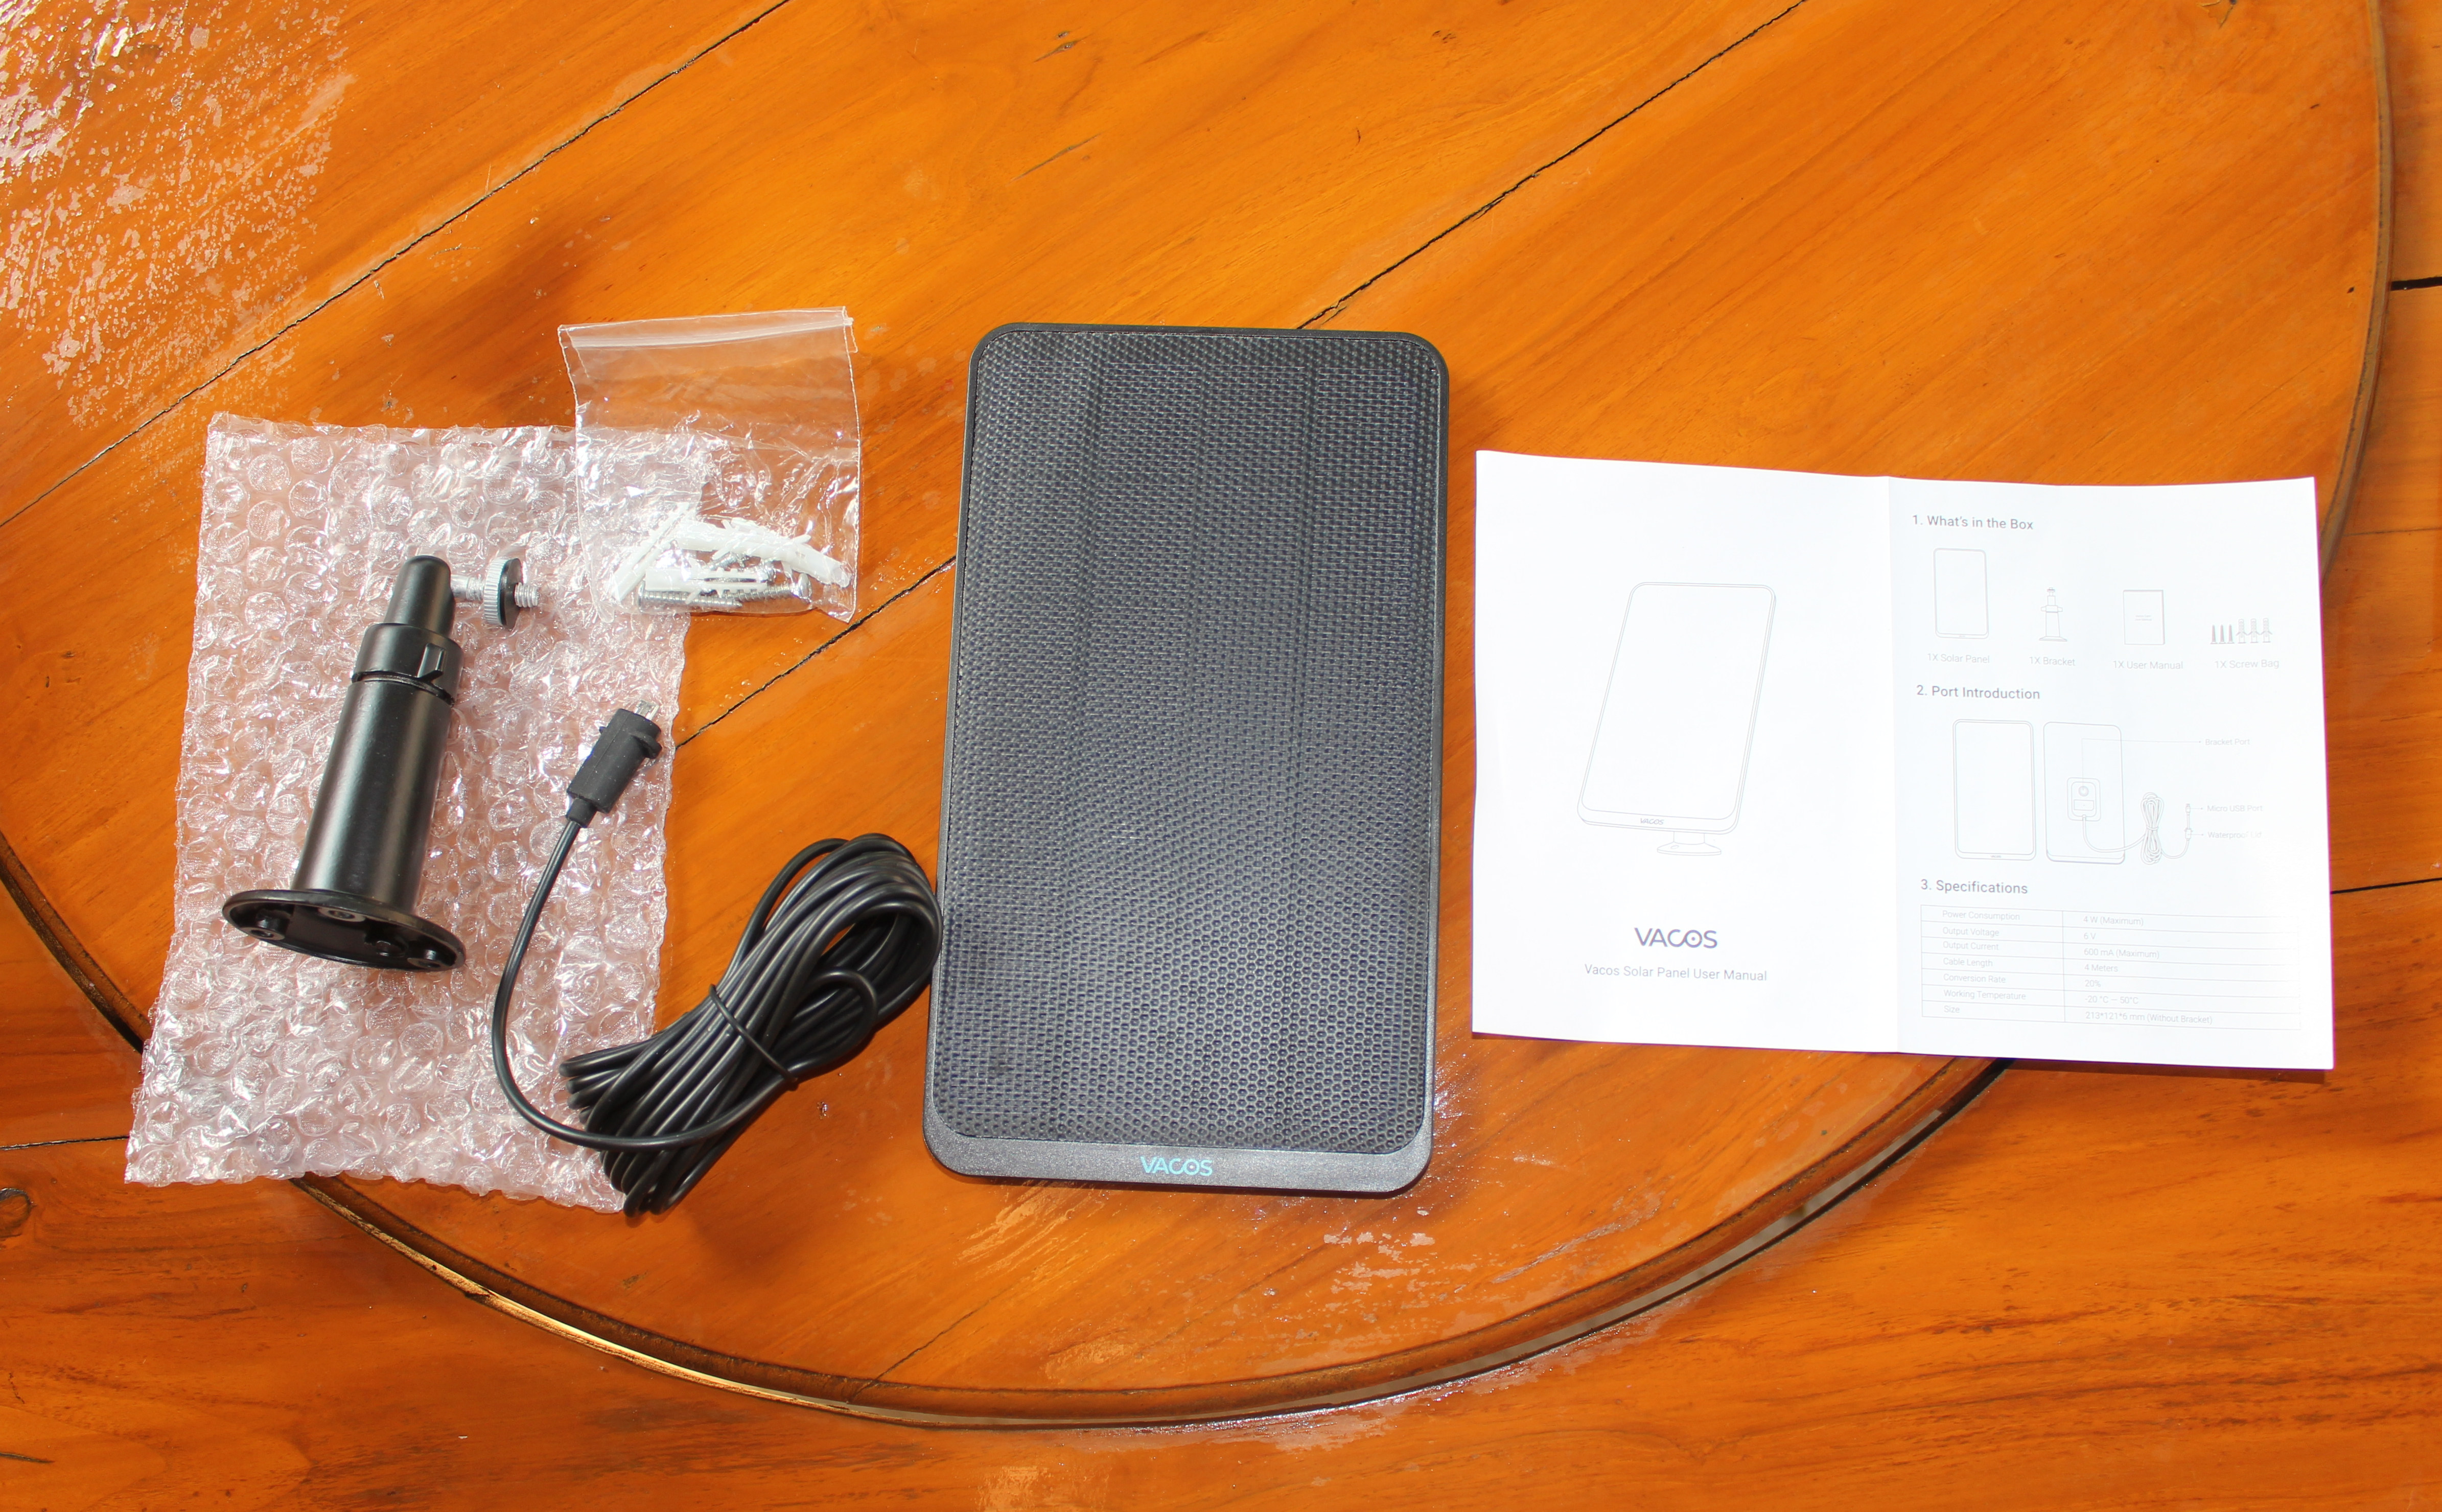
There are no technical details on the panel itself, but the user manual says the power generation is up to 4 Watts with 6V output voltage and a maximum current of 600 mA.
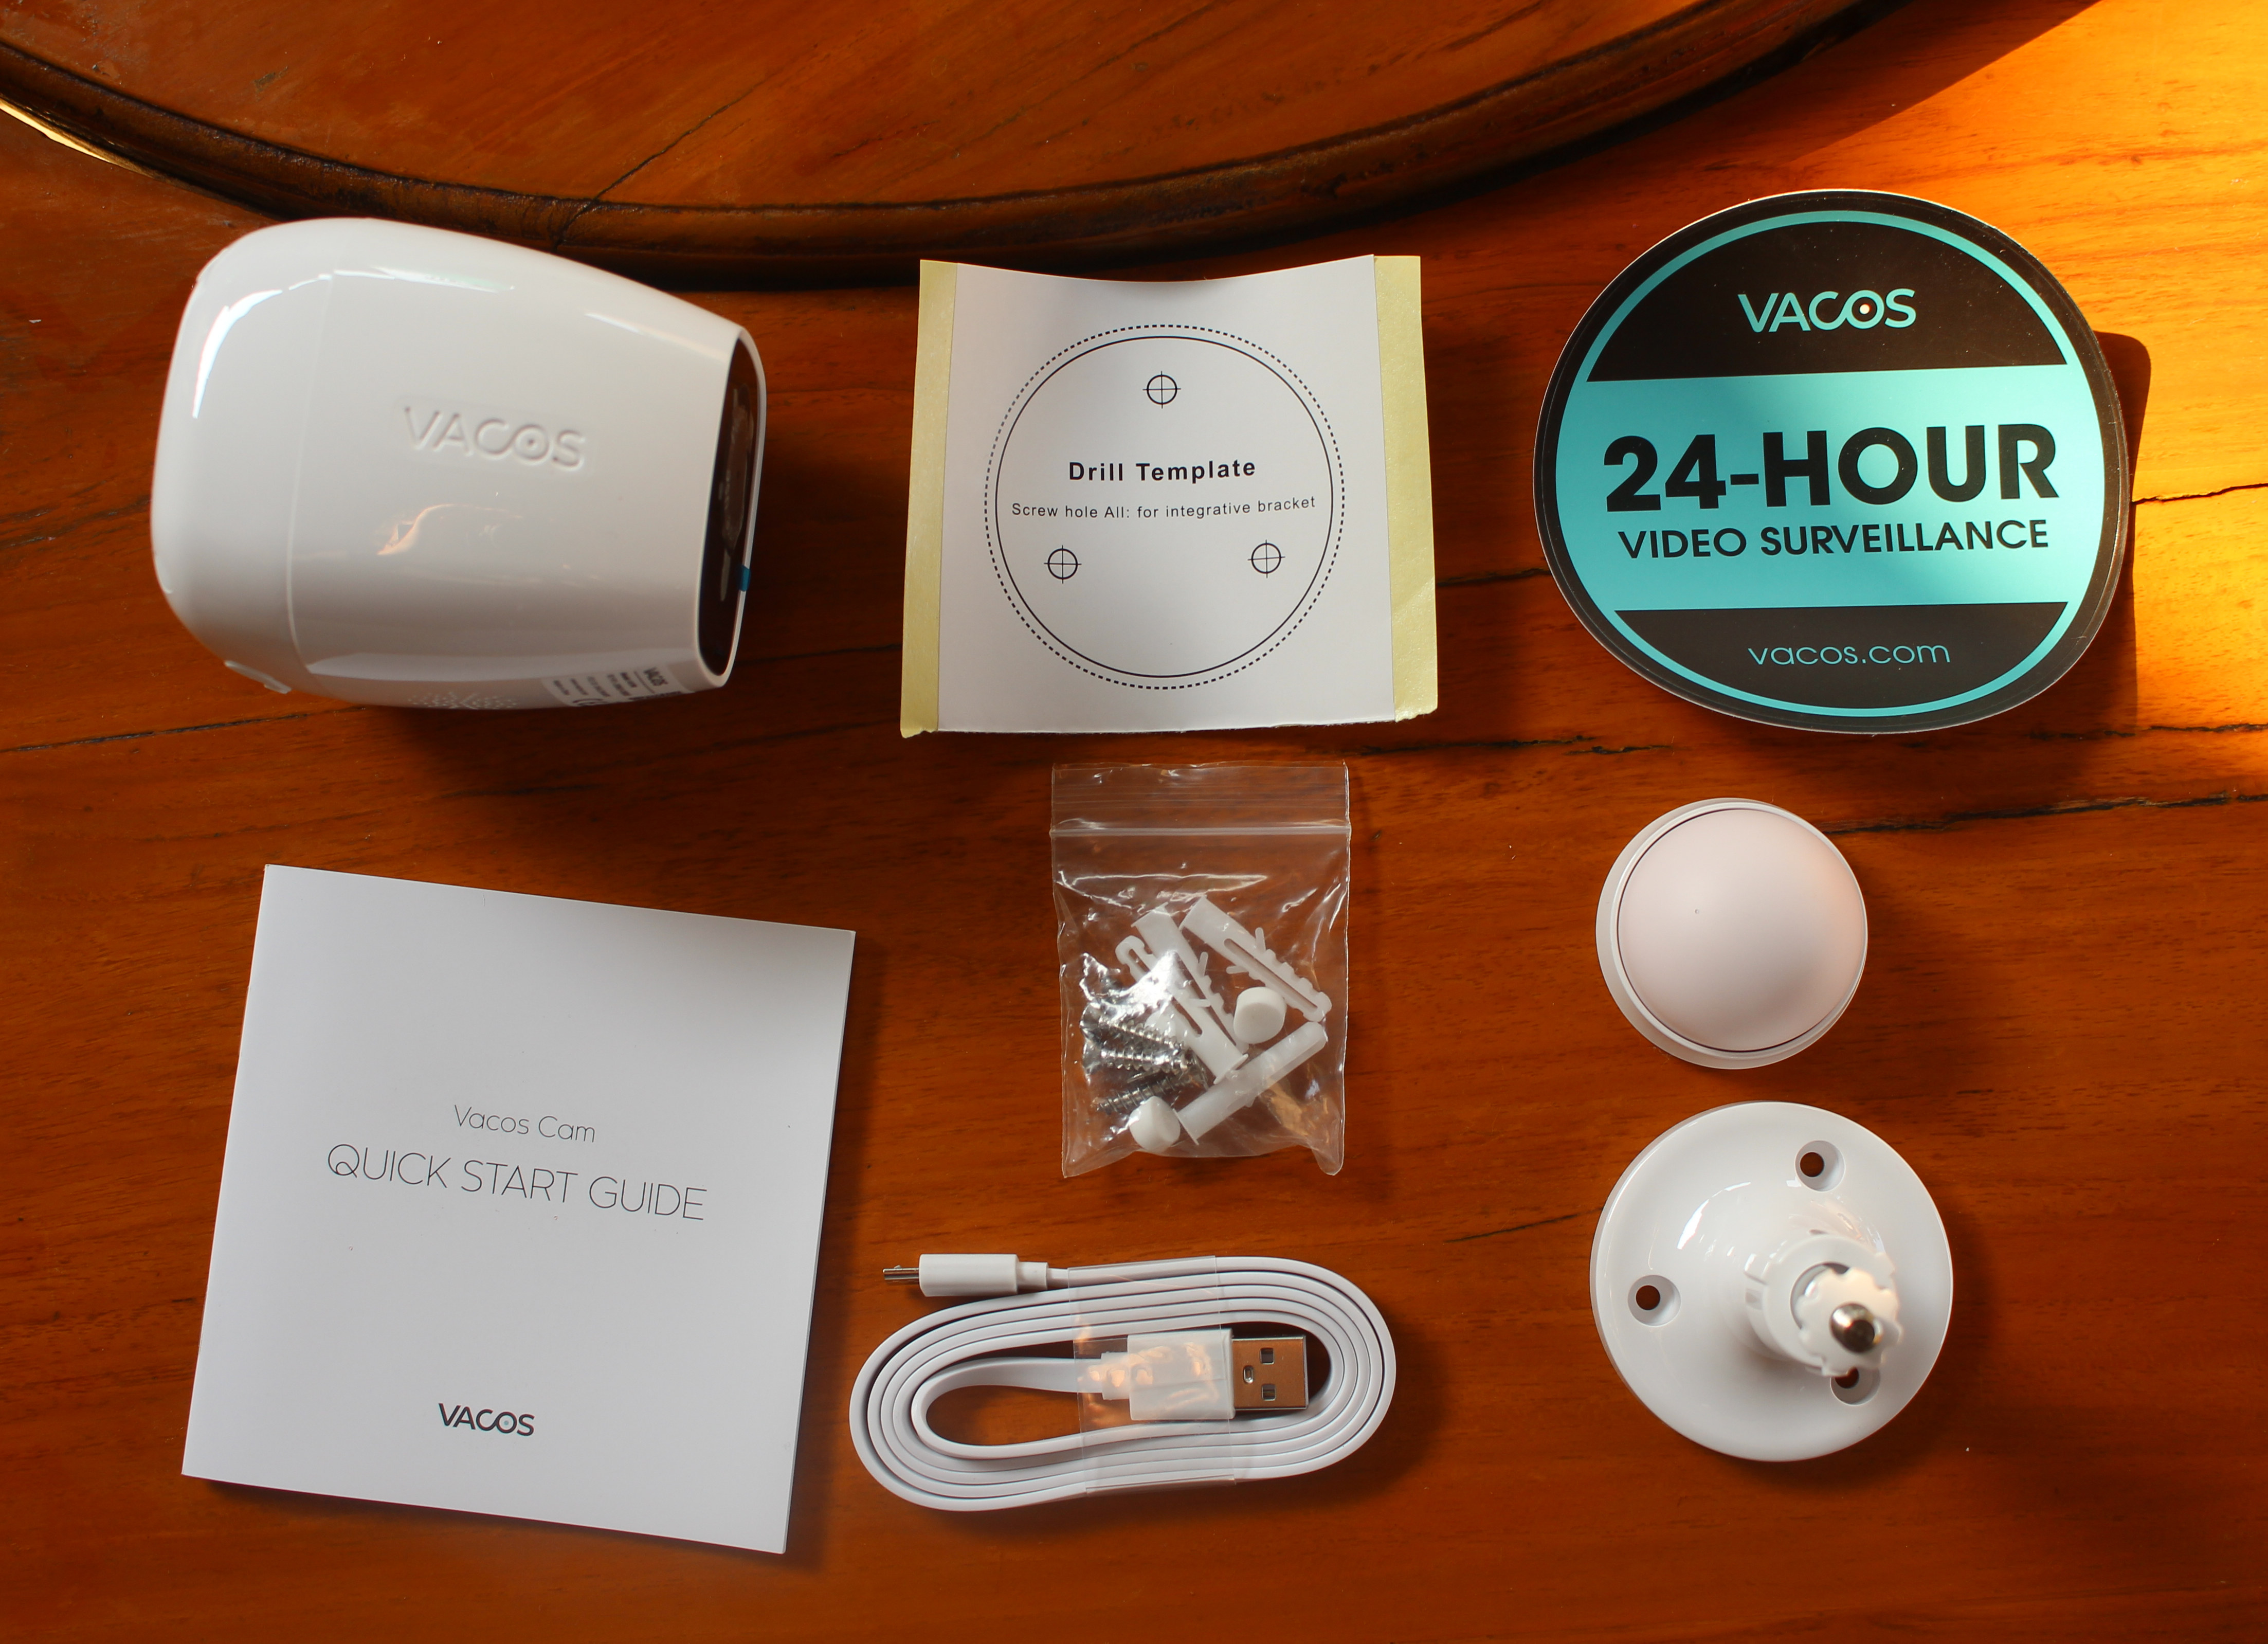
Vacos Cam comes with a screw mount, a screw bag, a power cable, a magnetic mount, a surveillance sticker, a drill template, and a bilingual user manual in English and German.
The magnetic mount is the part that looks like a small PIR sensor, and there’s no magnet inside, as instead, the magnet is placed inside the camera. The magnetic mount is best used indoor where you’d have to recharge the battery at least every 6 months. I find it to be a much more convenient solution in this use case than the screw mount. But I’ll be using the camera outdoor with the solar panel, so I’ll go with the screw mount during installation.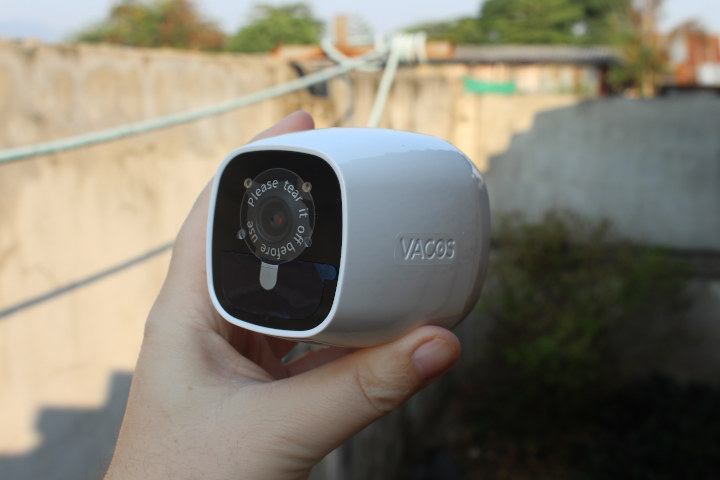
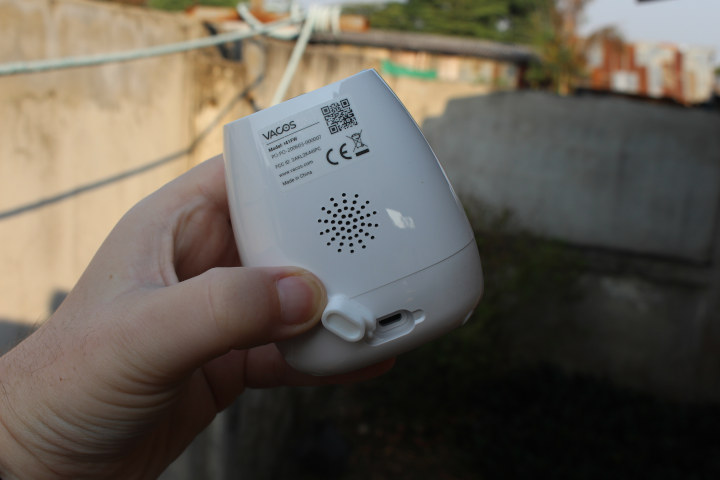
The underside of the camera has openings for the speaker and a waterproofed micro USB port.
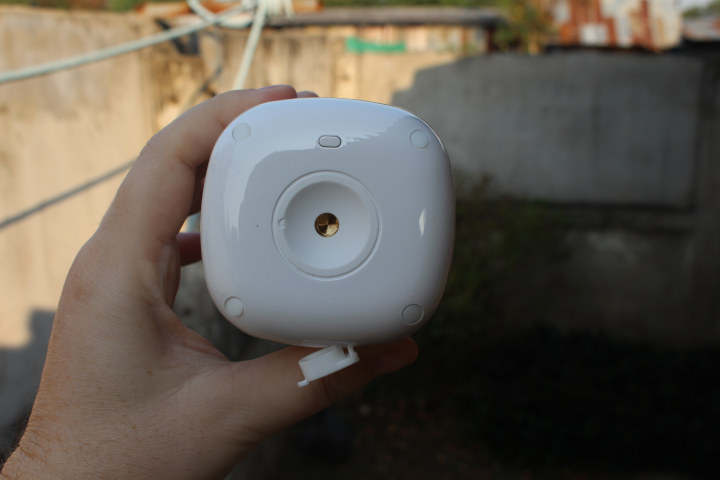
The back of the camera includes a mounting thread and a setup button to wake up (short press) or reset (long press) the camera.
Vacos Cam Teardown
I usually feel uncomfortable tearing down waterproof devices, especially before starting the review, but in this case, the camera looked easy enough to open without damage. And indeed, after taking the four rubber pads and loosening four screws I could open it with the battery and magnet in one part of the electronics on the other side.
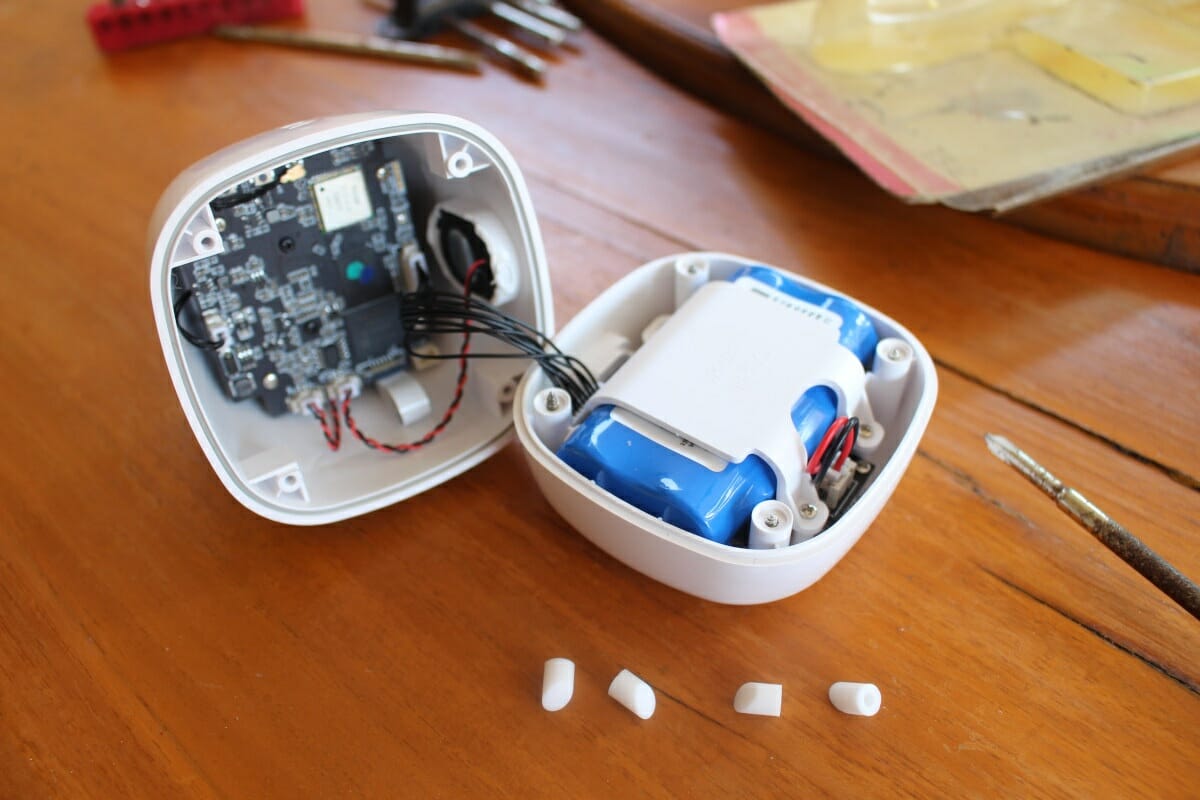
The mainboard is connected to the speaker and microphone (not visible in the photo below), and comes with a 16GB eMMC flash, Fn-Link 3131A-S WiFi module, as well as what appears to be Hisilicon Hi3518 processor.
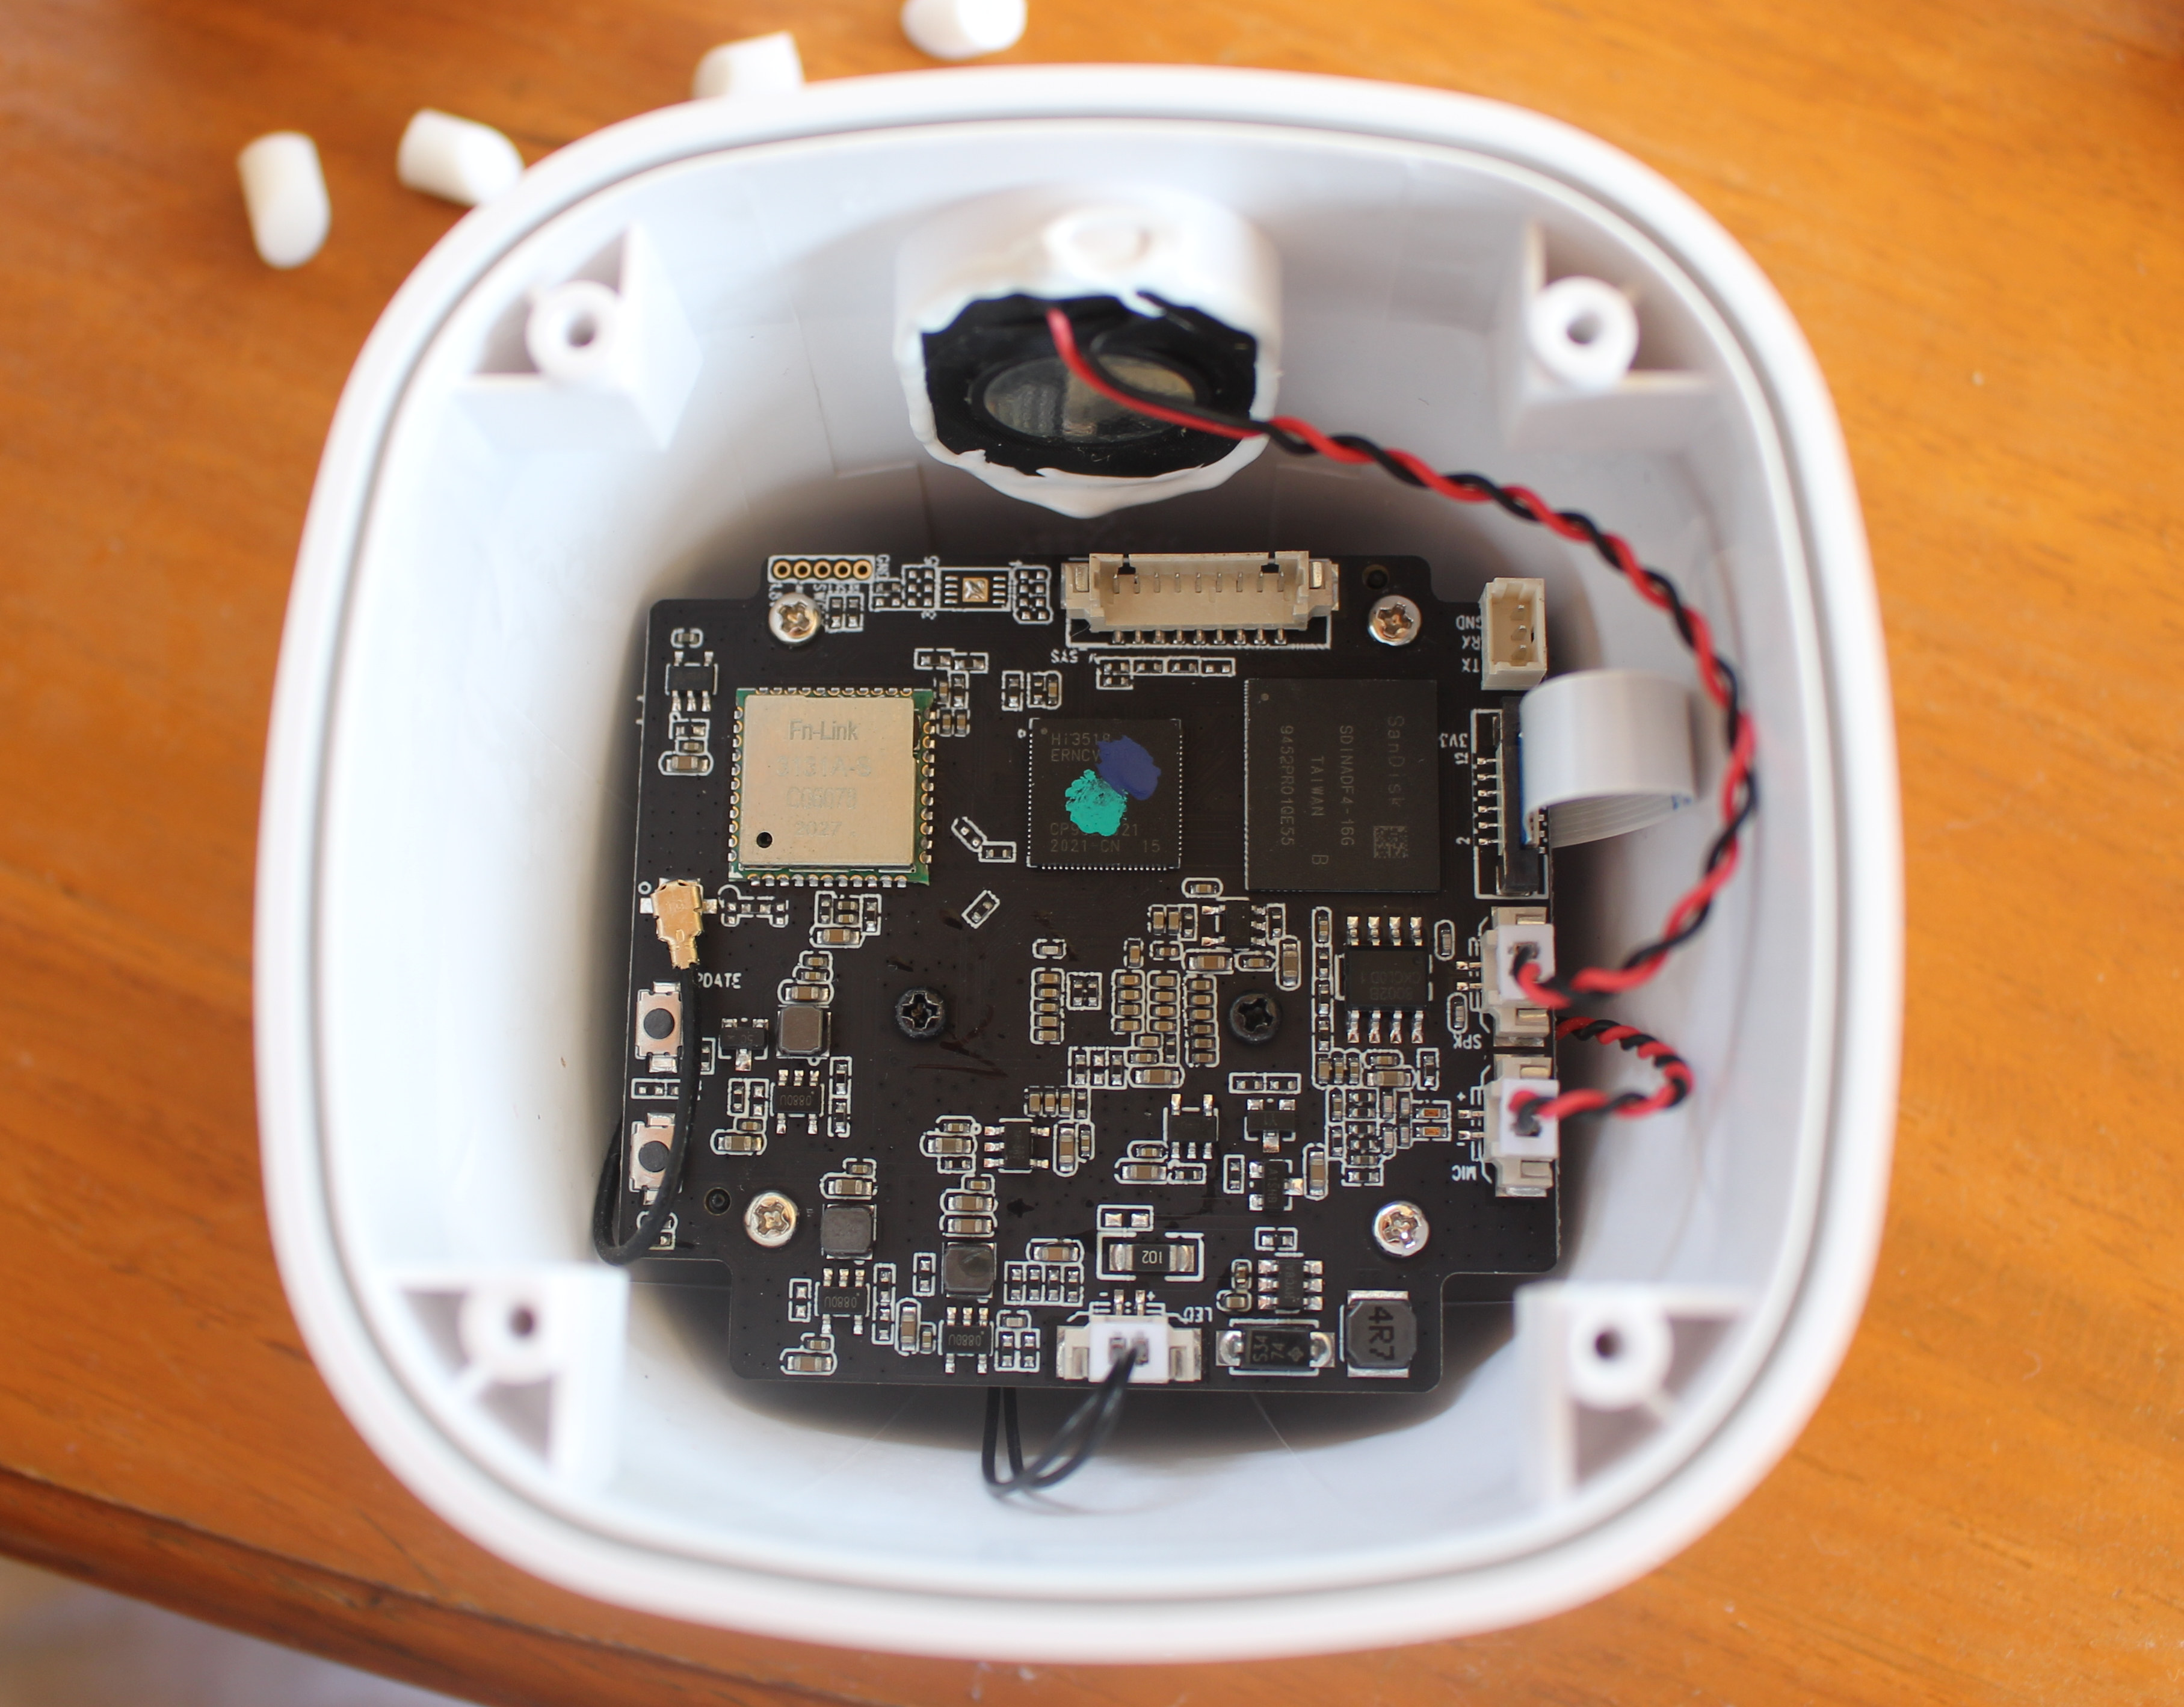
However, Hi3518 is an ARM9 SoC @ 400 MHz that was released years ago, and instead, we need to read both “Hi3518” and “ERNCV…” on the chip, which should probably be the same Hisilicon Hi3518E V300 Cortex-A7 processor used in VIA Pixetto camera board for AI and ML education, and that comes with “Intelligent Video Analysis” that includes an Integrated IVE for human detection as well as “various intelligent analysis applications, such as intelligent motion detection, perimeter defense, and video diagnosis”. People wanting to hack the camera may also notice the UART connector on the top right of the photo above, as well as two push buttons.
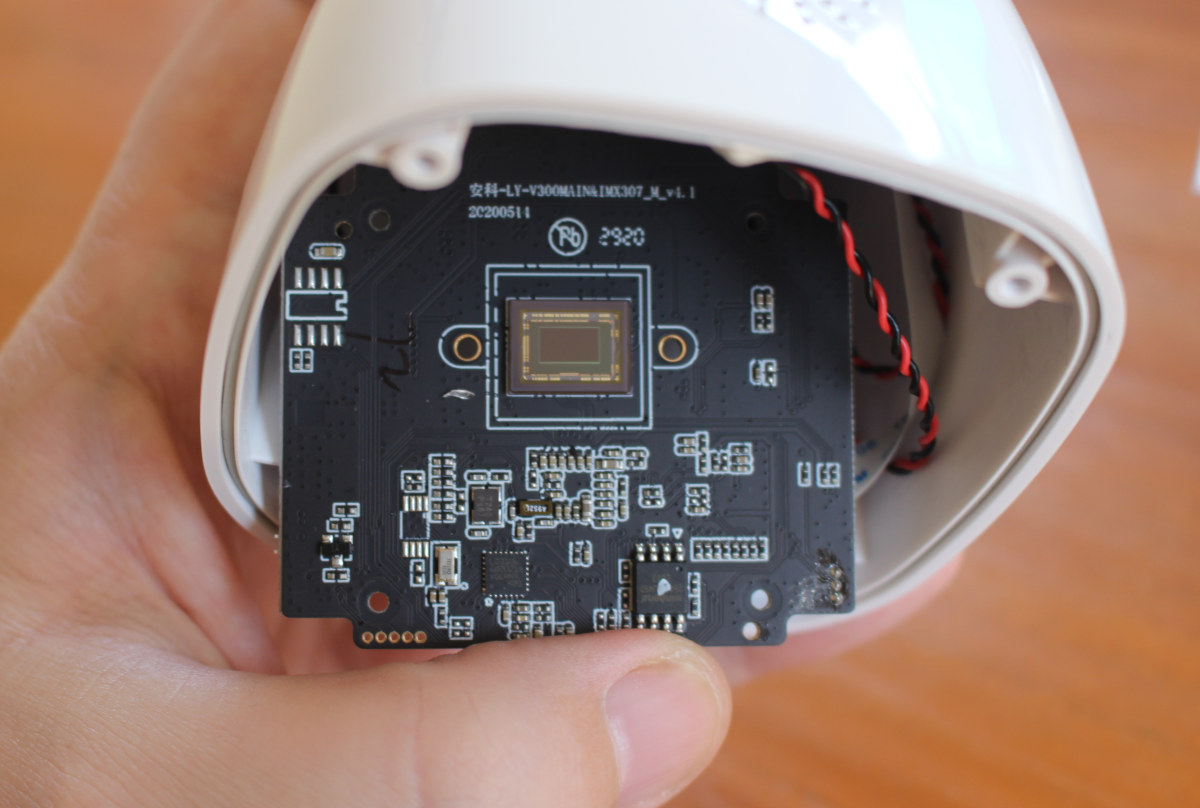 If we remover few more screws, we can access the Sony iMX307 CMOS sensor listed in the specifications,
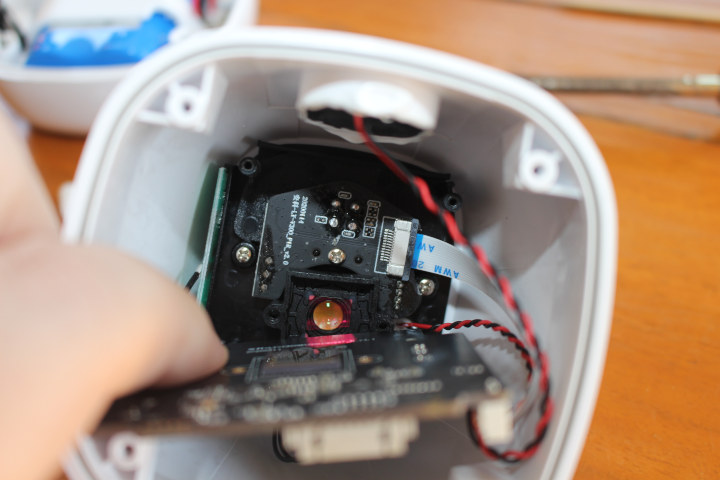
as well as the camera lens board with the WiFi antenna on the left side, and the microphone on the bottom right side.
Coming up
In the next part of the review, I’ll setup the camera with Vacos Android app, before mounting the camera and solar panel, and try out the various features including people detection.
I’d like to thank Vacos for sending their AI security camera for review. If you are interested in the device, you can buy the Vacos Cam for $119.99 on Amazon US, or directly on their store where you can add the solar panel and/or purchase bundles of up to 5 cameras.

Jean-Luc started CNX Software in 2010 as a part-time endeavor, before quitting his job as a software engineering manager, and starting to write daily news, and reviews full time later in 2011.
Support CNX Software! Donate via cryptocurrencies, become a Patron on Patreon, or purchase goods on Amazon or Aliexpress. We also use affiliate links in articles to earn commissions if you make a purchase after clicking on those links.


There won’t be a second part of the review, as Vacos Cam is a disaster.
The camera failed to properly chatrge, so I had to charge for two weeks before doing a firmware update. This looks to have fixed the charging issue.
Motion & AI detection seems unreliable, and now I’m stuck without live feed. It will just not load even in SD resolution. It will show loading until 80+ or 90+% then stay black forever. I resetted the camera, and could reconnect to WiFi, but the problem remains the same.