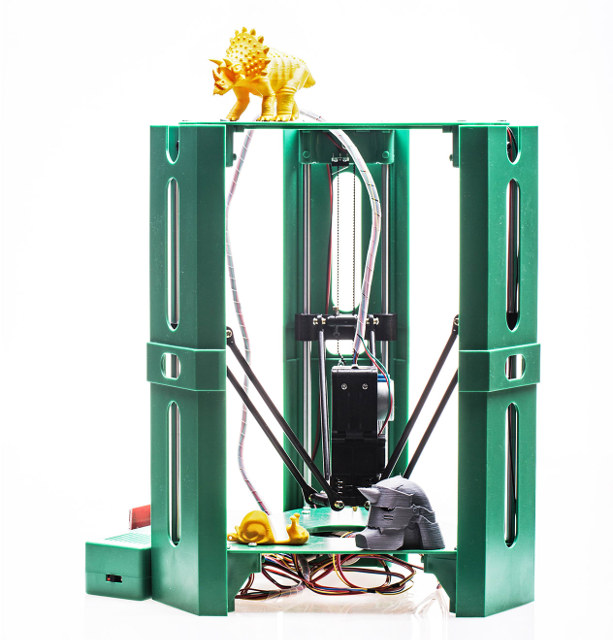
Anet A8 was one of the first sub $200 3D printer I found last last year, reviews were surprisingly positive. It is now sold for around $150 shipped (with A8PRINT coupon), and experienced reviewers often recommend it to people wanting to get started with 3D printing on a budget. But last week, as I browsed products on Banggood, I found something even cheaper with 101Hero PYLON 3D printer going for $107.99 shipped with coupon 349da5, and further research lead me to the official website where they sell it for $99 excluding shipping, and provide documentation and video tutorials. 101Hero PYLON 3D printer specifications: Printing technology – FDM (Fused deposition modeling) Host Material – Steel + ABS XYZ Bearings – Steel Print Size – 100 x 100mm Layer thickness – 0.1mm Nozzle diameter – 0.4mm Printing material – PLA Material Diameter – 1.75mm Power Supply – 20W Dimensions – 260 x […]
Tronxy X3S 3D Printer Review – Part 1: Build and First Prints
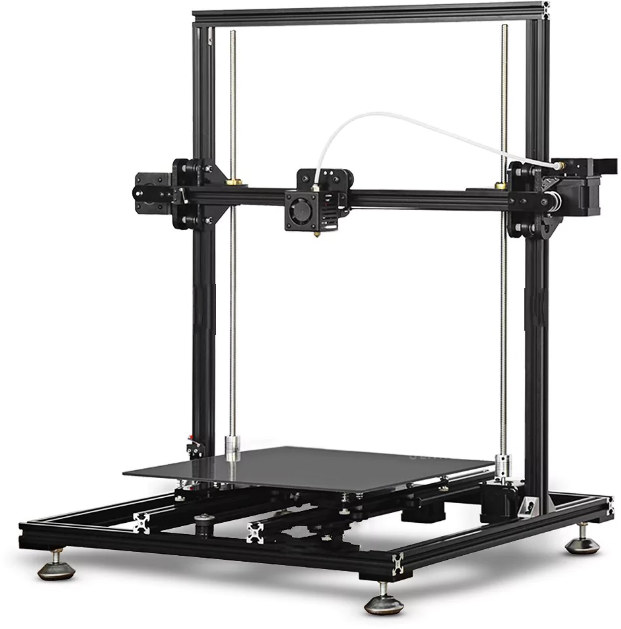
Karl here with part 1 of Tronxy X3S build. It is another large volume printer to fully assemble on your own. Taking between 8-10 hours to put together. I have high hopes for this printer. Key things I like: metal frame, dual X, large build volume. Just from looking at it I don’t like the fact that it has no parts cooler but is easy to remedy. Tronxy X3S Specifications Let’s look at some specs. 300 x 300 x 400 mm hot bed (Actually get 330x330x400 build volume) Hot bed temperature: 40 – 110 Deg.C Nozzle temperature: 170-275 Degree Marlin 1.1.5 Frame material: Aluminum Extrusion I have not taken the hotend apart yet so not sure about the nozzle temperature going over 245°C. I will take it apart for the next part. If you are not familiar you don’t want to get lined nozzles above 245°C, or the lining starts […]
Designing a 3D Printed Jig to Flash Firmware to ESP8266 based Light Bulbs
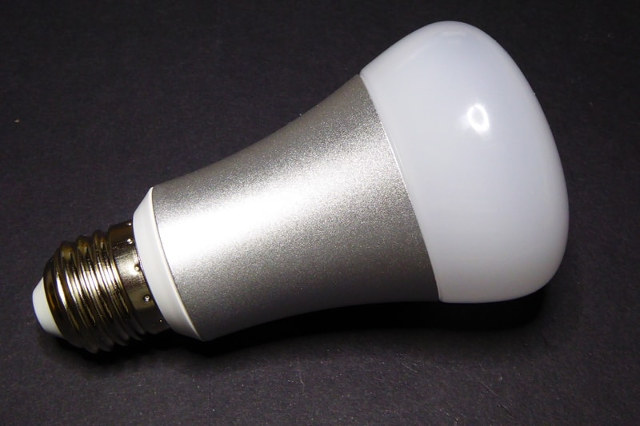
Karl here. I have to say that my favorite part of 3D printing is designing things from scratch. Recently a reader was asking about a way to flash a lot of Ai Lights on a project he was working on. I suggested 3D printing a jig that pressure fits pins. He didn’t have a printer, and we exchanged contact information and he sent me one of the lights and some pogo pins from Amazon. Design in Fusion 360 I started by taking a picture of the light to get my pin placement. I set a scale by measuring a known distance then printed and tested. It took about 3 iterations to get them to line up in real life. Keep in mind camera lenses distort reality and knew It would take a couple times. I would just let a few layers print then stop and line everything up. I had […]
2017 Tevo Tarantula Dual Extruder 3D Printer Review – Part 2: Auto-Leveling, Dual Color Prints, Flex Filament
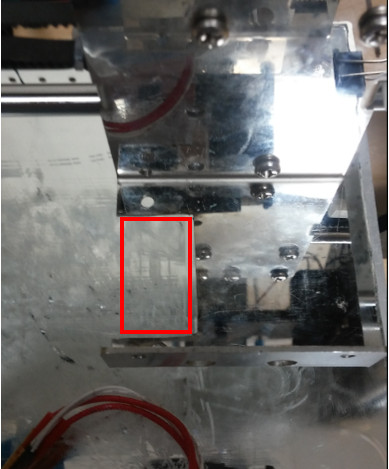
Karl here with final part of Tevo Tarantula dual extruder 3D printer review. The kit that was sent by Gearbest has a large bed, auto leveling, dual extrusion, and flex extruder of which I only found the flex extruder appealing to me. I have had this printer for a while now. It was relatively easy to setup, but near the end of the build it did not cover every aspect. There are lots of videos and a big Facebook group if you run into any troubles. Overall it is a good printer, but some of the features I initially thought I would like turned out to not be very useful. Auto leveling I tried my hardest to get this to work even going as far as to upgrade the firmware, but because they had a printed bracket on it, it drooped on my first high temp ABS print. I removed […]
Tevo Tarantula 3D Printer’s Large Dual Extruder Auto Bed Level Sensor Firmware Upgrade
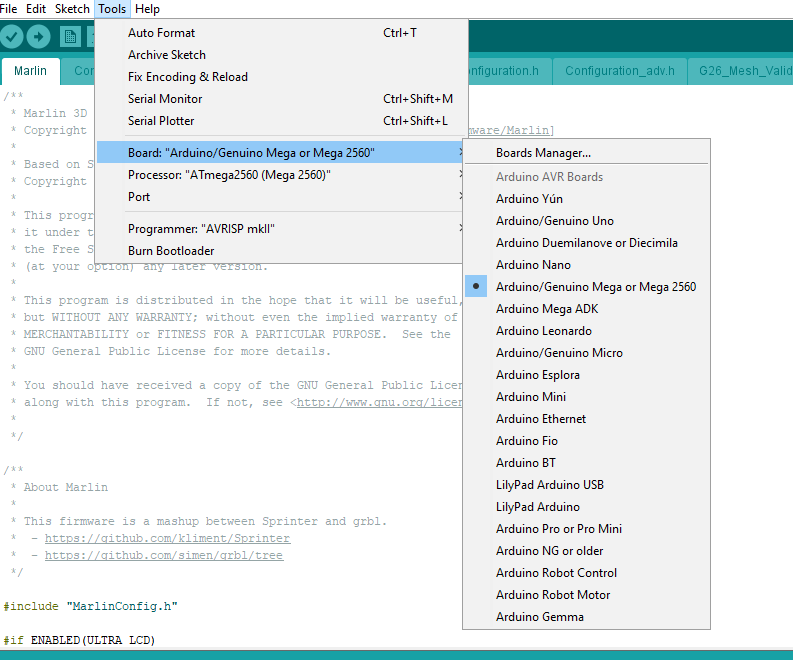
What a title. Just a quick update on the Tevo I am reviewing. I didn’t want to upgrade the firmware, but I read so many posts on Facebook about it I took the plunge. I didn’t like was the firmware that came with it. It only did a 3 point level, and seemed to go outside the build plate dimensions. The first 2 printers I have reviewed were Marlin, so it was what I am most familiar with. I used Jim Brown’s Marlin fork as a base. It was missing dual extruder and auto level sensor in the pre-configured profiles. It took a while, but I was able to add the extra features. The auto bed level sensor connects to where the normal Z end stop sensor is connected. I would like to warn you to warm your bed for 5 minutes for the best reproducible results. I tested several […]
How to Use Octoprint on Orange Pi Lite Board, Amlogic S905X and S912 TV Boxes
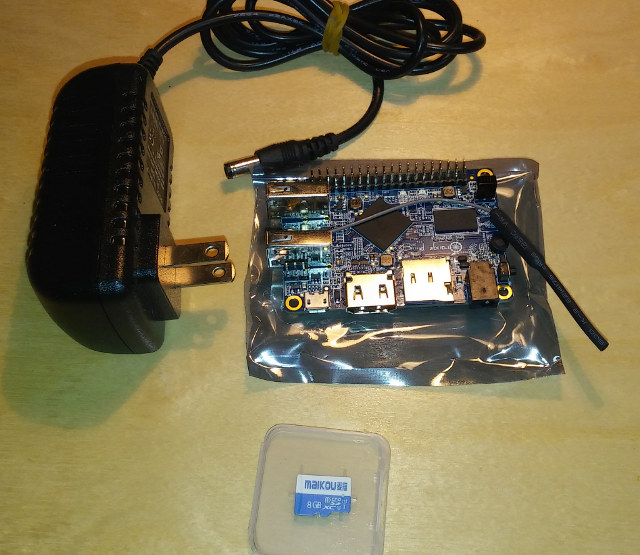
Karl here. This was article originally going to be how to setup Octoprint 3D printer server on an Orange Pi Lite. But after looking and running through the instructions it seemed like it would be too much so I created an img to simplify things. I also explored running Octoprint on an Amlogic S905x or S912 device and it turned out to be an even better solution. You get a case, power supply, and eMMC flash storage. What is Octoprint? I use Octoprint mainly for its ability to start and stop prints without having to use an sd card. Time lapse is also a nice feature. And one last thing is that I setup a pushbullet notification when it is complete. For a full list of features check out http://octoprint.org/. What is needed? Orange Pi Lite board provided by GearBest for the article, or an Amlogic S905X or S912 Android […]
2017 Tevo Tarantula Dual Extruder 3D Printer Review – Part 1: Assembly and First Prints
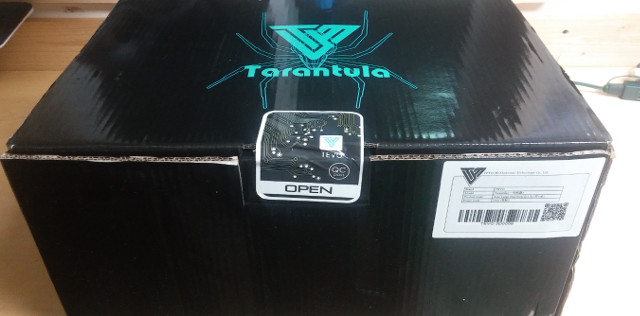
Karl here. Going to review the Tevo Tarantula 3D printer a little differently this time. With this build process, I need to space over several days due to time and working on many projects at once. I am logging each session with dates and times. I rarely have big blocks of time to work on my projects with working a full time job, and 2 children. I think this is indicative of a lot of people so wanted to give it a try. If you like this format let me know. If you are new to 3D printing, I would suggest reading the 3D Printer Basics section from Raiscube R2 review. Tevo Tarantula Specs Bed Size – 200x280x200 Extruder – all metal dual color Bed Leveling – Auto Extruder Style – Bowden Materials – Metal Frame with some Acrylic parts Heated Bed – Yes Filament – 1.75 Filament Included – […]
Raiscube R2 3D Printer Review – Part 3: How to Install E3D Hotend Clone For Faster Prints
Karl here with the final article on Raiscube R2 3D printer for now. Going to talk about the challenges of this upgrade, and how to do it yourself. This has been one of the most frustrating projects that I have worked on. I set 3 goals for this upgrade: Simple as possible Least amount of modification to the printer ability to revert back I don’t feel like I met my goals but I feel like I made it 90%. Trying to meet the simple as possible with least amount of modifications is what caused me so much grief. What is needed E3D Hotend for $9.56 on GearBest Kapton Tape for $1.87 Thermal paste Rotary cutting tool (maybe hacksaw good luck with that) Shrink tube or electrical tape Wire 3 printed parts on Thingiverse Zip Ties & Velcro E3D Installation Steps Print 3 parts from Thingiverse above with 50% infill and .2 […]


