ClockworkPi GameShell is an hackable retro gaming console combining Arm Linux and Arduino boards that happens to come in kit form, and that’s lot of fun to assemble as we’ve seen in the first part of the review of ClockworkPi GameShell. Since then I’ve had time to have more fun, play some games, and experiment with the device, so I’ll report my experience and point out the good parts, as well as some of the shortcomings I came across.
We can press the power button to start it up, and after a few seconds we get to the main menu with several icons including…
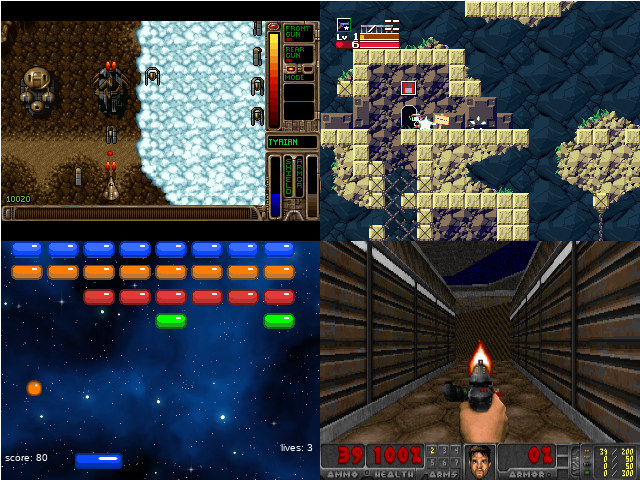
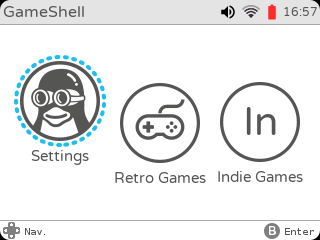 the self-describing Settings, Retro Games with MAME, MGBA, NESTOPIA, and PCxs emulators that require your own ROMs/BIOS, as well as Indie Games with ready to play games like OpenTyrian spaceship shooting game, or NyanCat.
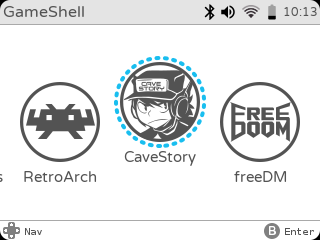 Moving on to the right of the menu we’ve got the famous RetroArch emulator that allows you to easily download cores, Cave Story platform-adventure video game, and FreeDM (Free Doom) first person-shooting game.
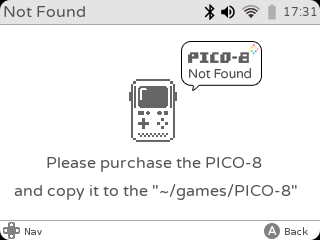
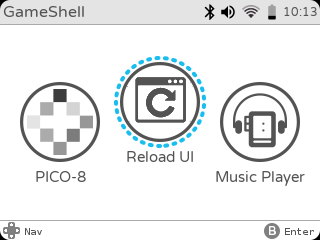 Some of you will be pleased to see PICO-8 as found in the late PocketCHIP game console until you realize that you are being asked to “Please purchase the PICO-8 and copy it to the ~/games/PICO-8” directory.
However, it just costs $15 to add, and instructions to install it can be found in Github. The Reload UI will reload the UI as stated, but I’m not sure why it’s there…, and Music Player will play music stores in ~/music directory.
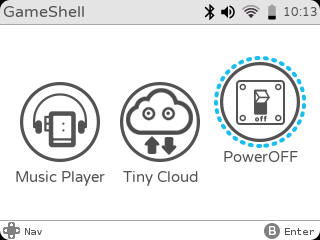 Finally the main menu ends with Tiny Cloud, and PowerOFF icons with the latter allowing you to turn off or reboot the game console.
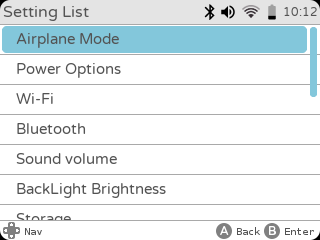
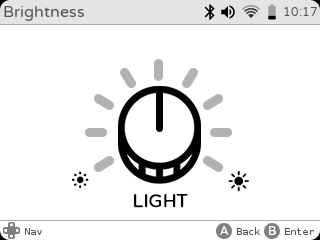
I’ll explain what Tiny Cloud is in a moment, but first let’s go to the settings where’s you’ll got plenty of sub-menus with Airplane Mode, Power Options, WiFi, Bluetooth, Sound volume, Backlight Brightness, Storage,
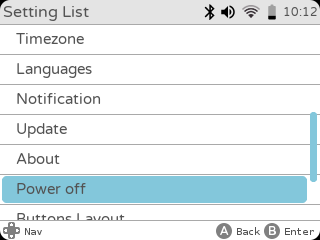
 Timezone, Languages, Notification, Update, About, Power off, Buttons Layout,
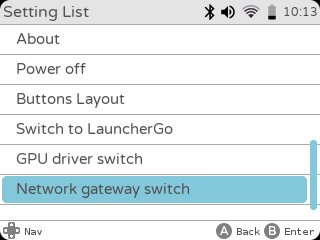
  Switch to LauncherGo (same UI but less icons and settings options), GPU driver switch (FbTurbo or the open source Lima driver), and Network Gatework switch to use either WiFi or USB Ethernet.
 I’ll start with the most important / useful settings, since the first thing you’ll likely do right after switching on the device for the very first time is to setup a WiFi connection to your router.
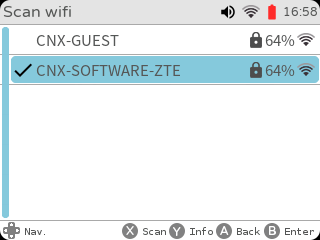 It’s easy enough and I had no troubles even with a password with special characters, but bear in mind that the device only works over a 2.4 GHz connection, as dual band / 5 GHz WiFi is not supported by the hardware.
Next step should be to ensure you’ve got the very latest firmware. As I went to the Update menu, my model was pre-loaded with “stable 1.23”.
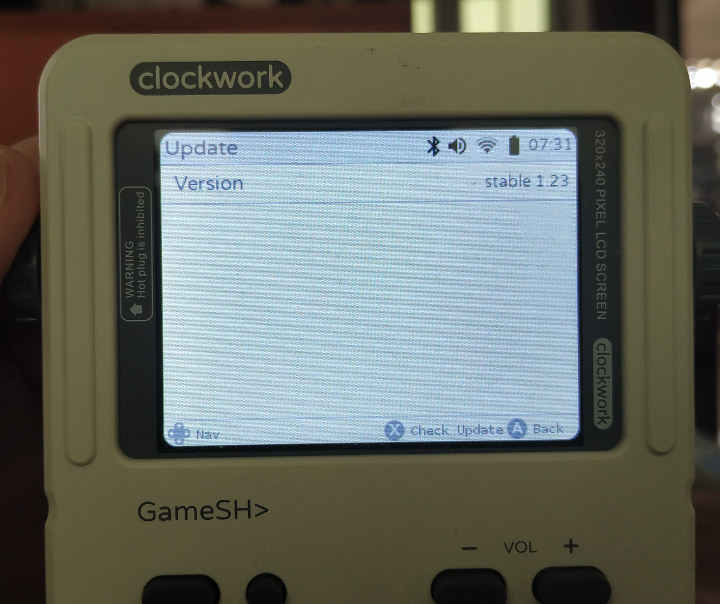 I pressed X as instructed to check for new firmware, and I was told “update c4587c1” was available…
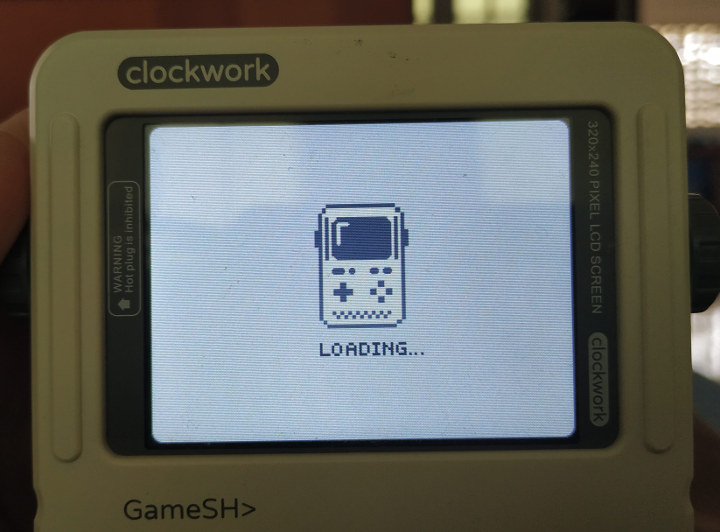
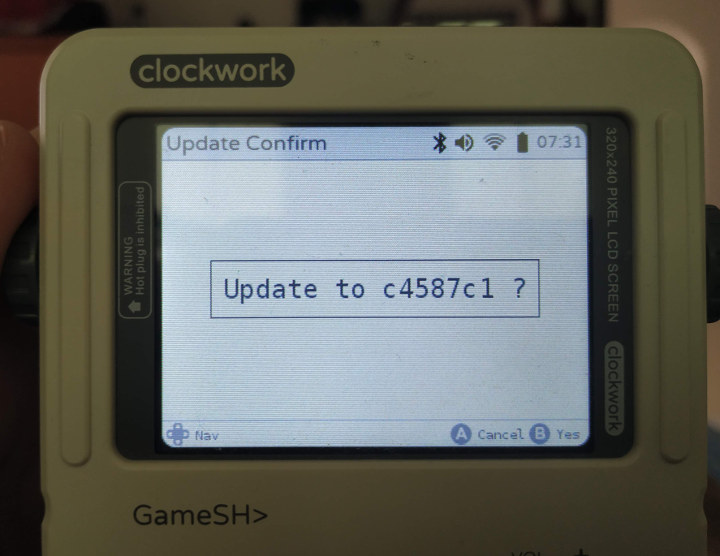 Let’s go ahead by pressing the “B” button, the LOADING screen shows for a while…
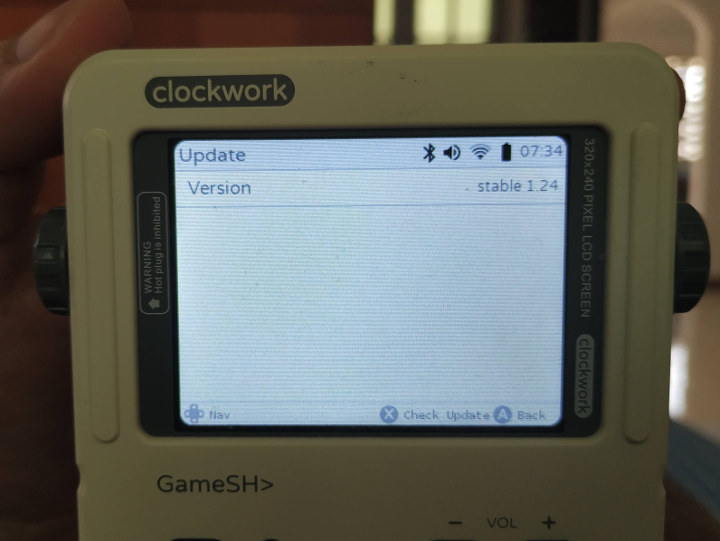
 and finally I got confirmation the firmware was indeed update to the latest “stable 1.24” version.
Now that we’ve gone through some basic configuration steps, let’s go back to that Tiny cloud icon…
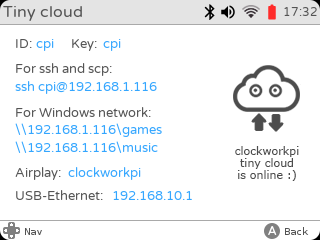 It will show the username and password, IP address, ssh/scp command, Windows network links for games and music share, the Airplay name, and USB-Ethernet IP address. I could easily connect to the game console over SSH:
|
1 2 3 4 5 6 7 8 9 10 11 12 13 14 15 16 17 18 19 20 21 22 23 24 25 26 27 28 29 30 31 32 33 34 35 36 37 38 39 40 41 42 43 44 45 46 47 48 49 50 51 52 53 54 55 56 57 58 59 60 61 62 63 64 65 66 67 68 69 70 71 72 73 74 75 76 77 78 |
ssh cpi@192.168.1.116 Linux clockworkpi 4.14.2-clockworkpi-cpi3-g638f2a7 #1 SMP Mon Dec 10 07:46:56 UTC 2018 armv7l ___/\/\/\/\/\__/\/\/\/\/\____/\/\/\/\_ _/\/\__________/\/\____/\/\____/\/\___ _/\/\__________/\/\/\/\/\______/\/\___ _/\/\__________/\/\____________/\/\___ ___/\/\/\/\/\__/\/\__________/\/\/\/\_ ______________________________________ Welcome to clockworkPi For more information please visit: https://forum.clockworkpi.com HAPPY HACKING Last login: Sat Feb 23 16:26:10 2019 cpi@clockworkpi:~$ uname -a Linux clockworkpi 4.14.2-clockworkpi-cpi3-g638f2a7 #1 SMP Mon Dec 10 07:46:56 UTC 2018 armv7l GNU/Linux cat /etc/issue Debian GNU/Linux 9 \n \l cpi@clockworkpi:~$ df -h Filesystem Size Used Avail Use% Mounted on /dev/root 15G 3.1G 11G 23% / devtmpfs 471M 0 471M 0% /dev tmpfs 503M 0 503M 0% /dev/shm tmpfs 503M 9.1M 494M 2% /run tmpfs 5.0M 4.0K 5.0M 1% /run/lock tmpfs 503M 0 503M 0% /sys/fs/cgroup tmpfs 101M 0 101M 0% /run/user/1000 cpi@clockworkpi:~$ free -mh total used free shared buff/cache available Mem: 1.0G 156M 661M 9.2M 188M 819M Swap: 0B 0B 0B cpi@clockworkpi:~$ cat /proc/cpuinfo processor : 0 model name : ARMv7 Processor rev 5 (v7l) BogoMIPS : 48.00 Features : half thumb fastmult vfp edsp neon vfpv3 tls vfpv4 idiva idivt vfpd32 lpae evtstrm CPU implementer : 0x41 CPU architecture: 7 CPU variant : 0x0 CPU part : 0xc07 CPU revision : 5 processor : 1 model name : ARMv7 Processor rev 5 (v7l) BogoMIPS : 48.00 Features : half thumb fastmult vfp edsp neon vfpv3 tls vfpv4 idiva idivt vfpd32 lpae evtstrm CPU implementer : 0x41 CPU architecture: 7 CPU variant : 0x0 CPU part : 0xc07 CPU revision : 5 processor : 2 model name : ARMv7 Processor rev 5 (v7l) BogoMIPS : 48.00 Features : half thumb fastmult vfp edsp neon vfpv3 tls vfpv4 idiva idivt vfpd32 lpae evtstrm CPU implementer : 0x41 CPU architecture: 7 CPU variant : 0x0 CPU part : 0xc07 CPU revision : 5 processor : 3 model name : ARMv7 Processor rev 5 (v7l) BogoMIPS : 48.00 Features : half thumb fastmult vfp edsp neon vfpv3 tls vfpv4 idiva idivt vfpd32 lpae evtstrm CPU implementer : 0x41 CPU architecture: 7 CPU variant : 0x0 CPU part : 0xc07 CPU revision : 5 Hardware : Allwinner sun8i Family Revision : 0000 Serial : 16554153080e70bb |
The console runs Debian 9 with Linux 4.14.2 on Allwinner R16 (sun8i) quad core Cortex-A7 processor with 1GB RAM, and about 11GB storage available from the 16GB microSD card.
As a side note If you wonder how I did the screenshots above, it’s explained in the forum:
- Install imagemagick:
12sudo apt updatesudo apt install - Export the display in the SSH console, and capture the framebuffer to a filename of your choice:
12export DISPLAY=:0xwd -root | convert xwd:- screenshot01.png
Done, you’ll just find the captures in /home/cpi.
I could connect to the SAMBA share and list games and music directories available to download relevant files.
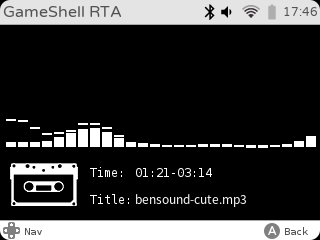
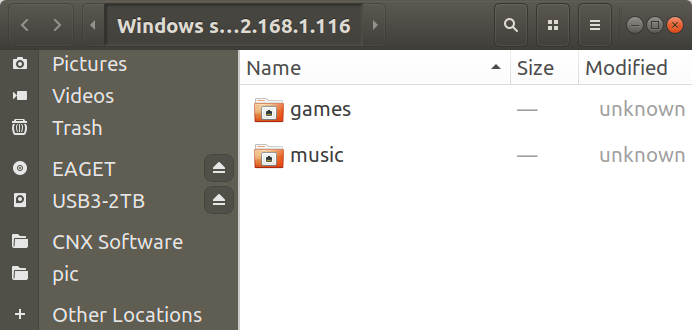 I clicked on the music directory, was asked the username and password (cpi / cpi) and copied some royalty-free music files that I could play in the console’s Music Player.
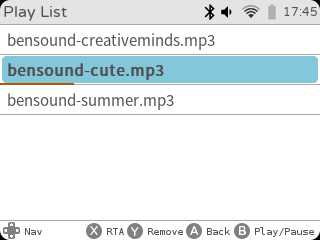 There’s also an RTA (Real-time Analyzer) view.
Let’s now go through some of the other Settings. Airplane menu is just to enable / disable WiFi and Bluetooth.
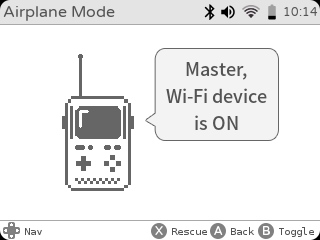 Power options give you four different power plans with power saving, balanced, server and performance.
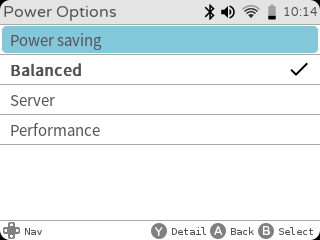 I did not investigate the different power plans, and kept using the balanced options for the full review. I got around 3 to 4 hours of battery on a charge for continuous usage.
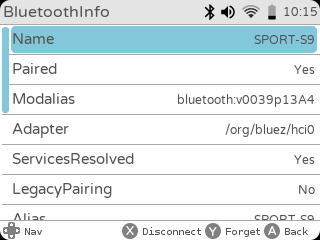
We’ve already covered WiFi, so I’ll now have a closer look at Bluetooth, and it works, except it doesn’t. Let me explains. Gameshell detected both my laptop and SPORT-S9 headset as shown below.
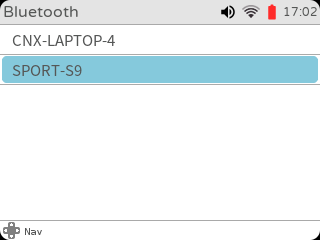 but it can not connect to my Bluetooth headset, so I installed the Bluetooth module for Pulse Audio in the SSH terminal
|
1 |
sudo apt install pulseaudio-module-bluetooth |
and it tried again, and my SPORT-S9 headset connected OK. Hooray!
However, I didn’t get any audio. and I’m not alone. It turns out Bluetooth currently on works with HID devices like Bluetooth keyboard or mouse, but audio is not supported. That means audio can work via the internal speakers, a 3.5mm audio jack, or HDMI.
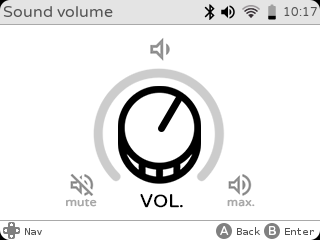
The Sound volume menu allows to adjust the volume via a virtual rotary encoder.
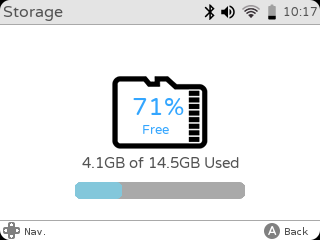
The storage menu will just show the free space on the device, you can’t take any specific actions in that section.
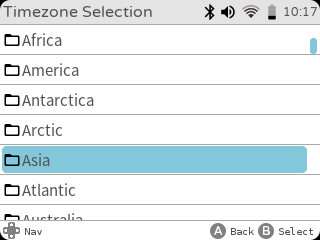
 The Timezone Selection menu lets you select the continent, and cities to adjust to timezone accordingly.
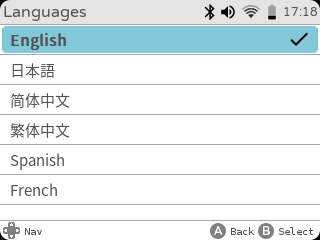
 The latest 1.24 firmware supports 6 languages: English, Japanese, simplified & traditional Chinese, Spanish, and French.
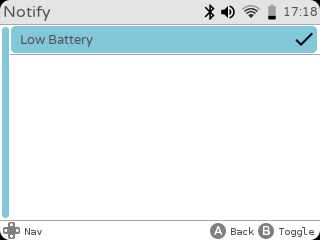
 The notify menu enables/disables low battery notification only for now, and you’ll likely want to keep it enabled.
 The About menu gives info about the processor (basically /proc/cpuinfo content), memory, and Linux kernel version.
 The Power Off option will just allow you to power off (no reboot option here), and the Buttons Layout menu switches between SNES and XBOX layouts.
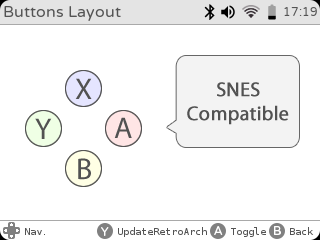 Since I was confused with the default XBOX compatible layout in which A = back and B = accept, I switched to the SMES compatible layout, but then it became even more confusing since I had to press “B” when being asked to press “A”, and “A” for “B”…
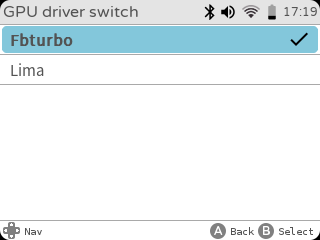 The GPU driver switch menu allows you to select Fbturbo or the open source Lima driver, and both appears to work just as well, although they mentioned strange crashes in the forum for the lima driver at the end of last year. More details about FbTurbo can be found in linux-sunxi website.
 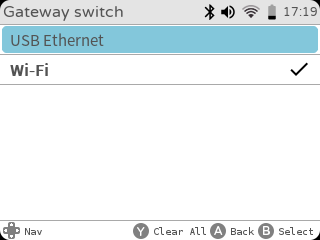 Some people complained about an unstable WiFi connection, and although I found WiFi to work just fine, there’s an option to connect a USB Ethernet dongle.
As mentioned above, some emulators come without any ROM, and you need to load your own, but there are also some pre-loaded and ready-to-play games in the console as shown by the screenshots below.
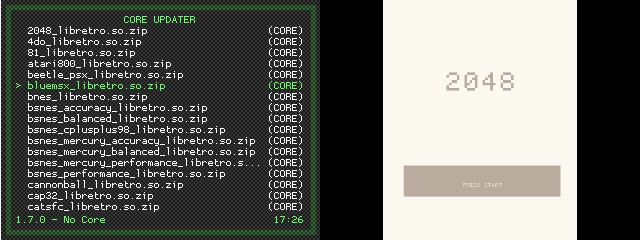
RetroArch is also installed, and allows you to easily load cores over WiFi (or USB Ethernet) to play games. I just tried 2048 game in this review.
If you’d rather see ClockworkPi Gameshell in action, I’ve shot a ~14 minutes video showing the interfaces, trying some games, and finally going into the settings in details.
I had plan to look into more details about the hacking part for the console, but due to time limitation, I have not been able to check into details. However, you’ll find several repositories in clockworkpi github account for the Arduino KeyPad code, Linux kernel patchsets, Python launcher, and more. You can also find more tutorials or get help in the forums, especially the “Developers” section if you plan to modify the Arduino or Linux source code.
Overall, I’m pretty please with the GameShell Kit and it’s a fun device to both learn and play thanks to the ~1-hour assembly, built-in games, and STEM education potential with the ability to customize both Arduino and Linux code.
I’d like to thank Clockwork for sending Gameshell Kit for review. If you are interested in the kit, you can buy it for $159 with Fedex/DHL shipping on their website, and full-time students can get it for $139.

Jean-Luc started CNX Software in 2010 as a part-time endeavor, before quitting his job as a software engineering manager, and starting to write daily news, and reviews full time later in 2011.
Support CNX Software! Donate via cryptocurrencies, become a Patron on Patreon, or purchase goods on Amazon or Aliexpress




Is that Games Hell or Game Shell?
Sounds promising but I wont be an early adopter.
Wow, they’ve gone a long way towards a finished end product! Considering getting a couple for my kids (and myself, darnit : )
So why did they not go with the A64 allwinner ?
In fact this device is not enough open-source. The bootloader, which seems to contain initialization of the LCD, is yet closed.