
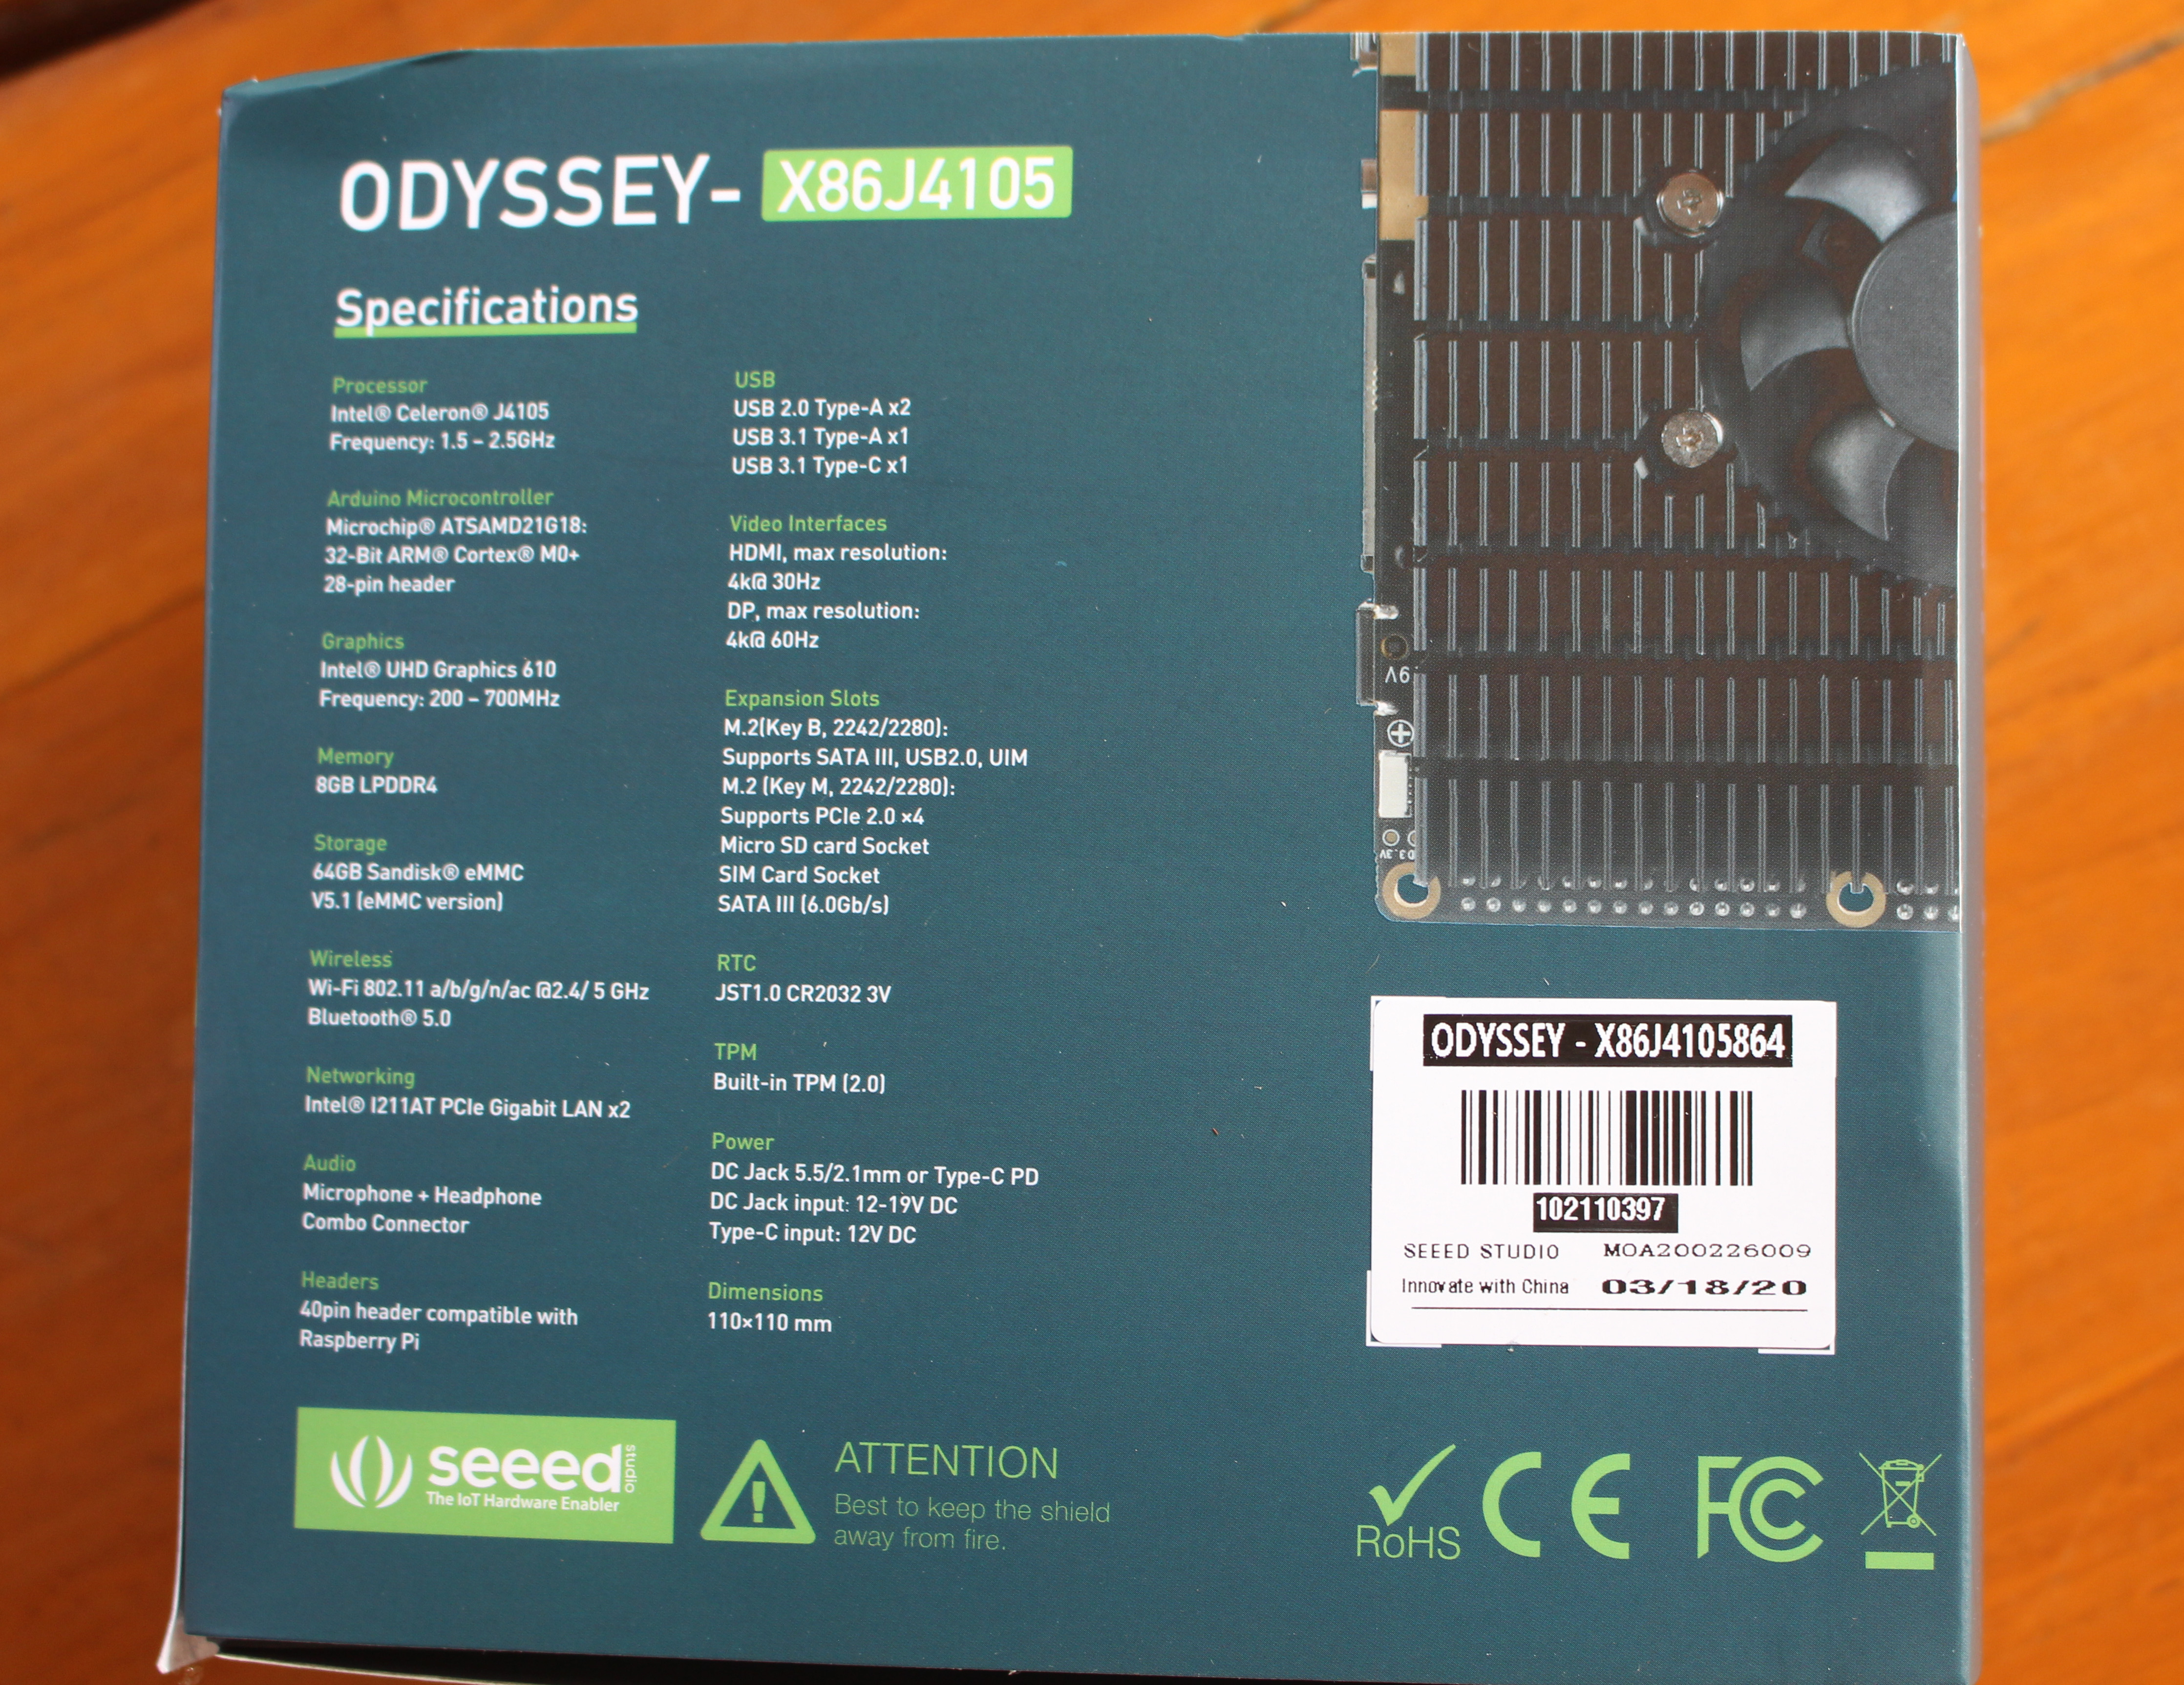
Seeed Studio ODYSSEY-X86J4105 is an Intel Celeron J4105 Gemini Lake SBC that also happens to integrate an Arduino compatible Microchip SAMD21 Arm Cortex M0+ microcontroller that makes it suitable as an all-in-one Arduino platform. But it can do much more with 8GB RAM, an optional 64GB eMMC flash, HDMI & USB-C DisplayPort 4K video outputs, dual Gigabit Ethernet, and support for both SATA and NVMe storage. The board runs Windows 10 Enterprise by default (if you purchase the board with an eMMC flash), and supports Linux distributions as well.
Seeed Studio sent me a review sample, so I’ll start by checking out the hardware first.
ODYSSEY-X86J4105 Unboxing
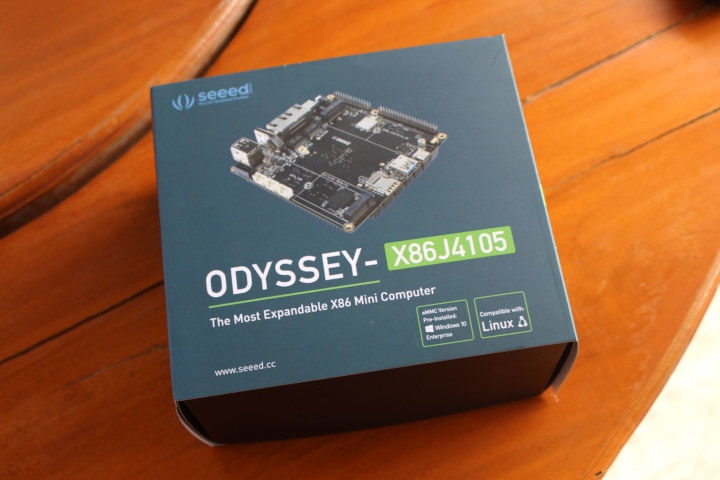
I received ODYSSEY-X86J4105864 with a built-in 64GB eMMC flash pre-loaded with Windows 10 Enterprise.
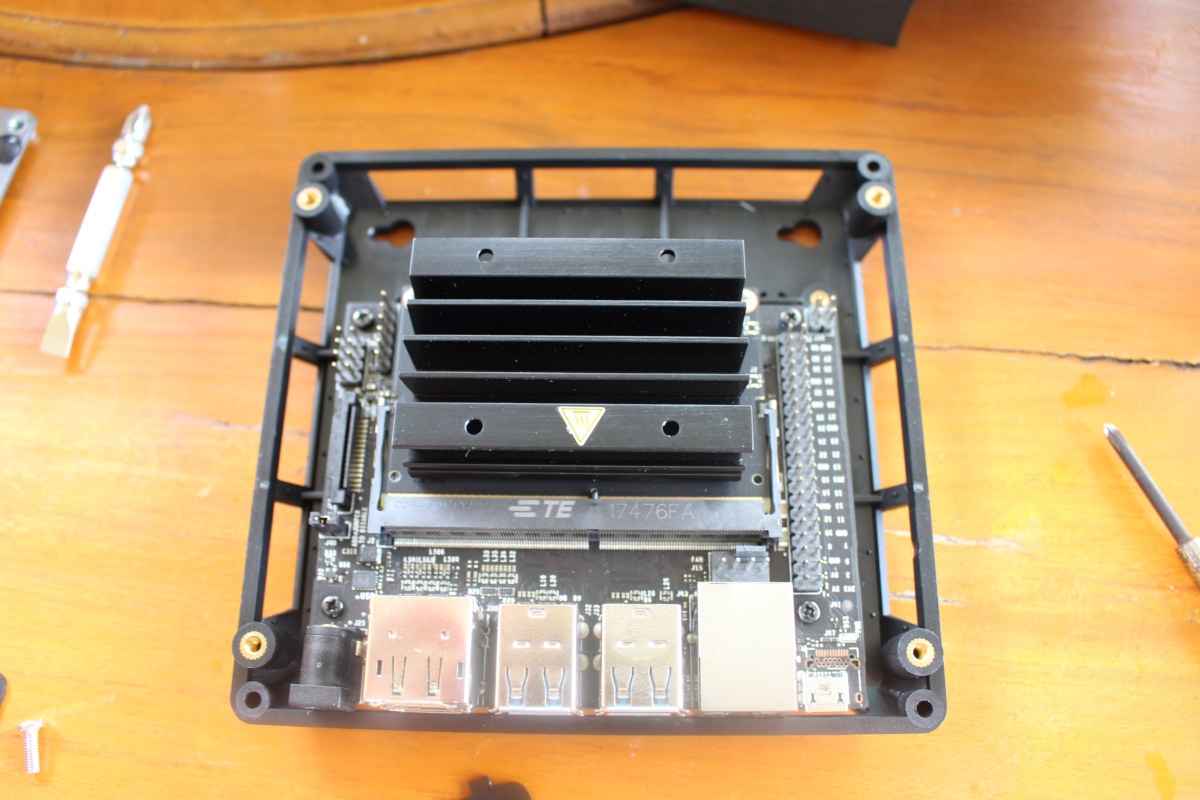
Let’s have a quick look at the board with USB, Ethernet and video output ports previously described, as well as built-in dual-band Wi-Fi 5 & Bluetooth 5.0 module, and M.2 sockets for NVMe and SATA SSD, SATA HDD/SSD, as well as support for M.2 cellular modem.
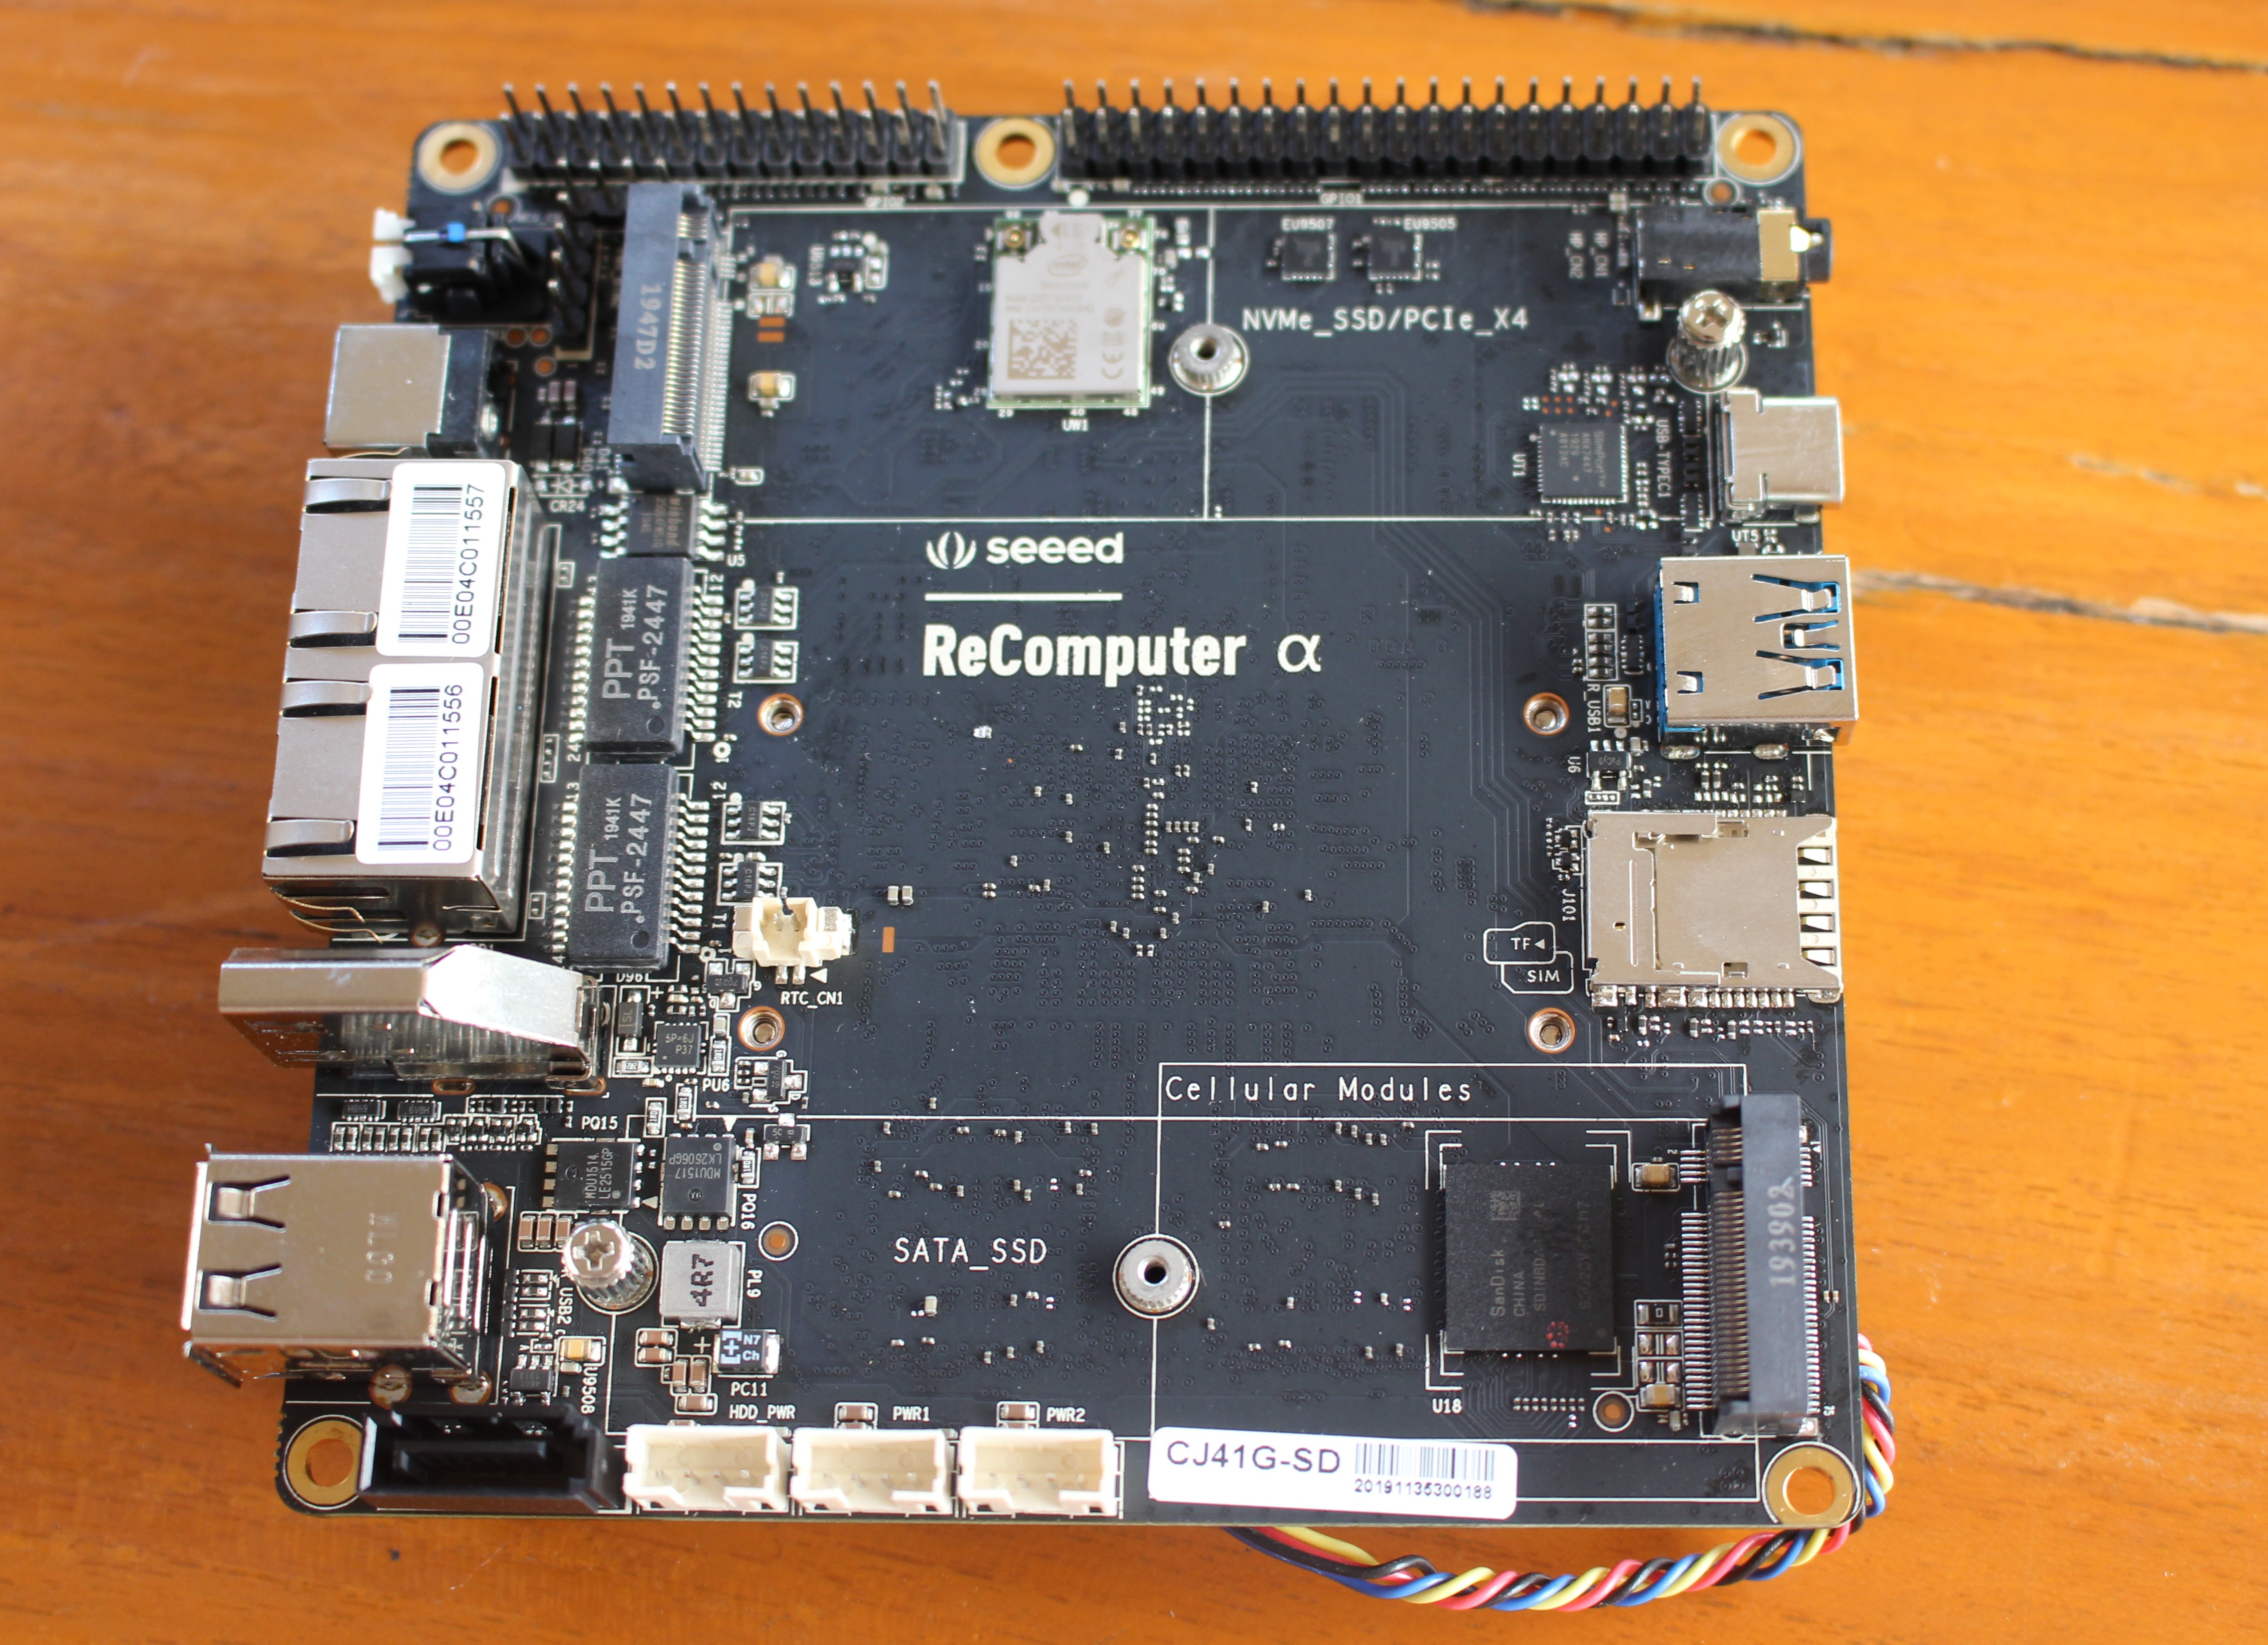
We can also see the I/O headers with a 28-pin Arduino header on the left, and a 40-pin Raspberry Pi compatible header on the right.
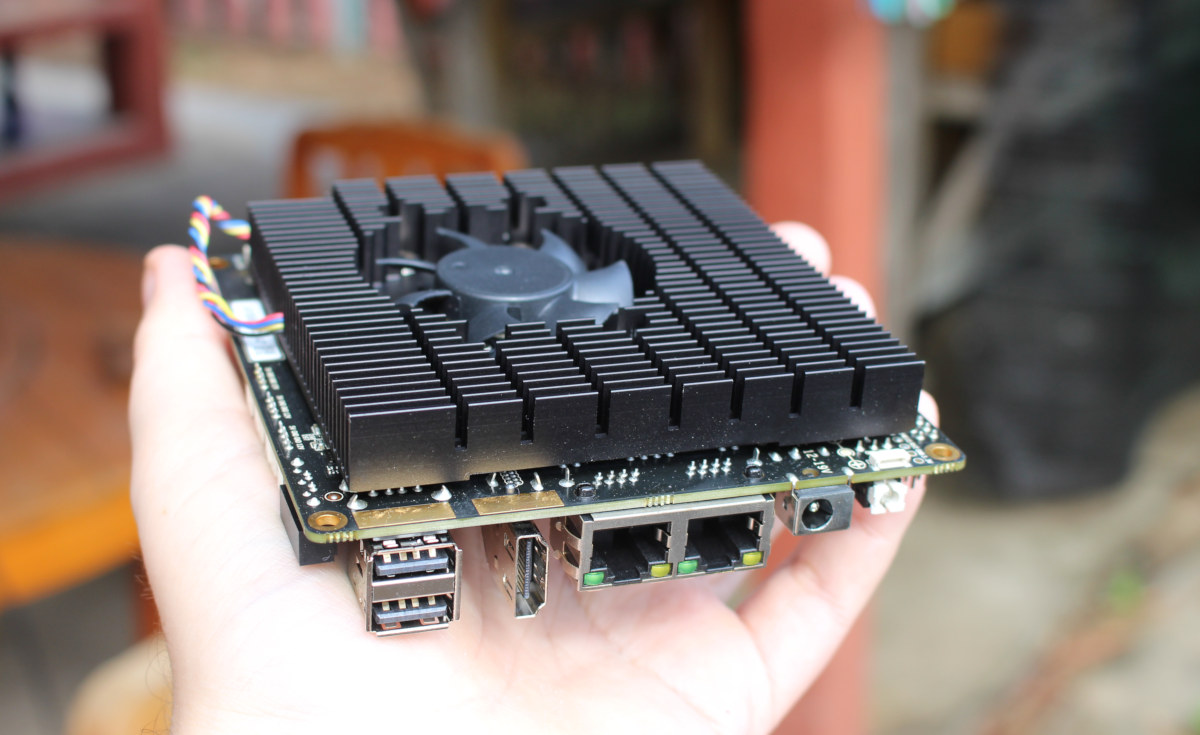
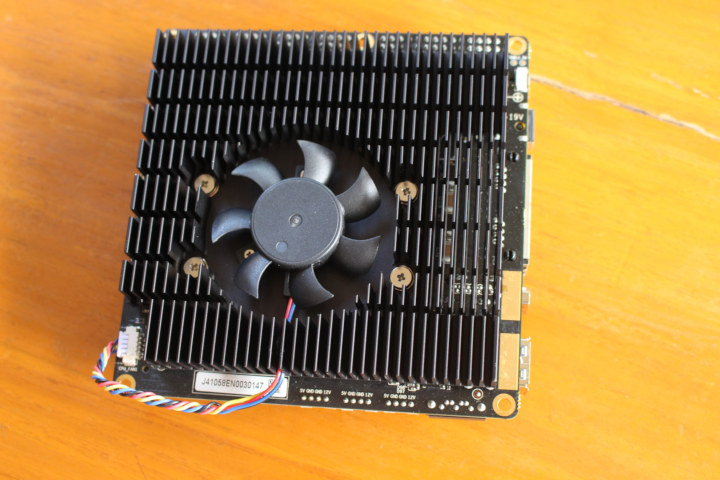
ODYSSEY-X86J4105 single board computer is cooled by a large heatsink and a PWM fan.
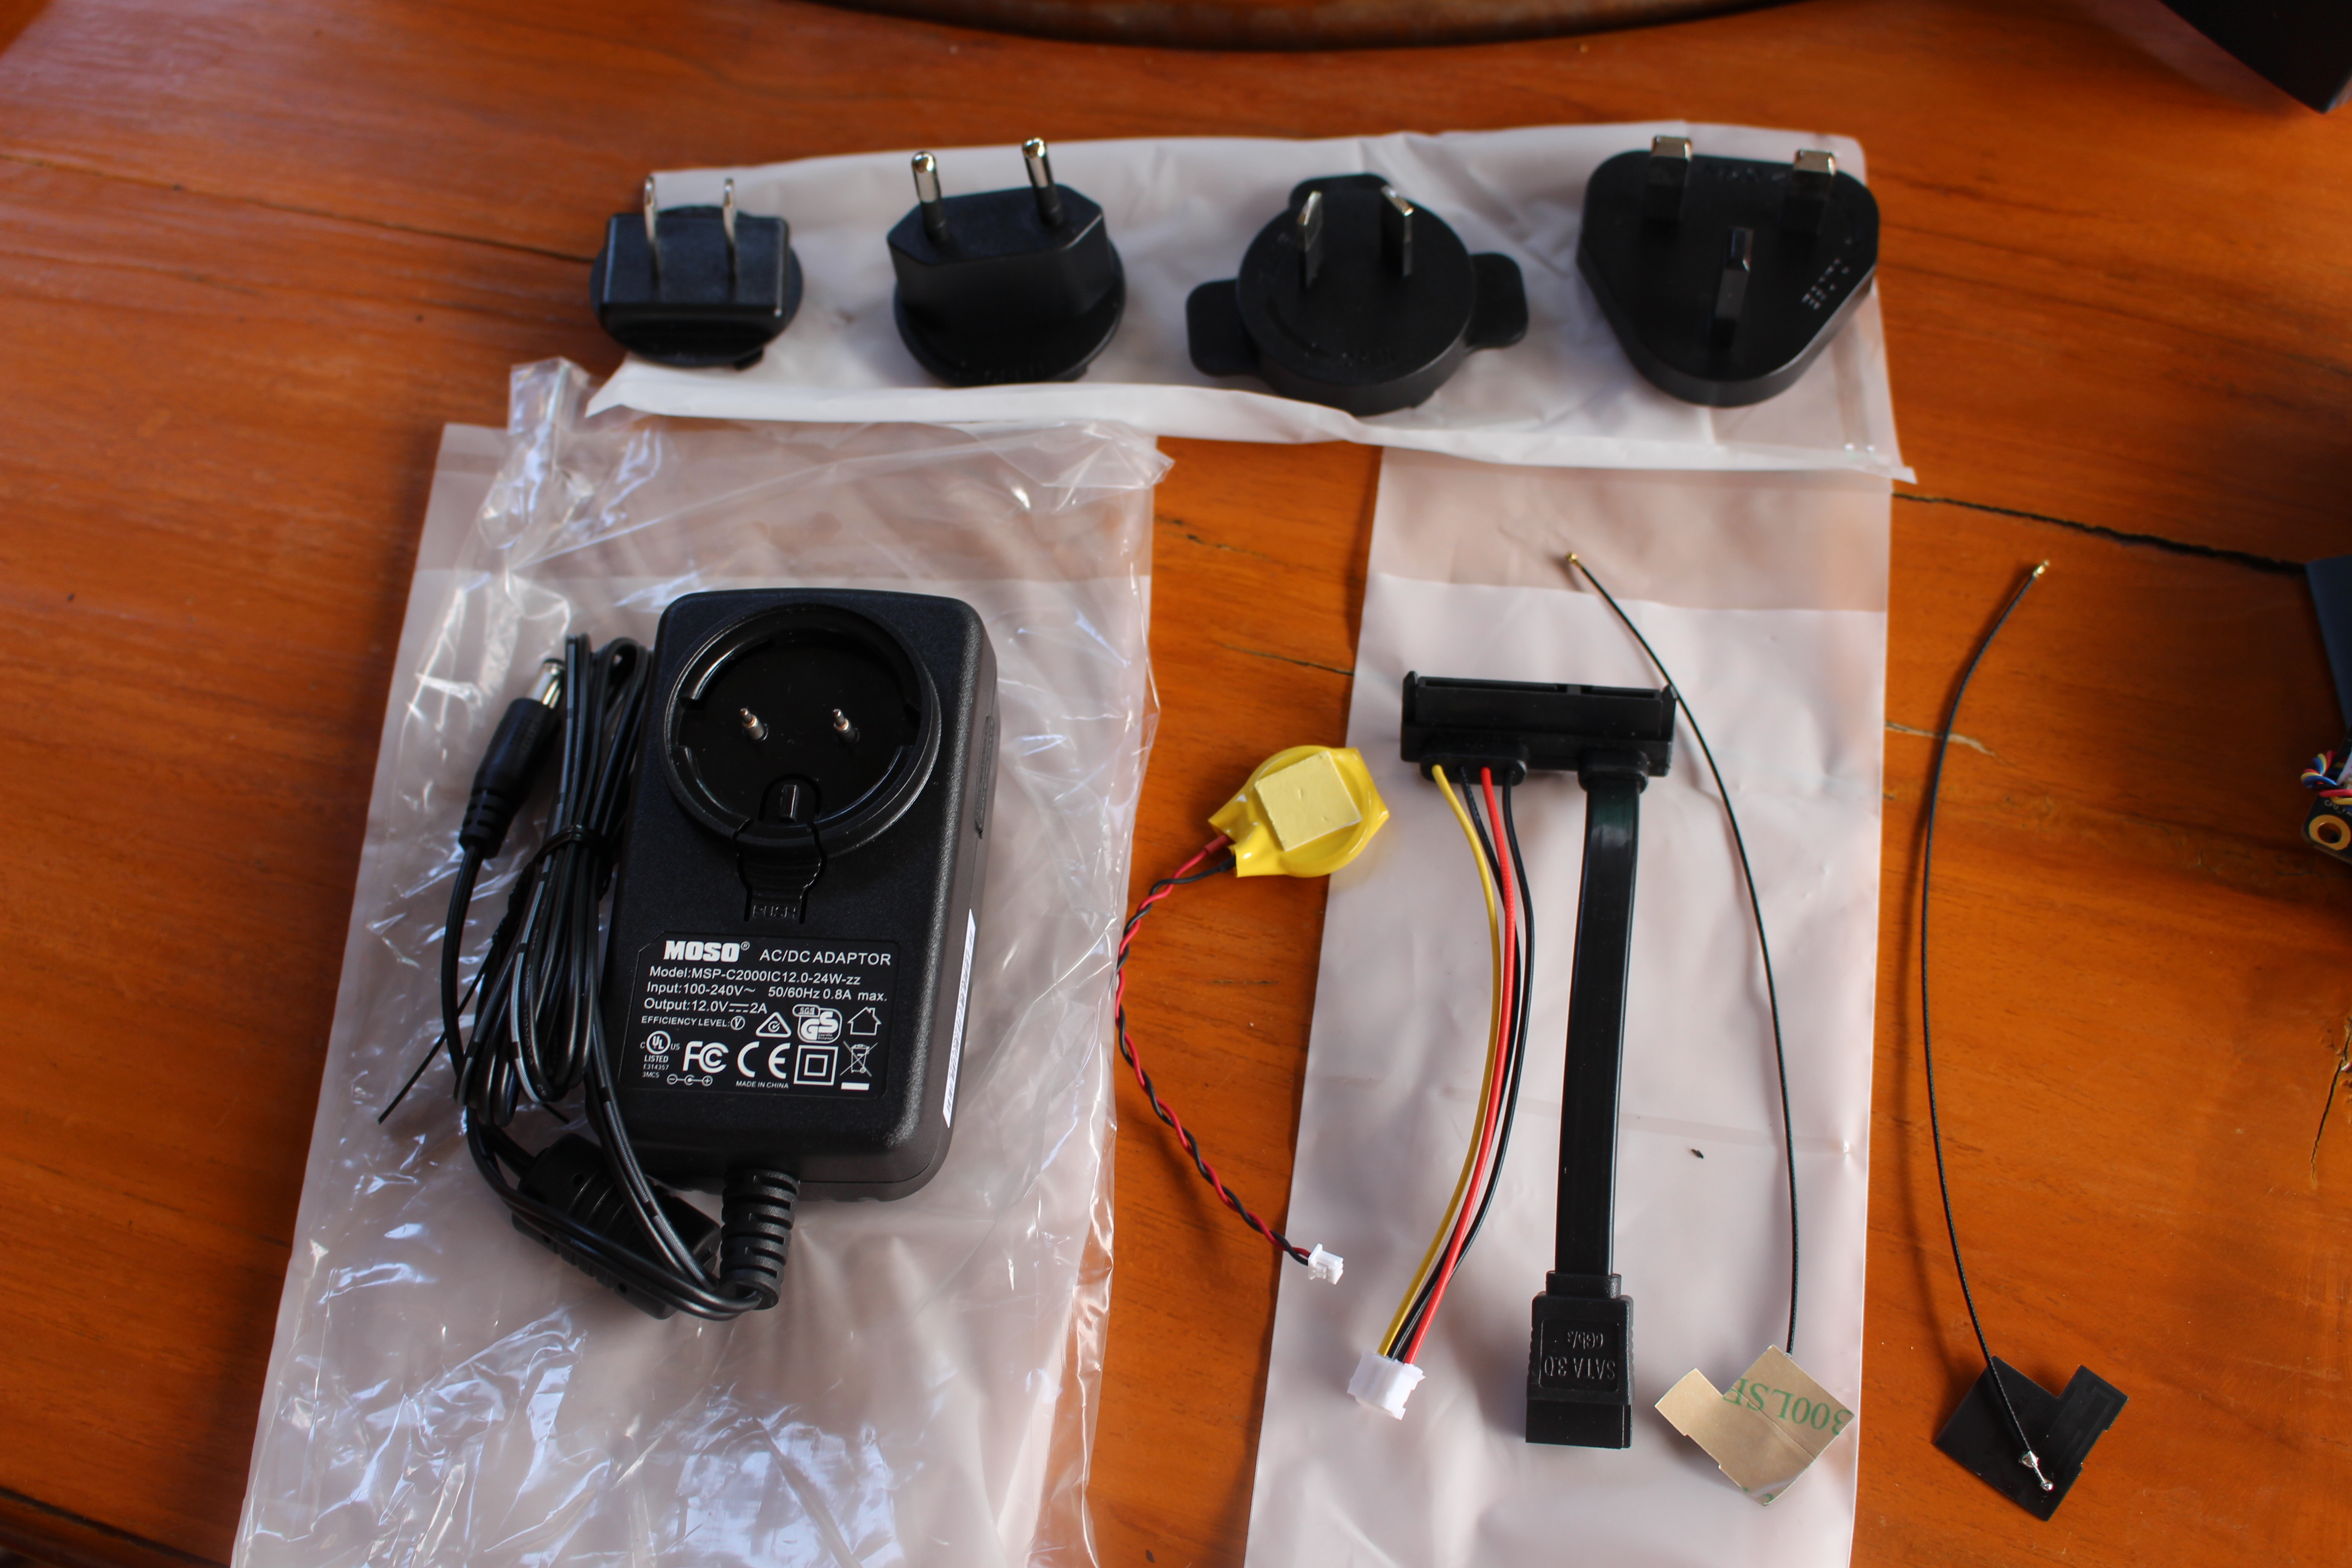
It ships with a 12V/2A power supply and US, EU, Australia, and UK plug adapters, an RTC battery, a SATA drive cable with data and power, and two u.FL antennas for WiFi and Bluetooth.
I’ve connected the RTC, the antennas, an M.2 SATA drive, a SATA drive, and the power supply as shown in the photo below.
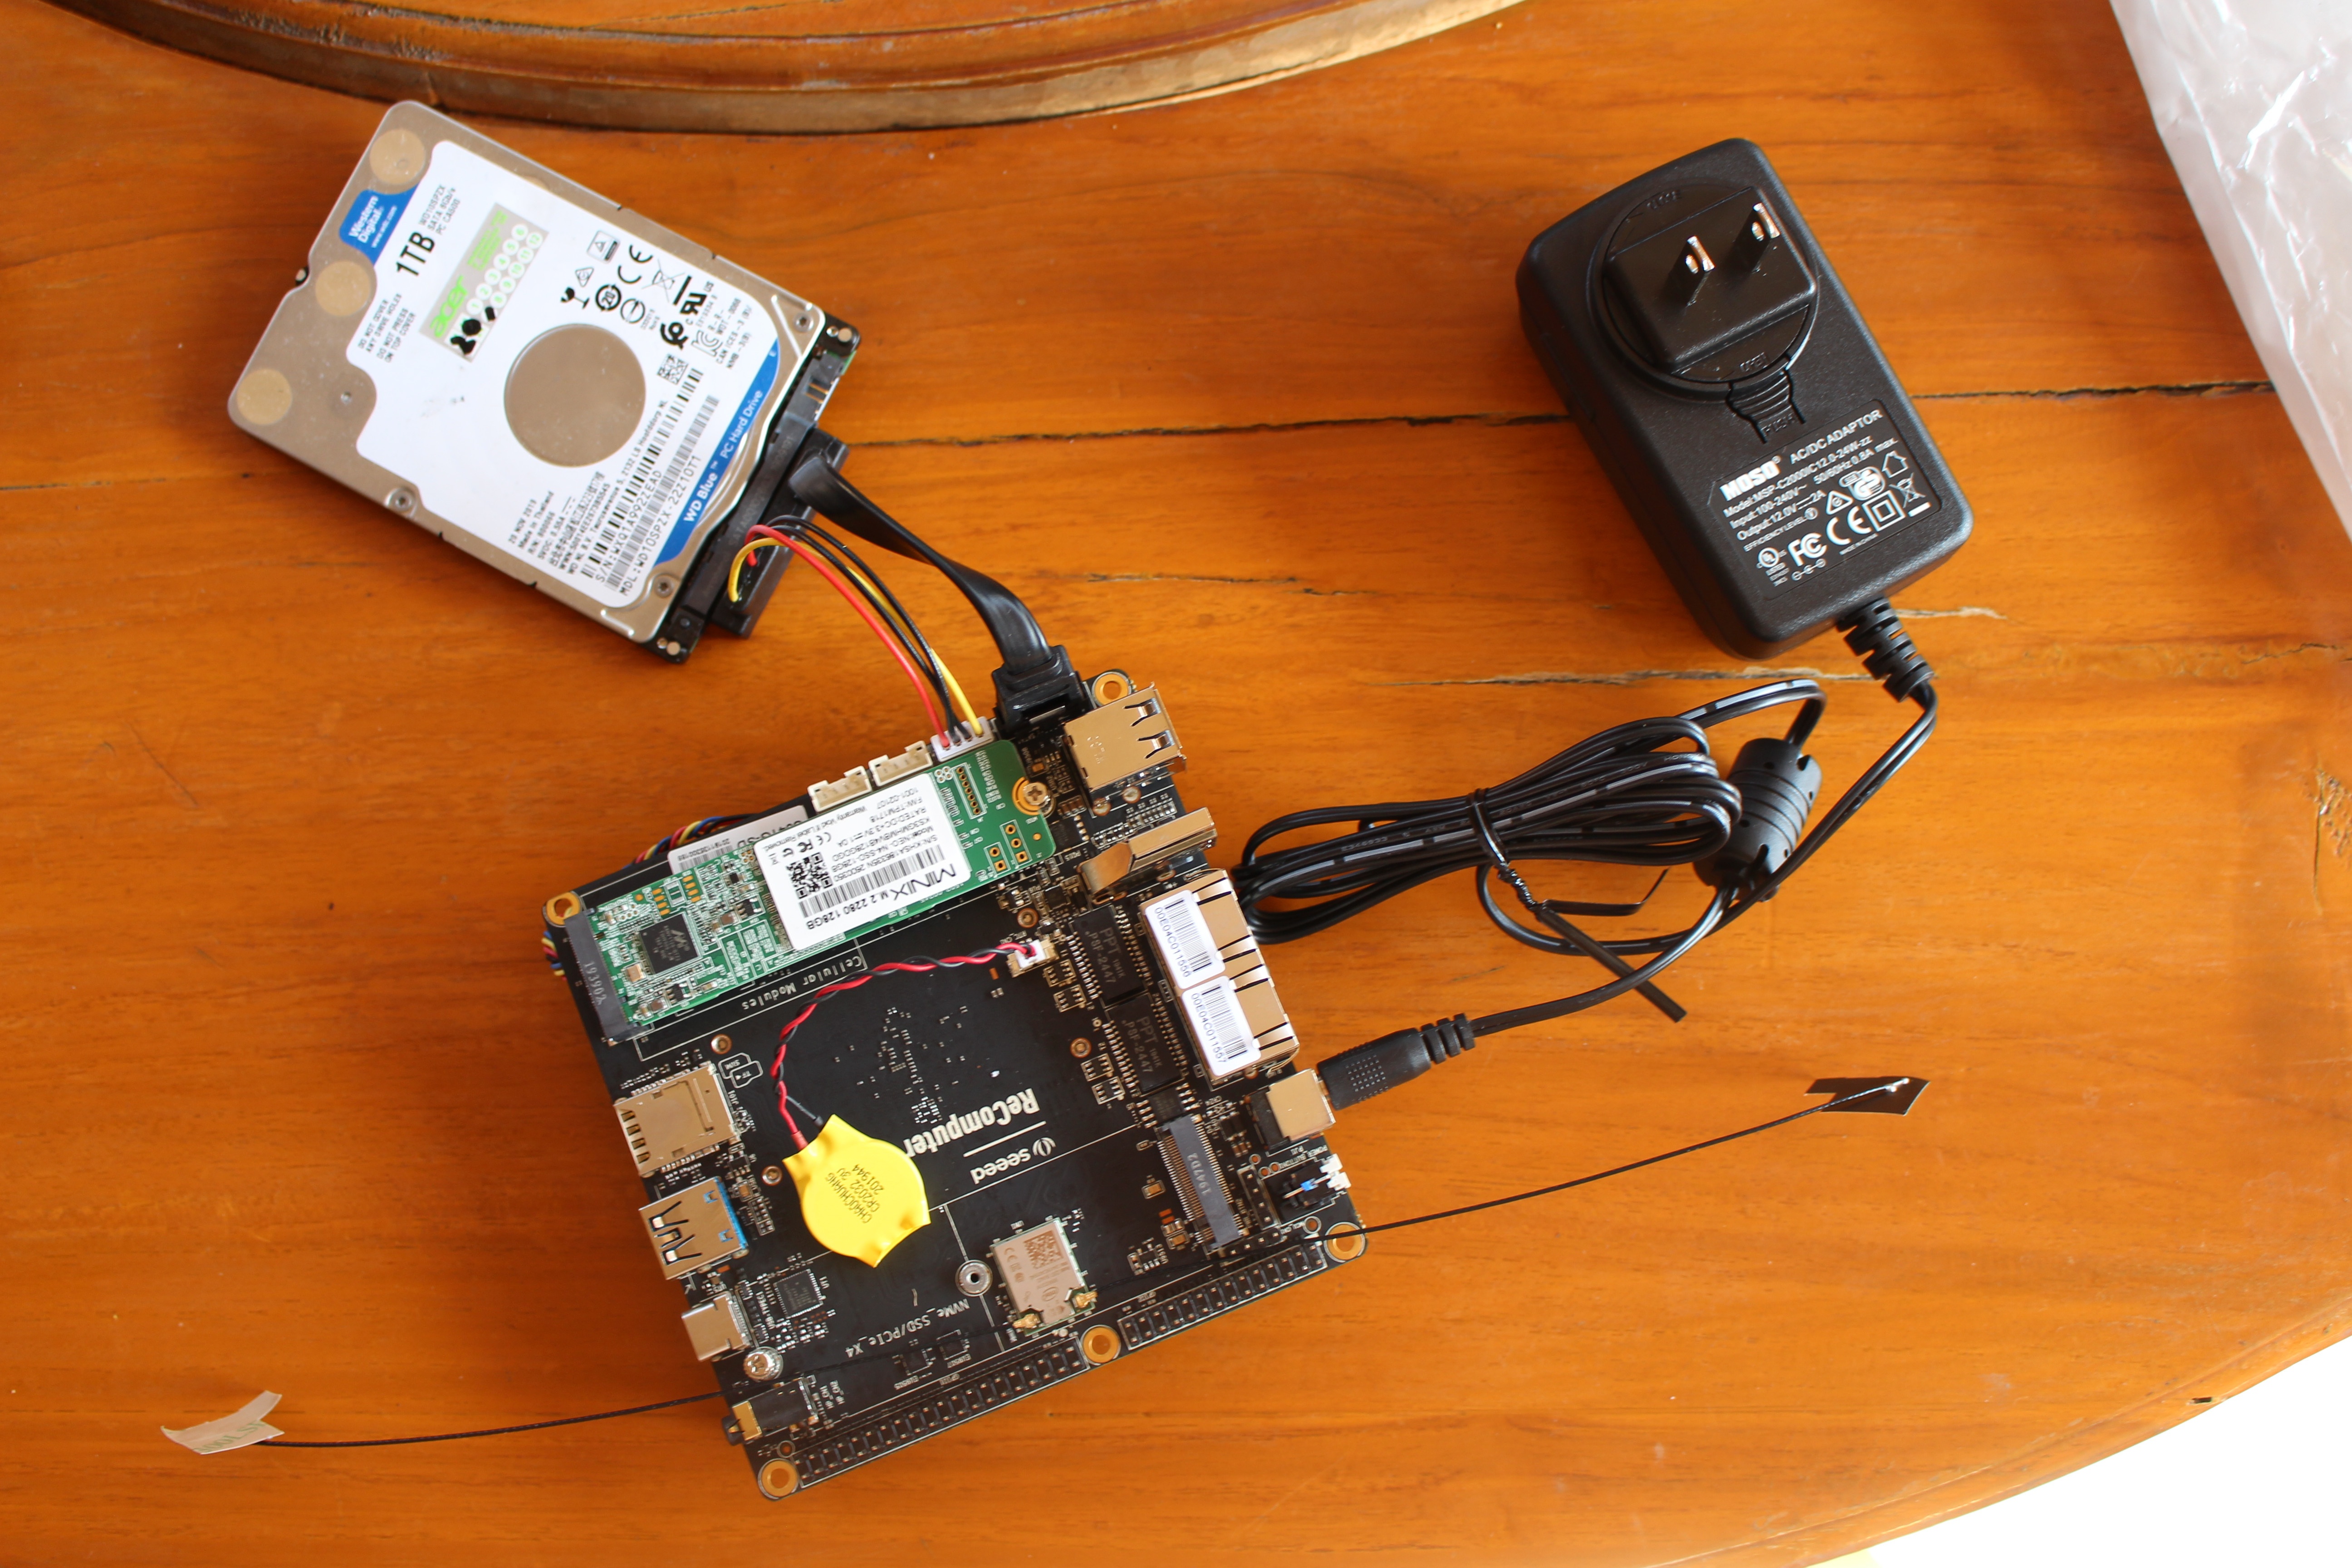
That’s a bit messy, and it would be nice if only there was an enclosure…
Re-Computer Case Unboxing
Oh! wait! What’s this? Re_Computer case which the company designed for its ODYSSEY boards…
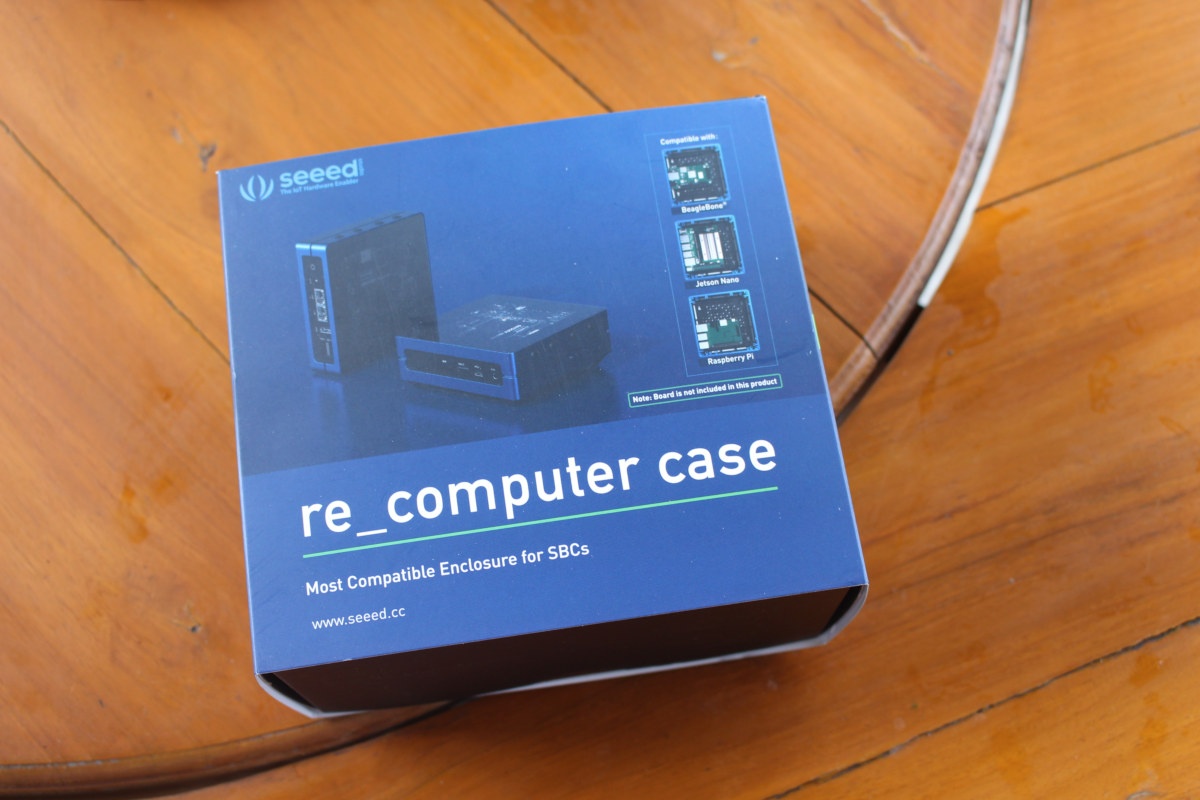
Nice! We can also see it’s compatible with Raspberry Pi, BeagleBone Black, and Jetson Nano developer kit.
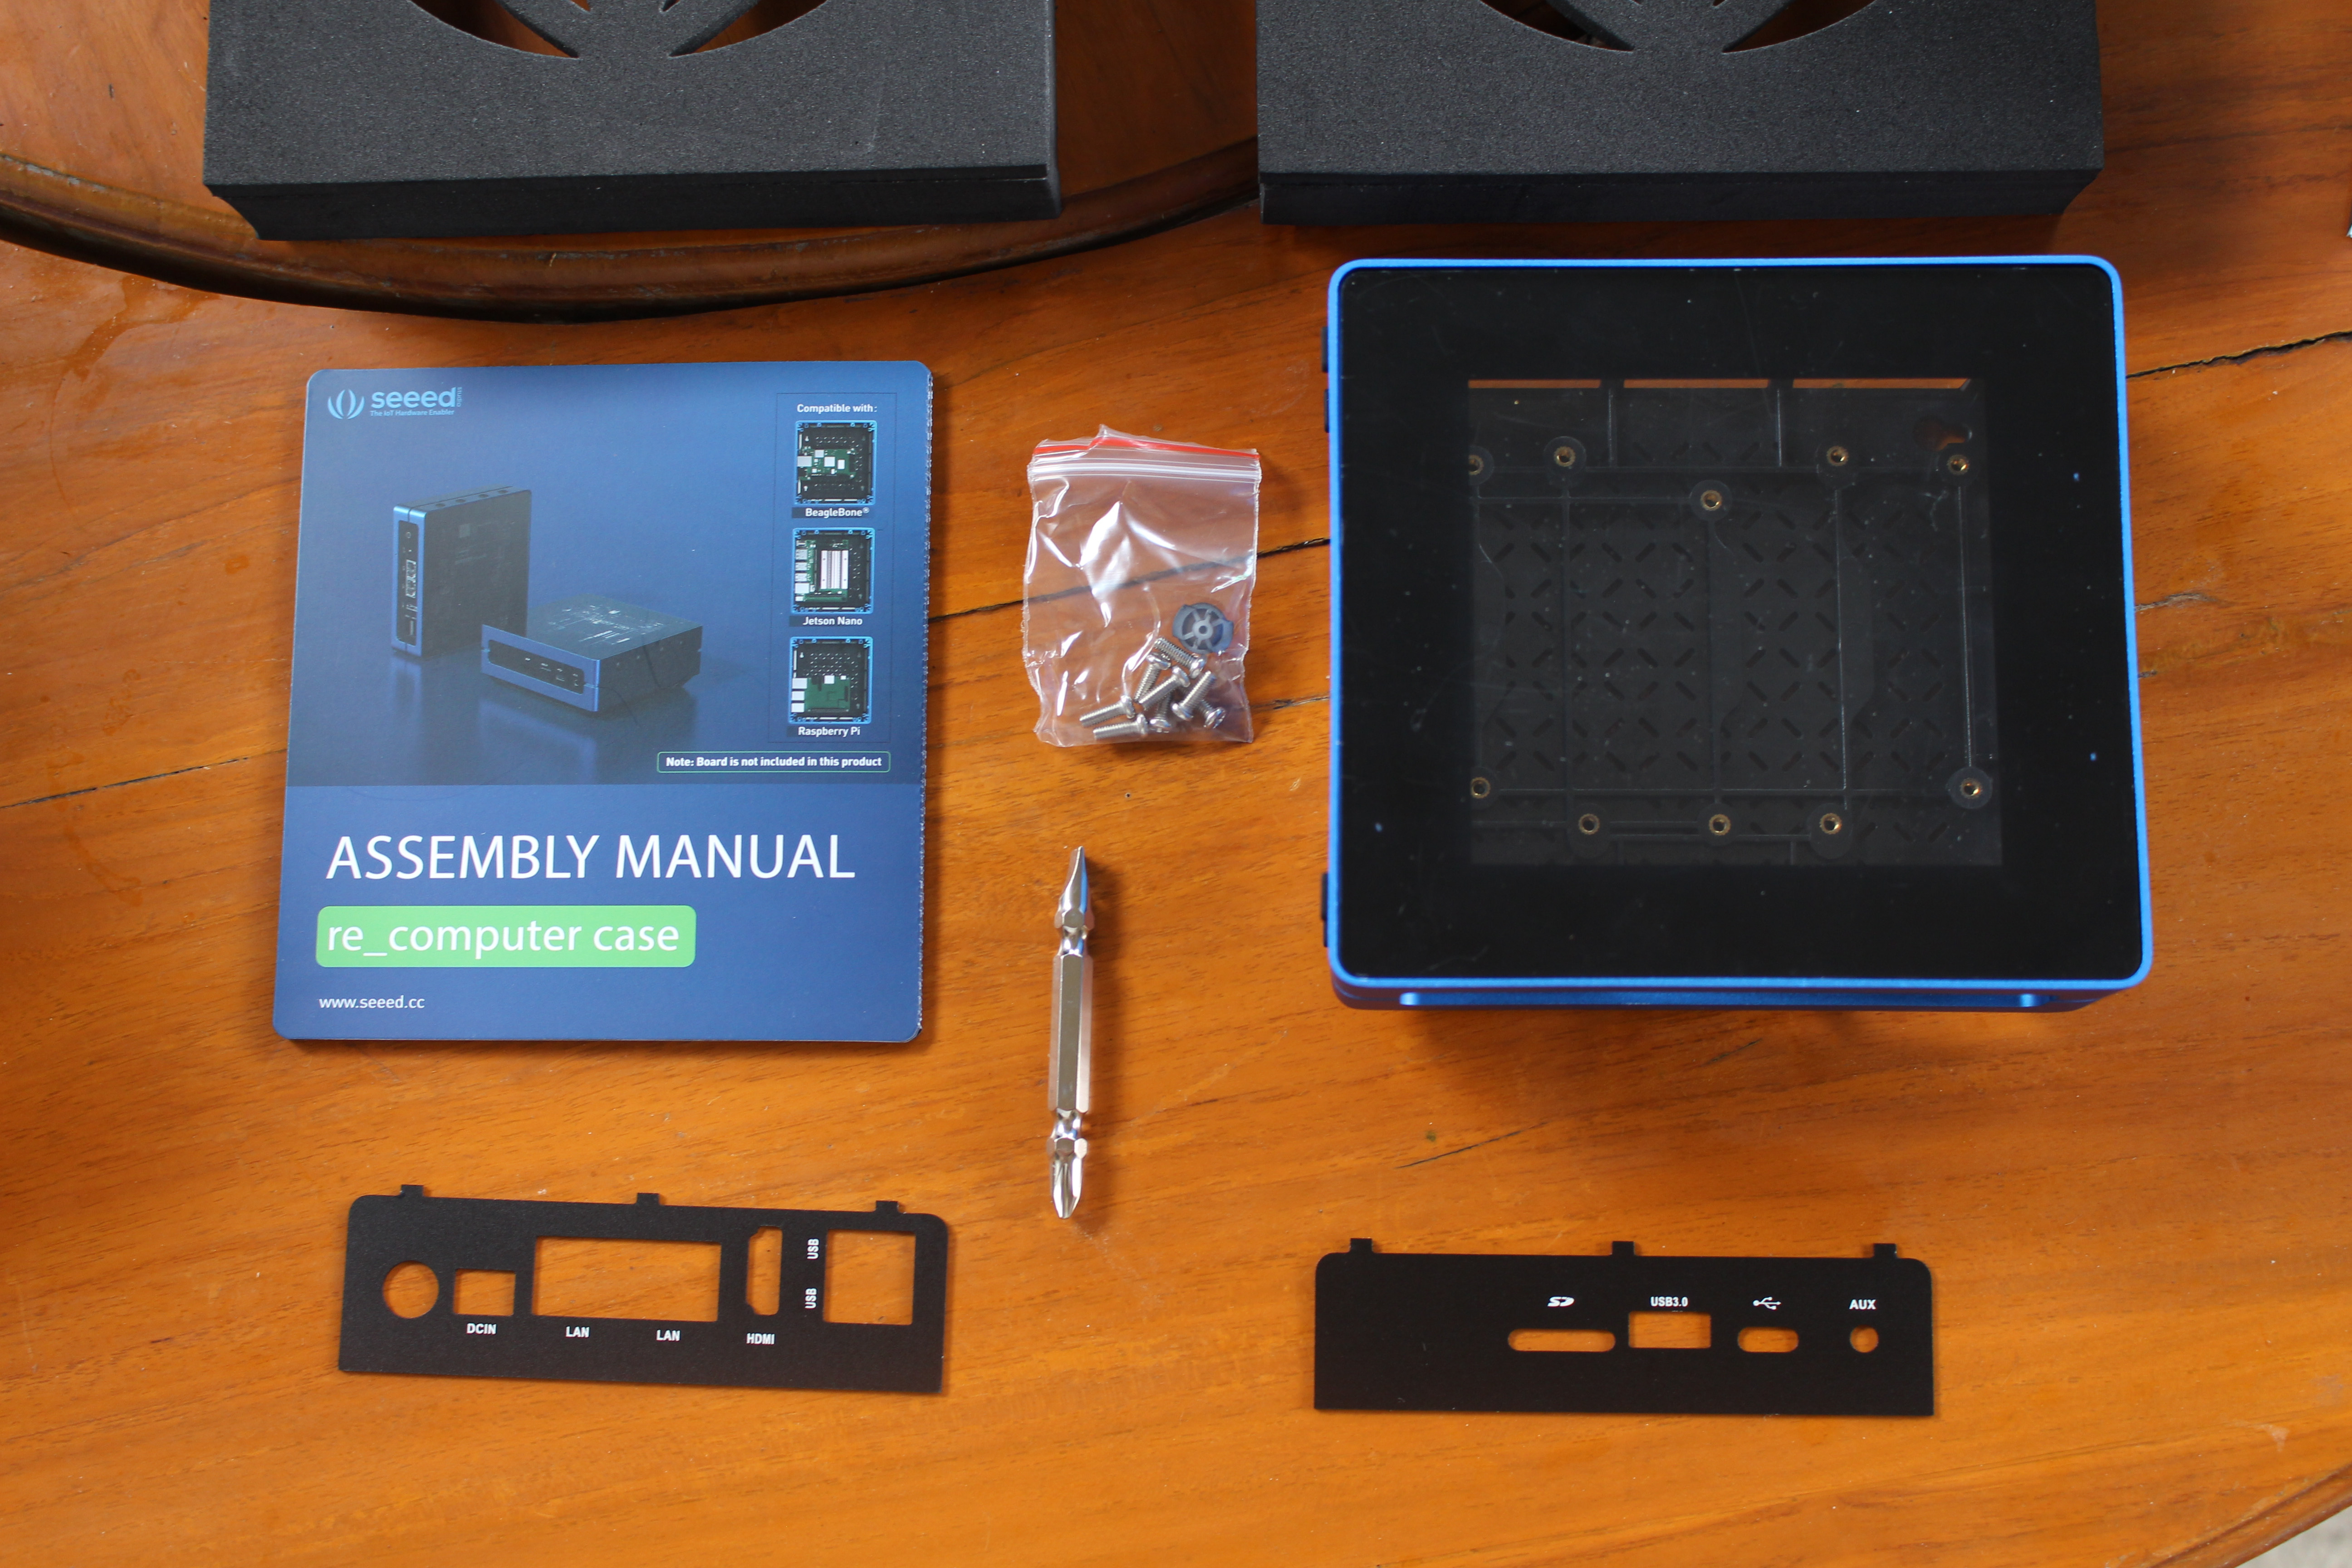
The enclosure comes with an assembly manual, a set of screws, a dual-head screwdriver, and two side plates specifically designed for ODYSSEY SBCs.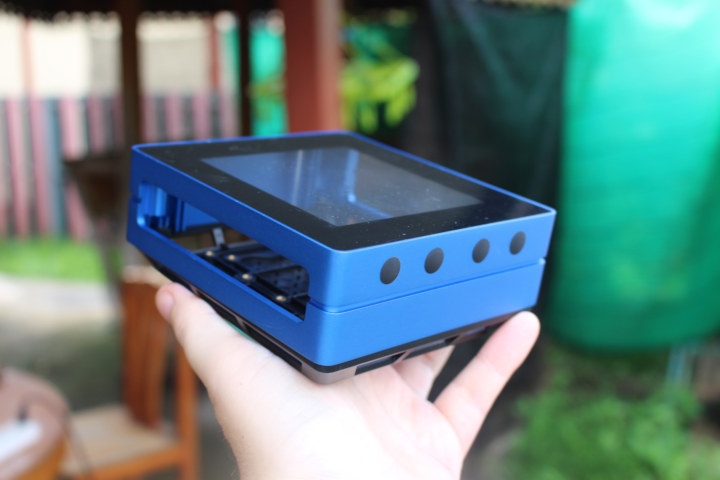
The case comes with two main openings for custom side plates, and one of the sides includes four antenna holes which are kept closed by black “pads”

The bottom of the case has plenty of ventilation holes for cooling.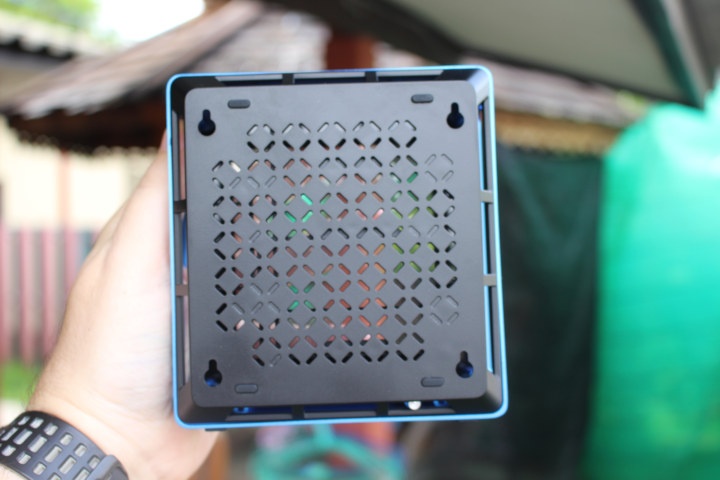
Re_computer Case with Raspberry Pi, BeagleBone Green, and Jetson Nano Boards
The main reason, Seeed Studio sent re_computer case is for ODYSSEY-X86J4105 SBC review, but I find having a box that works with Raspberry Pi, BeagleBone Black, Jetson Nano developer kit and the many other mechanically compatible boards attractive. So I dusted out Raspberry Pi 4 8GB RAM, BeagleBone Green Wireless with Grove CAPE, and Jetson Nano developer kit to check the case out.
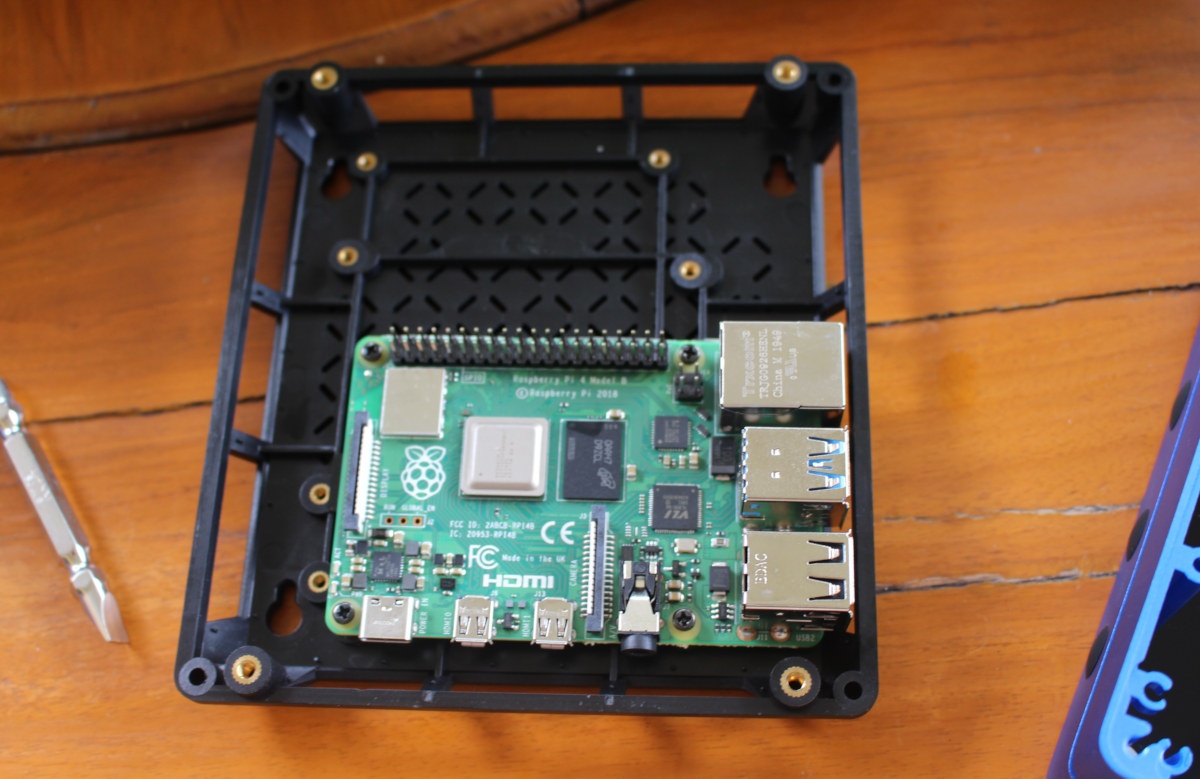
Re_computer case and Raspberry Pi
There aren’t any instructions to install a Raspberry Pi in the assembly guide, not on Seeed Studio website. But after a few trials and errors, I found the irght position.
Another disappointment is that the company though it was not necessary to include screws of those alternative use cases, even though they advertise support for all those SBC’s. I had to use screws from KKSB RPi 4 metal case.
If we place the top of the enclosure, we can see a little problem though. Spacers are needed.
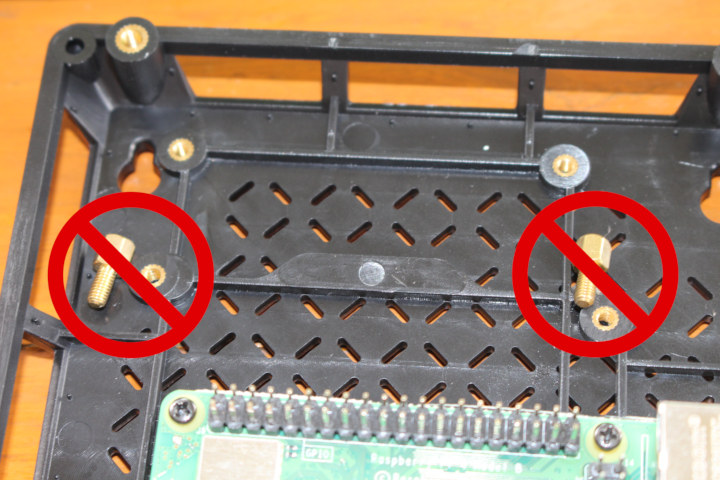
I have some spacers from my other projects, but sadly they are a little too big and won’t fit. I let the company know it was not cool, not too include those accessories with the enclosure… Seeed Studio quickly answered:
This case was originally designed for ODYSSEY X86, and we reserved the mounting holes for other SBCs in the backplate to make it possible to fit other SBCs. Then, through customers’ feedback, we decided to add compatible screwers for other SBCs in the next batch.
We will add the information for screws specs for other SBCs today.
We will also release the side place together with the standoff accessories with a very cost-effective price. Hope this will help all customers.
OK fair enough… I’ll link to the screw specs once available.
Re_computer case and BeagleBone Green Wireless
Let’s still continue our little experience this time with BeagleBone Green Wireless fitted with a Grove CAPE expansion board.
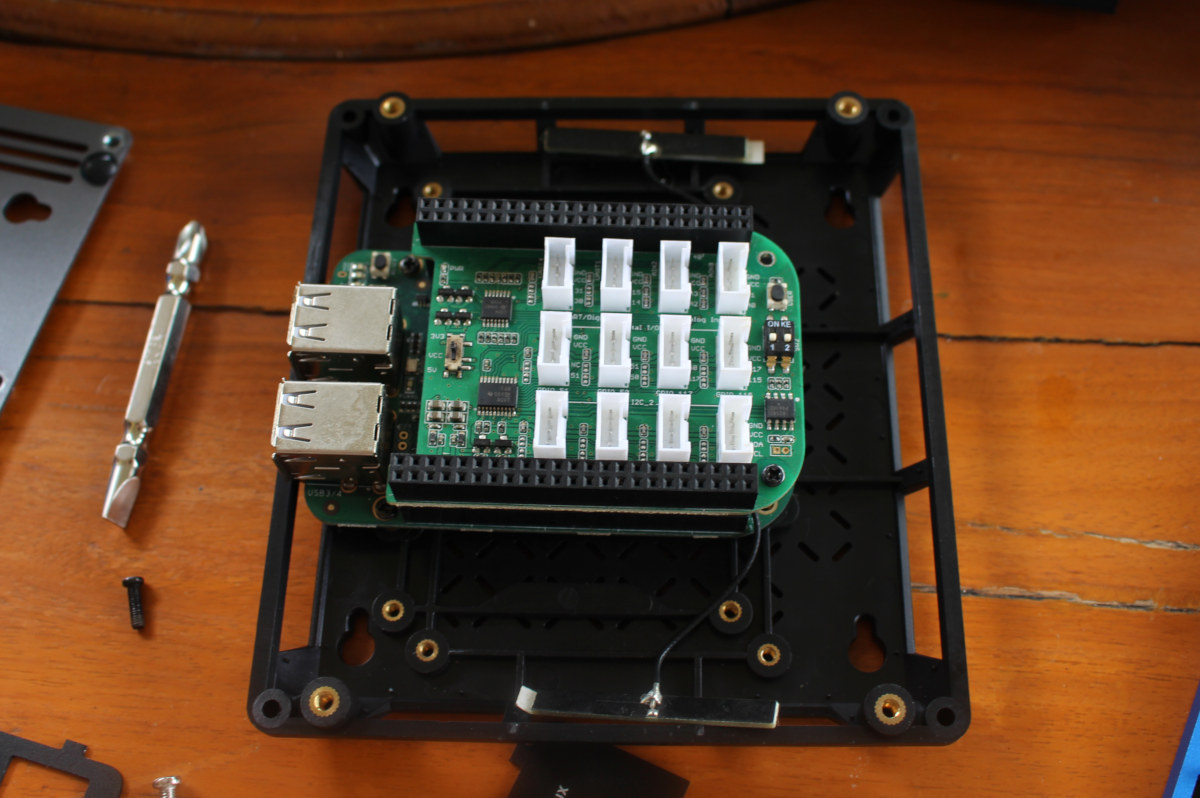
We can see there’s plenty of space above the CAPE, and even after including the extra spacers, this case will be suitable to use any of the BeagleBone Black compatible board with most CAPE.
Re_computer case and Jetson Nano Devkit
Next up is Jetson Nano developer kit. It uses almost of the 2D space of the enclosure.
There’s no problem to fit the board into the case even with the heatsink.
This brings me to the point that re_computer case does nothing for cooling, so that’s something you may have to consider. I still think it will be a great little for people wanting to quickly create prototypes with various SBCs once the company provides the right screws, standoffs, and potentially side plates.
Installing ODYSSEY-X86J4105 into Re_computer Case
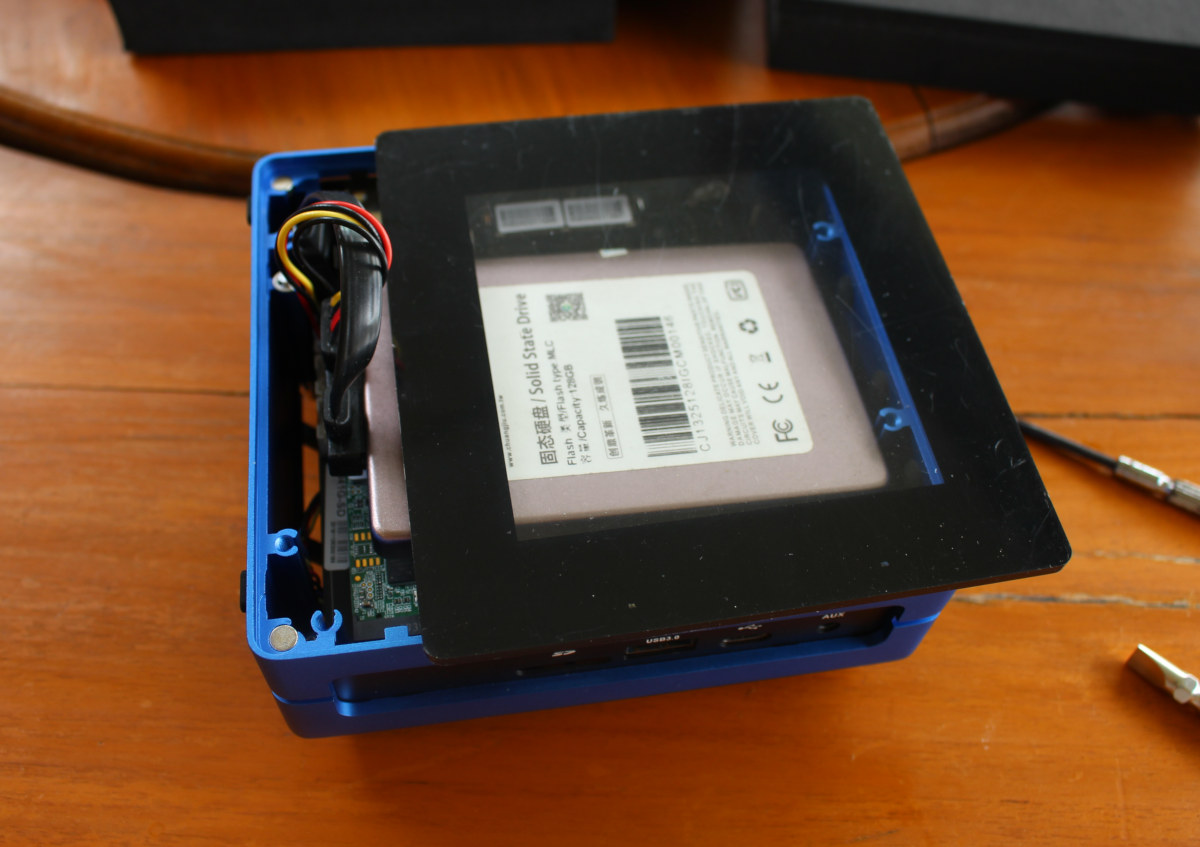
Time to install ODYSSEY-X86J4105 board into the case. We first need to remove the top acrylic cover that happens to be magnetically attached.
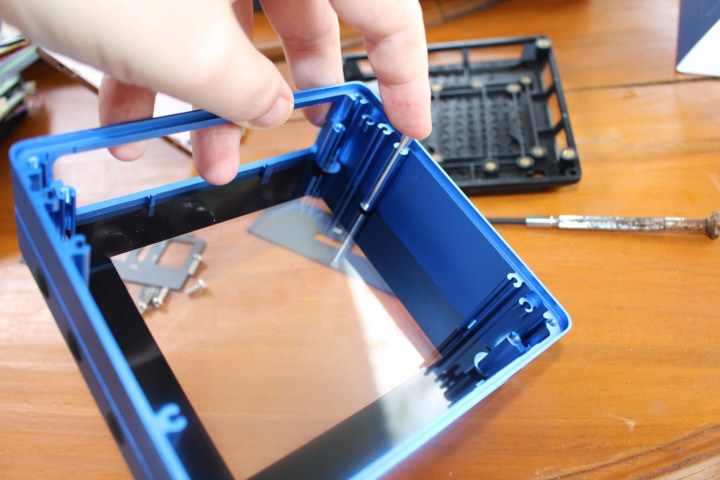
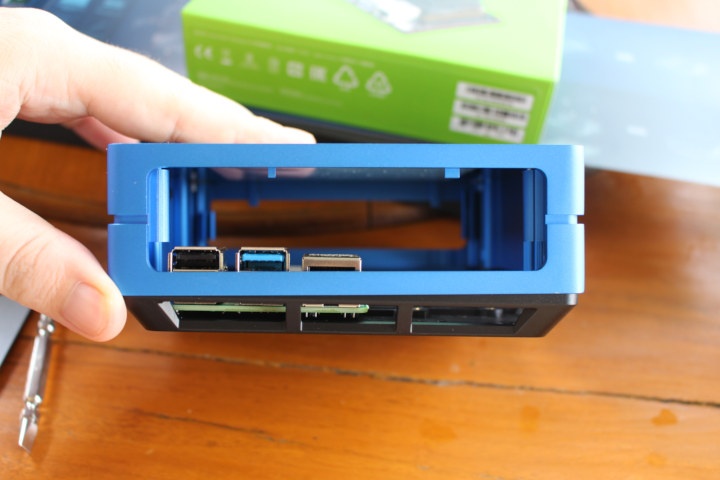
There’s a small metal rod that we can push to do so. Now we can insert the side plates as shown below. Don’t forget to add the power button as well.
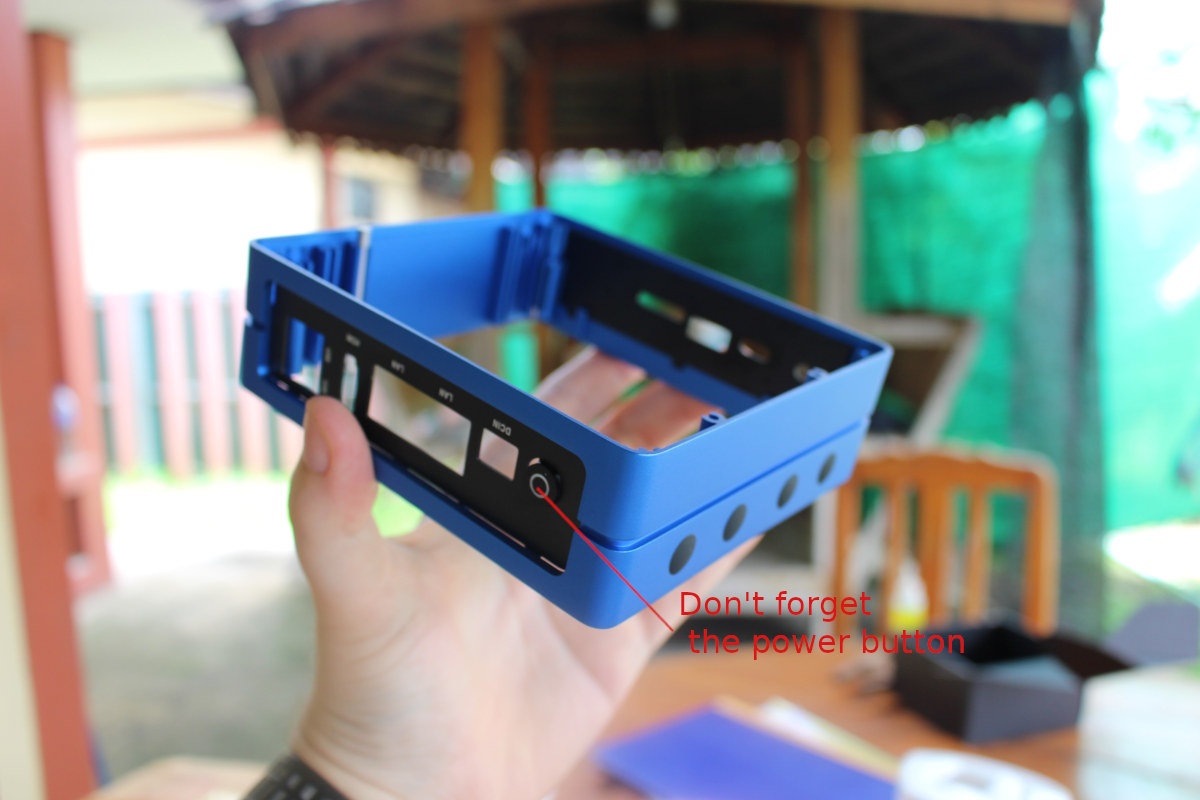
The first time I forgot, and I had to restart from scratch. Now place the case with the marking on the side plate facing down, insert the board, and tighten of four of provided screws to keep it in place.

Rotate the case 180 degrees to place it on the top of the black plastic base, and tighten the board to it using the four remaining screws. The magnetic head of the screwdriver is really useful for that part.

I thought maybe I could also add the 2.5″ SSD inside the board, but no luck. The SATA cable is a bit too high.
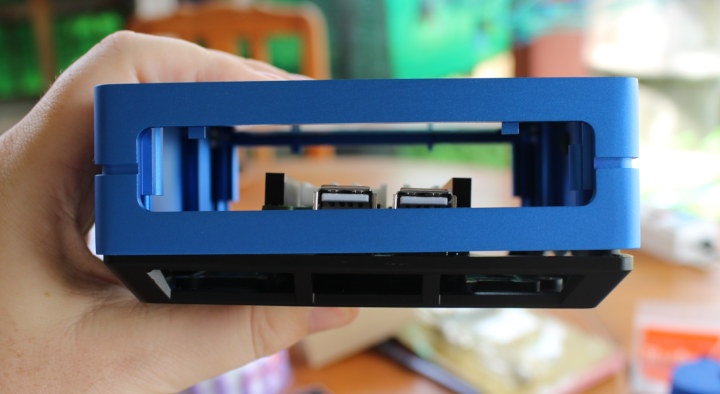
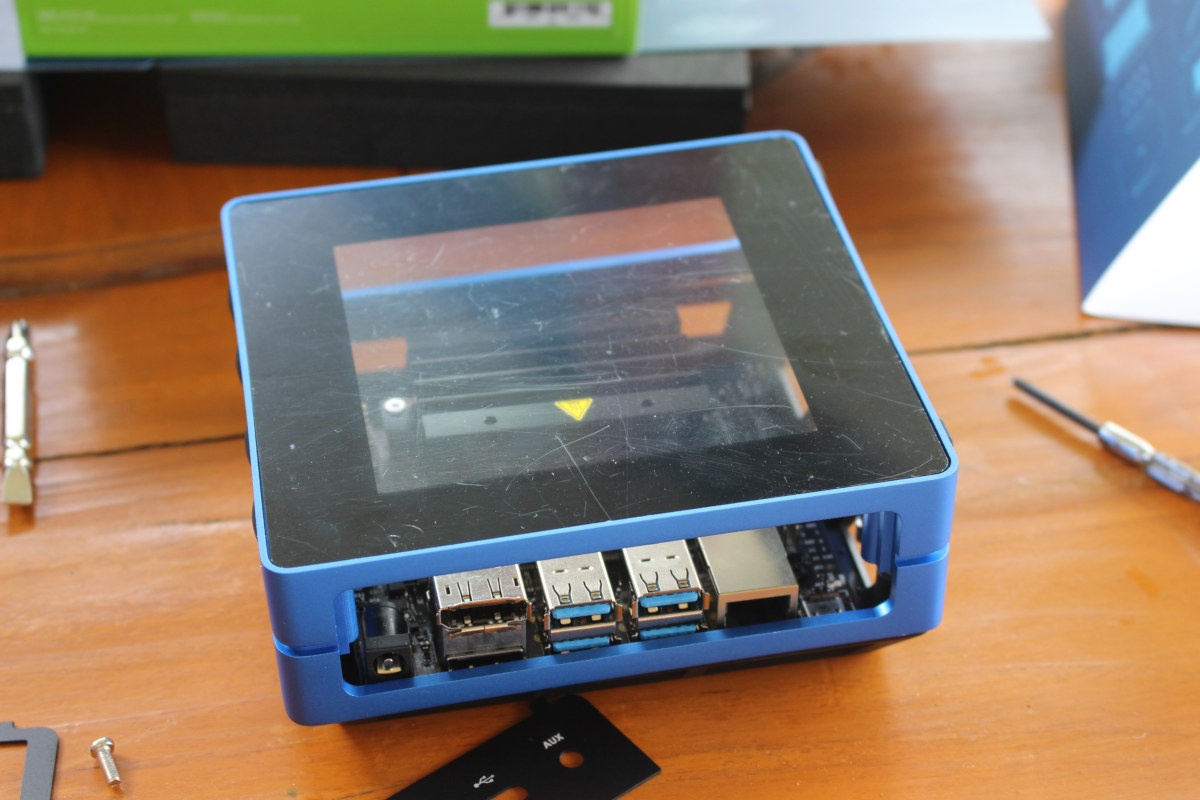
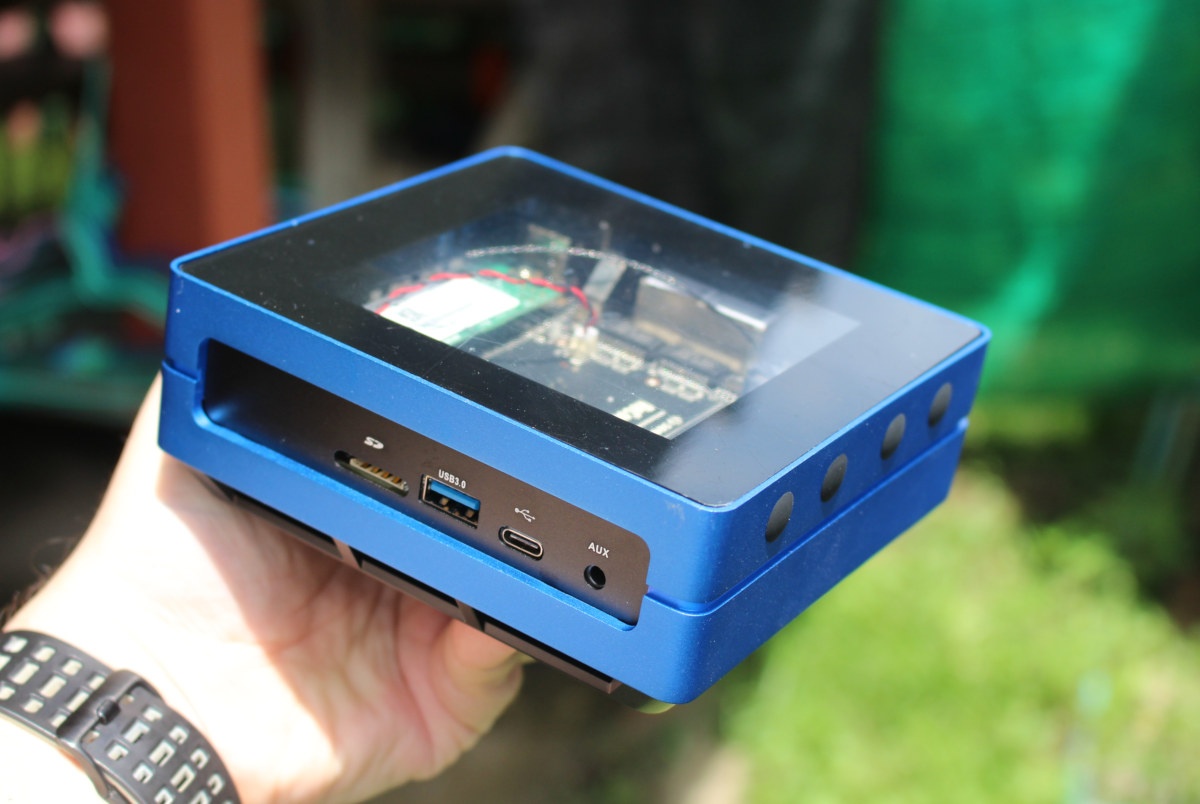
We’re almost done as the final step is to simply place the acrylic cover on top, and I have to say it’s quite a pretty enclosure.
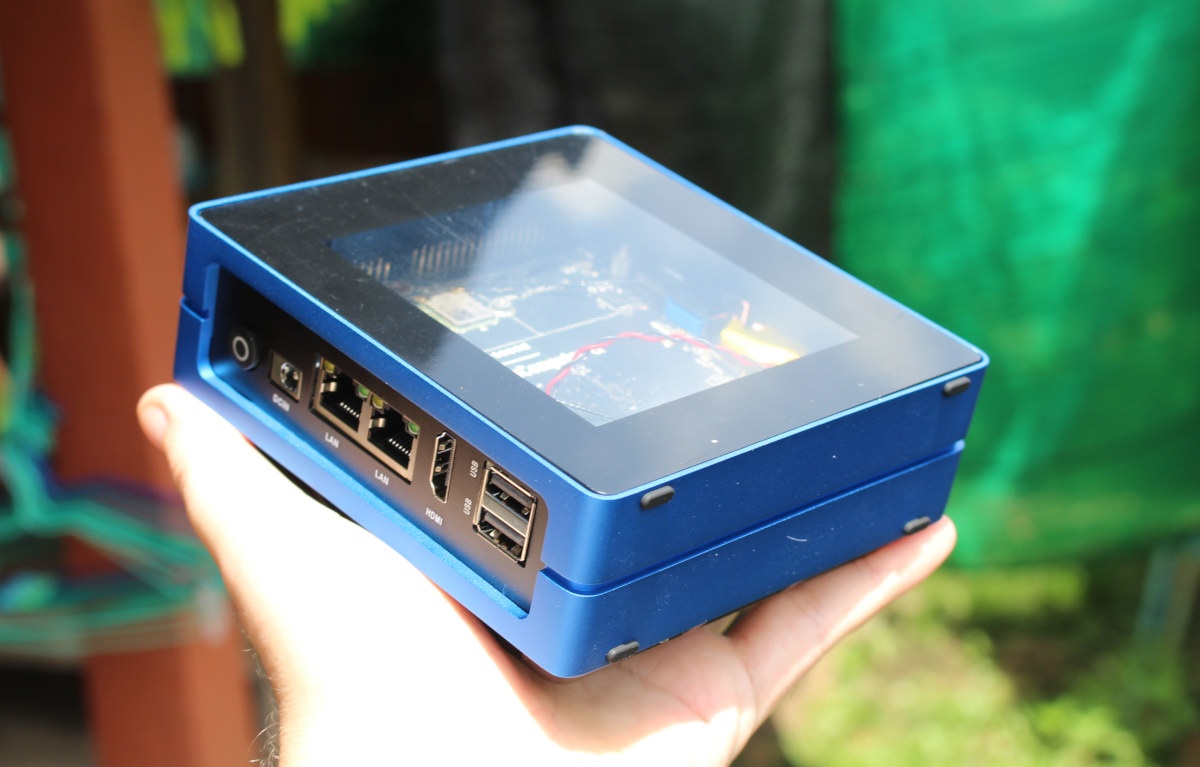
The metal rod is still easily accessible, so you’ll be able to open the cover to install/replace an M.2 card or access the GPIO headers. The short video below shows how well the magnets work and how to remove the top cover.
I’d like to thank Seeed Studio for sending ODYSSEY-X86J4105 SBC and re_computer case for review. If you are interested, you can purchase the board for $188 and up, and the enclosure for $19.90 on Seeed Studio. The board with a 64GB eMMC flash sells for $218, or $258 with an activated version of Windows 10 Enterprise. If you want to use the enclosure with Raspberry Pi or other SBC’s, I’d wait until the kits are ready in order to save on shipping, unless you are fine using your own standoffs and screws, as well as side plates.
Continue reading ODYSSEY-X86J4105 Gemini Lake & Arduino SBC Review with Windows 10 Enterprise. and ODYSSEY-X86J4105 SBC Review with Ubuntu 20.04 – Raspberry Pi & Arduino Headers Tested.

Jean-Luc started CNX Software in 2010 as a part-time endeavor, before quitting his job as a software engineering manager, and starting to write daily news, and reviews full time later in 2011.
Support CNX Software! Donate via cryptocurrencies, become a Patron on Patreon, or purchase goods on Amazon or Aliexpress


Comments should be working again… Let me know if you still have issues.
To the anonymous reader having an issue with:
Could you try to add ?ao_noptimize=1 to the end of the URL and see if it still happens?
Important: do not click on “# comments” (or any other links) at the top of the post, but scroll to the comment section before trying.
If it does not work, please let me know which files report the error.
I purchased 4 of these right after they were announced with plans to use for a Jetson Nano, a Beaglebone Enhanced and 2 boards with Raspberry Pi footprint. I was quite disappointed when I received them and there were no instructions, no details on what type of standoff was necessary to get the board to the correct height and no matching side plates. As delivered they are worthless for the intended purpose!
The ODYSSEY board looks quite good for what it is and since I saw it being reviewed by ETA Prime, I have had it on a list of possible purchases.
The case extras and guidance might well need a small amount of extra work and effort by the vendor but it does look good and the versatility seems quite unique for it’s potential uses, as well as seeming to be way better value than some of the more overpriced cases out there for the PI alone.
They’ll have a stackable layer in the future to allow for hard drives, higher expansion boards, and thick heatsinks…
https://www.cnx-software.com/wp-content/uploads/2020/07/re_computer_extra-layer.mp4
Bonjour Jean-Luc. J’ai reçu mon Odyssey samedi dernier directement pré-installé confortablement dans son joli petit boîtier bleu. Malheureusement après quelques tests, il s’avère que la sortie aux pose problème: le son ne sort que du côté gauche et pas du côté droit. (et je ne suis pas le seul à faire ce constat au vu du forum de SeeedStudio. Et leur support ne répond jamais sauf pour faire jouer le SAV) Dès lors, je vois trois possibilités: 1/ soit c’est simplement dû à l’épaisseur du panneau latéral qui empêche d’enfoncer la prise jack jusqu’au bout. (vice de conception du boîtier)… Read more »
Je ne suis plus en possession du mini PC, donc je ne peux pas teste la sortie audio.
Does ODYSSEY have a boot option for multiple boot Devices [emmc/m2/sata/usb3]?
This is almost double the price of Odroid H2+, which is J4115. Am I missing something? because I don’t see the point on buying this one :(.
Hmmm, that’s what I thought too at first view. But H2+ comes with no ram, no case, no storage, etc.
I have one of these, assembled.
I’m curious to know what the two black wires with the sticky tab ends are. They are connected to the motherboard on one end. Yours looks like mine, they are just hanging loose.
Any ideas?
This kind of thing makes me nervous. 🙂
I see from looking around that they are connected to the wifi/bluetooth chip, so now thinking they are for antennae. Less worried now but would still be happy to get a response.
Cheers!