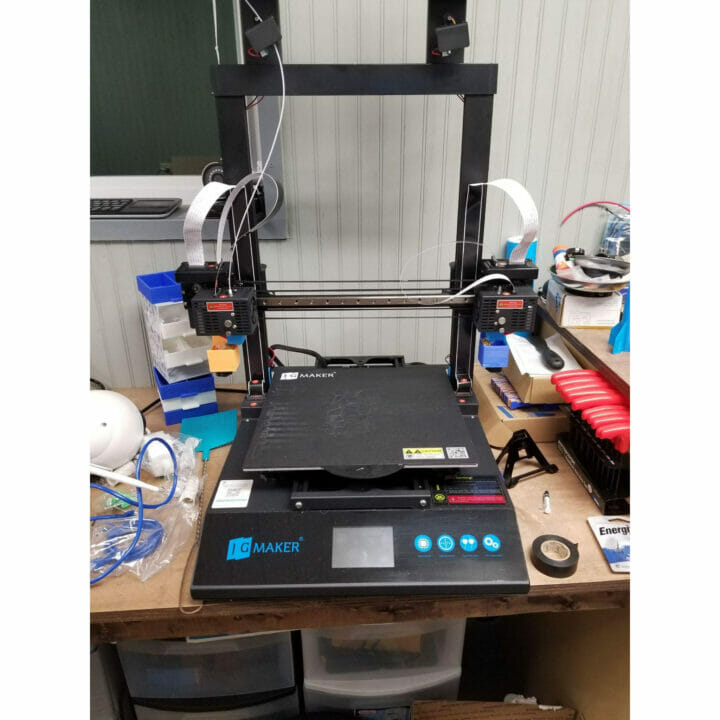
 Hey, Karl here for a new 3D printer review. Today we are going to look at the JGMaker Artist-D Pro. The Artist-D Pro is the successor to the non-pro version which debuted on Kickstarter and is an IDEX printer. IDEX is short for independent dual extruders and is a fancy way to say it has 2 complete hotend assemblies. From my perspective, the Artist-D was introduced with a lot of fanfare. I had several buddies back the original on Kickstarter and they seemed happy with it. But I didn’t see much value in it. I was thinking this was going to be just another printer that can print 2 different filaments. I have reviewed printers that had similar capabilities with one key difference being that they shared some common components. BUT…I quickly realized one aspect no one is talking about is speed during production runs.
Unboxing, build, and calibration
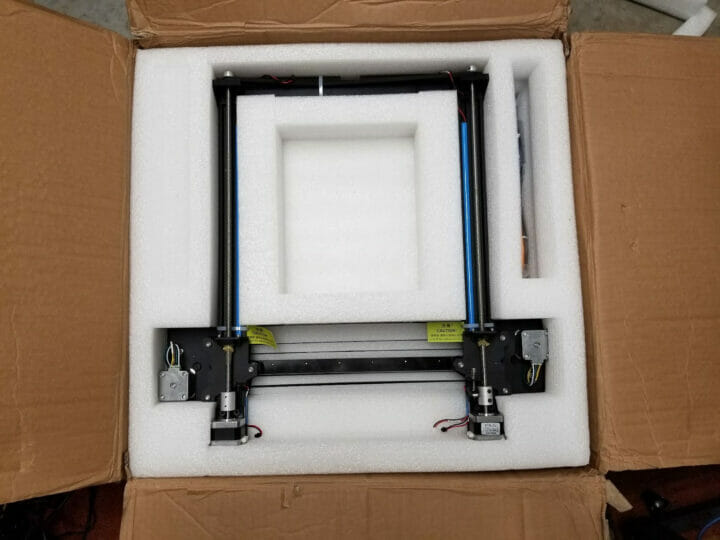
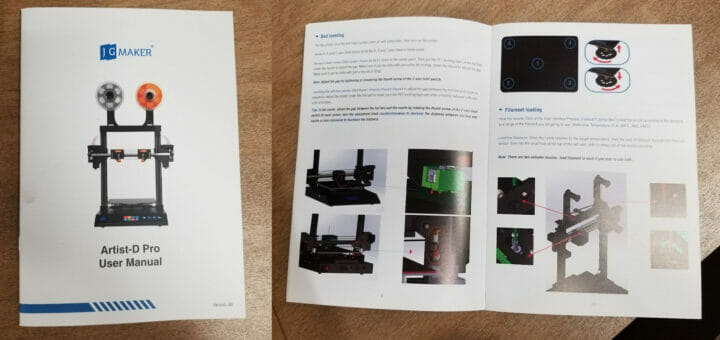
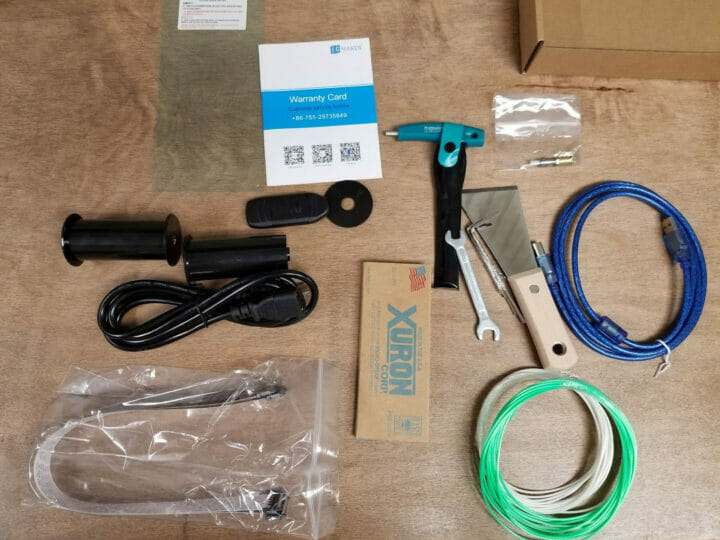
The Artist D Pro comes mostly assembled and the instructions were fairly good. It doesn’t take long to put together a mostly assembled machine like this. I still remember my first kit. It took me about 8 hours to build and then another 2 hours to wire manage. I couldn’t imagine doing that again. Just a few bolts, electrical connections, and a few odds and ends and the build is complete.
After building any printer with aluminum extrusion and wheels, I have come to expect to tighten eccentric nuts, tighten belts, etc… In addition to the normal once over, I had to tighten the 2 extrusions the bed rides on. I moved the bed back loosened the 2 bolts holding the extrusion in place and pushed them apart. Then tightened the bolts again. Then repeat the same process on the 2 rear bolts. I tweaked the eccentric nuts and this resolved the bed issue. I then trammed the bed to the first nozzle.
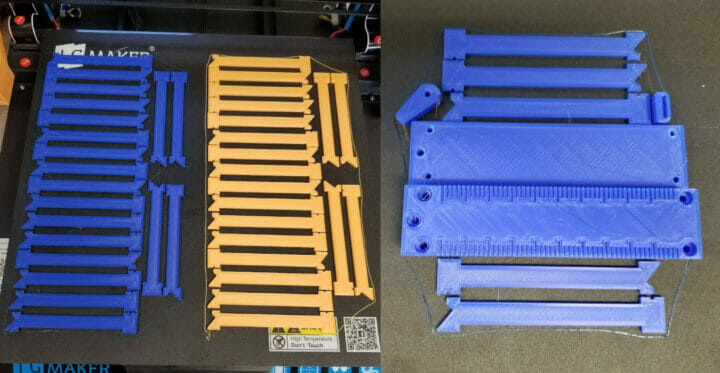
 1 more item to go. The printer nozzle offset did not come set from the factory. I assume that this is by design. The offset is to ensure the 2 nozzles can be lined up perfectly in 3D space when both hotends are used on single prints. There are instructions on how to set it in the manual. There are 2 models on the USB drive as part of this calibration process. As soon as I saw the models and read through the instructions I immediately resized the models to an appropriate size. I shrunk down to 1mm thick. They were like 10 mm thick. No need to waste that much filament and time. It took me 4 tries and about an hour. I misinterpreted the manual and went the wrong way on the x and y-axis the first time. Relatively easy and painless to calibrate. You can see my mistake on the x and y-axis. I doubled back on the 3rd and finalized on the 4th.
I lied, 1 more thing to do. I use my calibration tool to find the best retraction settings. I have been getting some posts on the Facebook group with unreadable results and haven’t been able to get to the bottom of why sometimes it does not work. Finally, I received a printer that the default settings didn’t work out of the box. I wasn’t getting good results and narrowed it down to temperature. I reran the test 10 degrees cooler to get readable results.
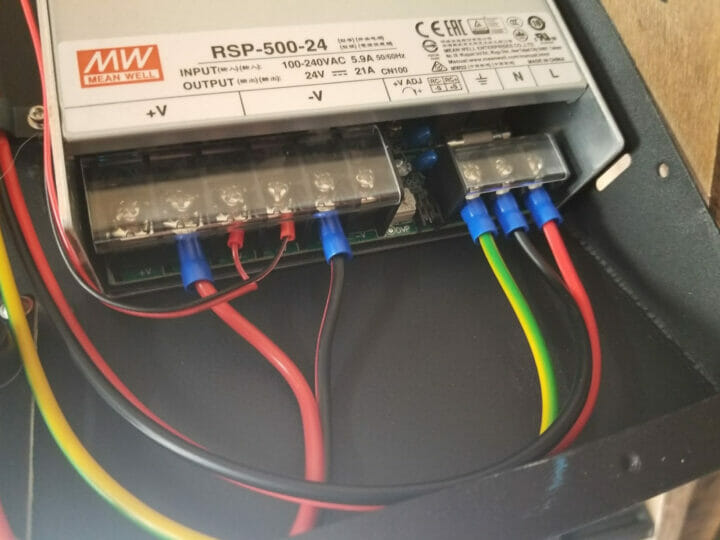
JGMaker Artist-D Pro Teardown
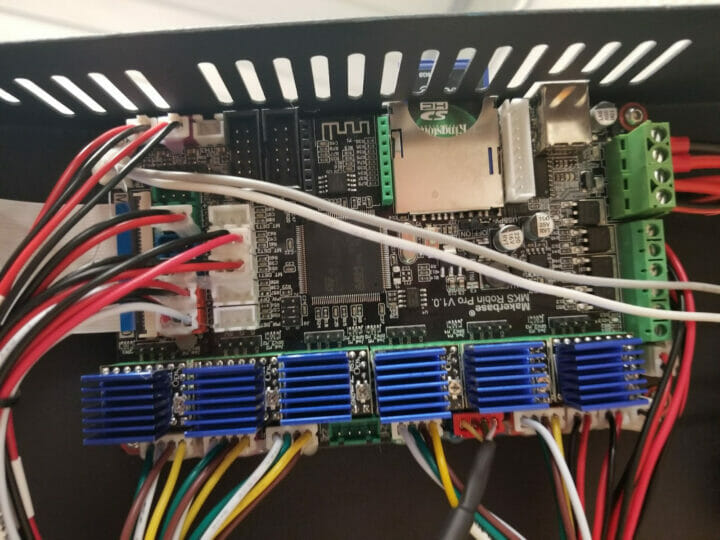
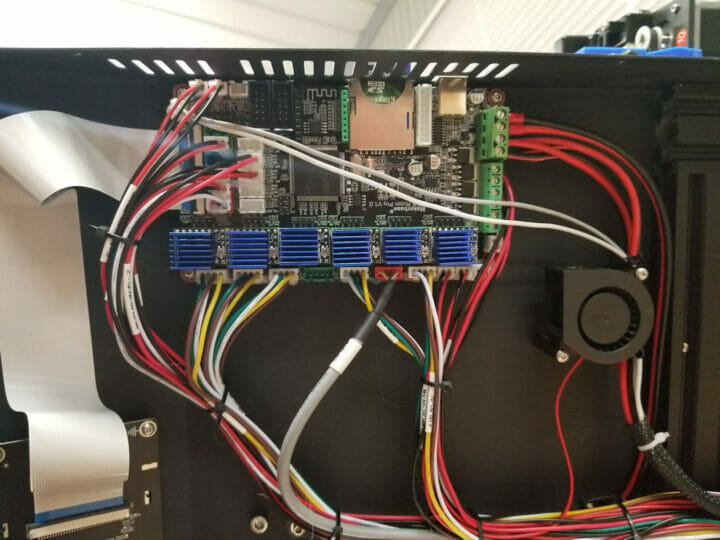
MKS Robin Board. Exceptionally tidy in here. I would say the cleanest I have ever seen.
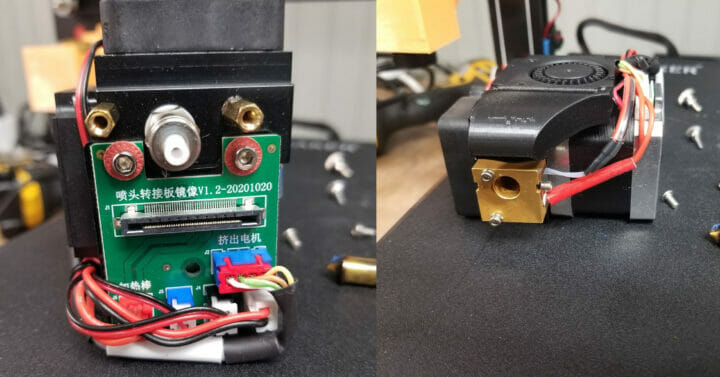
The hotend assembly is unique. They have a proprietary nozzle system that allows for quick changing nozzles. I purchased some larger nozzles but have not used them yet
Production Machine
I have been 3d printing for quite some time now and almost 100% of the time I use the printer as a tool now. Printing 2 colors is of no interest to me anymore. But what if I told you this printer can print twice as fast as most other printers.
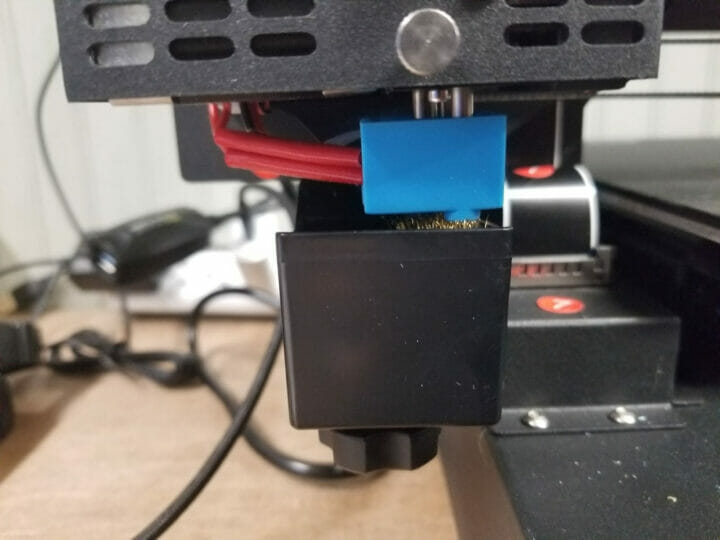
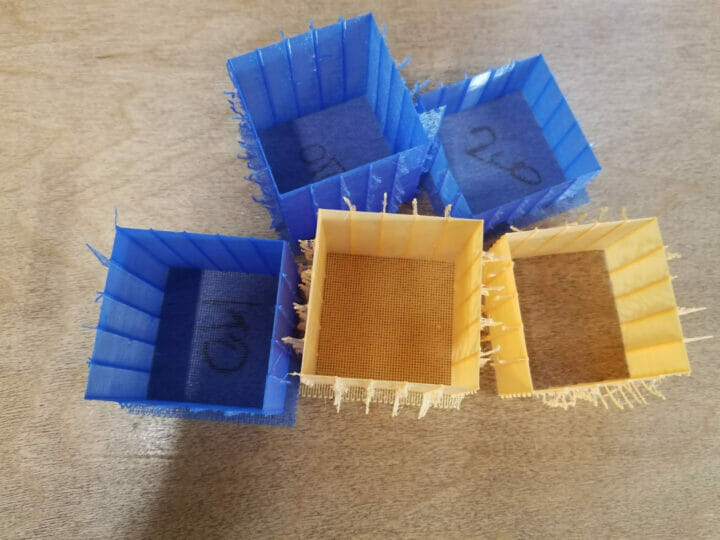
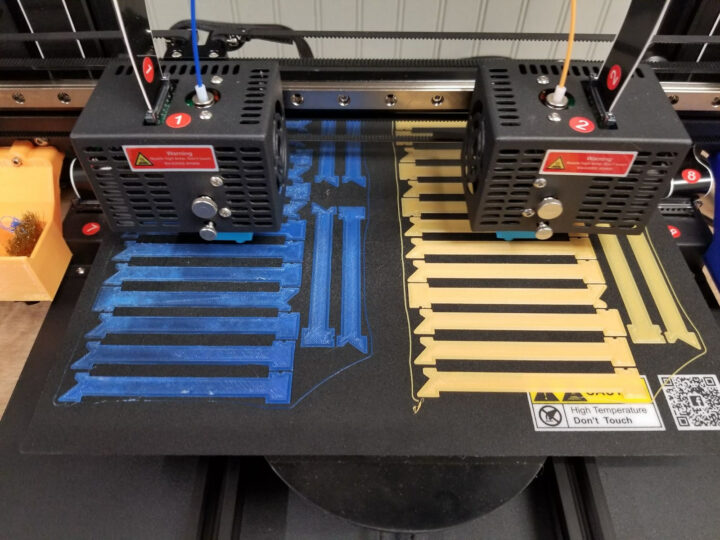
Above you can see the nozzle in the parked position. It rests directly on metal bristles and I could tell that it had the potential to be messy with a hot nozzle resting in bristles with oozed filament in it. I was right and It ended up causing fine wisps of filament between the purge bucket and the model being printed. I went to trusty old Thingiverse and found my buddy already created a replacement purge bucket. He only modeled the left side and I was able to use one of the first special modes of an IDEX printer. That is mirror mode. In the menu of the printer, there is a place to choose the mode you want. In mirror mode whatever you set to print with extruder 1 will be mirrored on the second extruder. I just pushed the model to the left side of the build plate in my slicer. I did go a little further than I needed but I was being cautious. It printed brilliantly and this is when I had the aha moment. I started conservative @ 60mm/s and essentially I printed twice as fast because both nozzles were going at the same time. There is a gotcha with this. If you recall the nozzles aren’t perfectly lined up on the z-axis. I had to drop the left side of the bed to account for this. I went a little too low initially and got a little lifting off the bed as you can see in the picture.
Interesting Print
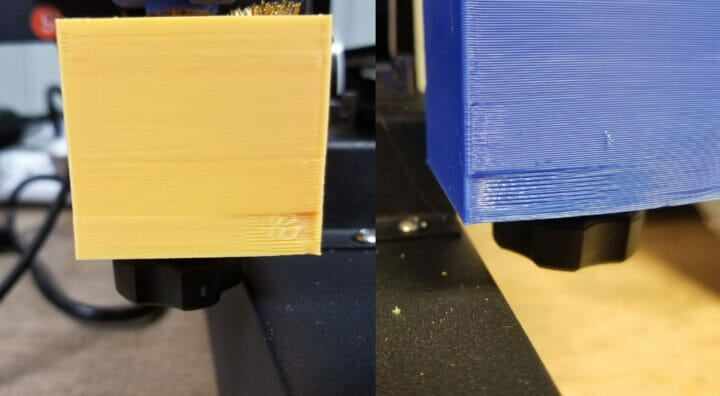 After mounting the new purge buckets I noticed something peculiar that was perfectly mirrored in the print. In the past when I saw this I assumed it was just the model….or the slicer did something wrong. After a little troubleshooting, it turned out the extruder steps were not calibrated. It was off a lot. And this unearthed an issue. The extruder is not consistent. When calibrating my e steps repeatability was an issue. When testing and telling the extruder to extrude 100mm of filament I would get a +-5mm delta.
Artist-D Pro sample prints
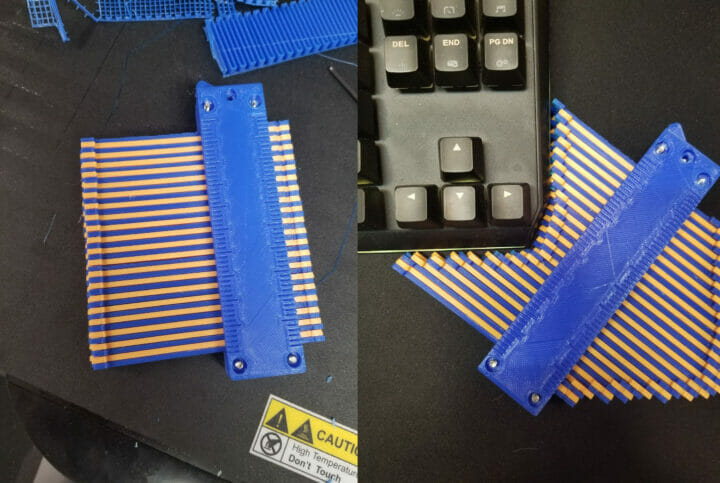
I was looking for something to print and my son showed me this corner finding contraption video. I was curious if someone made one for printing and again Thingiverse to the rescue.
It is not really functional but a neat little toy. Just doesn’t have the resolution necessary to use it seriously.
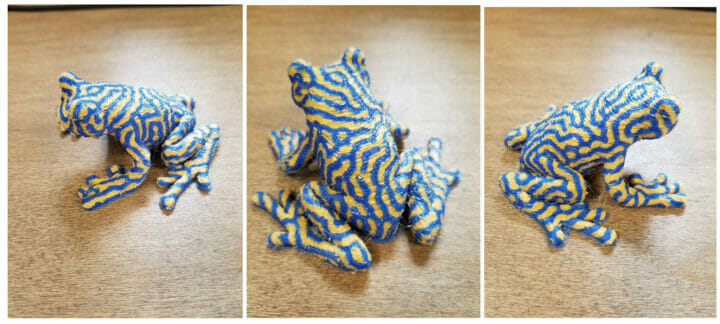 I printed this tree frog again. Turned out ok. Definitely, the fastest I have printed. No need for a purge block with an IDEX. I don’t think I had retraction dialed in at this point.
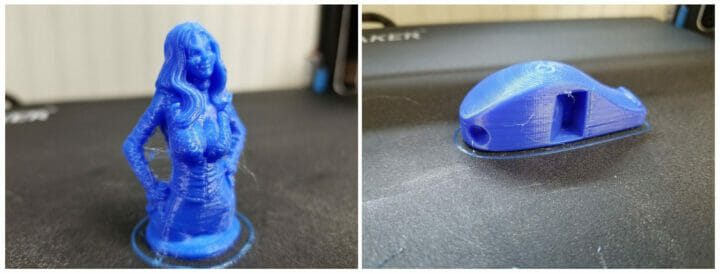
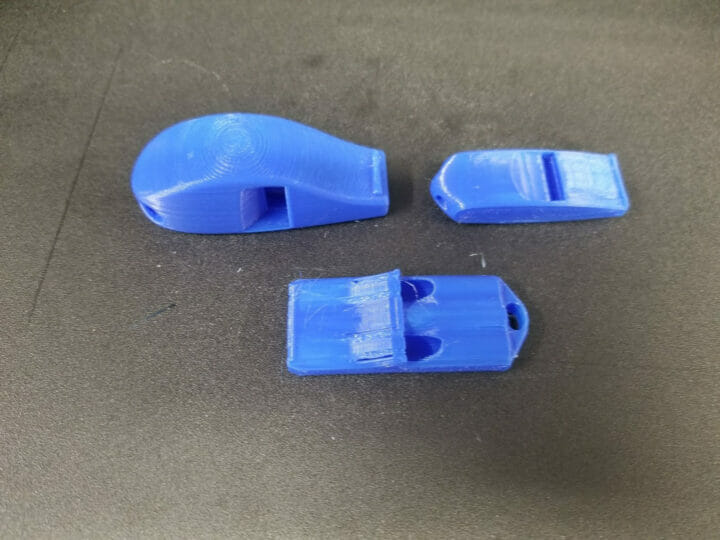
Some more random prints. It prints small pretty well.
Final thoughts
IDEX. I like it. I can see a bunch of potential with it. Of course, with any dual nozzle printer, there can be big challenges to overcome. There is a lot more complexity. But my mind wanders. This makes me want to make a 4 nozzle printer for kicks. Not totally independent like an IDEX. I am suggesting sharing motion to only achieve duplicate mode. I can see printers like these used in printer farms. If the printer could achieve a 45-minute benchy. That would put it in the realm of 11.25 minutes a benchy….Which is very respectable. See Speedboat Challenge.
I am a little disappointed. I would hope there would have more fixes applied before releasing a newer version. I am not the only one who had these hiccups. Like I always suggest joining a Facebook group for a while before making any decisions. On the flip side, you have to keep an open mind. There is always disproportionately more negative feedback.
I would like to thank JG Maker for sending over the Artist-D Pro for review. It can be found on Amazon currently $600 but has a $60 coupon available. Or direct from JG Maker here currently $529.
Karl is a technology enthusiast that contributes reviews of TV boxes, 3D printers, and other gadgets for makers.
Support CNX Software! Donate via cryptocurrencies, become a Patron on Patreon, or purchase goods on Amazon or Aliexpress


