
Valve recently released information about developing for the Steam Deck if you didn’t have a Dev-Kit which is an engineering verification test build (EV2) version of their device. Included in the documentation is a suggestion to build your own Steam Deck, or ‘hackendeck’ using a mini PC. Whilst I didn’t have the exact brand they picture in the article I did have a mini PC with the required specifications so I set about following the instructions to see how it performed.
Hardware Overview
Valve’s documentation under ‘Performance’ states that ‘if you are really interested in finding a PC for testing that will perform similarly to a Steam Deck … there are a few options out there and then goes on to suggest a mini PC with the following ‘roughly similar specifications to a Steam Deck’:
- AMD Ryzen 7 3750H
- Radeon RX Vega 10 Graphics
- 16GB of DDR4 RAM
This exactly matches the Beelink SER3 I reviewed recently and on which I also tested gaming in Windows. Rather than use the device as sold which comes with only one 16GB stick of 2666 MHz RAM I swapped it out for two sticks of 8GB 2666 MHz RAM to give me the same total of 16GB memory but running in dual-channel.
For ‘Input’ Valve suggested a controller and whilst they recommended that ‘using a PS4 or PS5 controller will give you the best coverage for the kinds of input Steam Deck … an Xbox controller, Steam controller, or Switch Pro controller will work as well. I haven’t used a controller for years and even then I gave up in favor of the keyboard however I still had my old Razer Onza Tournament Edition which is a third-party Xbox 360 controller.
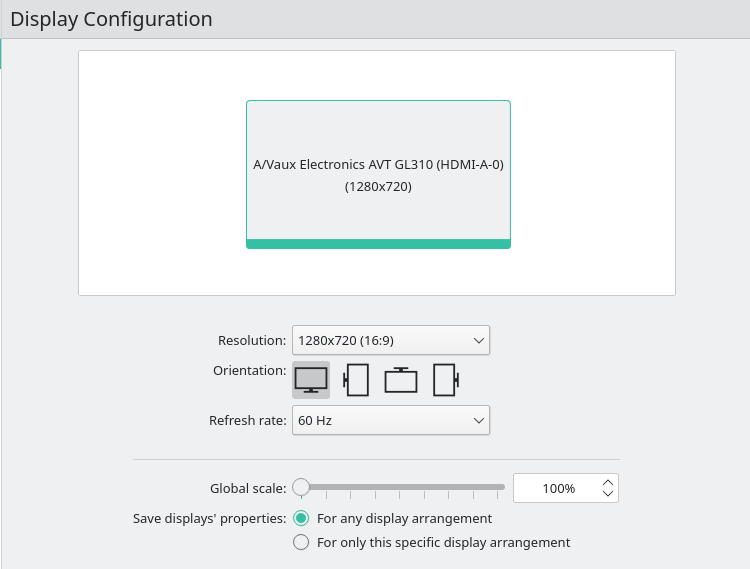
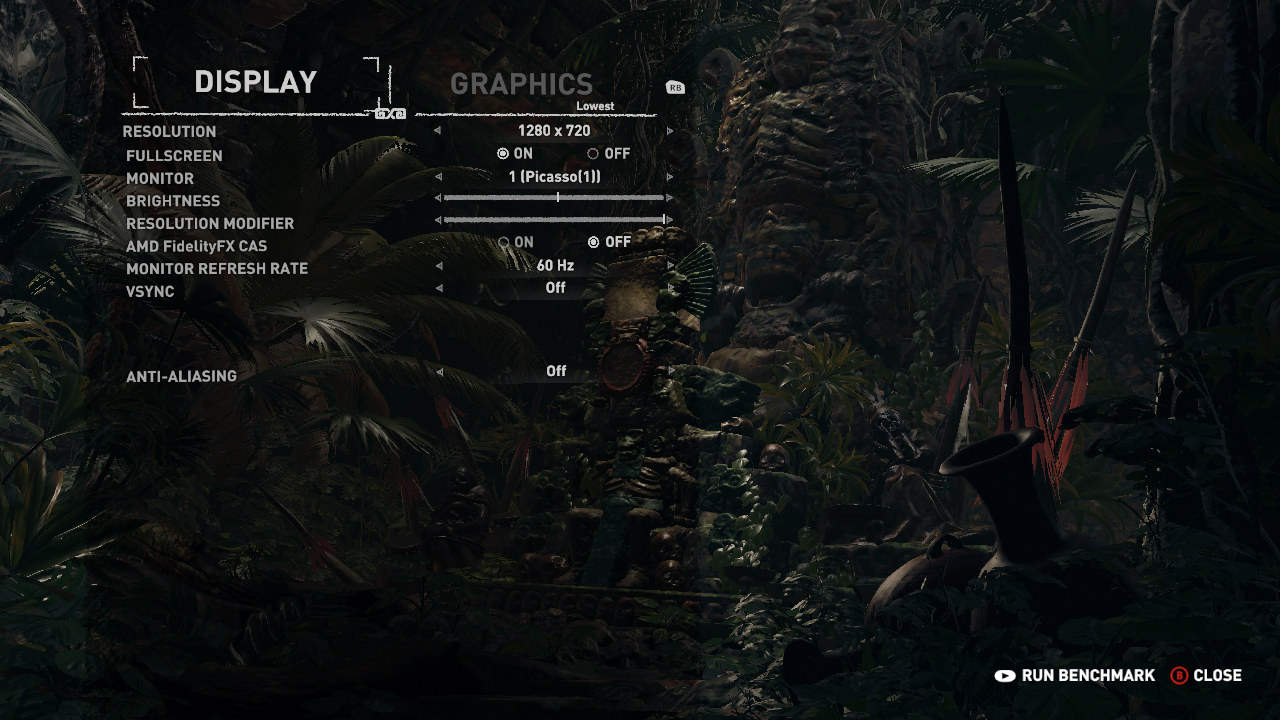
Finally, for ‘Display’ the Steam Deck’s default resolution is 1280×800 and they suggest either using a 7” monitor at that resolution or using 1280×720 resolution and resizing the game window down to 7” across. As this latter point is only to see how legible the text is for game developers I simply opted for setting my display to 720p resolution.
Software Overview
The official Steam Deck’s Linux-based OS hasn’t been publicly released yet however Value suggests ‘installing Manjaro, which is an Arch Linux distribution, similar to what’s on Steam Deck’. They also highlight that it comes with KDE Plasma ‘which is the same desktop environment that will ship on Steam Deck – all in all, it’s very close to the Deck OS environment’. The instructions also require the installation of Steam configured to use Proton for all games.
Installation and configuration
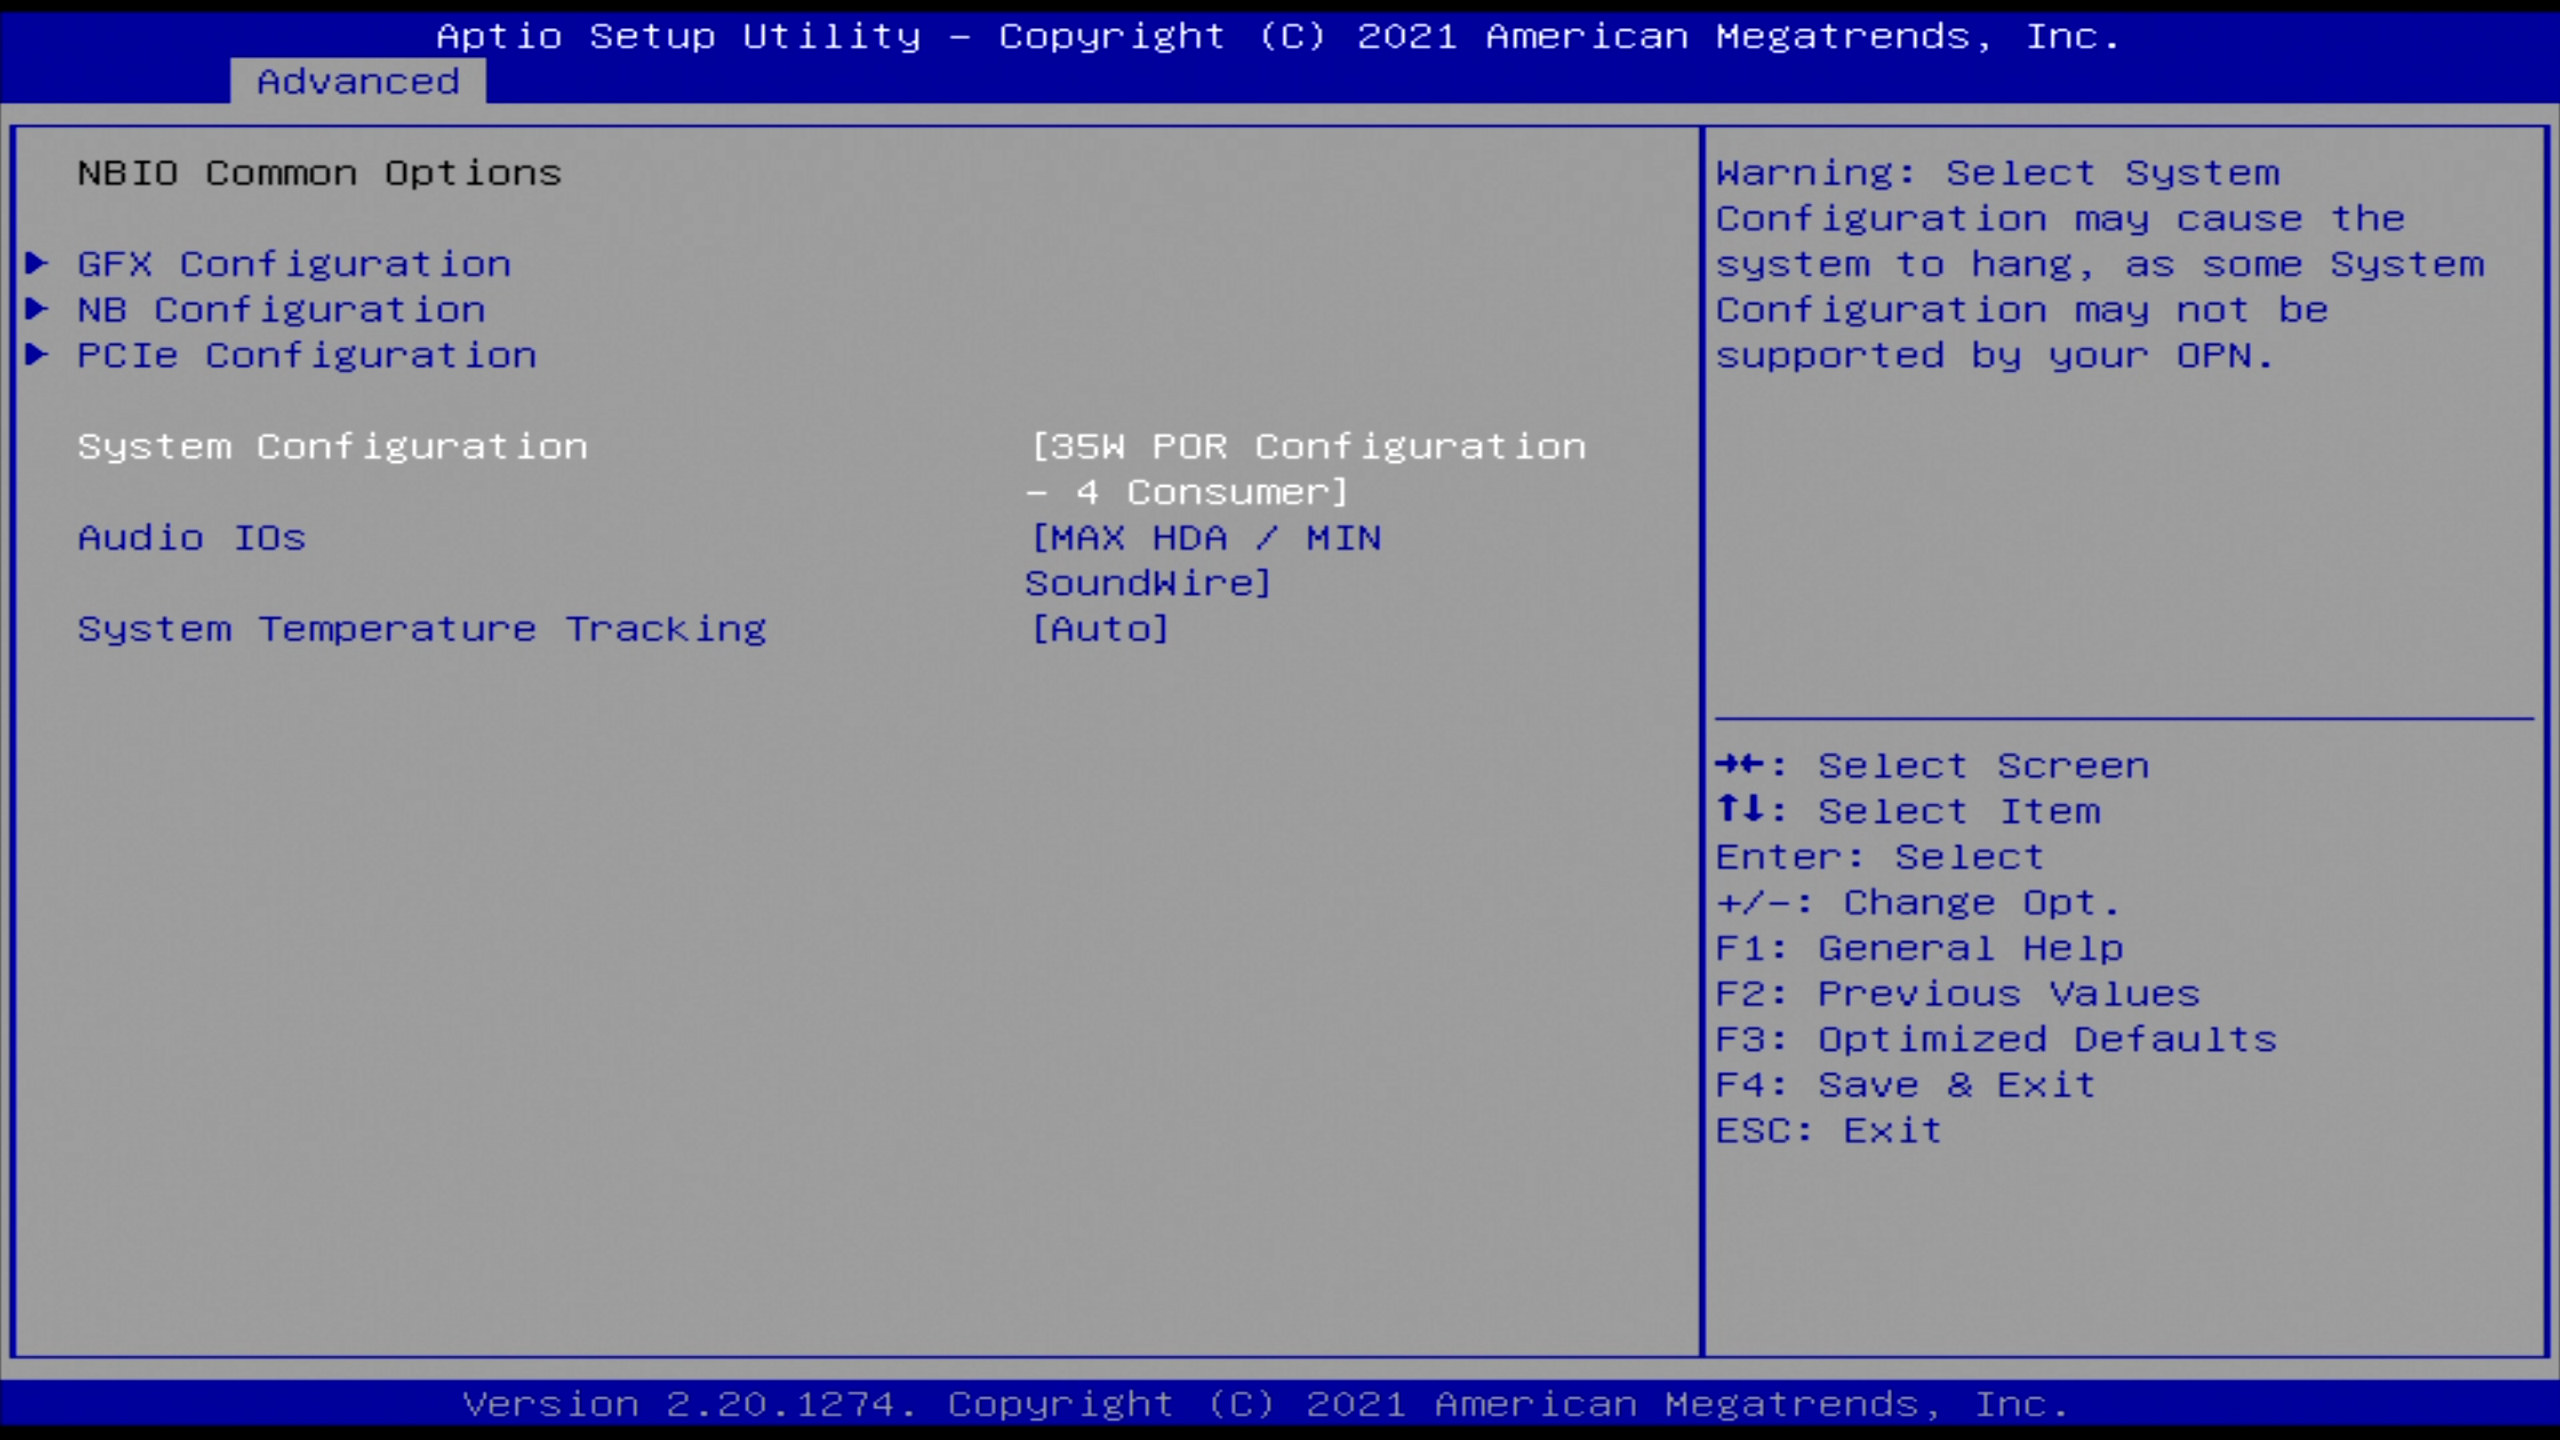
First I made some tweaks to the BIOS of the Beelink SER3 in line with my earlier review. I set the Power On Reset (POR) to 35W:
and then ‘overclocked’ the memory to run at 2666 MHz:
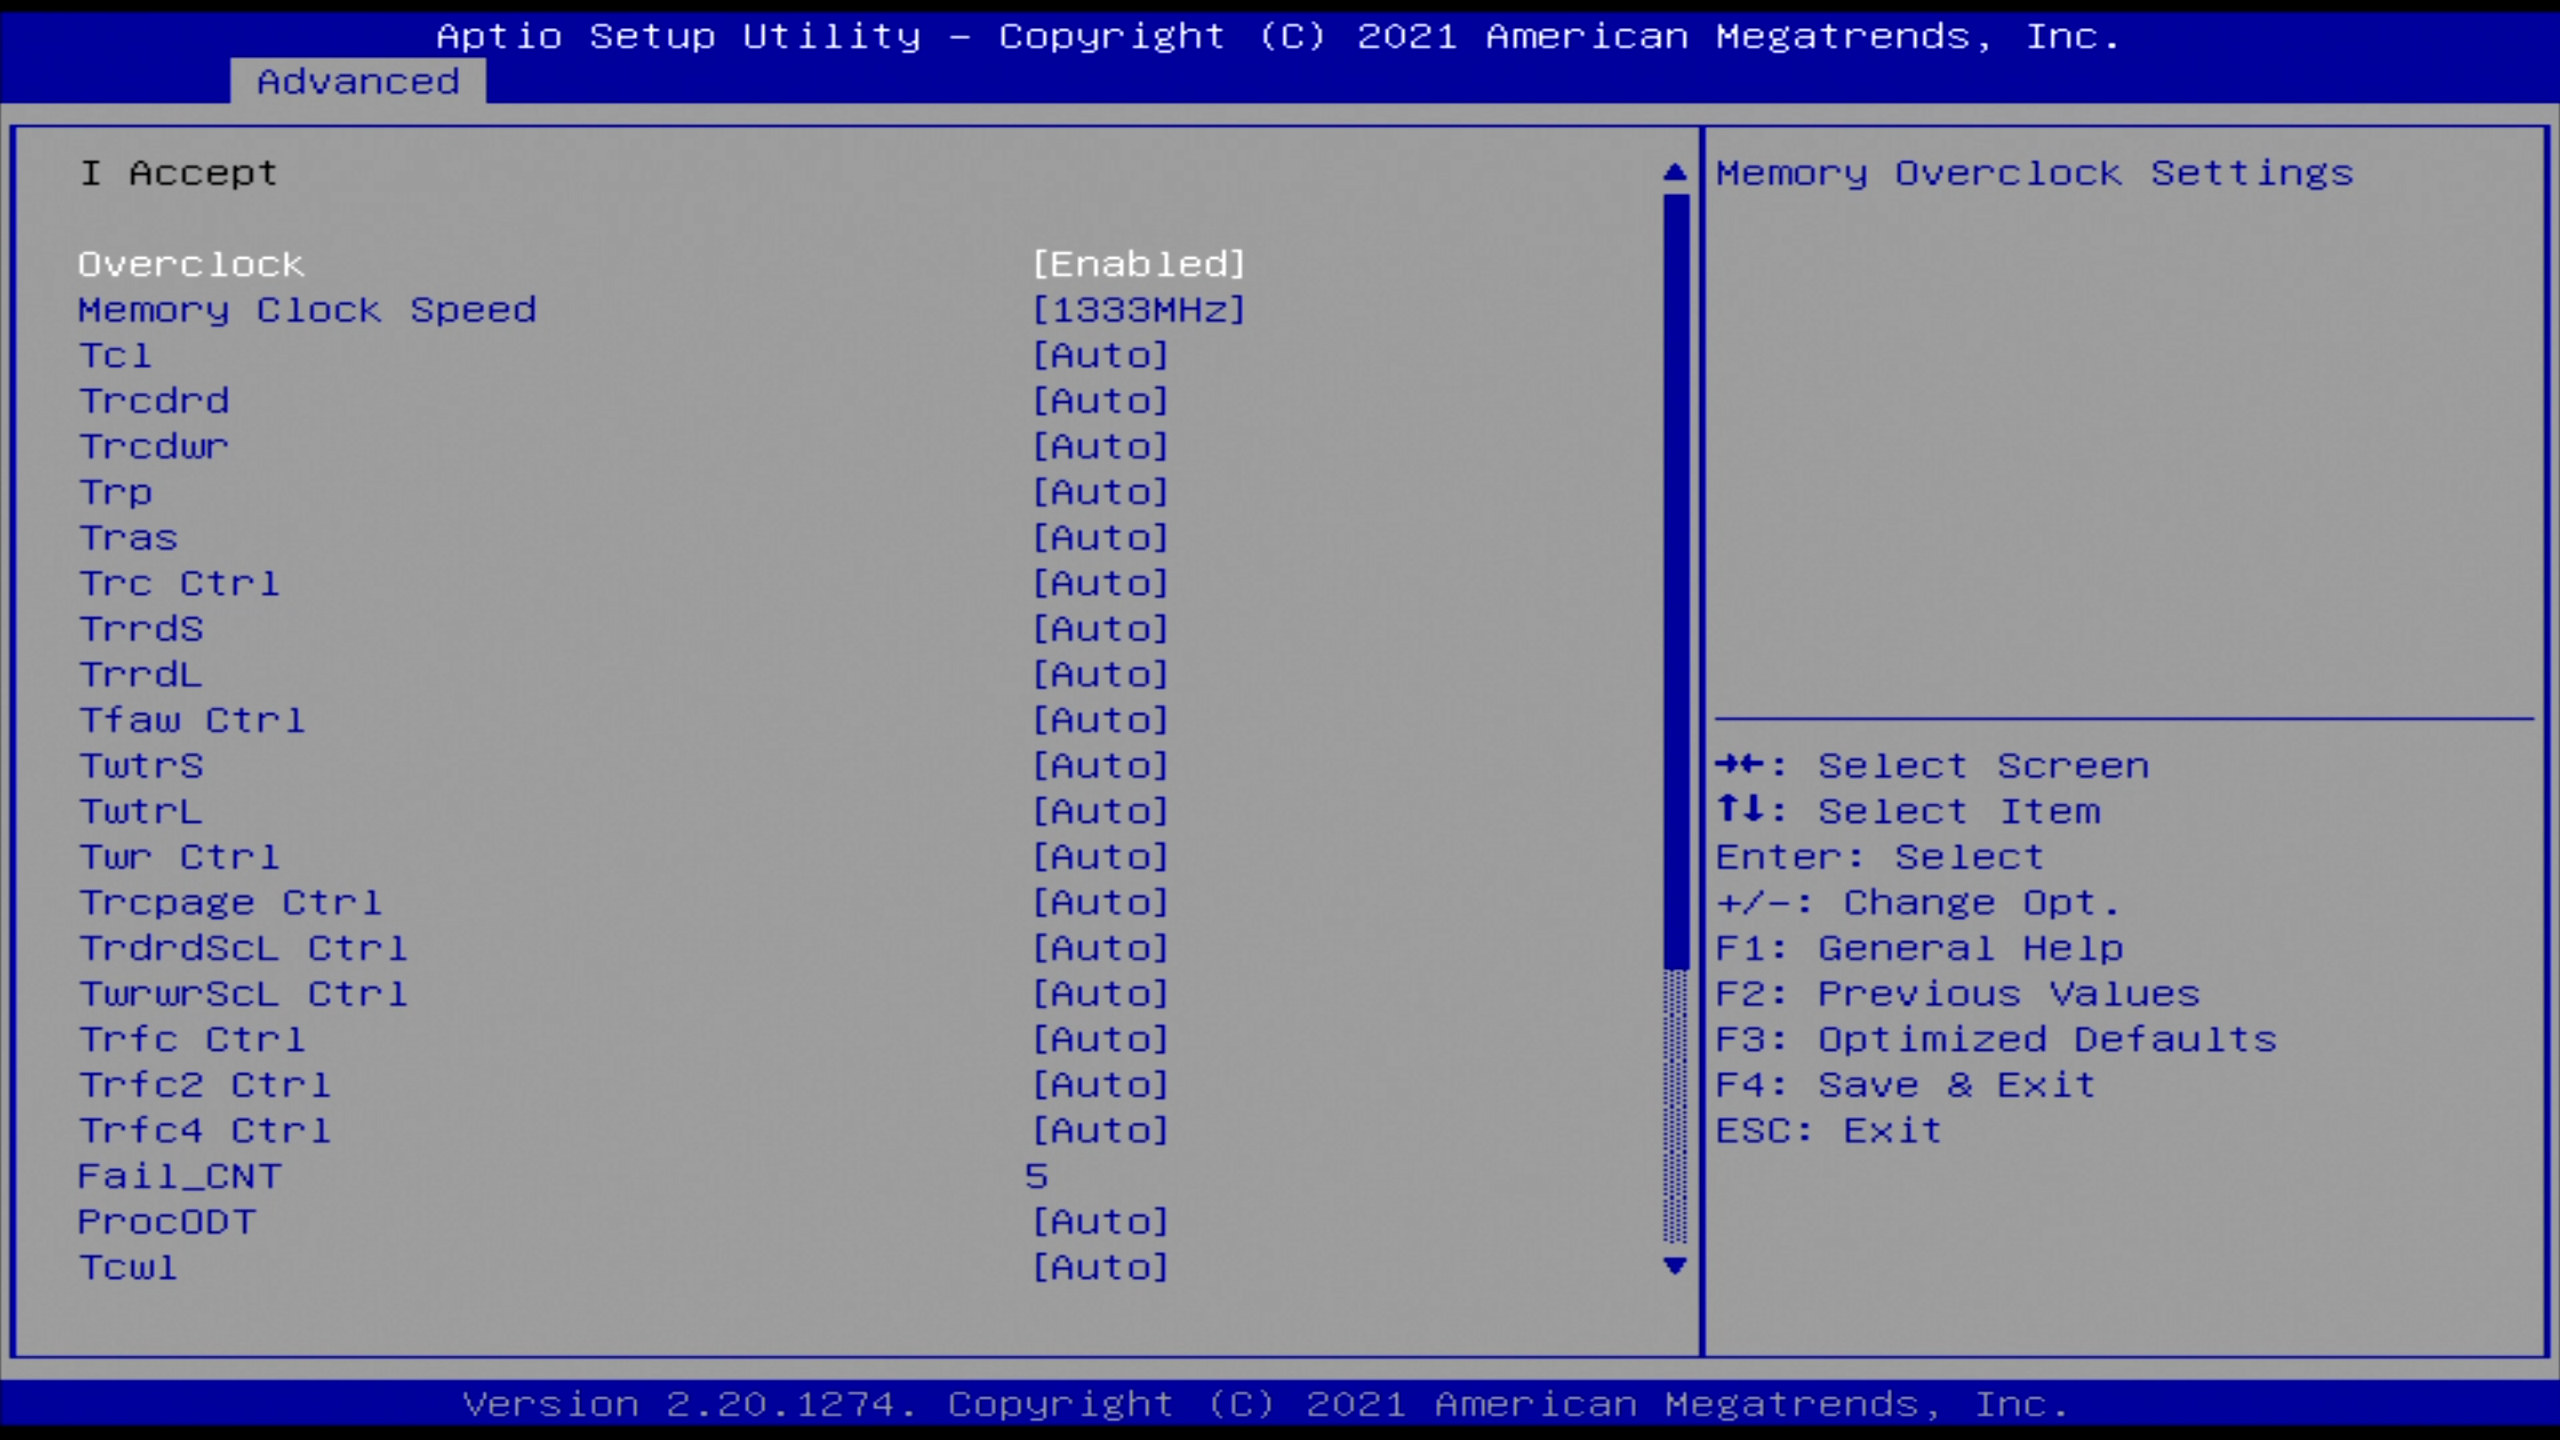
to get the best possible performance from the mini PC.
Following Valve’s instructions, I downloaded the 64-bit Manjaro ISO and created a bootable USB from it using Rufus.
I then installed Manjaro as dual boot with Windows by replacing the previously installed Ubuntu partition I had created which occupied effectively half of the internal 512GB NVMe storage drive.
Once booted I ensured the system was fully updated by running ‘sudo pacman -Syu’ and also swapped ‘Flameshot’ for ‘Spectacle’ as my preference screenshot application.
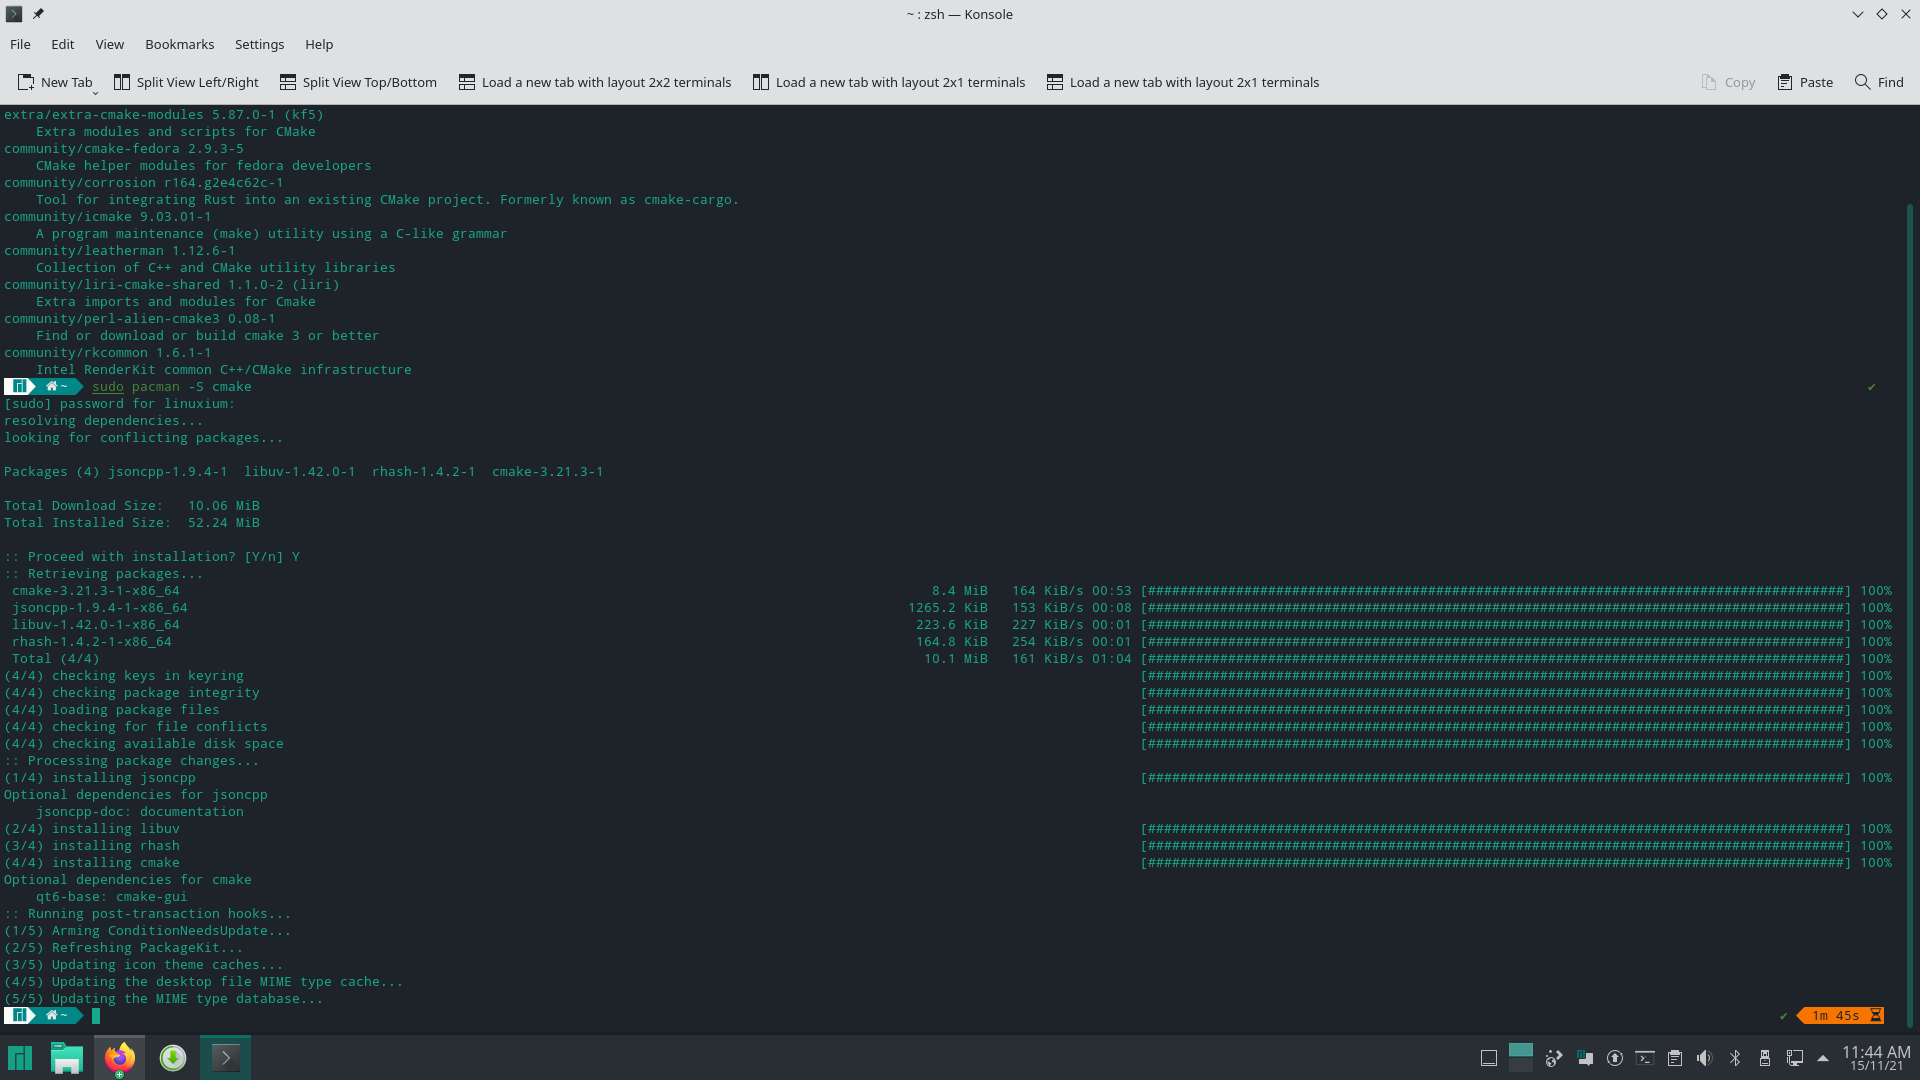
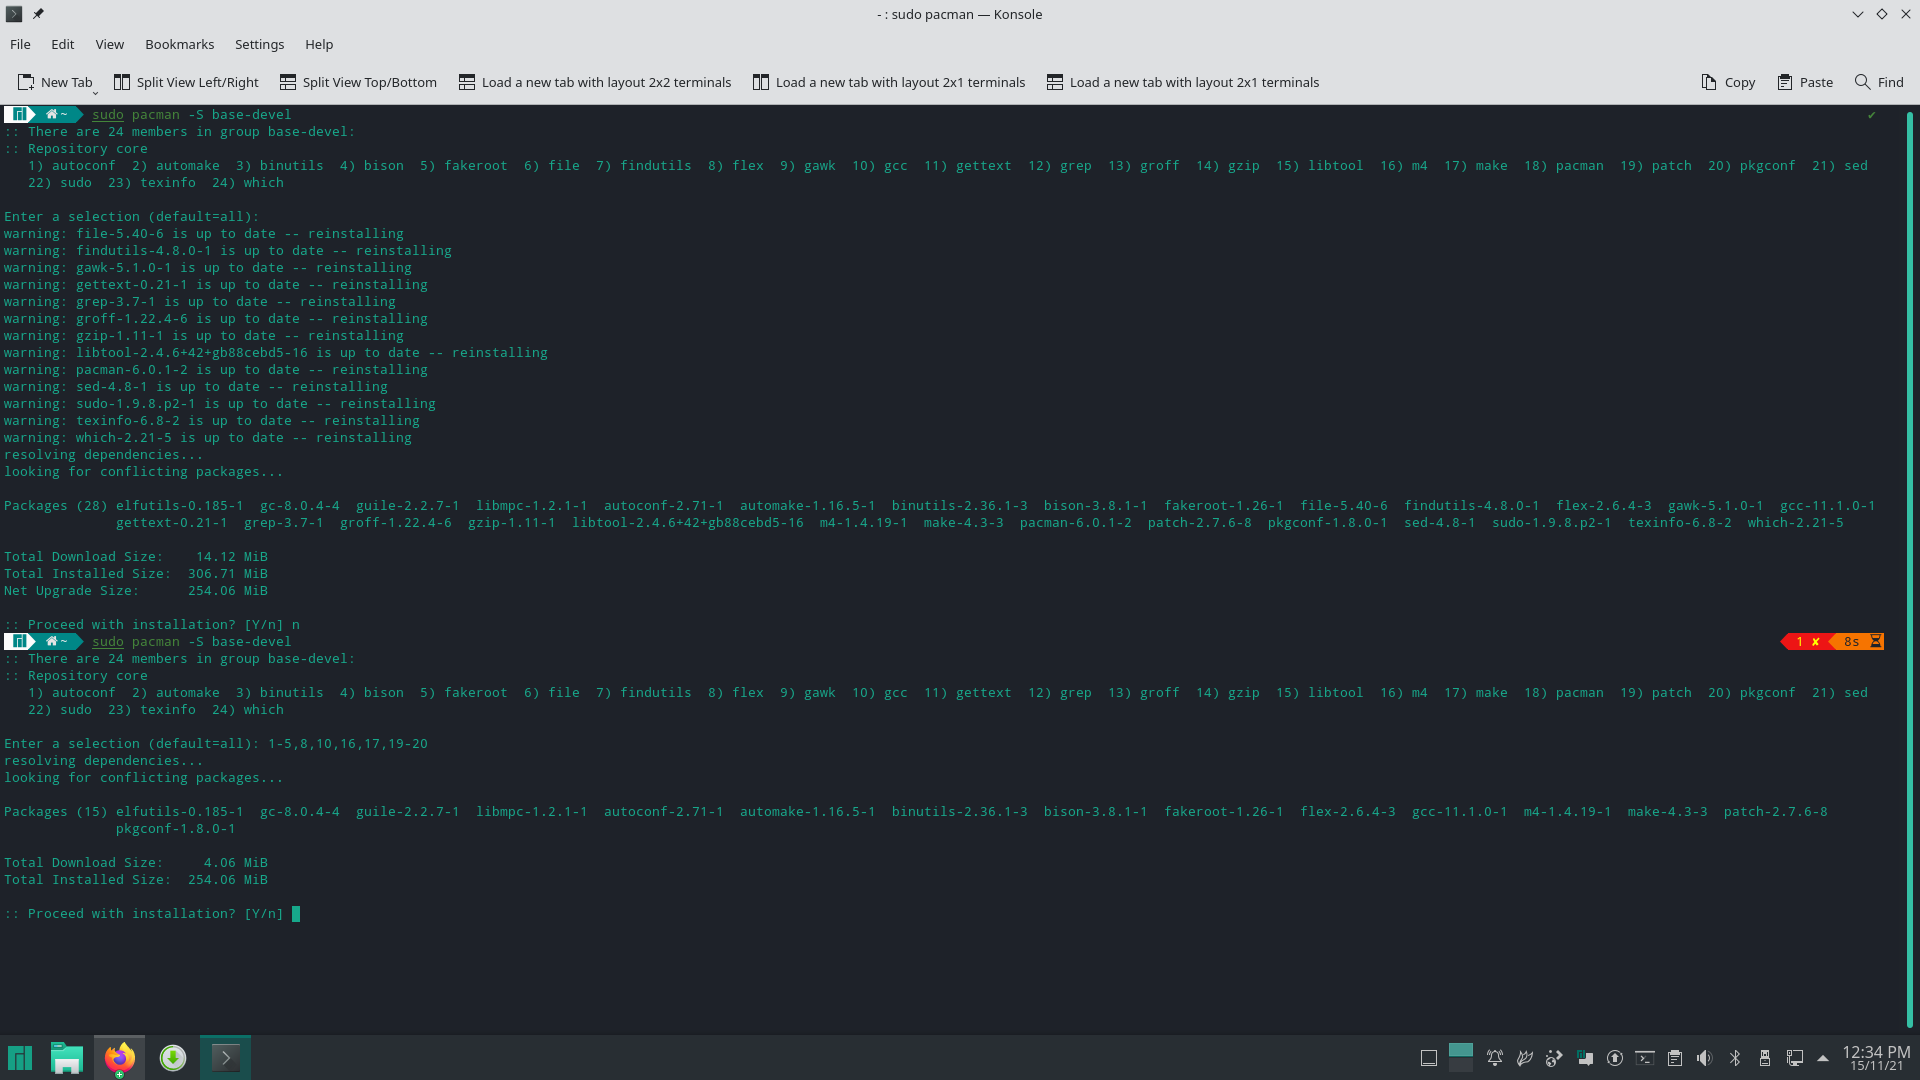
As a result of changing the power configuration, I also wanted to use ‘RyzenAdj’ with the same settings as in my review in order to prevent thermal throttling. Its build documentation mentions needing ‘libpci‘ however I found that for Manjaro I had to install several different packages including ‘cmake’ and ‘base-devel’ together with their dependencies:
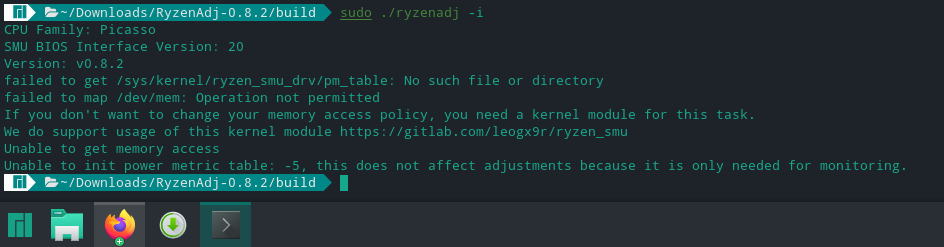
However, to run ‘RyzenAdj’ I found I also needed to additionally install ‘Ryzen SMU’:
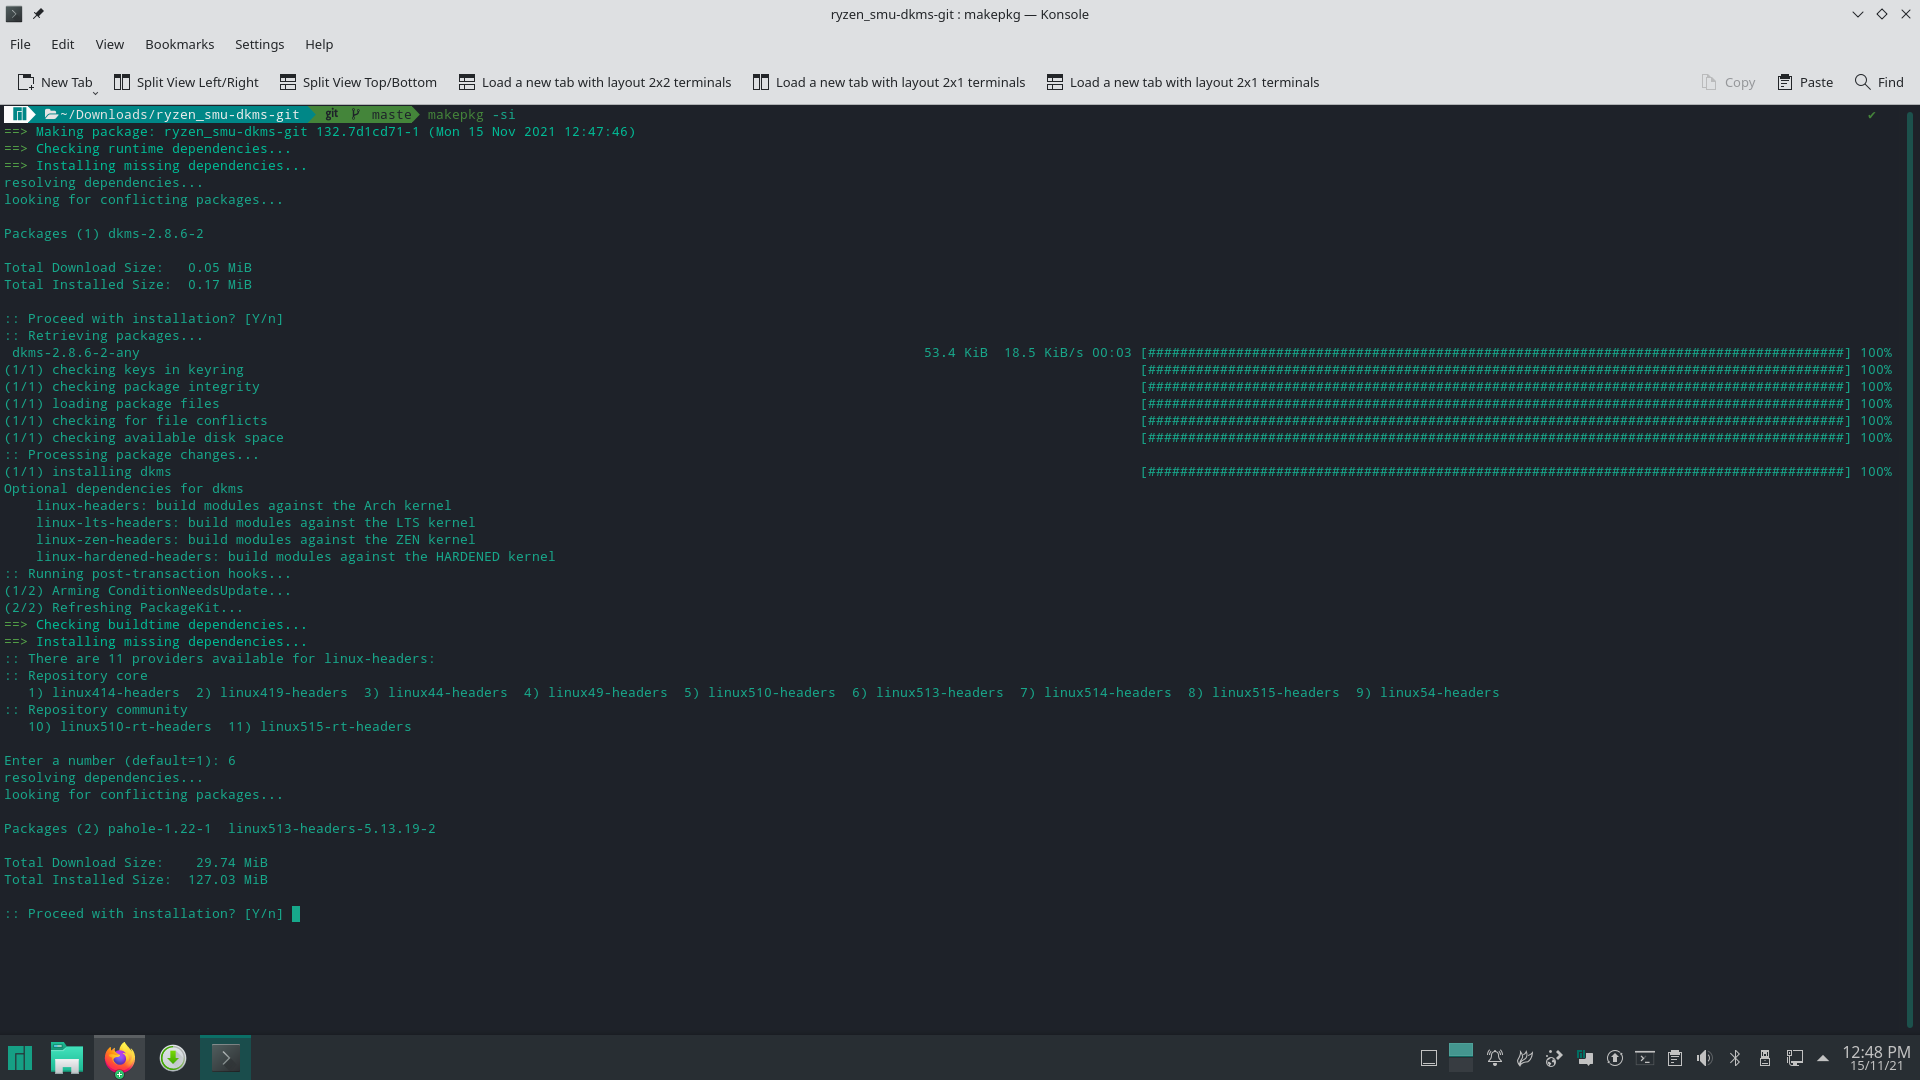
which required further dependencies of ‘dkms’ and the Linux headers:
Once the resultant ‘ryzen_smu’ module was loaded ‘RyzenAdj’ worked and I was able to apply my settings:
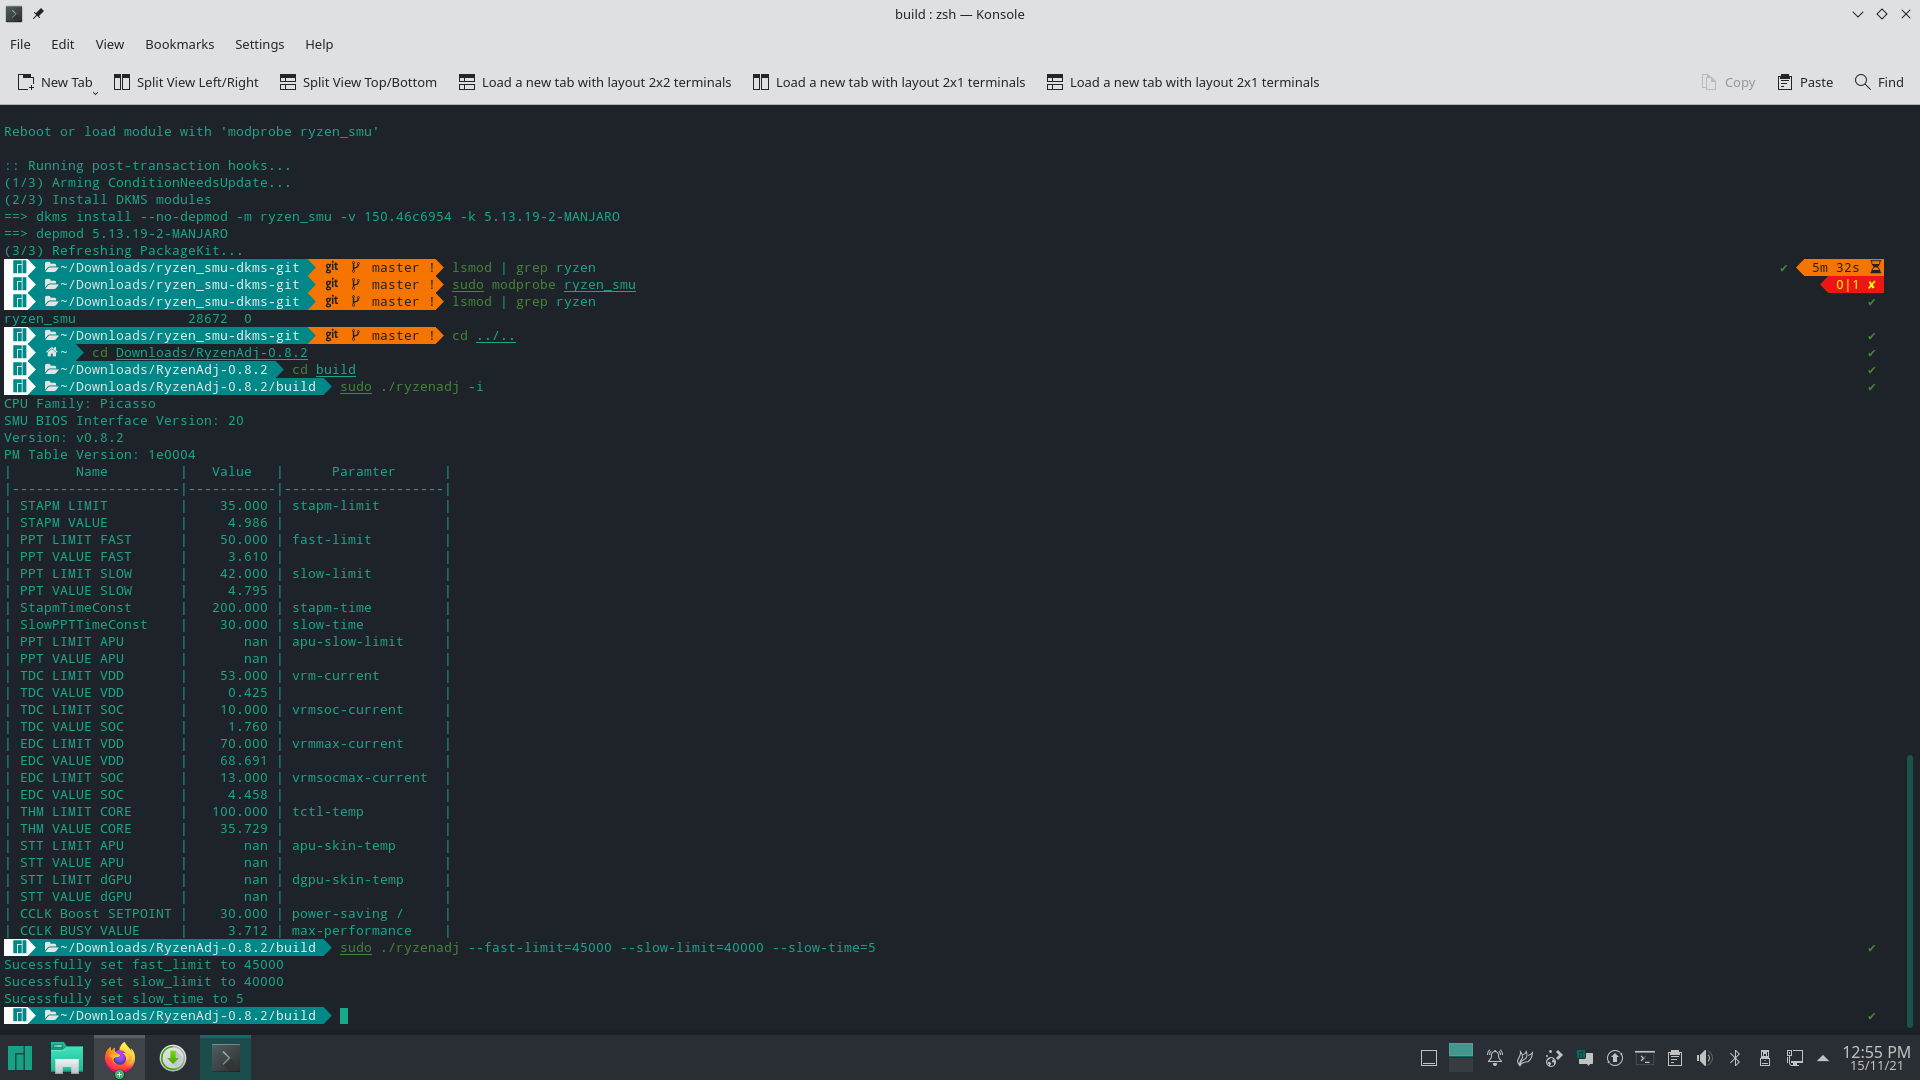
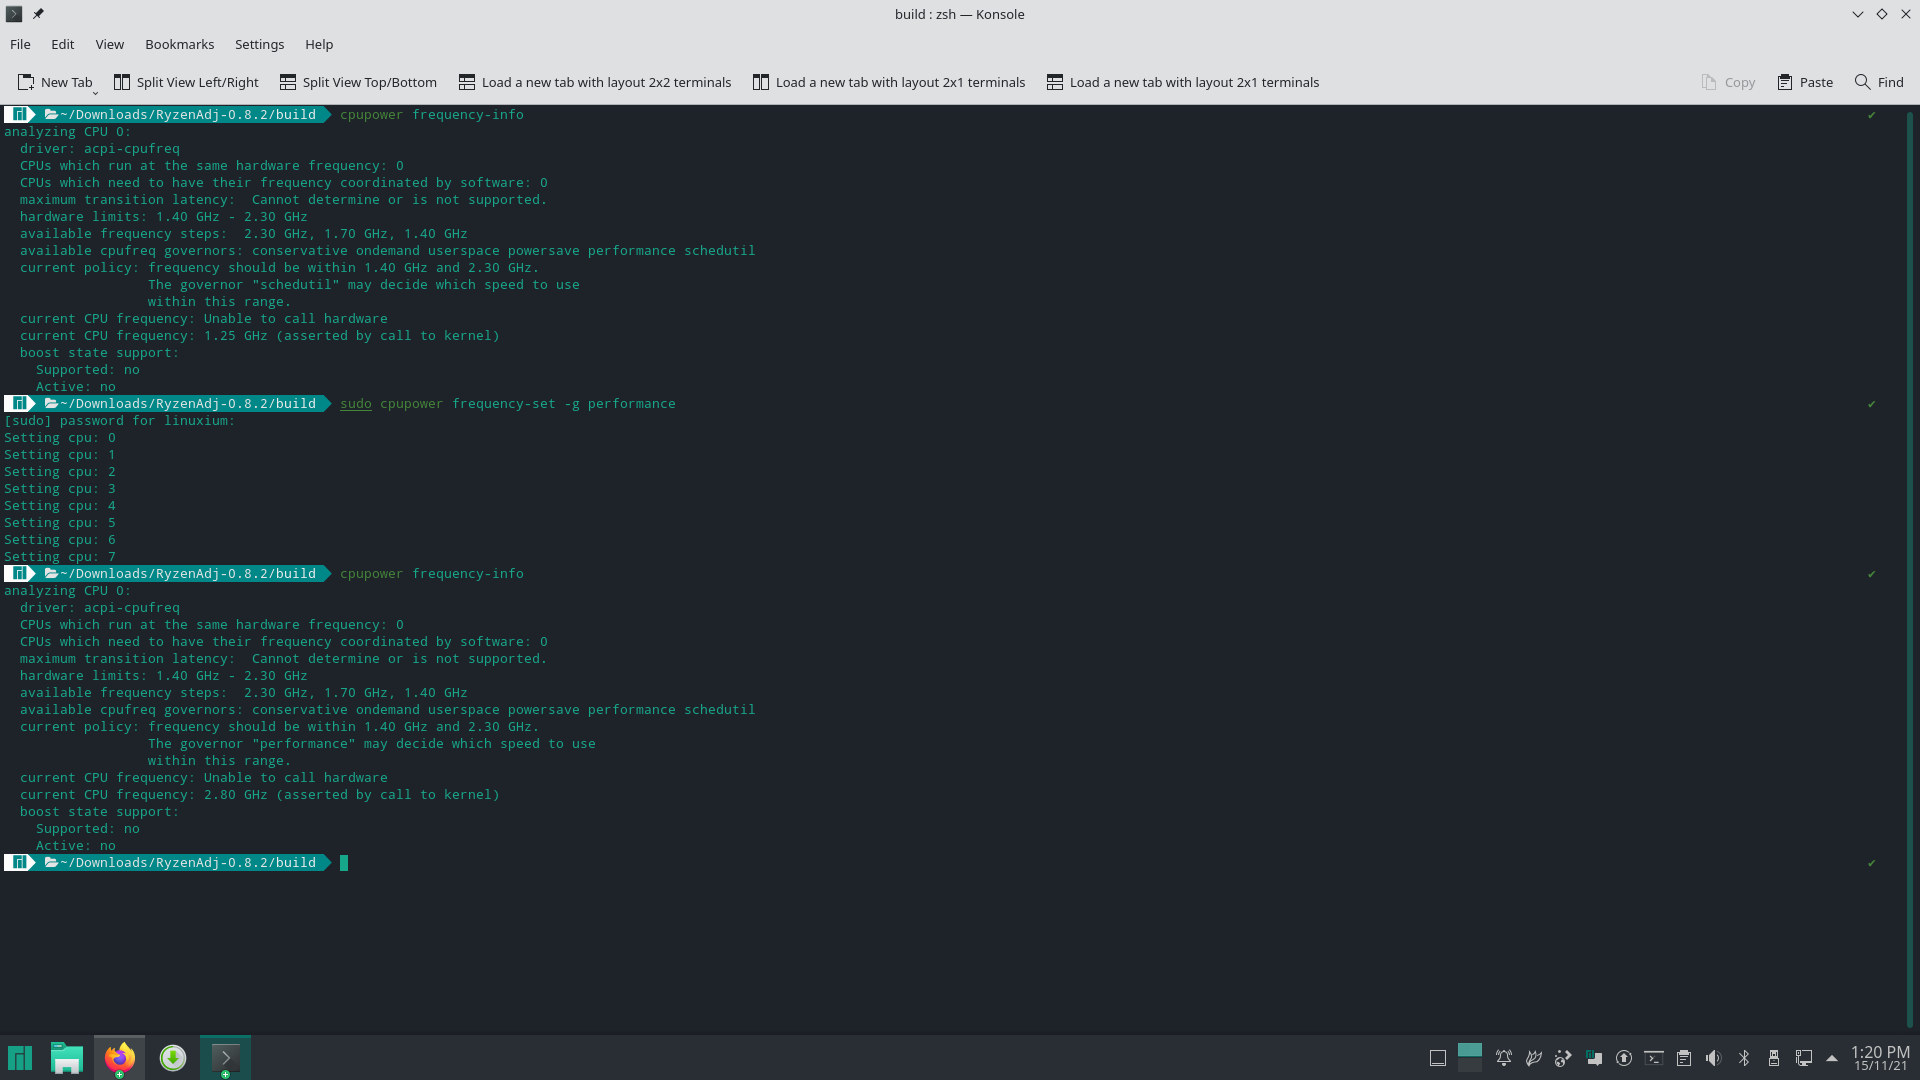
I also used ‘cpupower’ to set the CPU governor to ‘performance’:
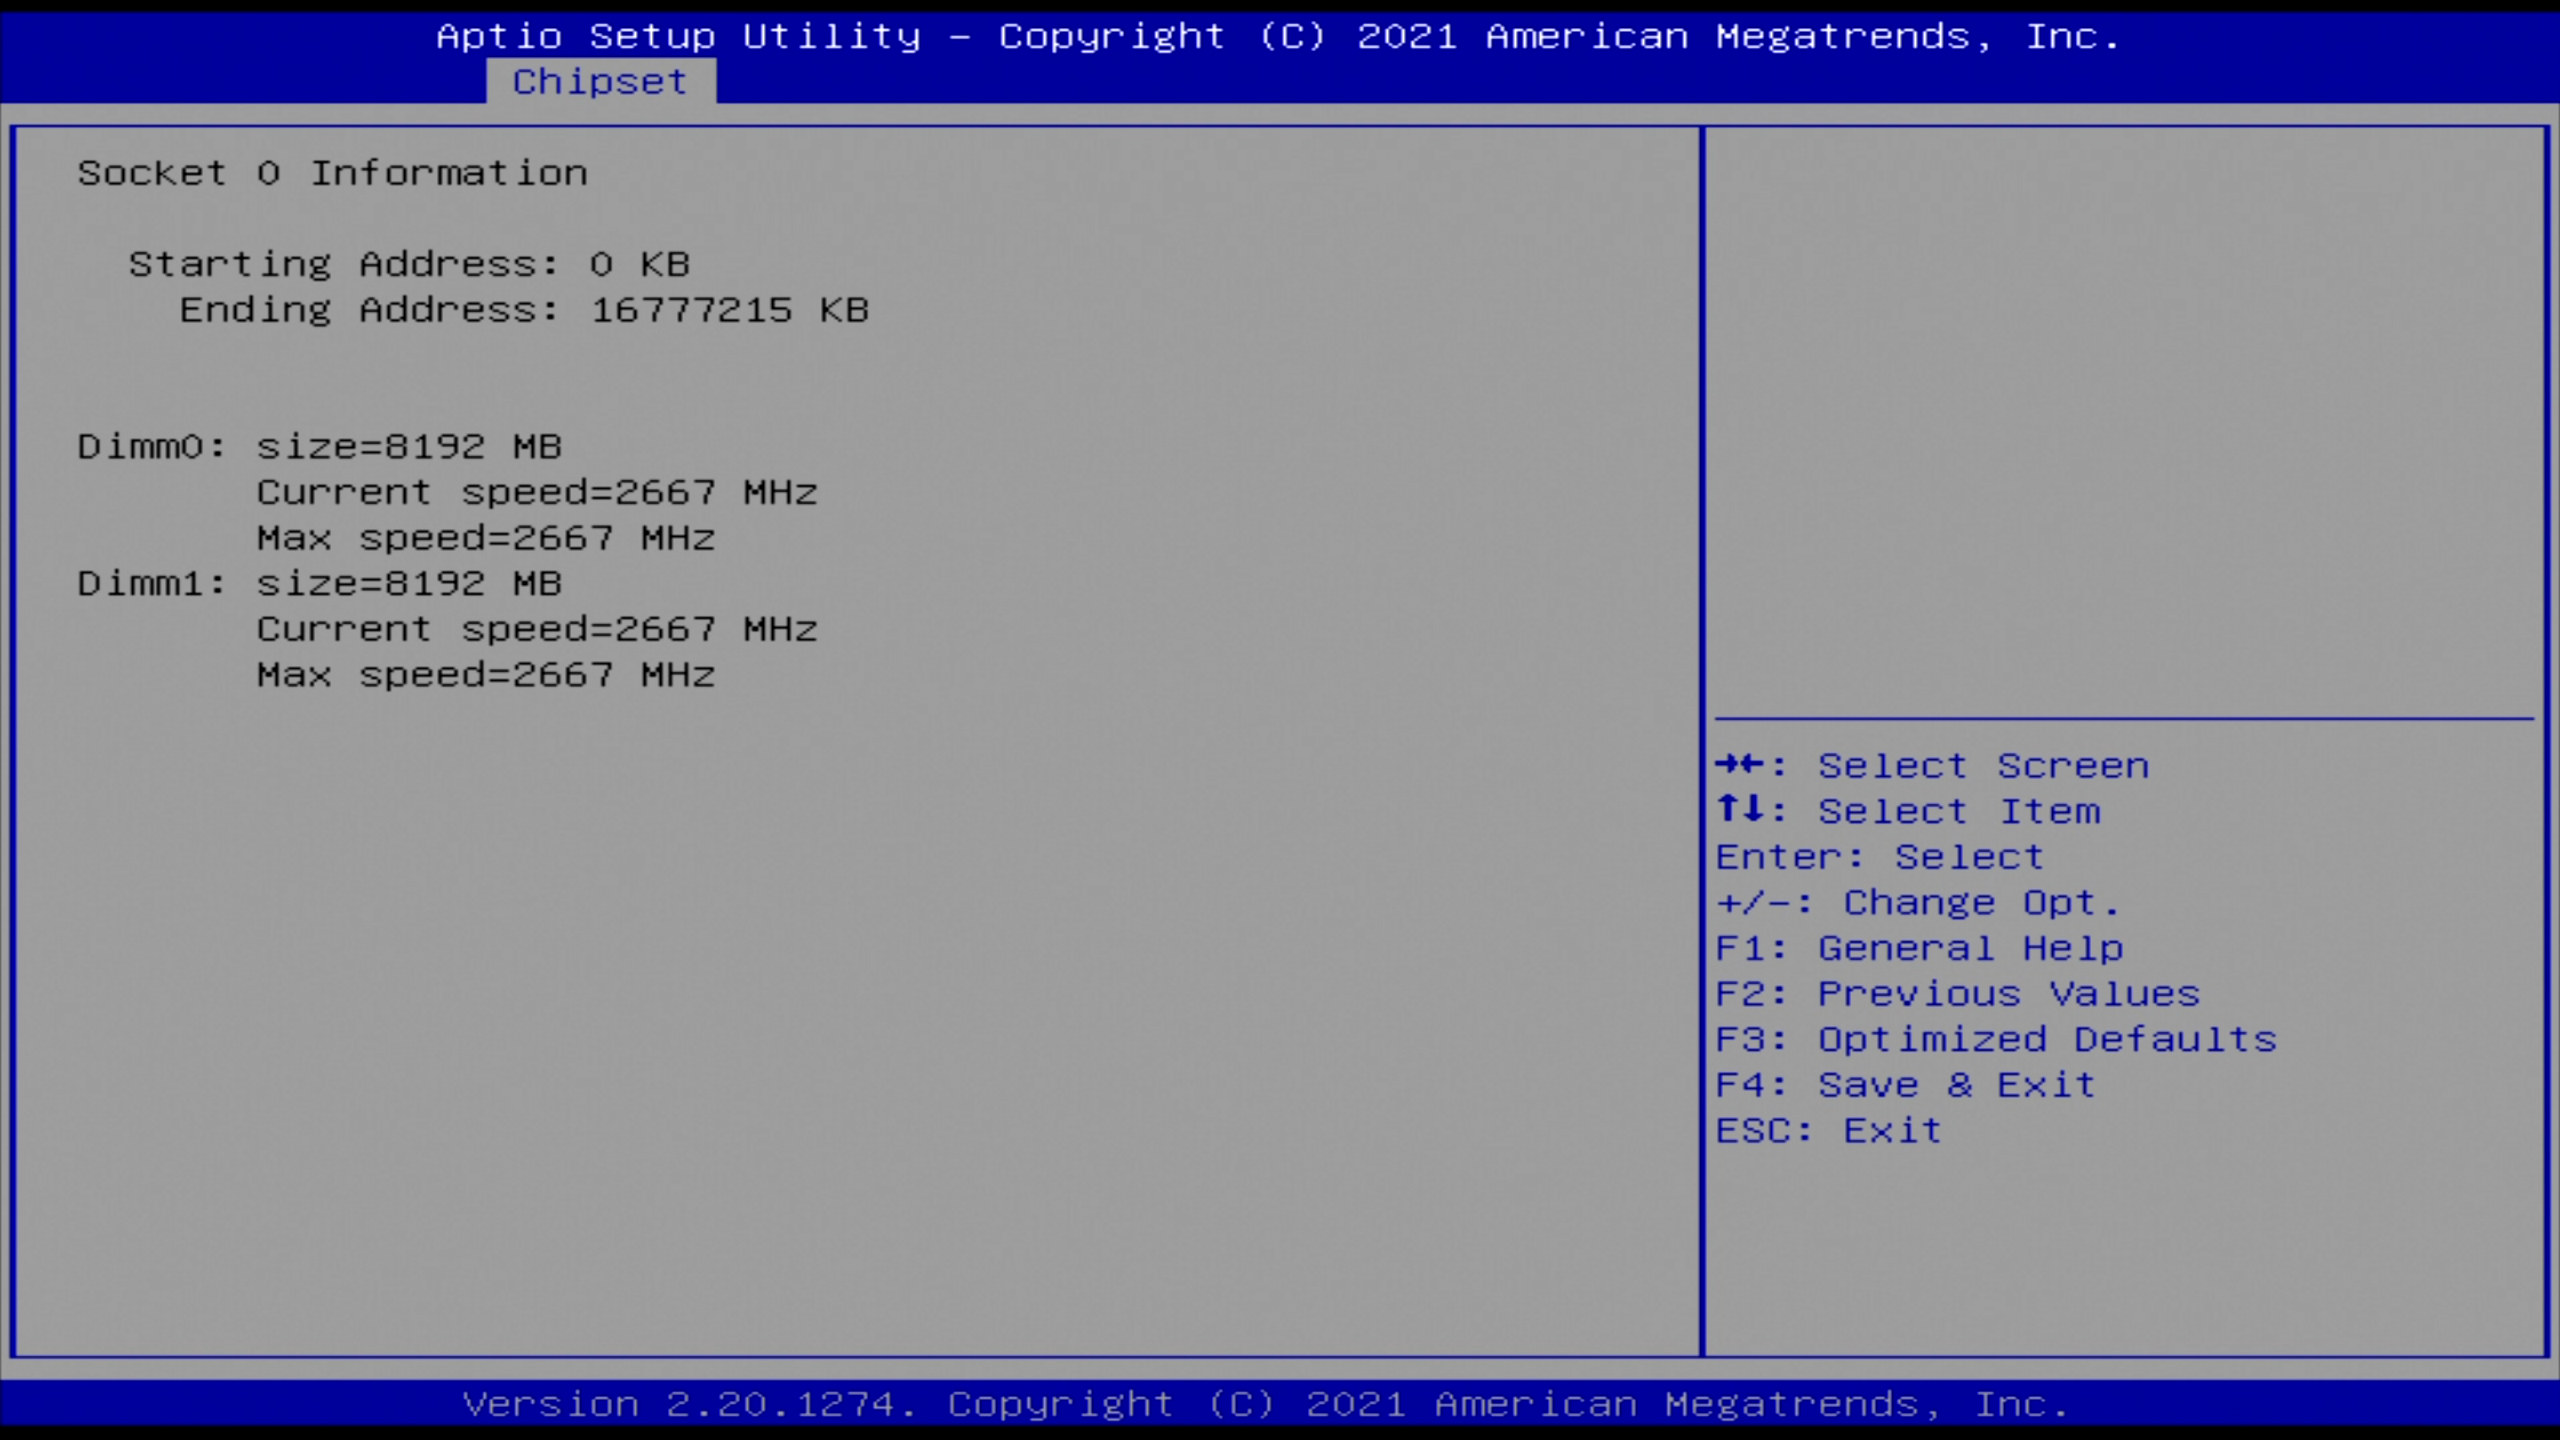
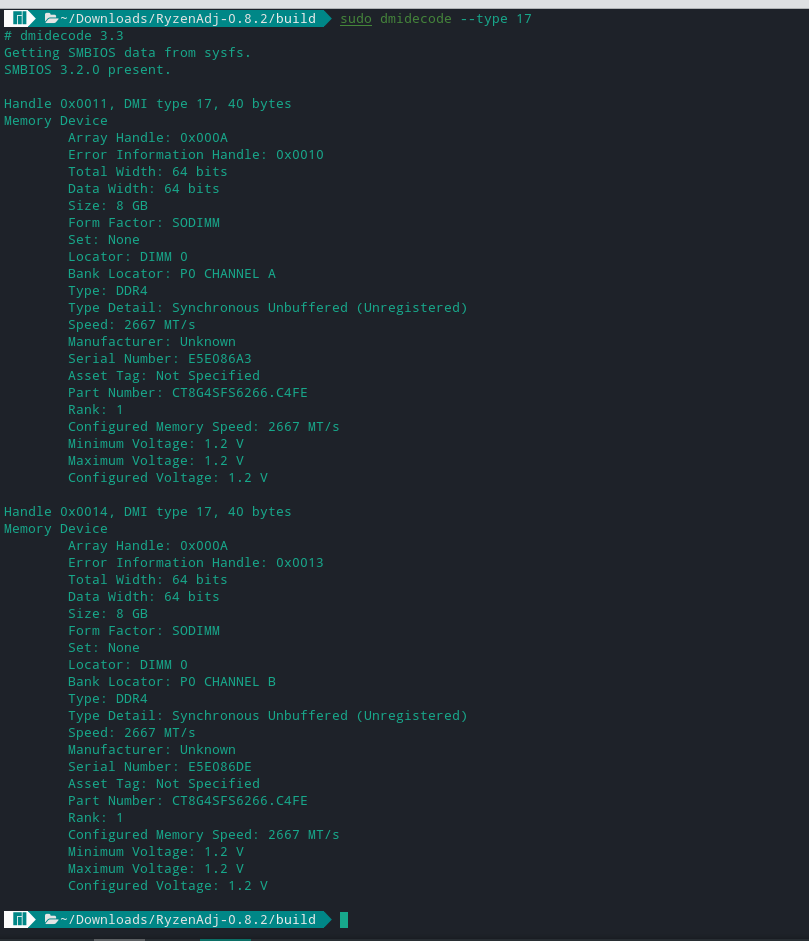
and also confirmed that the RAM was running at 2666 MHz:
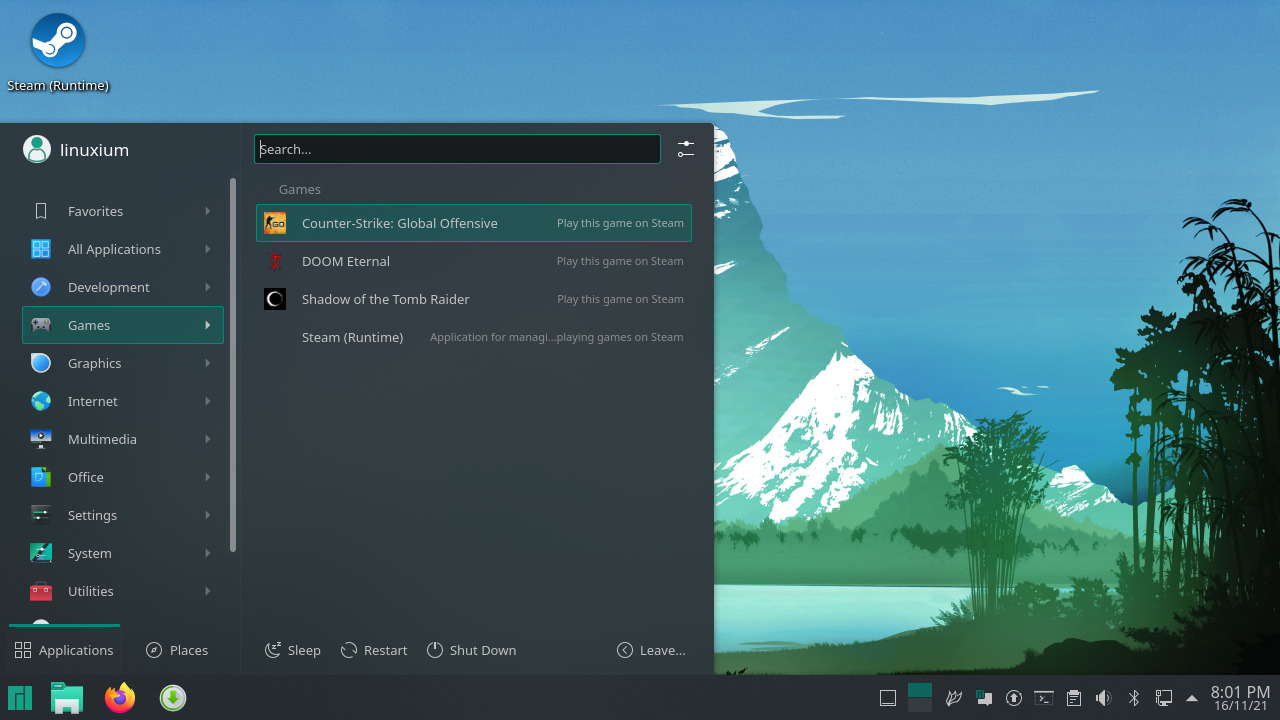
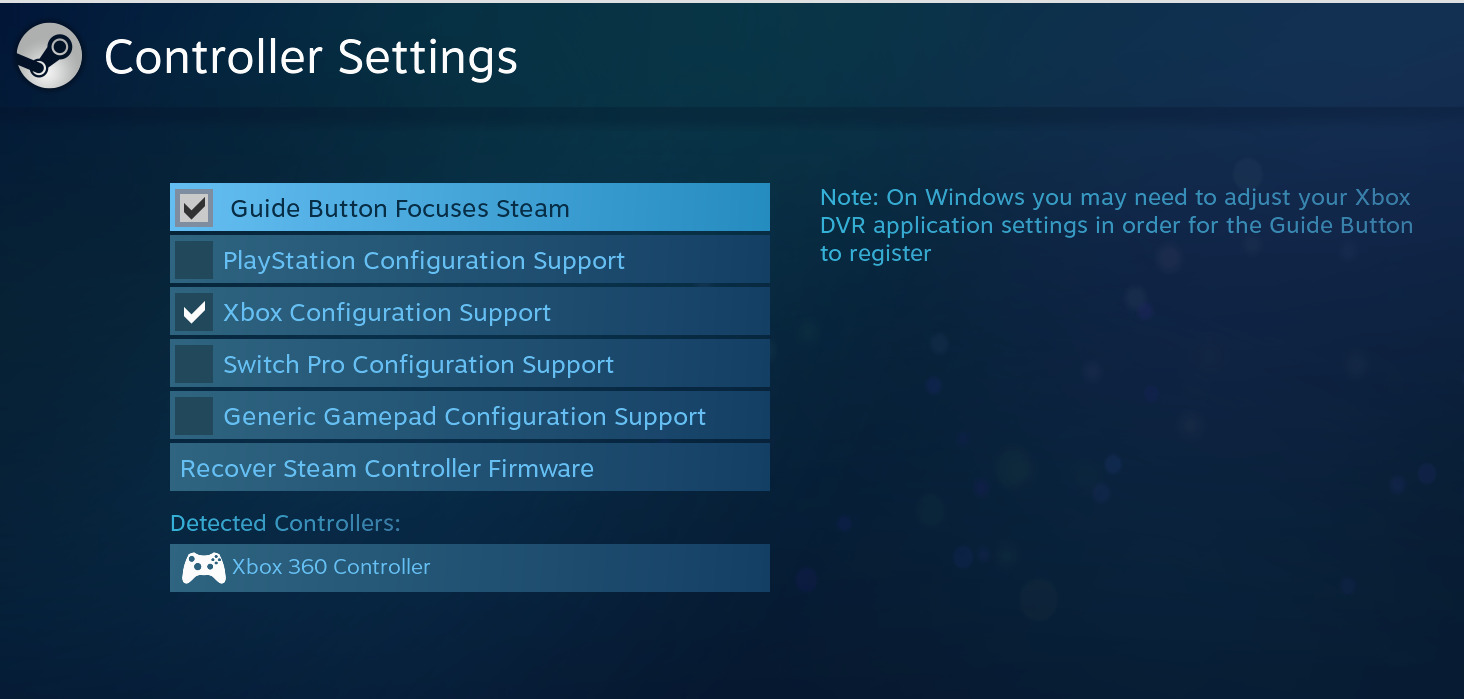
Next after installing Steam and configuring it to use Proton I connected my controller. To get it to work I had to select ‘Xbox Configuration Support’ in Steam’s controller settings:
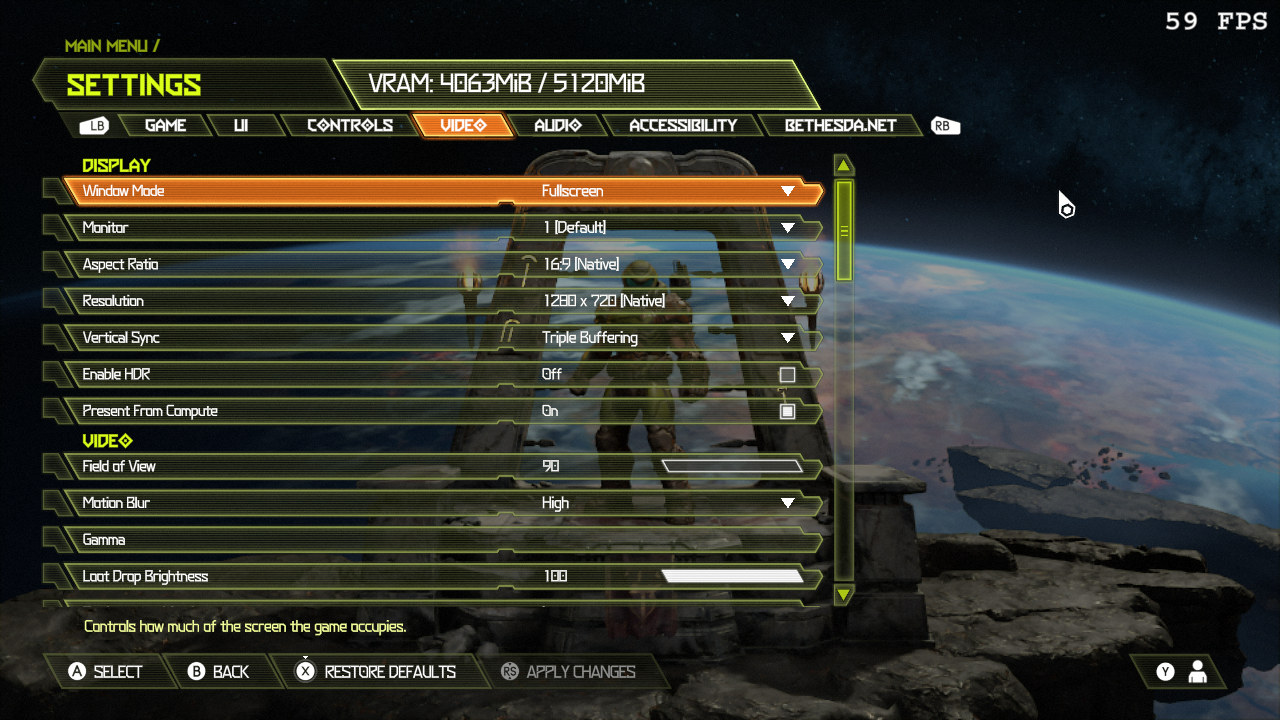
Finally, I set the screen resolution to 1280×720:
and installed my games for testing. It is worth pointing out at this point that storage space very quickly became an issue. The entry-level Steam Deck has only 64GB of eMMC storage with additional models supporting either 256GB PCIe NVMe or 512GB PCIe NVMe. With my dual boot ‘hackendeck’ I was effectively simulating the 256GB unit:
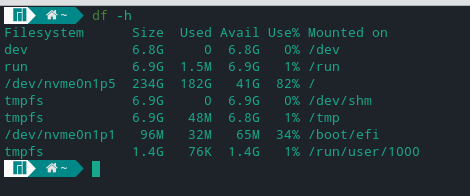
However with Proton (using 1GB) and only three games installed taking up 167GB (Counter-Strike: Global Offensive using 28GB, Shadow of the Tomb Raider using 36GB, and Grand Theft Auto V using 102GB):
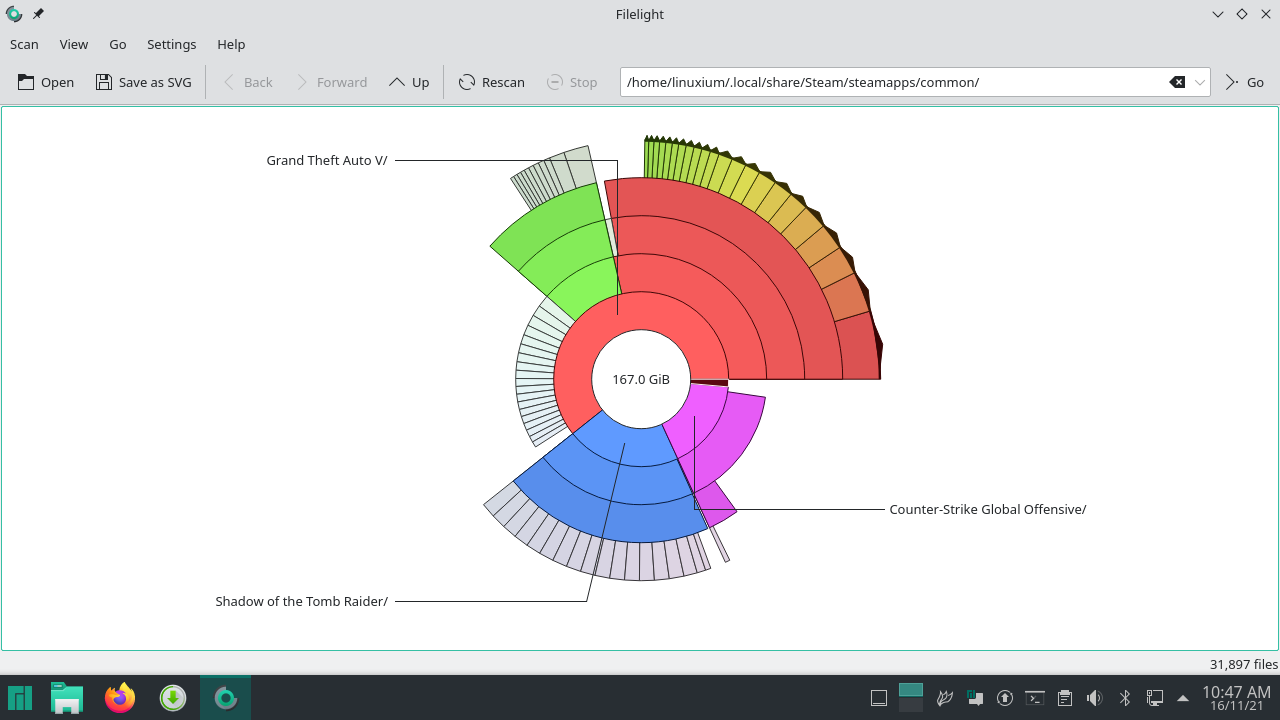
I had insufficient space to install Doom Eternal which required 89GB. As the drive is an M.2 2280 NVMe drive, it could be replaced with a larger 1TB one although this is not the case for the Steam Deck where Valve has said ‘we don’t recommend replacing the included drive’.
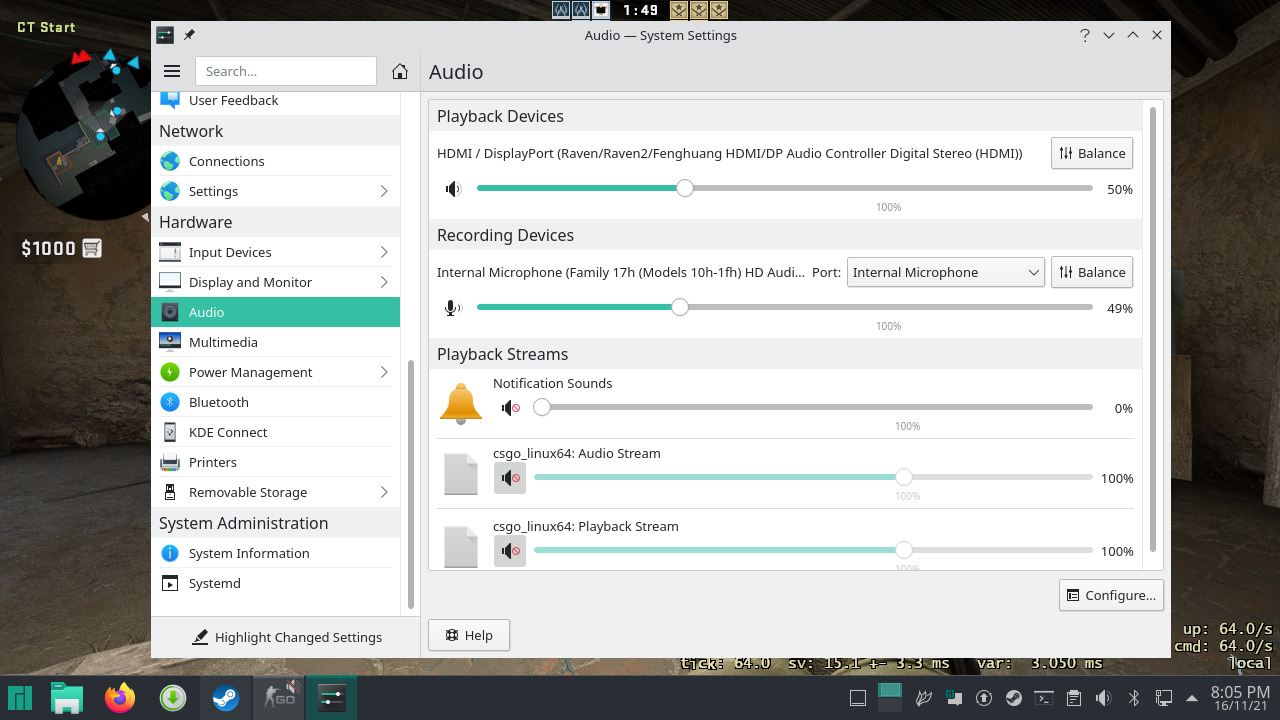
For a couple of the games sometimes I couldn’t hear any sound, and I found that after opening the ‘system settings’ under ‘audio’ this was caused by the playback streams being muted:
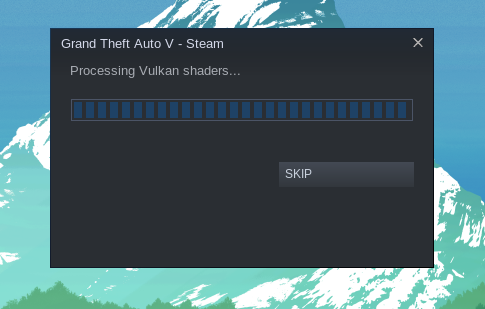
Also before initially playing some games, it was best to wait for Steam to compile the Vulkan shaders required by the Fossilize library as this doesn’t take too long to complete:
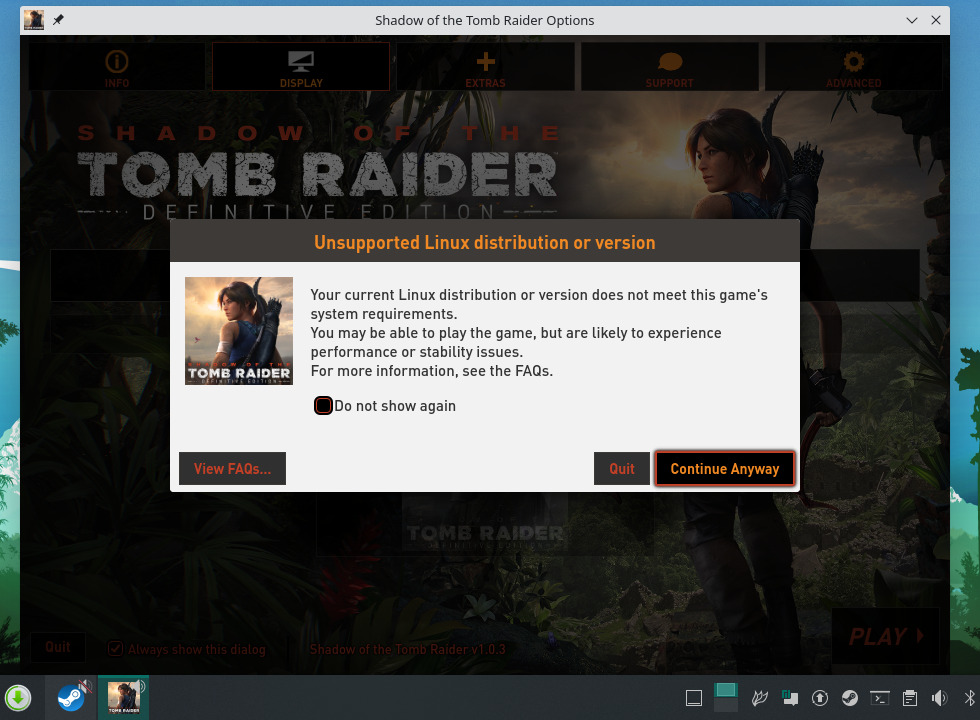
Finally, I always clicked ‘Continue Anyway’ to disregard the warning from Shadow of the Tomb Raider that appears:
Gaming Performance
Establishing the average FPS in games is difficult in Linux due to the lack of tools like MSI Afterburner. Update: Check out my post with MangoHud to see how to check FPS in Linux and the results with the “hackendeck”. The rest of the review below remains unchanged.
As a result, for most of the games, I’ve had to estimate based on the observed frame rates.
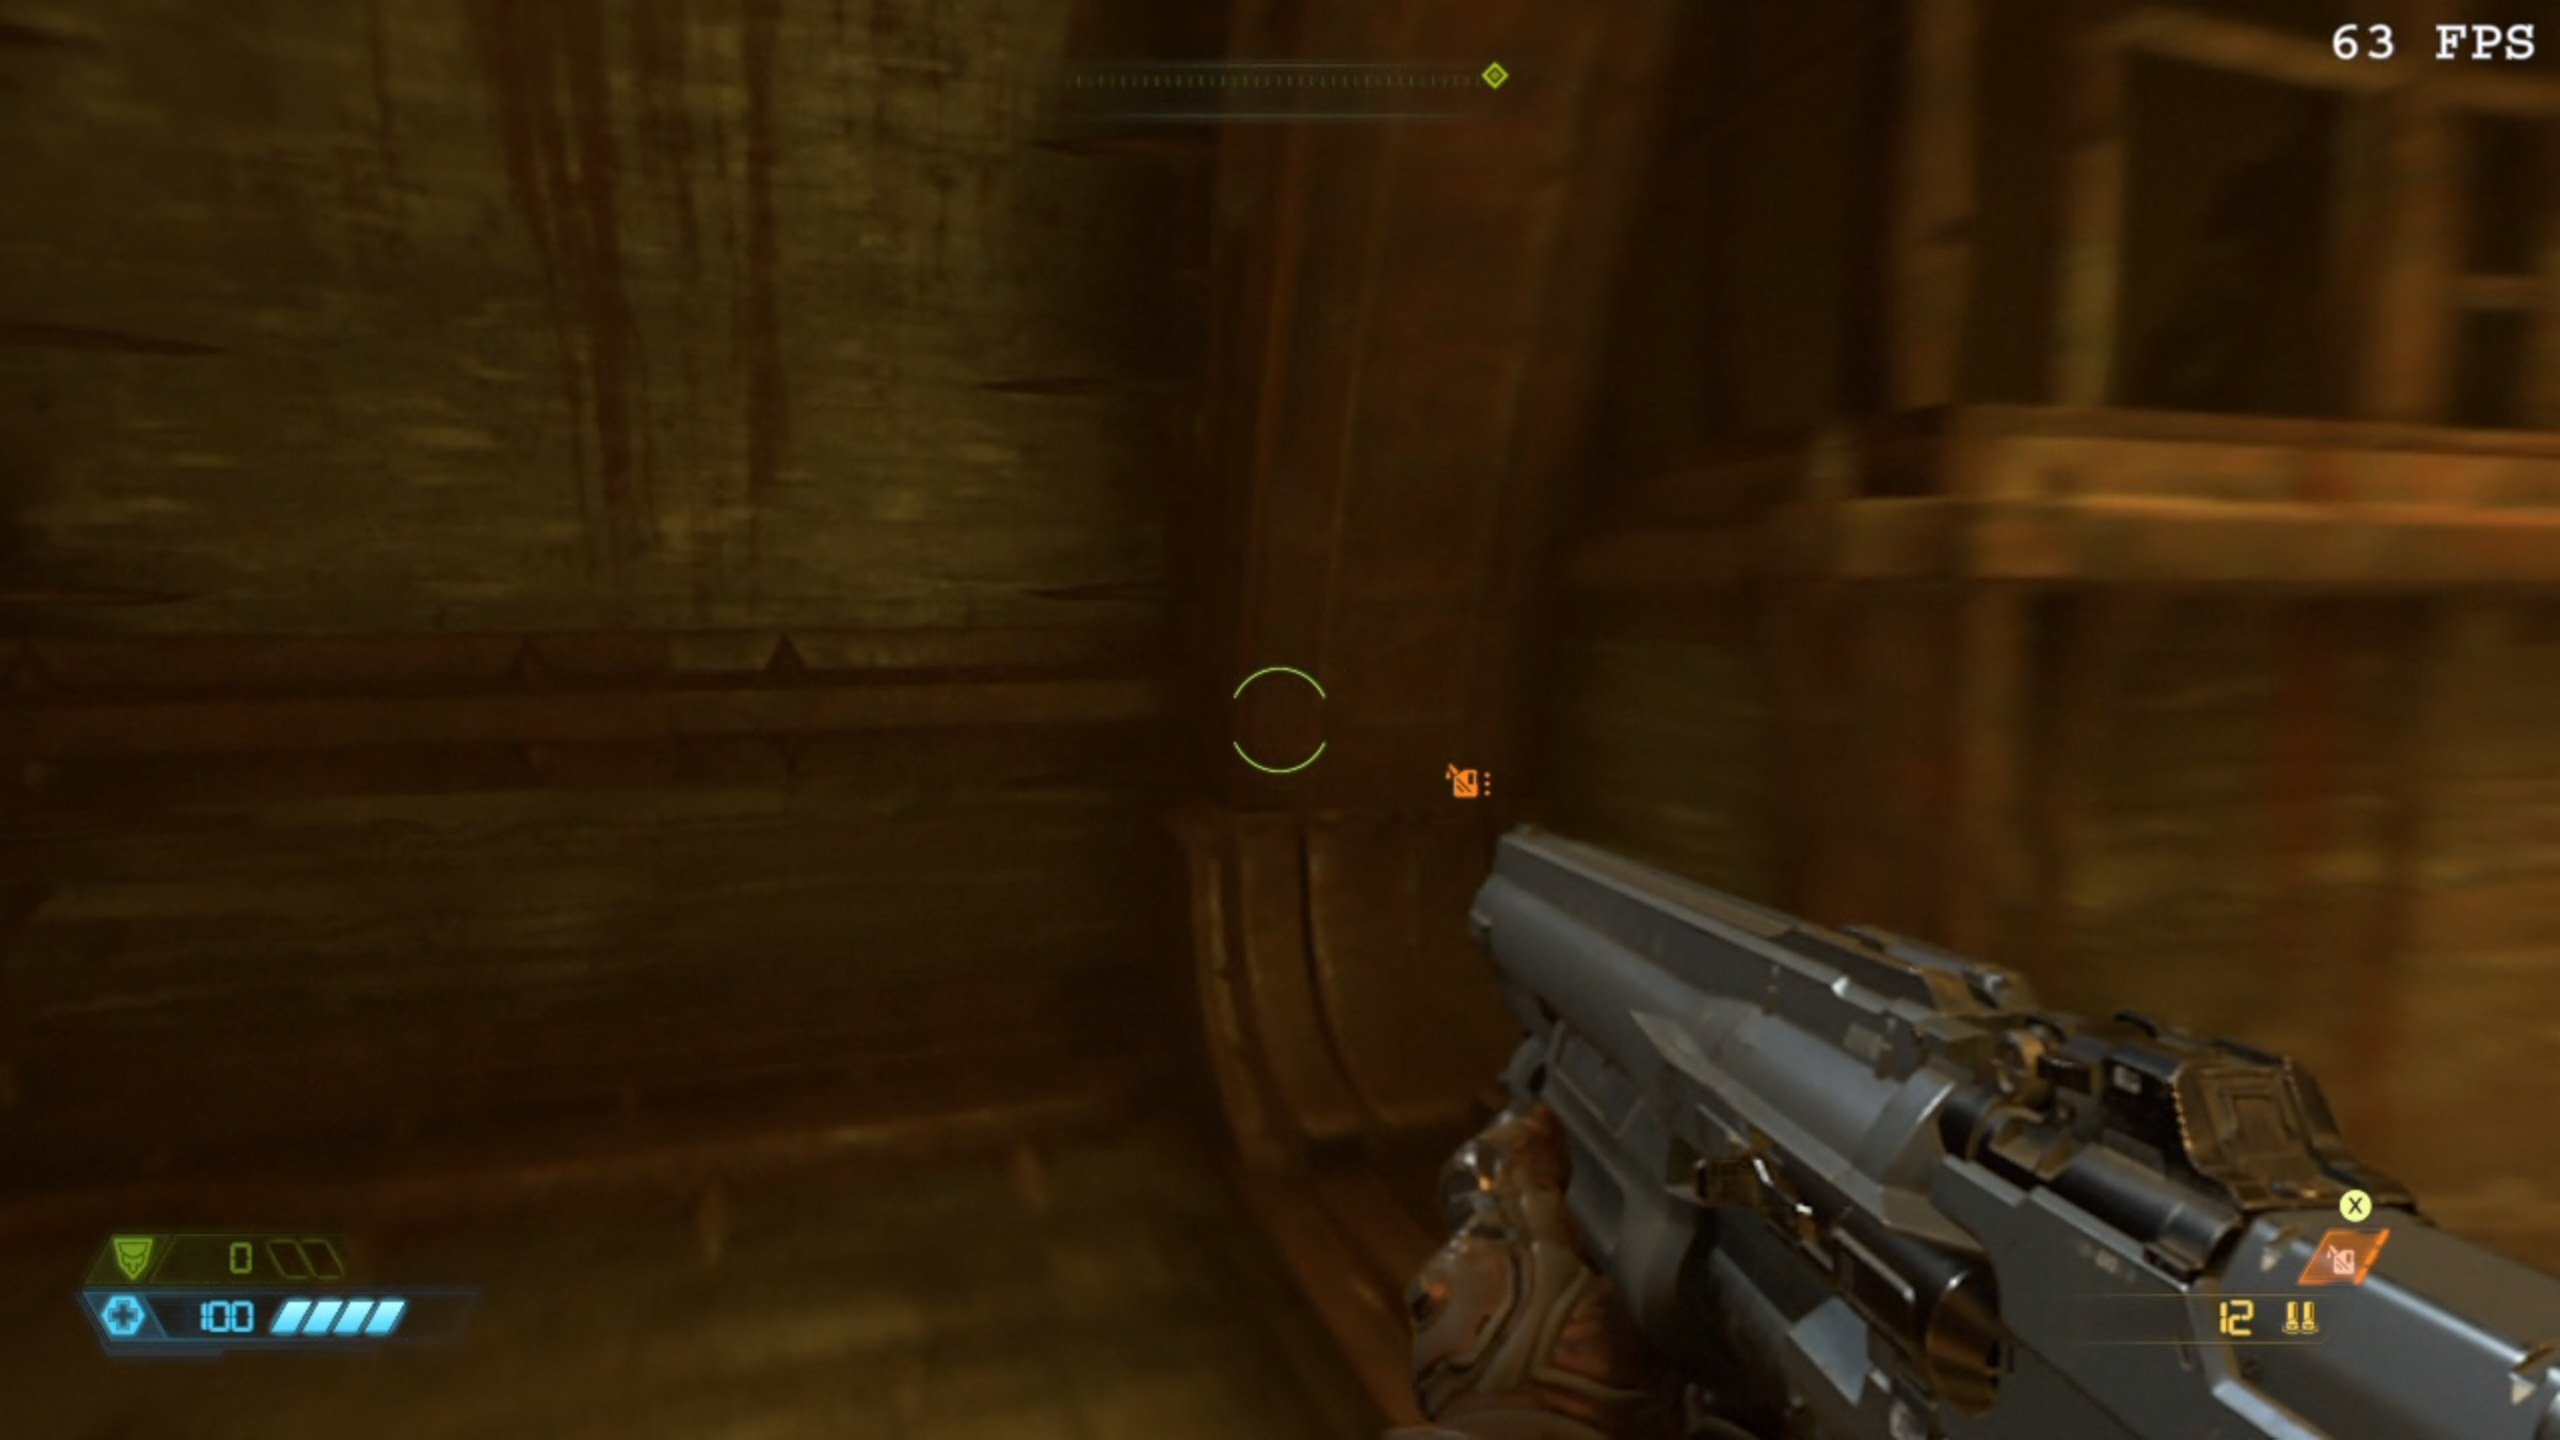
Starting with Counter-Strike: Global Offensive, using default settings with 1280×720 resolution and ‘net_graph 1’ set to display the FPS:
I encountered a low of 50 FPS:
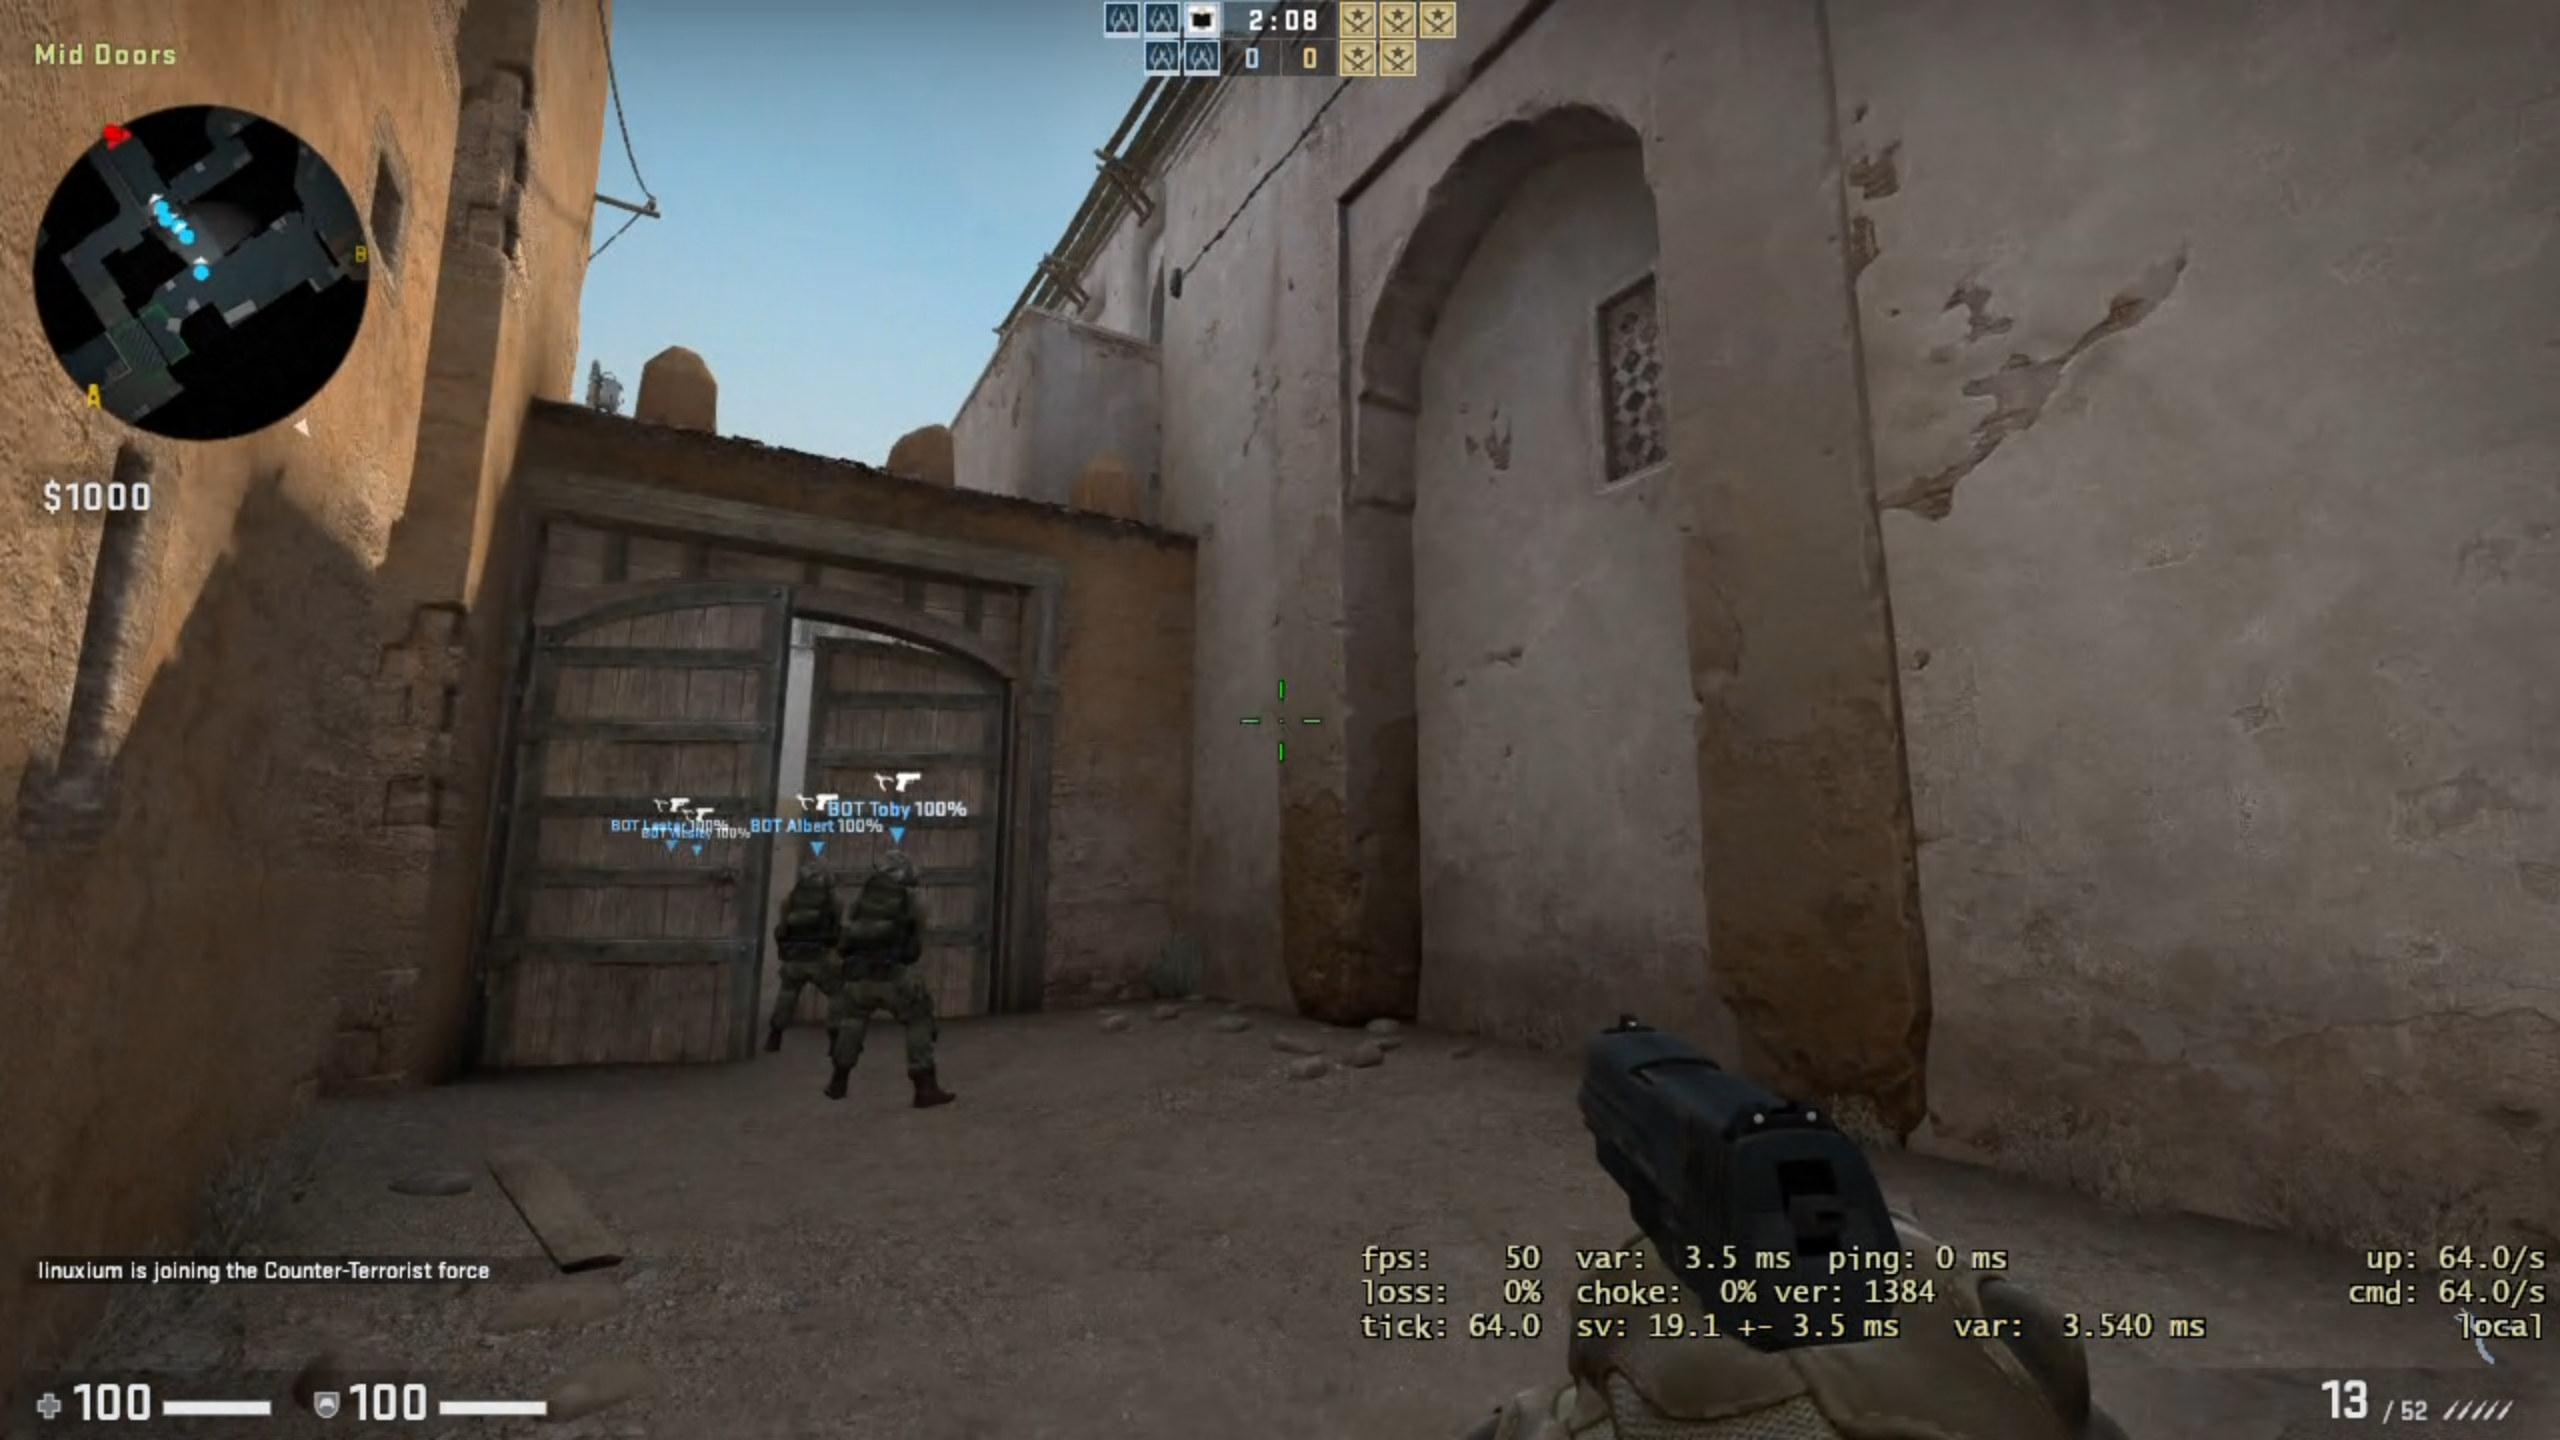
and a high of 125 FPS:
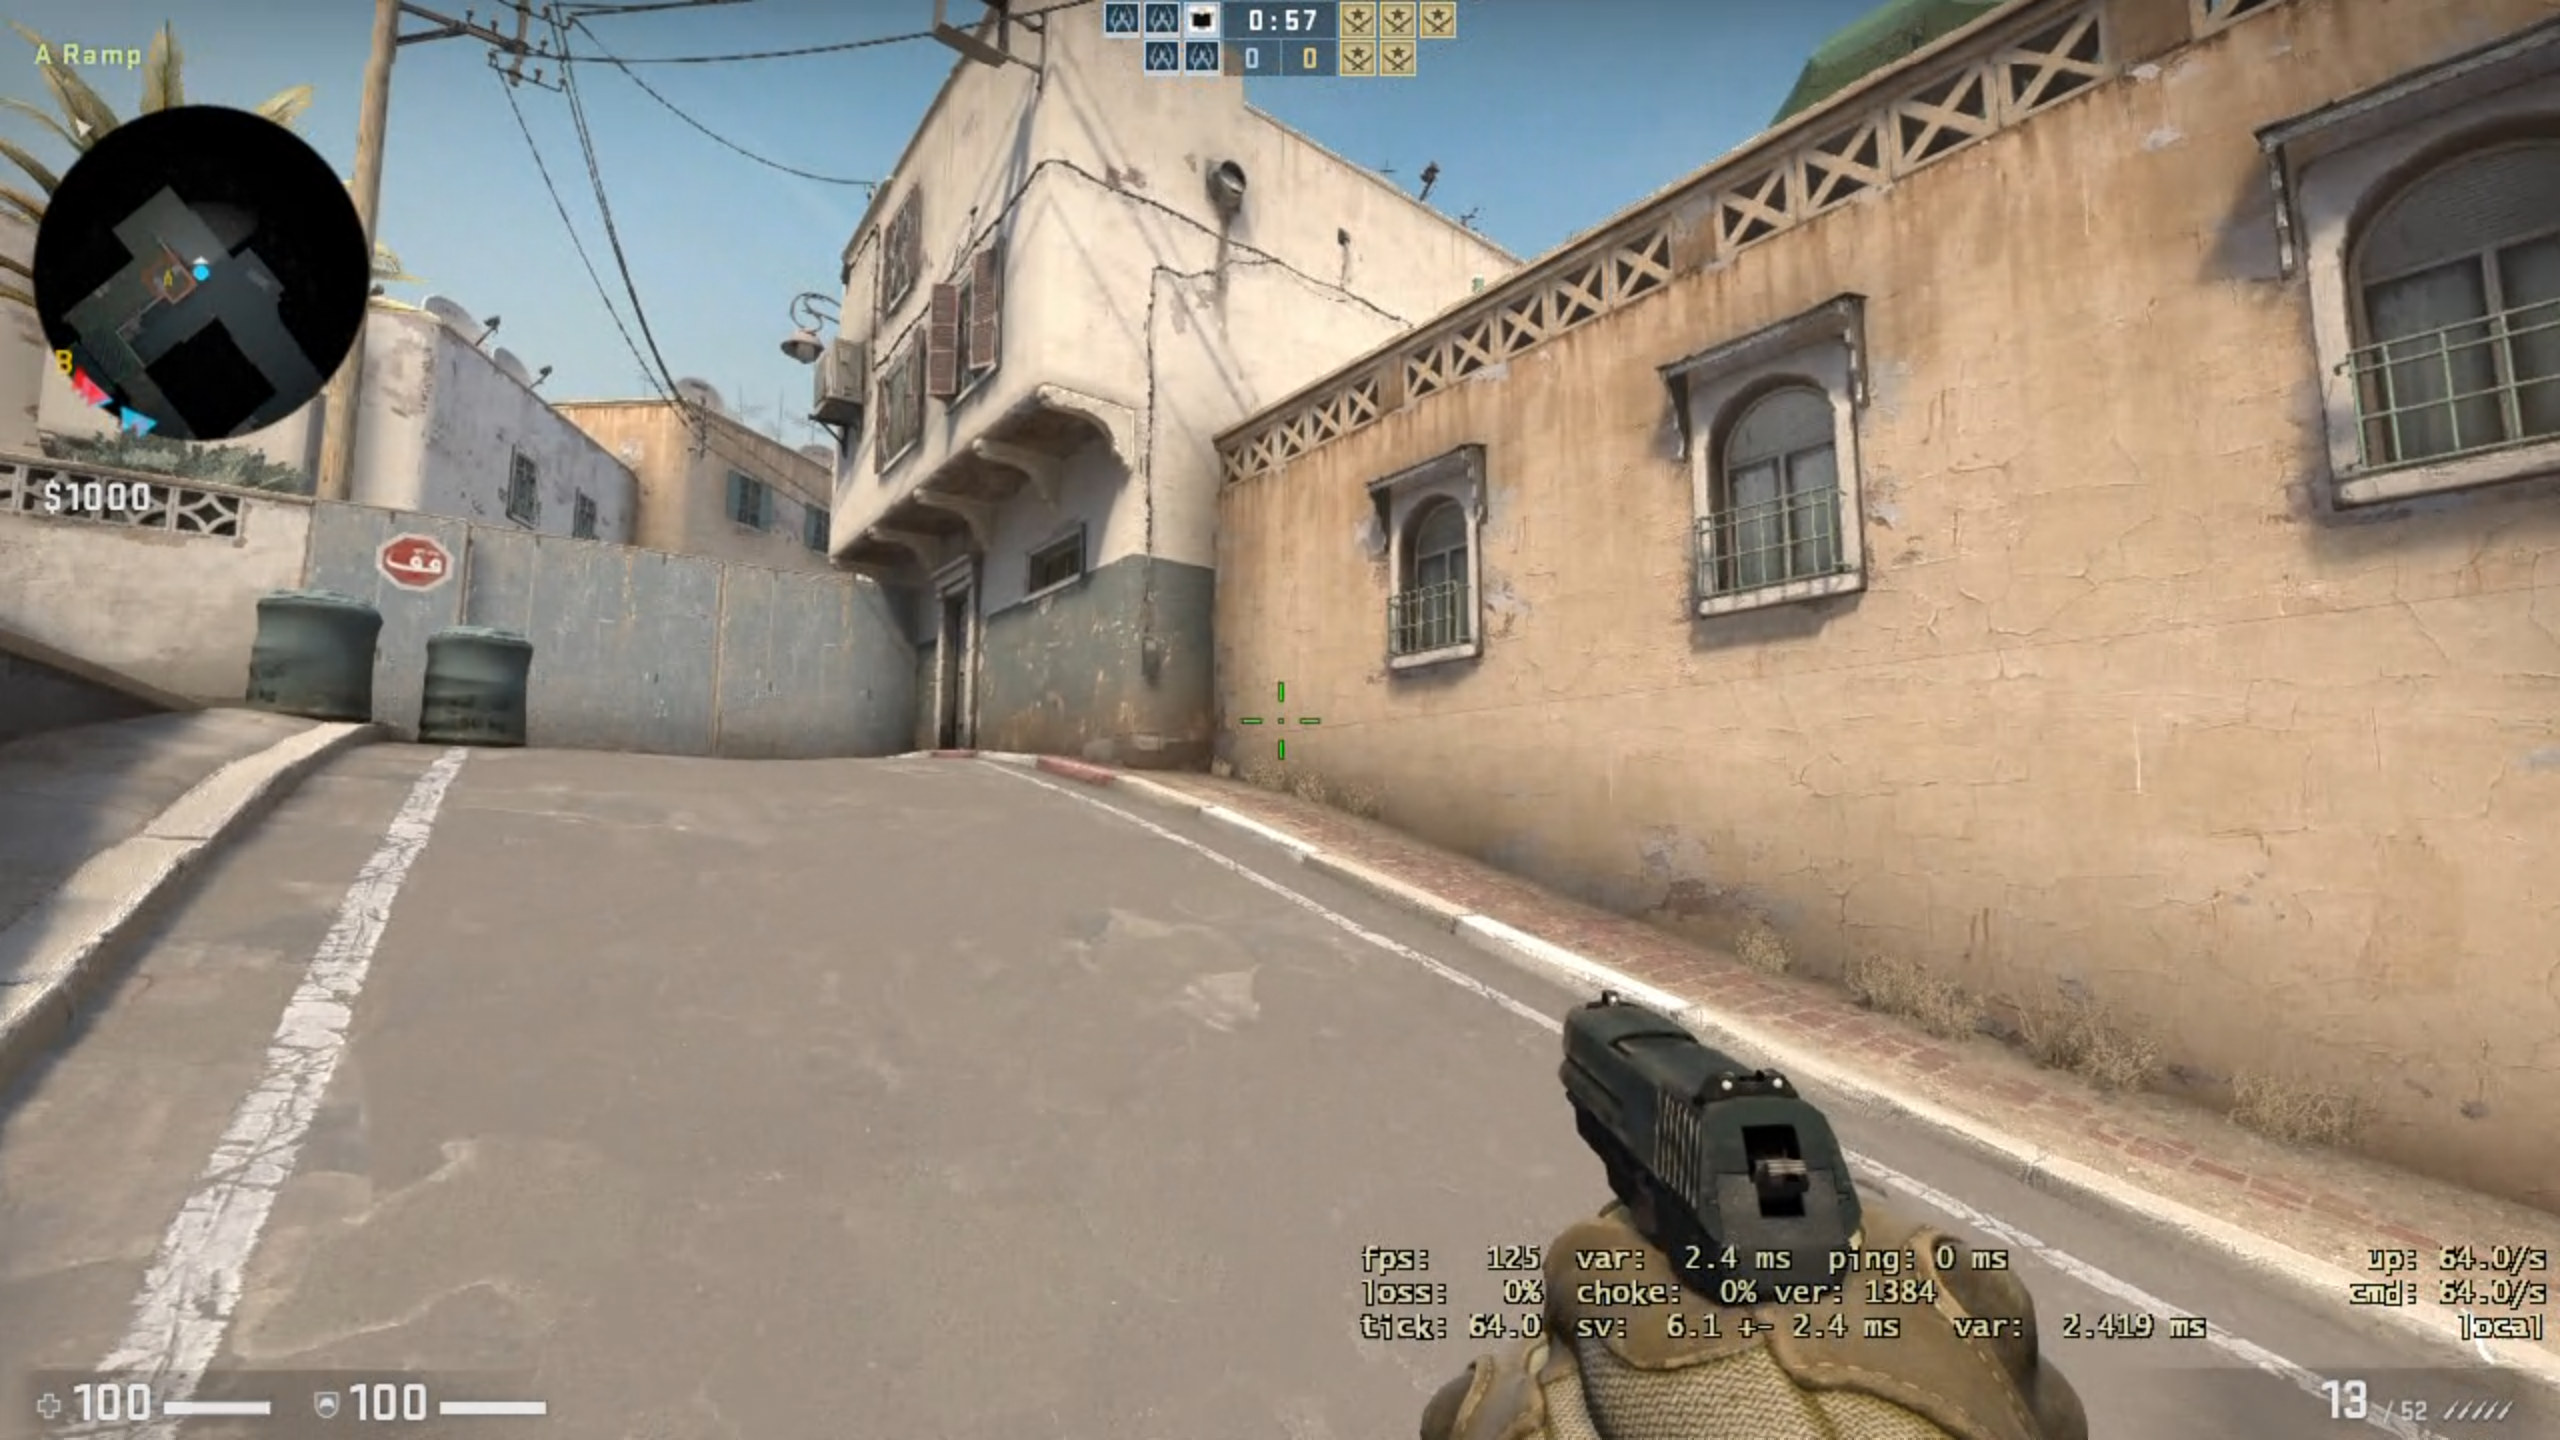
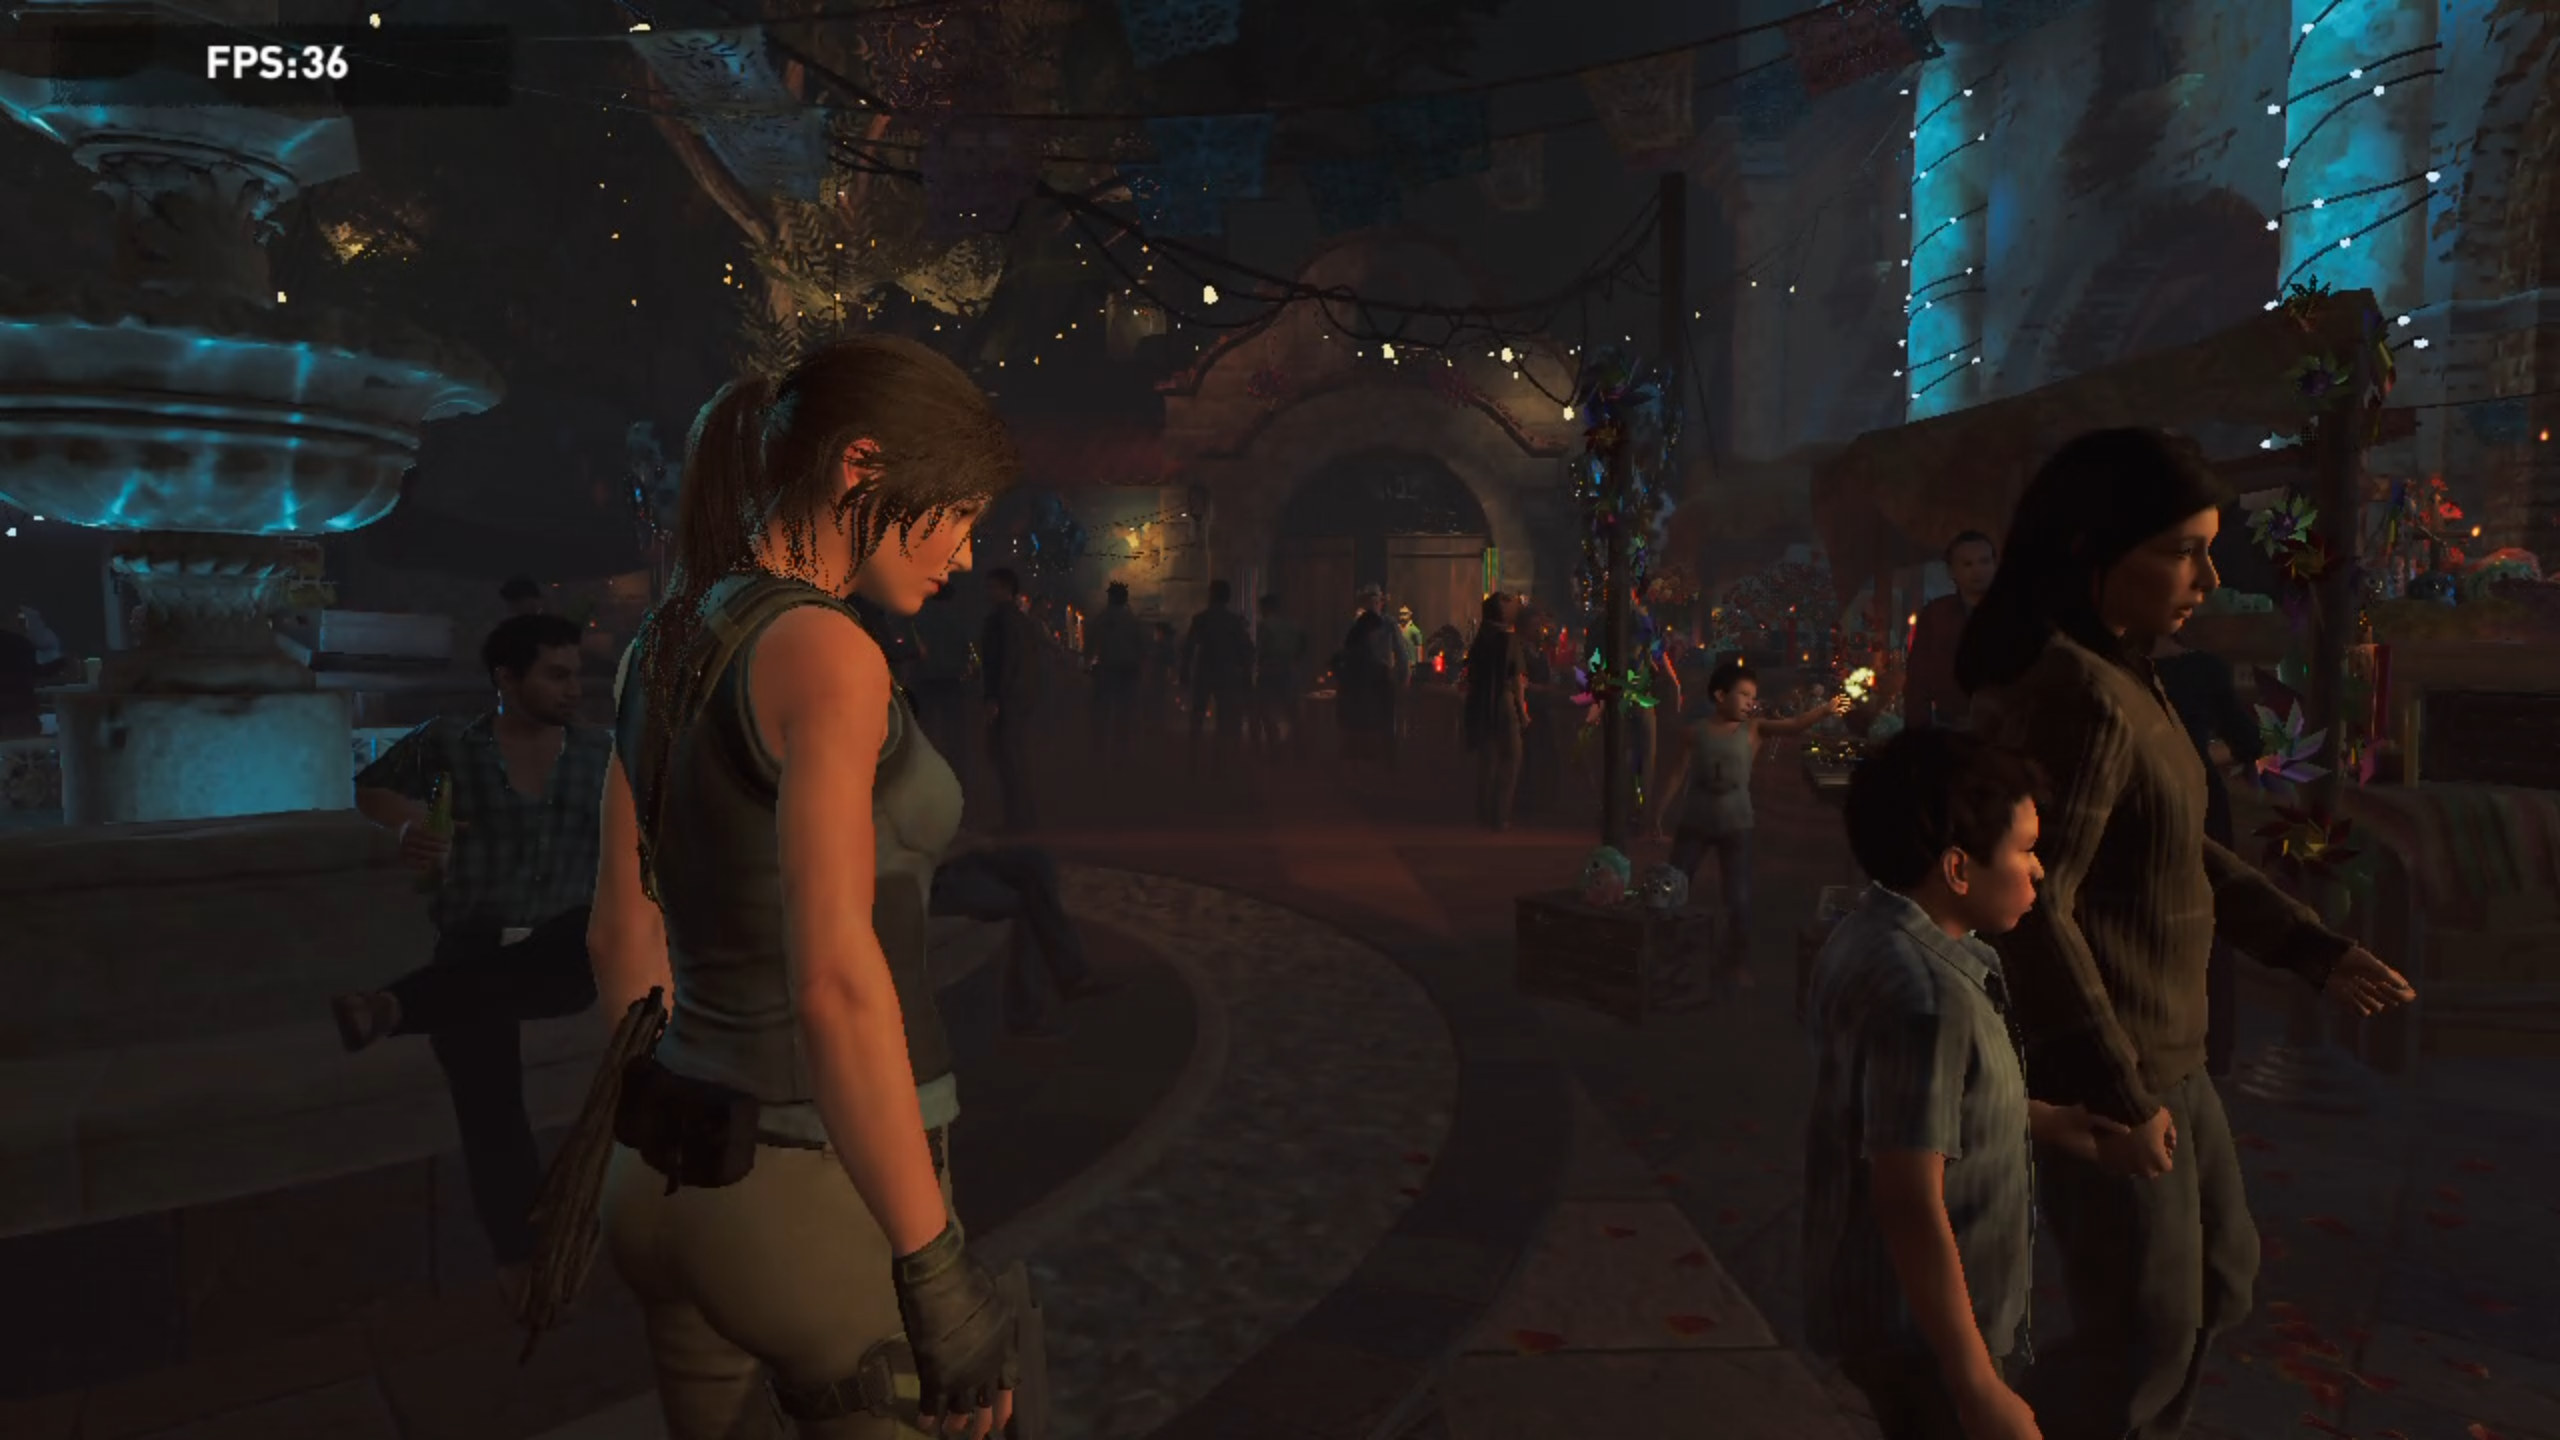
with the average frame rate around 90 FPS as demonstrated by the following short screen capture:

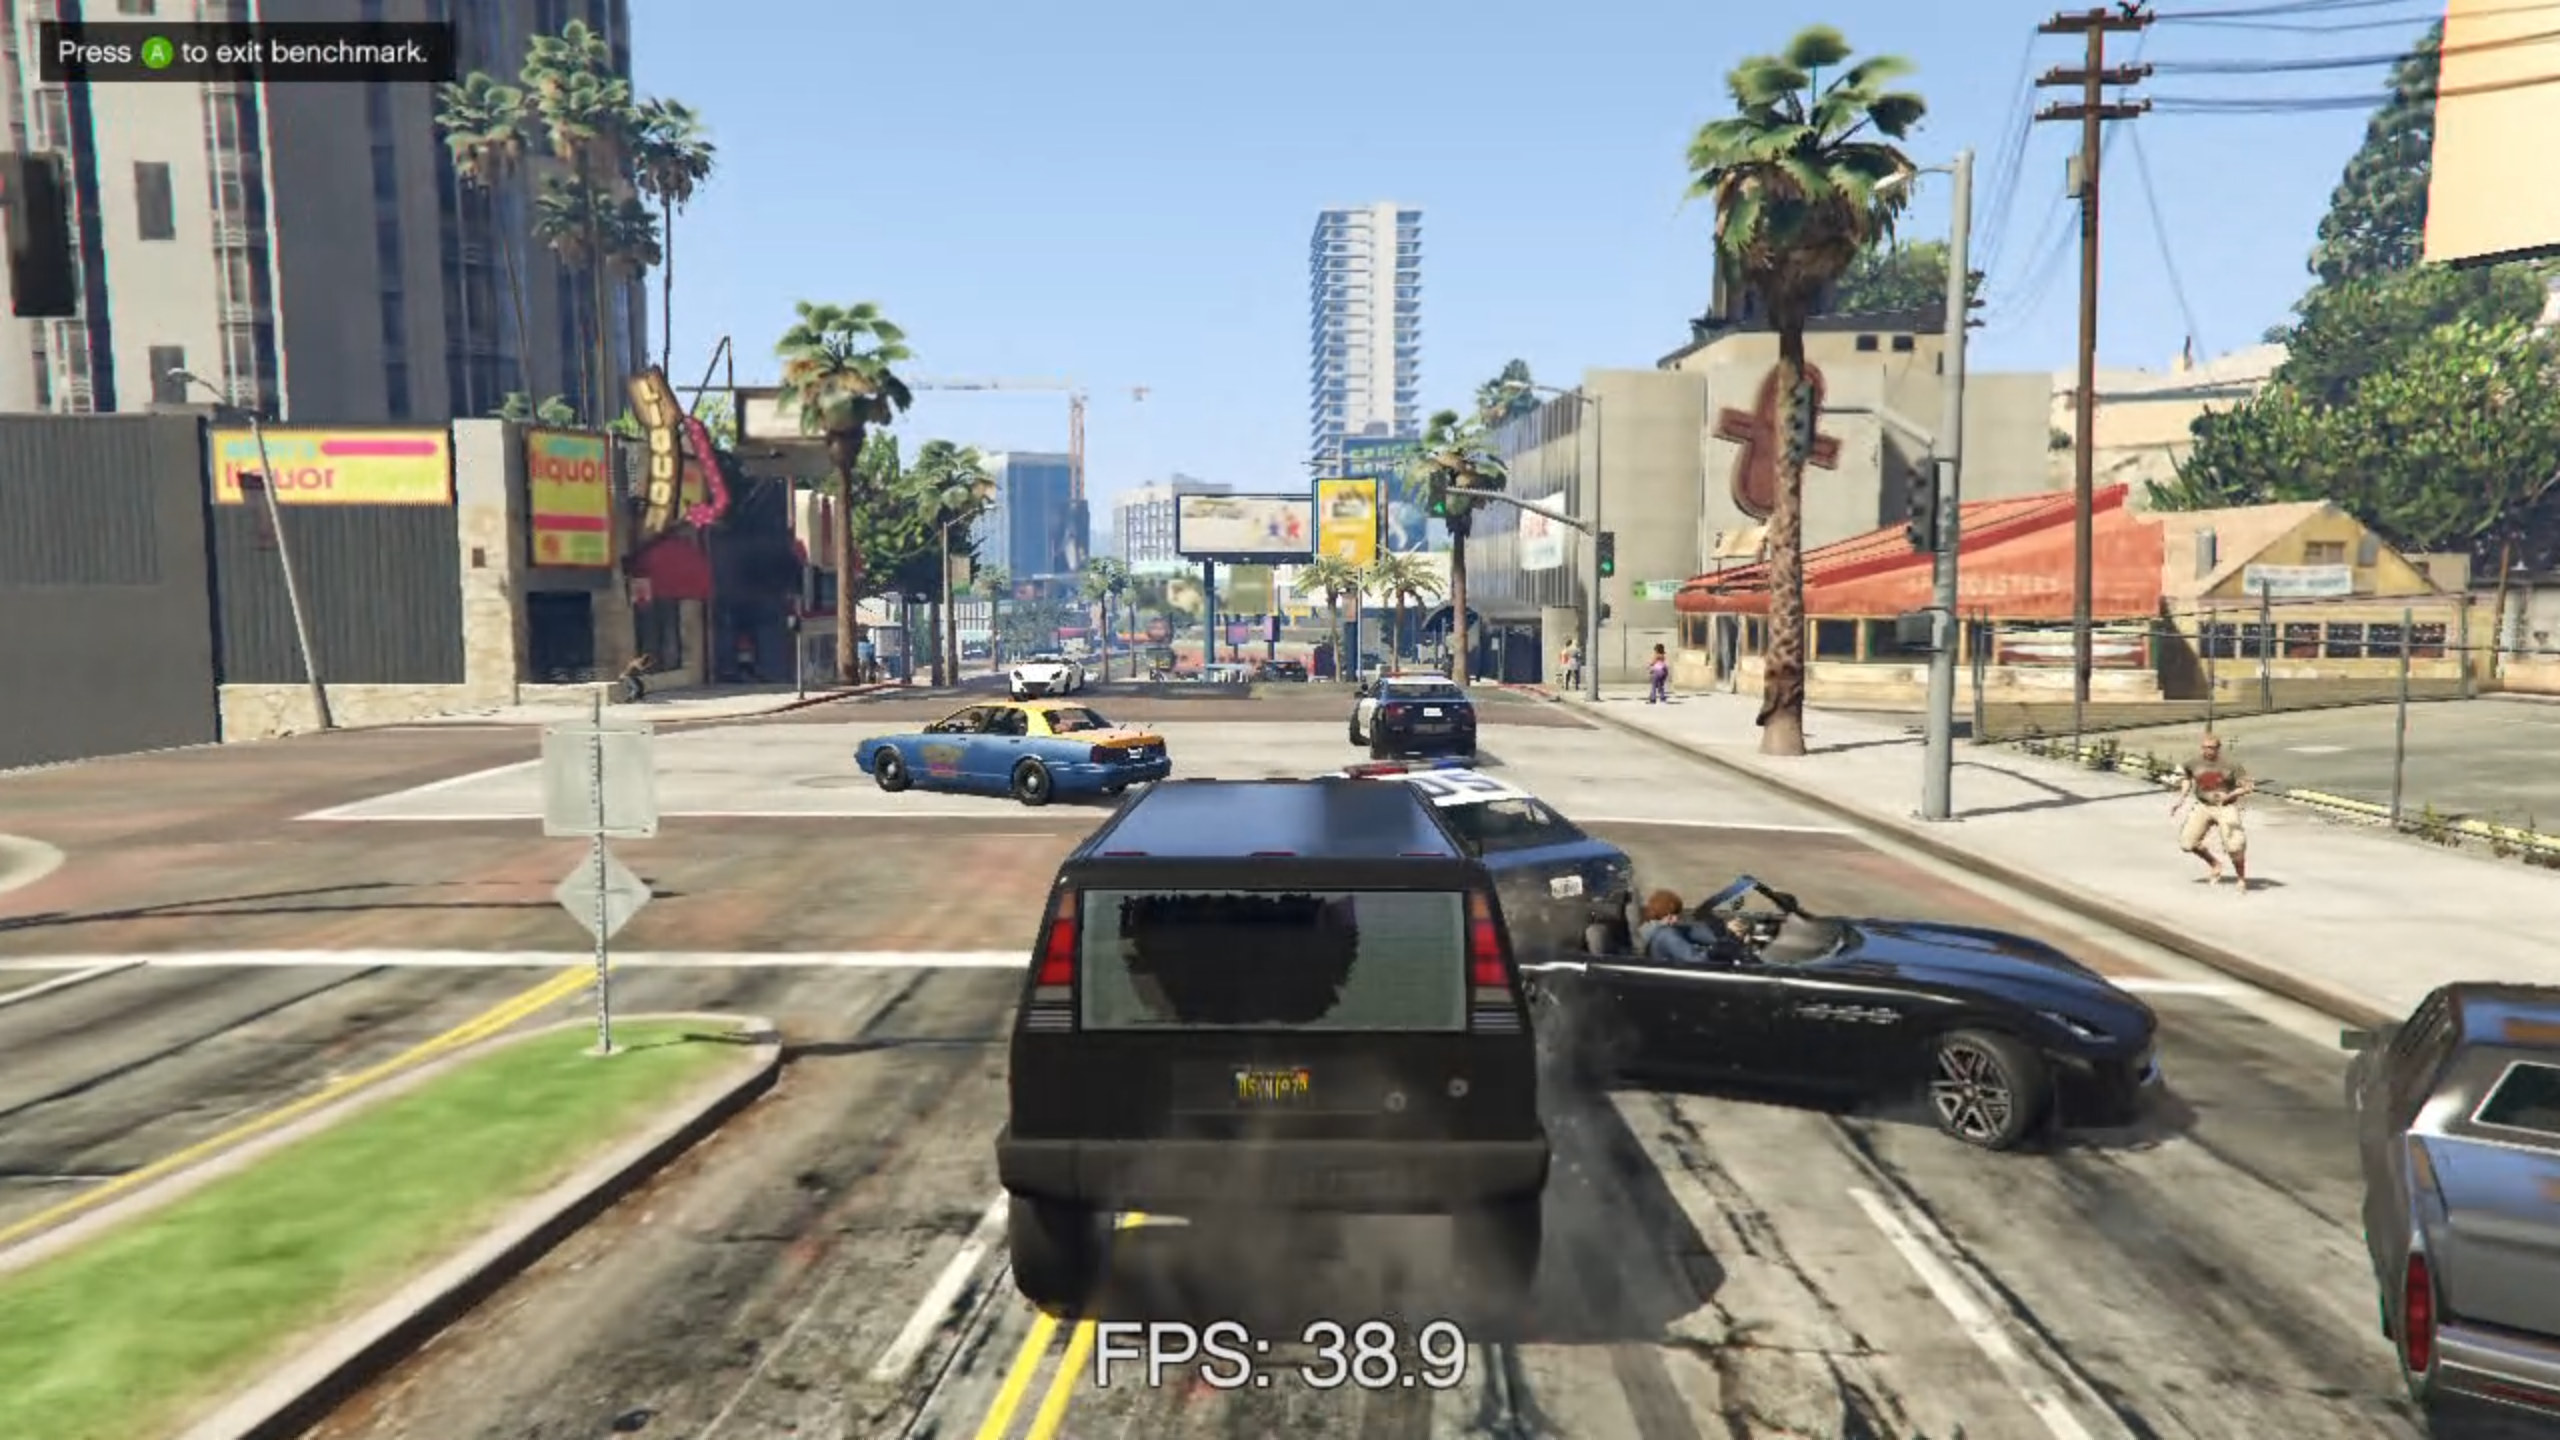
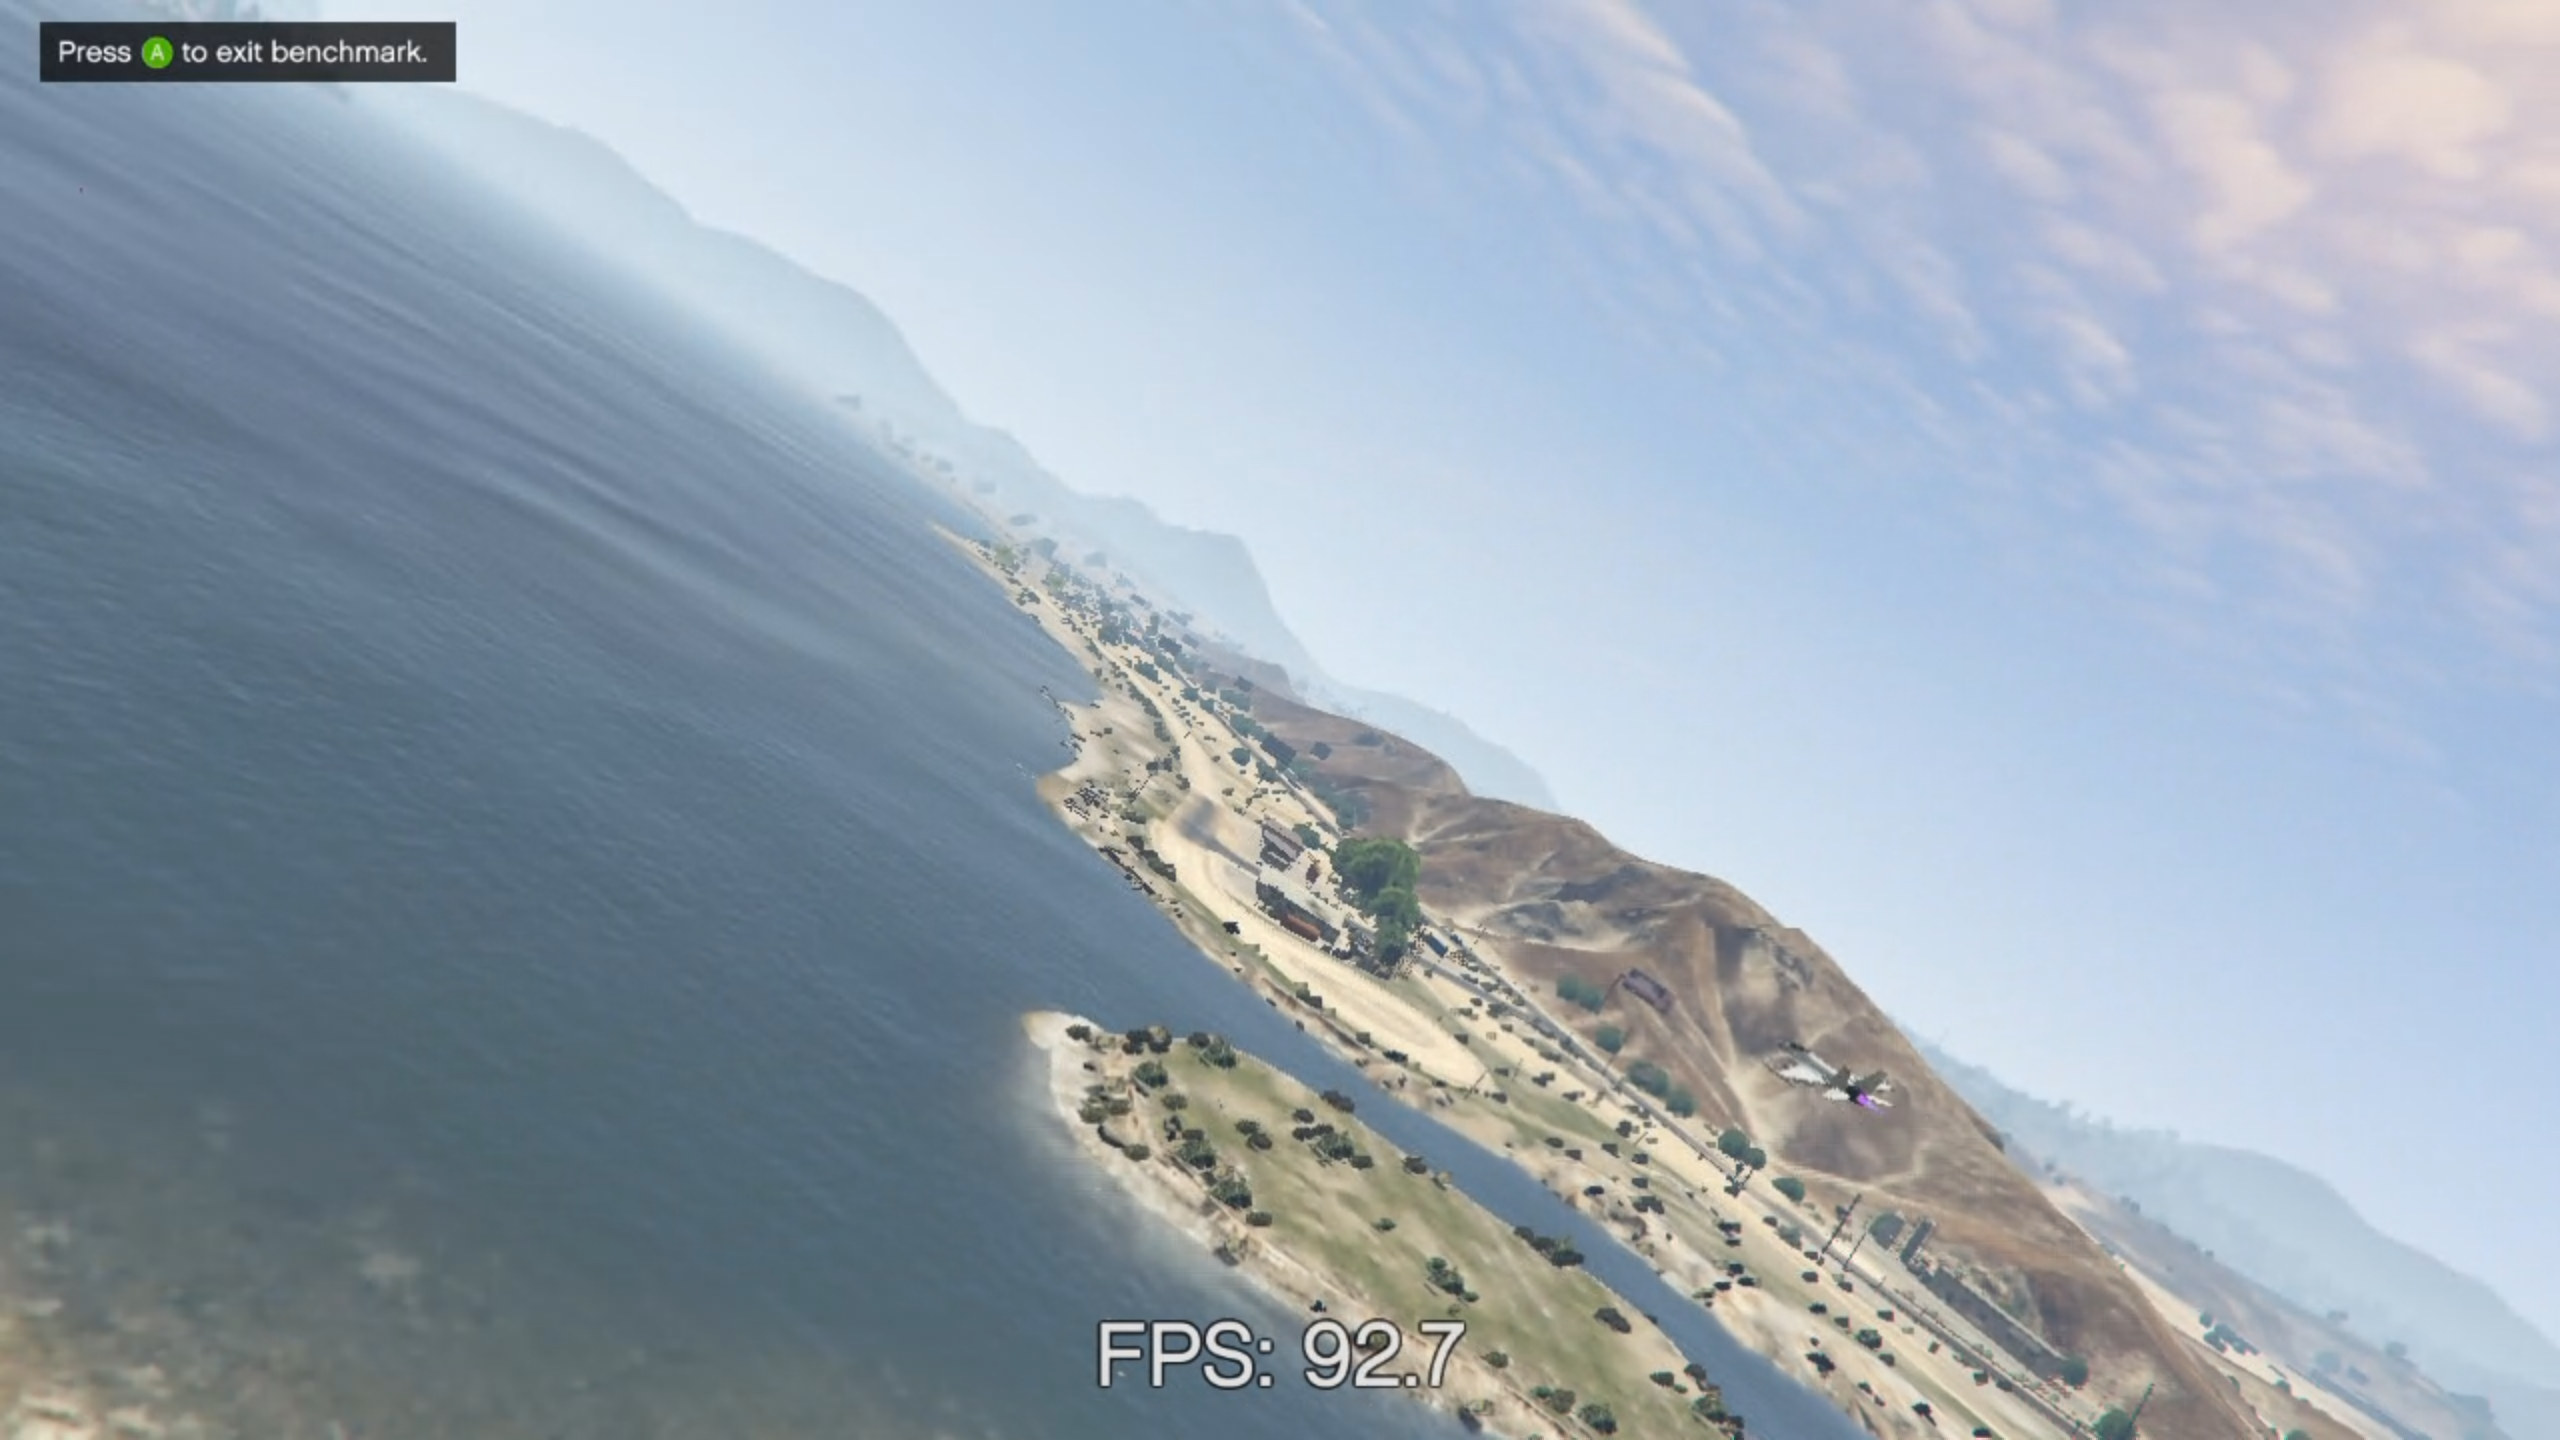
In Grand Theft Auto V using default settings, 1280×720 resolution and ‘VSync’ off:
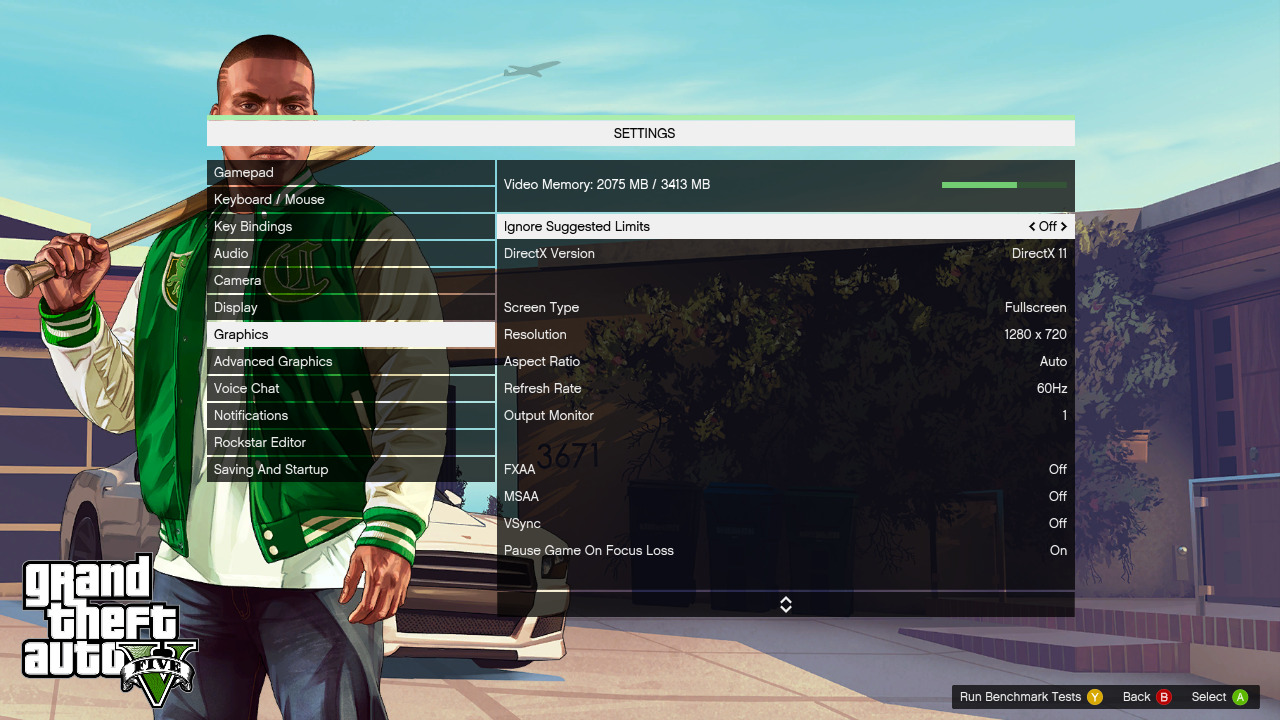
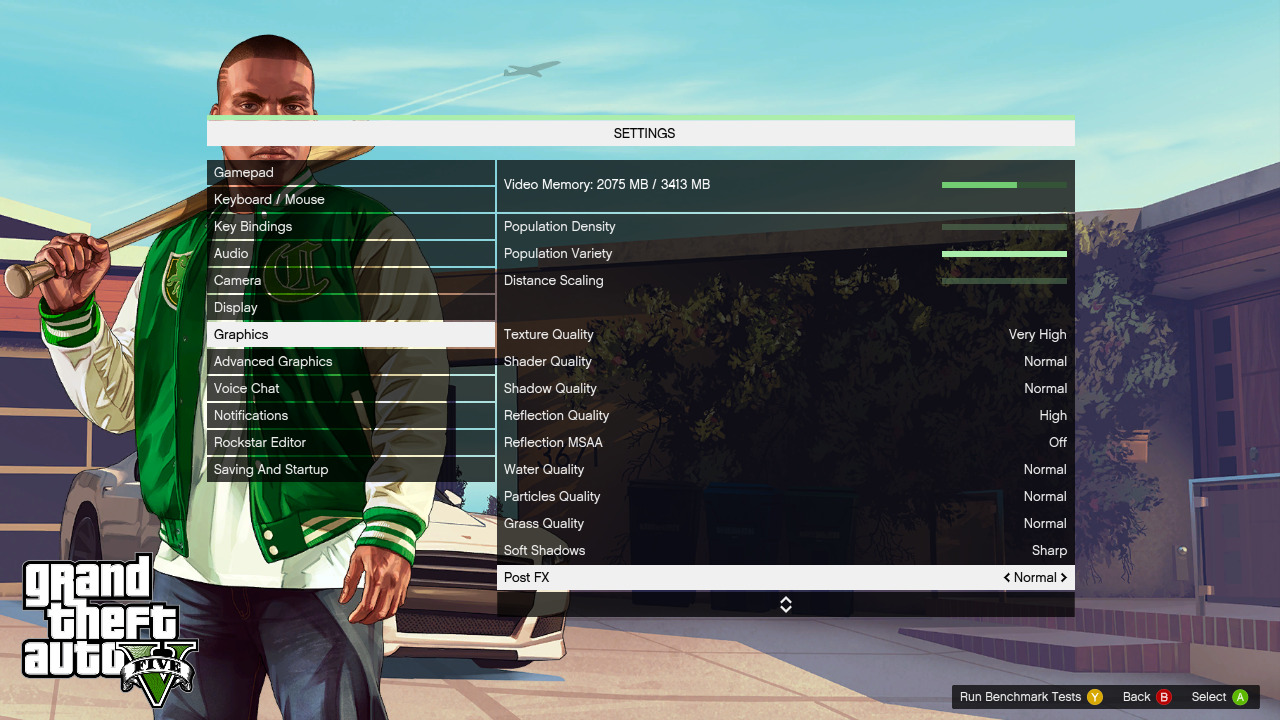
during the final built-in benchmark the frame rate dipped to 38.9 FPS towards the end:
from a high of 92.7 FPS near the start:
however overall the average FPS was in the 50s:

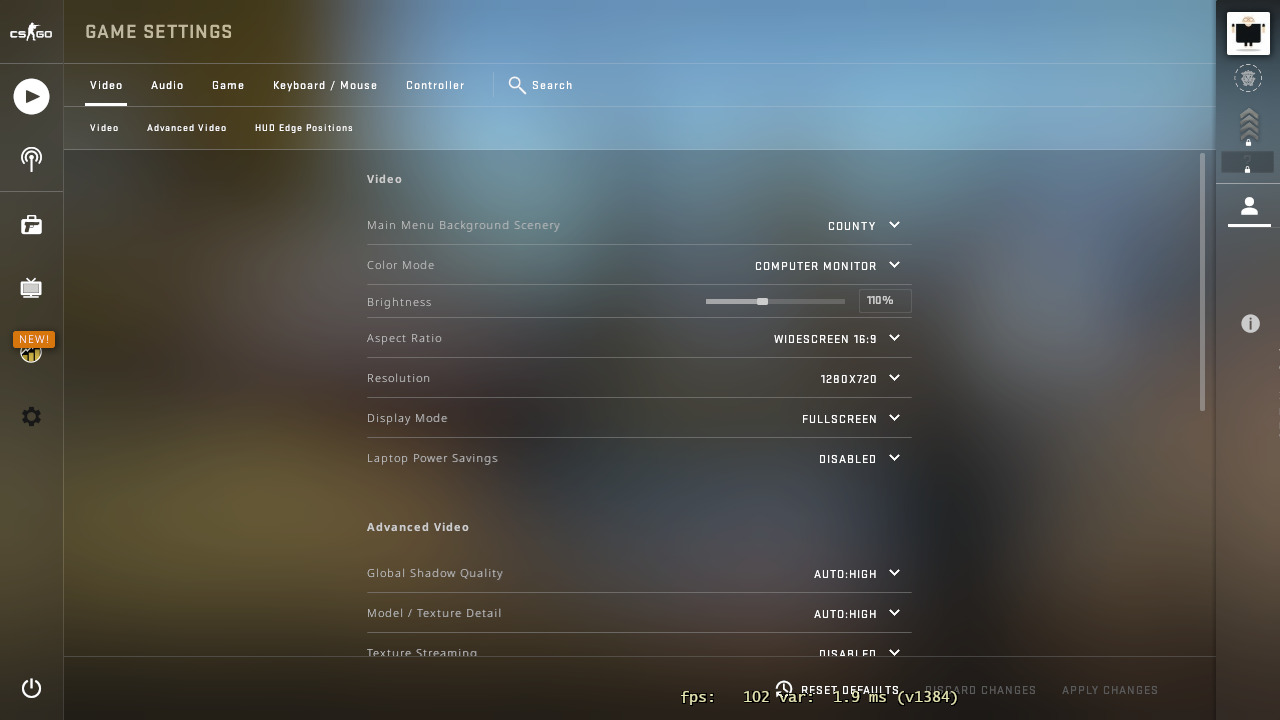
Shadow Of The Tomb Raider was the easiest to quantify due to the built-in benchmark statistics. I used the lowest graphical preset:
with 1280×720 resolution:
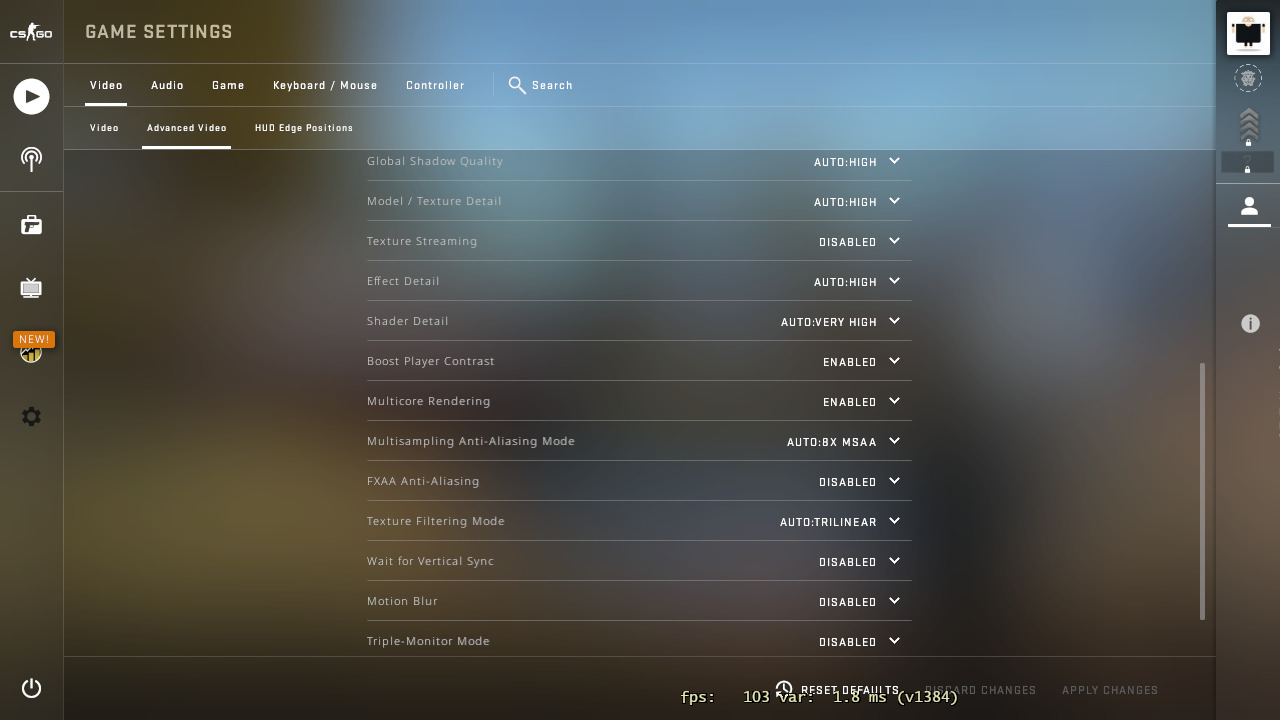
and during the benchmark I observed a low of 36 FPS:
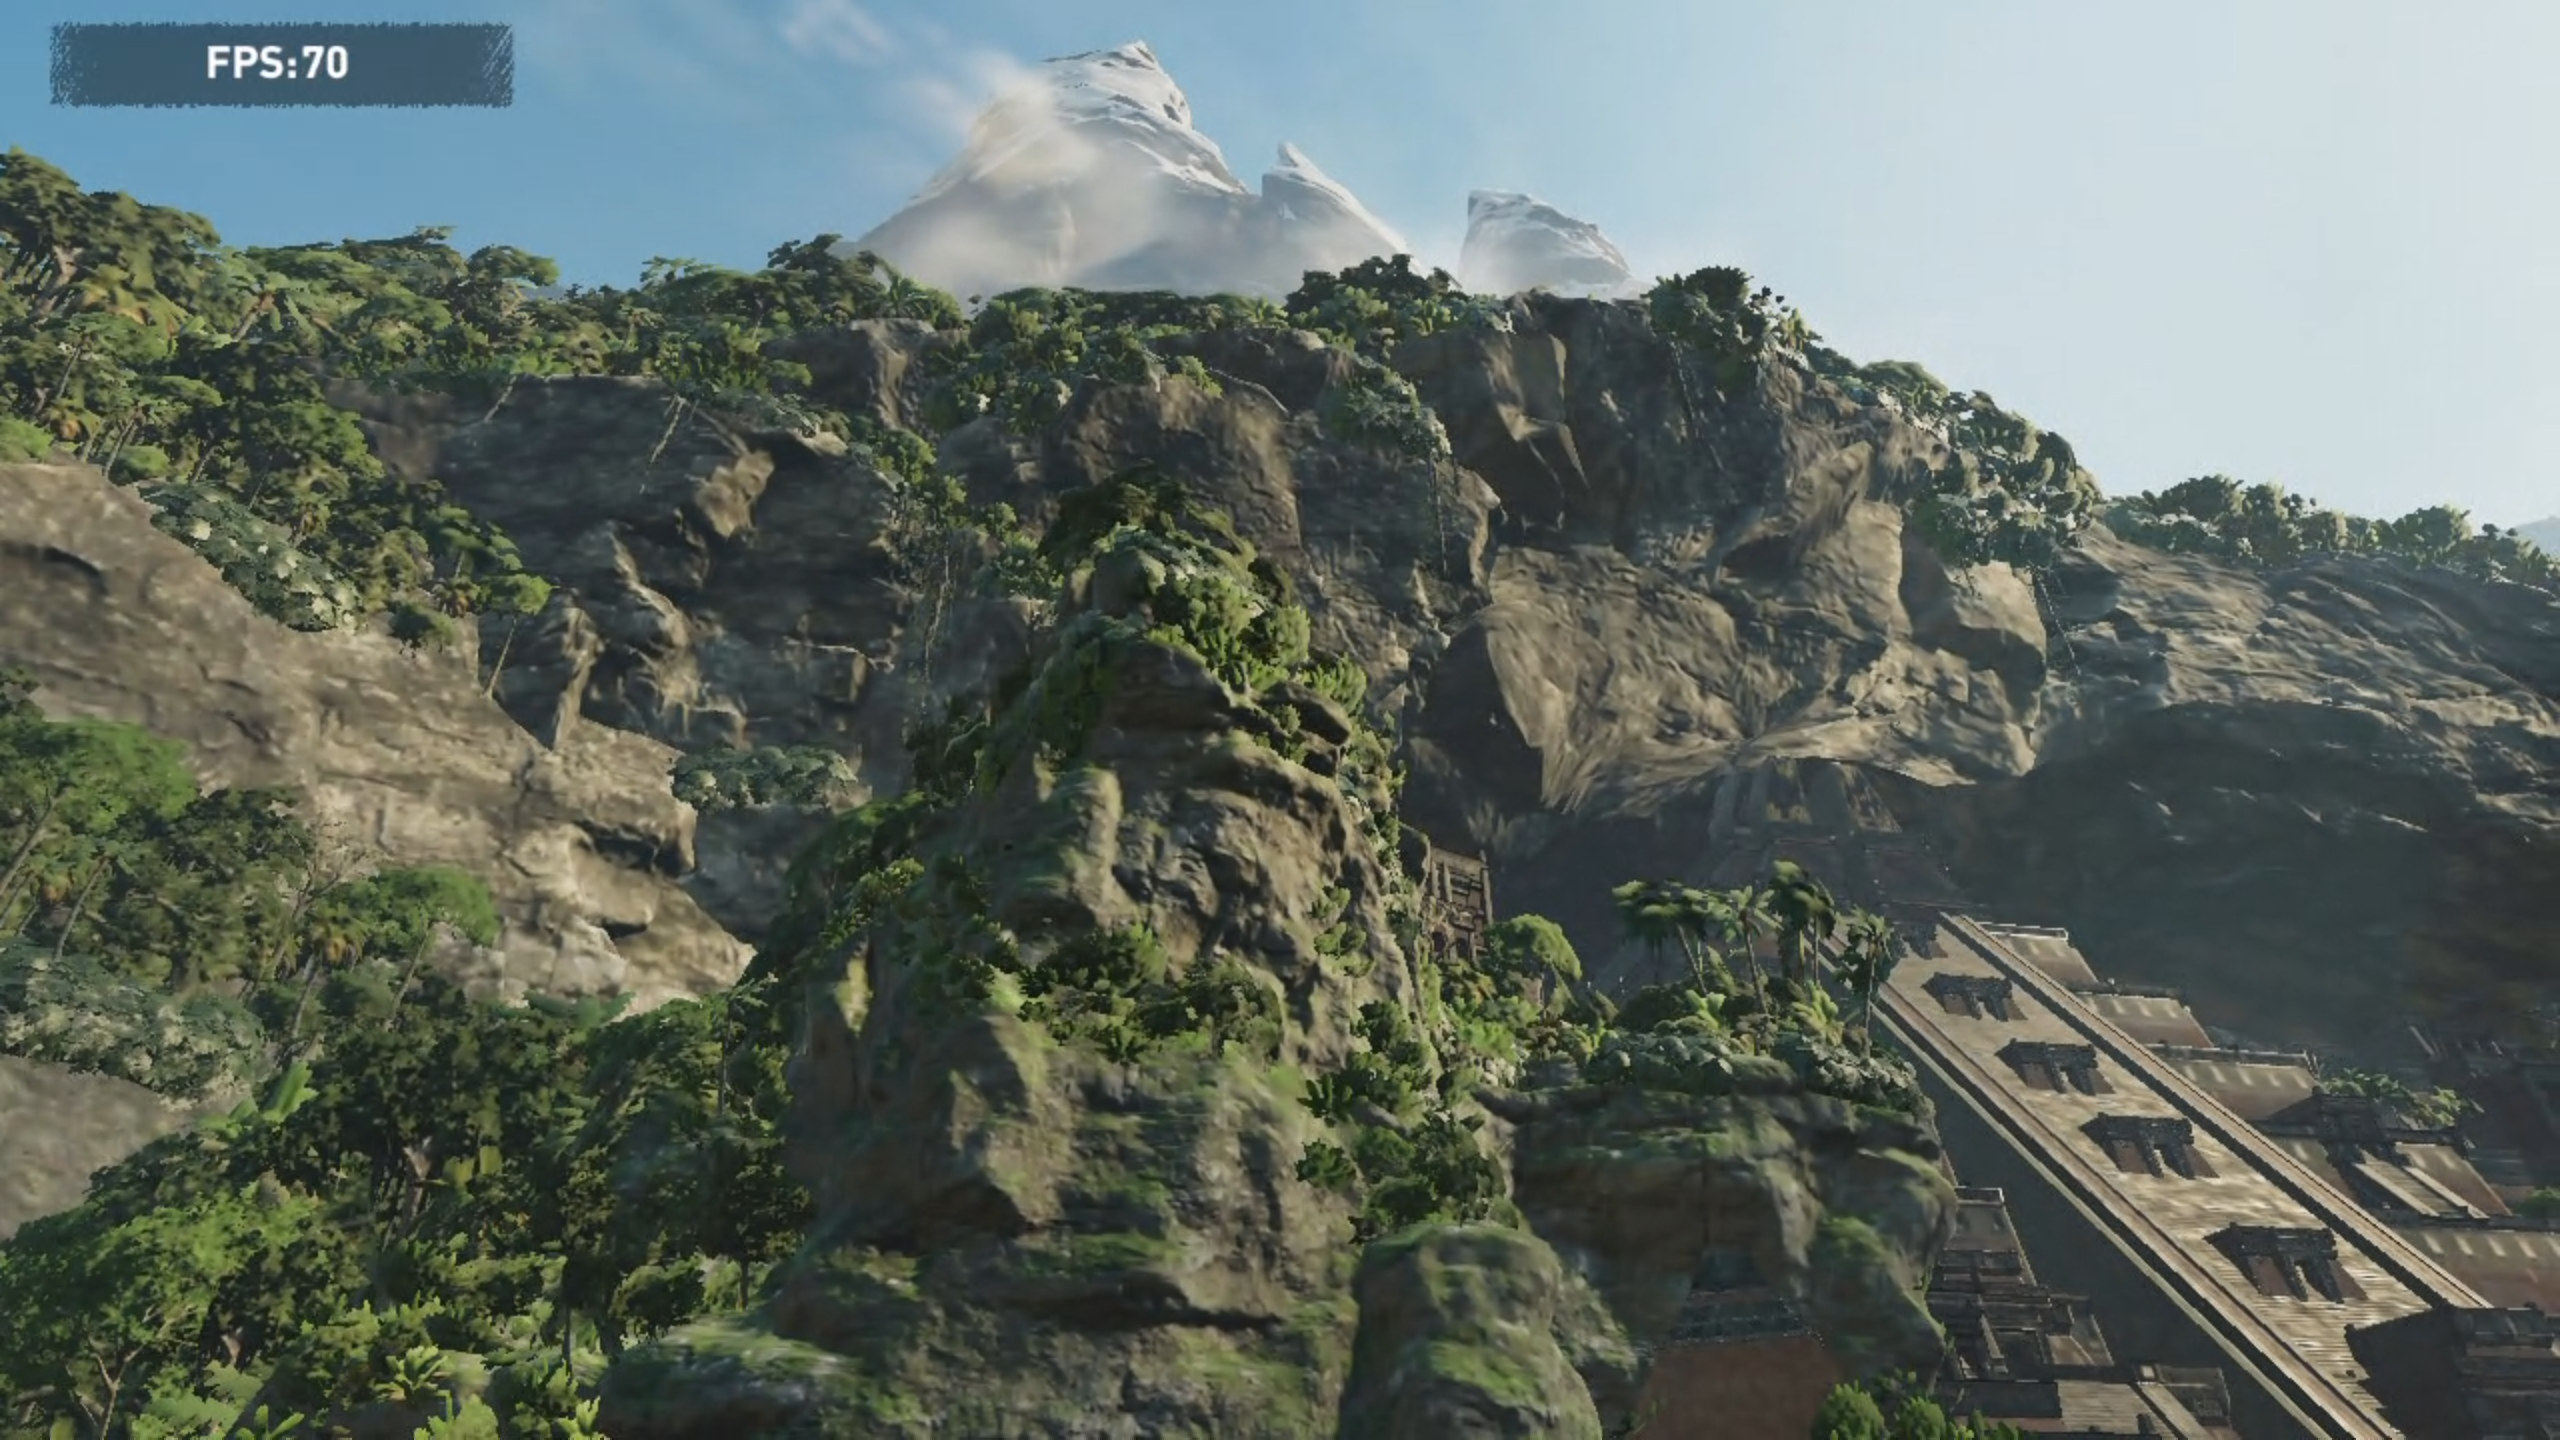
and high of 70 FPS:
with the average being 44 FPS:
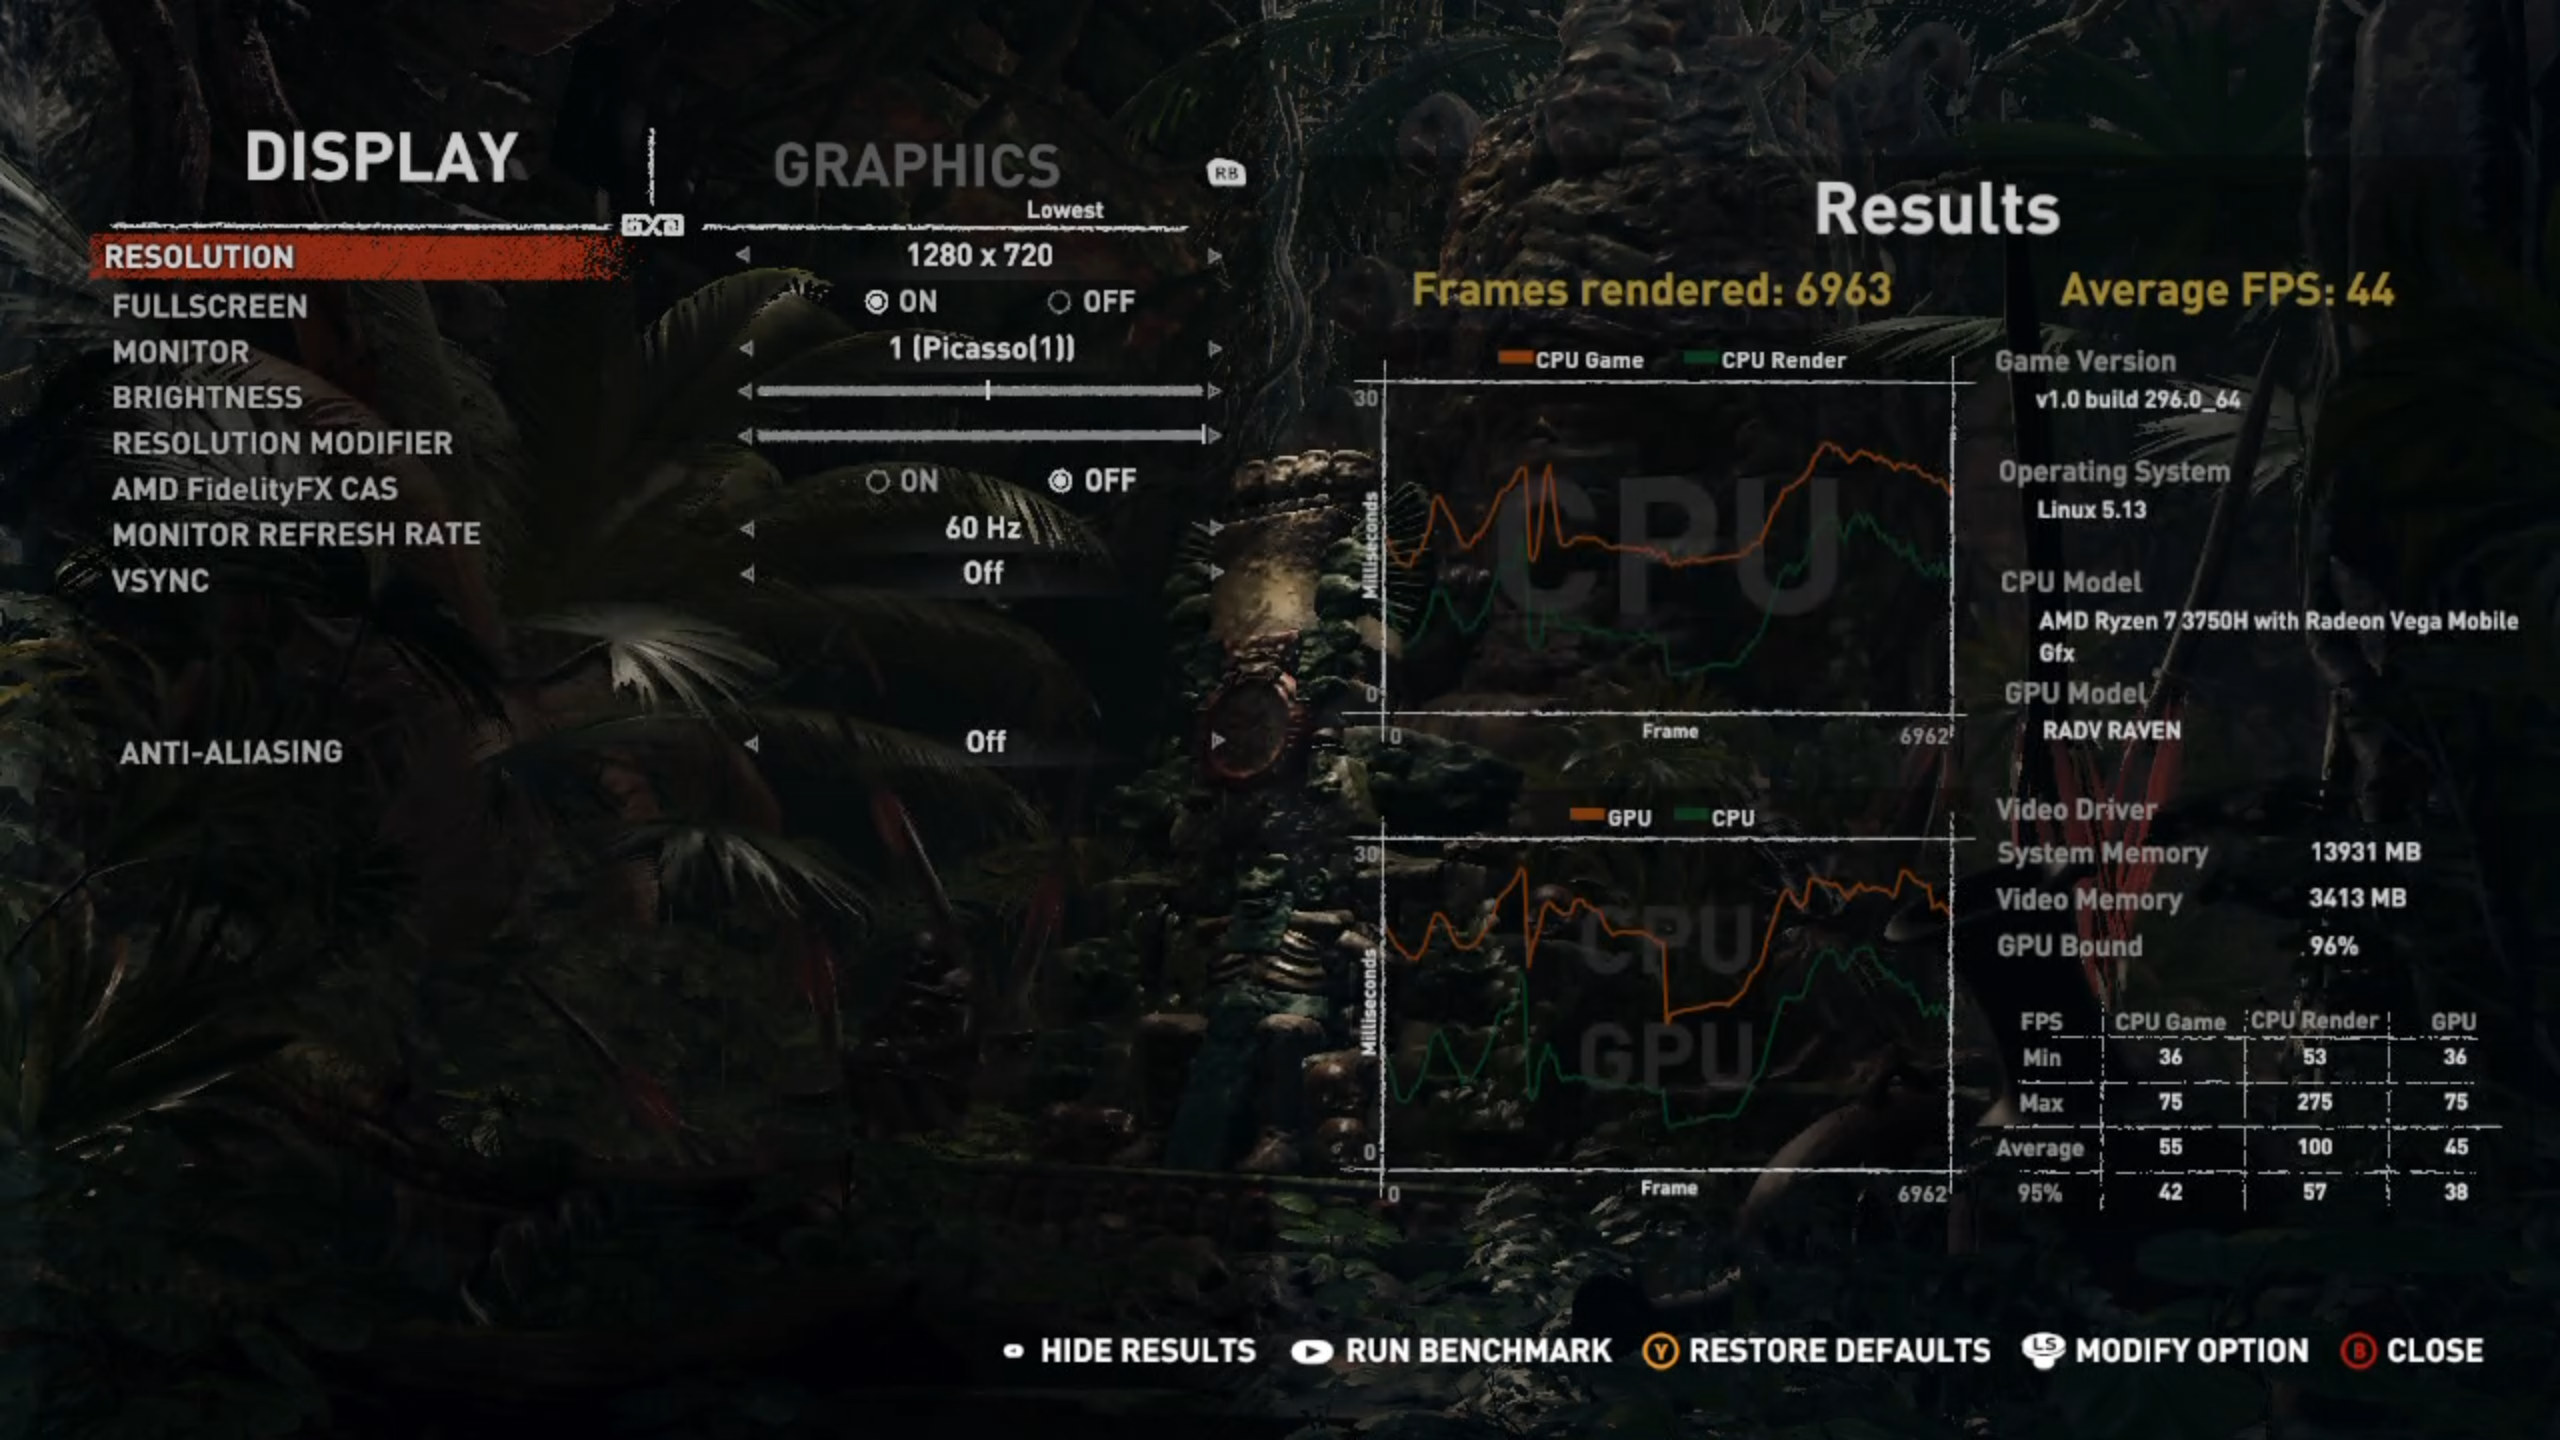
The following is a short extract captured during the benchmark:

Finally, I tried Doom Eternal which I had to play from an external storage drive connected by USB. With the following defaults including ‘Performance Metrics’ set to ‘Low’ to display FPS:

During my limited gameplay I saw a low of 33 FPS:
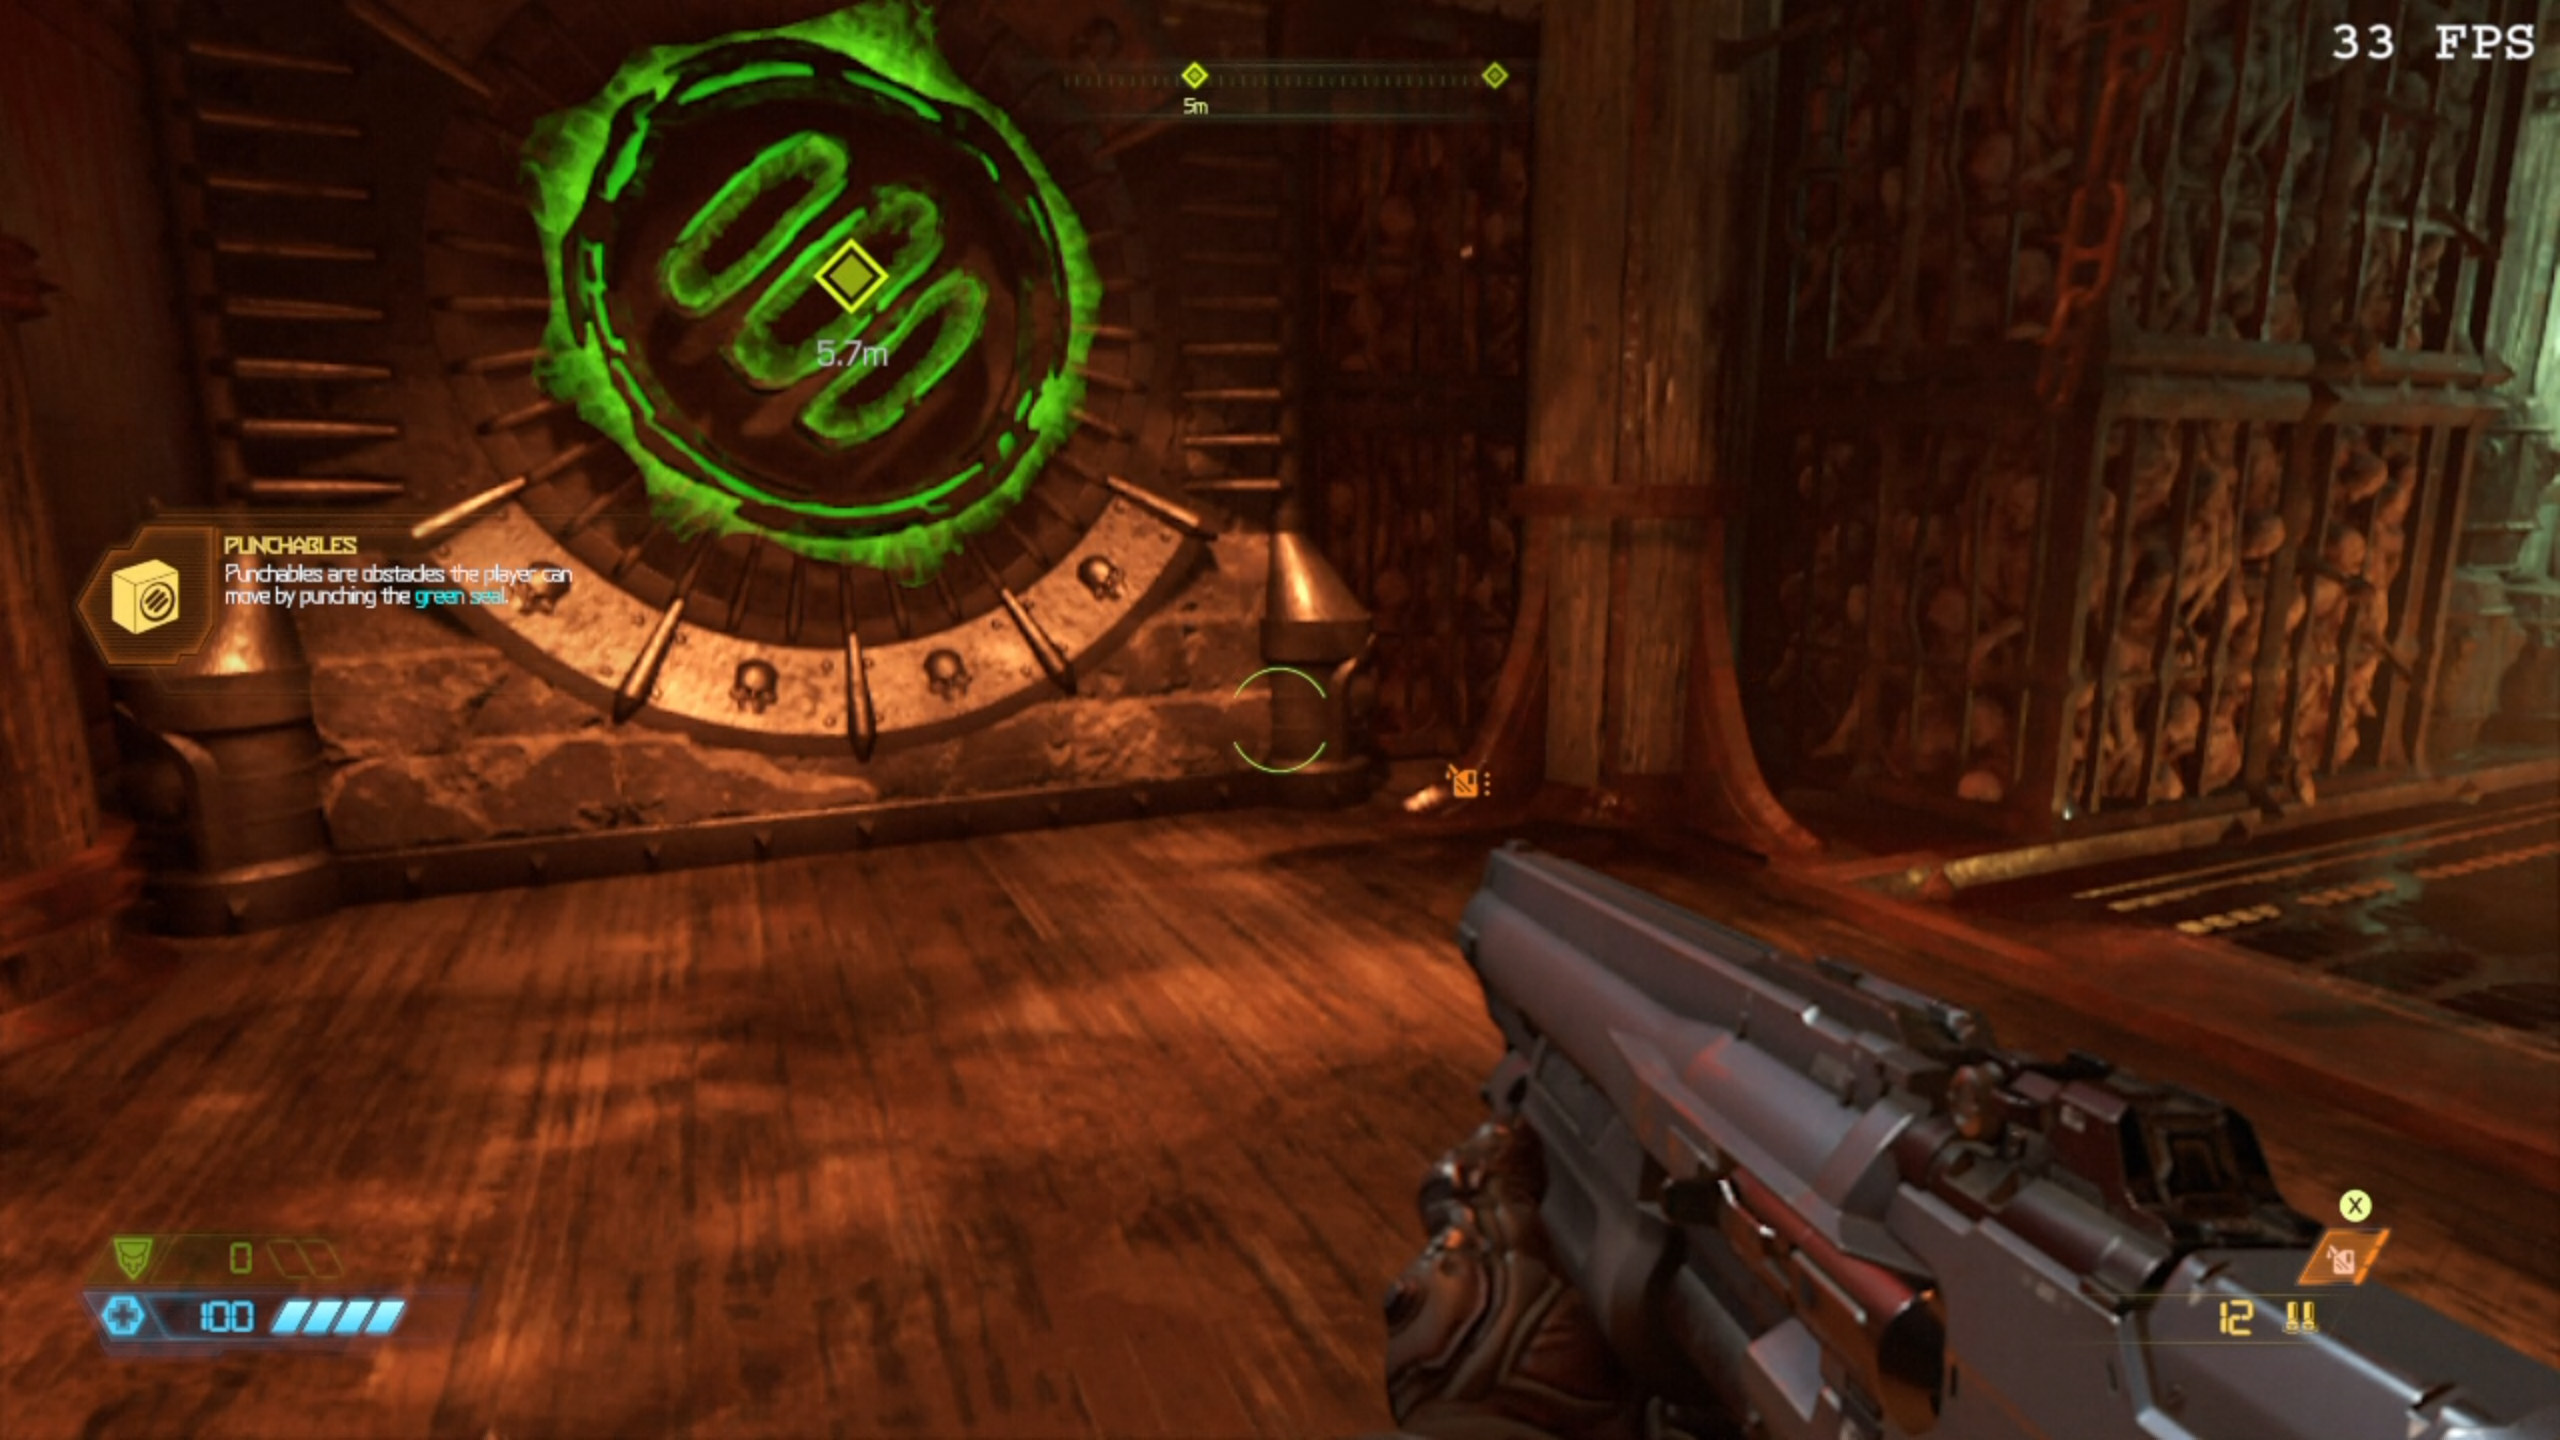
and a high of 63 FPS:
with an average frame rate of around 40 FPS:

Overall the frame rates appear slightly lower than those previously obtained in Windows.
Final Observations
Valve using Linux on the Steam Deck removes any Windows licensing costs and also benefits Linux gaming by ensuring ongoing support and hopefully future improvements. Unfortunately, gaming performance on Windows still appears better than on Linux and when video playback is considered, YouTube, for example, is also currently better on Windows than Linux on this mini PC.
However, building a ‘hackendeck’ was never about pitting Windows against Linux but about simulating the expected performance of the Steam Deck.
The primary advantage of the Steam Deck over the mini PC is portability given the included 7” display. Notwithstanding this point, its comparable performance shows that this mini PC is a viable gaming device. Complementary to this is the mini PC includes an Ethernet port and can also support an eGPU.
Given the delay in the availability of the Steam Deck, this mini PC ‘hackendeck’ could be considered as a disappointment-saving Xmas alternative.

Ian is interested in mini PCs and helps with reviews of mini PCs running Windows, Ubuntu and other Linux operating systems. You can follow him on Facebook or Twitter.
Support CNX Software! Donate via cryptocurrencies, become a Patron on Patreon, or purchase goods on Amazon or Aliexpress. We also use affiliate links in articles to earn commissions if you make a purchase after clicking on those links.


Valve just released the stand-alone “Steam OS 3.0”, which is the exact same Arch-based version the deck used. Too bad you did all that extra work
Source?
As far as I know they aren’t releasing Steam OS 3.0 until after the Steam Deck is out.
You are so true. My bad 🙂 I just glossed over the headlines and misread
Where? Link please.
So do we know if the Steam Deck’s 8 RDNA2 CUs at lowish clocks and DDR5 beats out Renoir/Cezanne’s 8 Vega CUs?
Mainly I want to figure out how well Rembrandt will do with 12 RDNA2 CUs.
This is your MSI Afterburner equivalent:
https://github.com/flightlessmango/MangoHud
Thanks for this recommendation. I will install it and add a comment with further FPS stats as a result of using MangoHud.
There is a tool called MangoHud which not only has performance metrics overlay, but also a benchmarking feature.
Thanks for this recommendation. I will install it and add a comment with further FPS stats as a result of using MangoHud.
Its about what to expect for compatibility testing and keeping mind games may come with optimized visual pre-sets for Steam Deck which can make a big difference.
Some of the biggest issues are going to be software and GUI, as excellent as KDE is it lacks any kind of advanced hardware settings PC gamers are accustomed to having via GUI on windows.
Hopefully valve have some kind of solution with a dedicated GPU control panel and other gaps filled in that are missing.
Video decoding & encoding is a mess on Linux but the new Vulkan video support spec offers hope of cross platform/vendor standard (VA-API is not).
Easily capturing gameplay video and even live streaming from Steam Deck needs Vulkan video support baked into the drivers/OS/software, only then will we finally have proper video decoding in web browser.
There is still a lot to do in making a Linux OS presentable to PC gamers, a lot of things are not going to work as expected (coming from windows land were using the command line has been banished to IT nerds and programmers).
I think this test might have been better utilized on a GPD Win 3