
Tuya is an All-in-one IoT Platform that enables the user to build smart IoT solutions by connecting devices efficiently, securely, and reliably. This is a getting started article to set up the Tuya platform with the Espressif’s ESP32 boards via tuya link SDK. Further, we use it to control an LED through an Android device. When the switch in the Tuya Smart App is turned ON, the LED connected to the ESP32 board glows and vice versa.
Prerequisites
Hardware:
- ESP32 board
- LED with suitable ballast resistor
- Breadboard, micro-USB cable, and connecting wires
Software:
- Tuya Account: Tuya IoT Platform (Web)
- Tuya Account: Tuya Smart Application (Android)
- Python 3.x
- Arduino IDE
GitHub Link: https://github.com/JayeshRajam/Tuya-ledapp.git
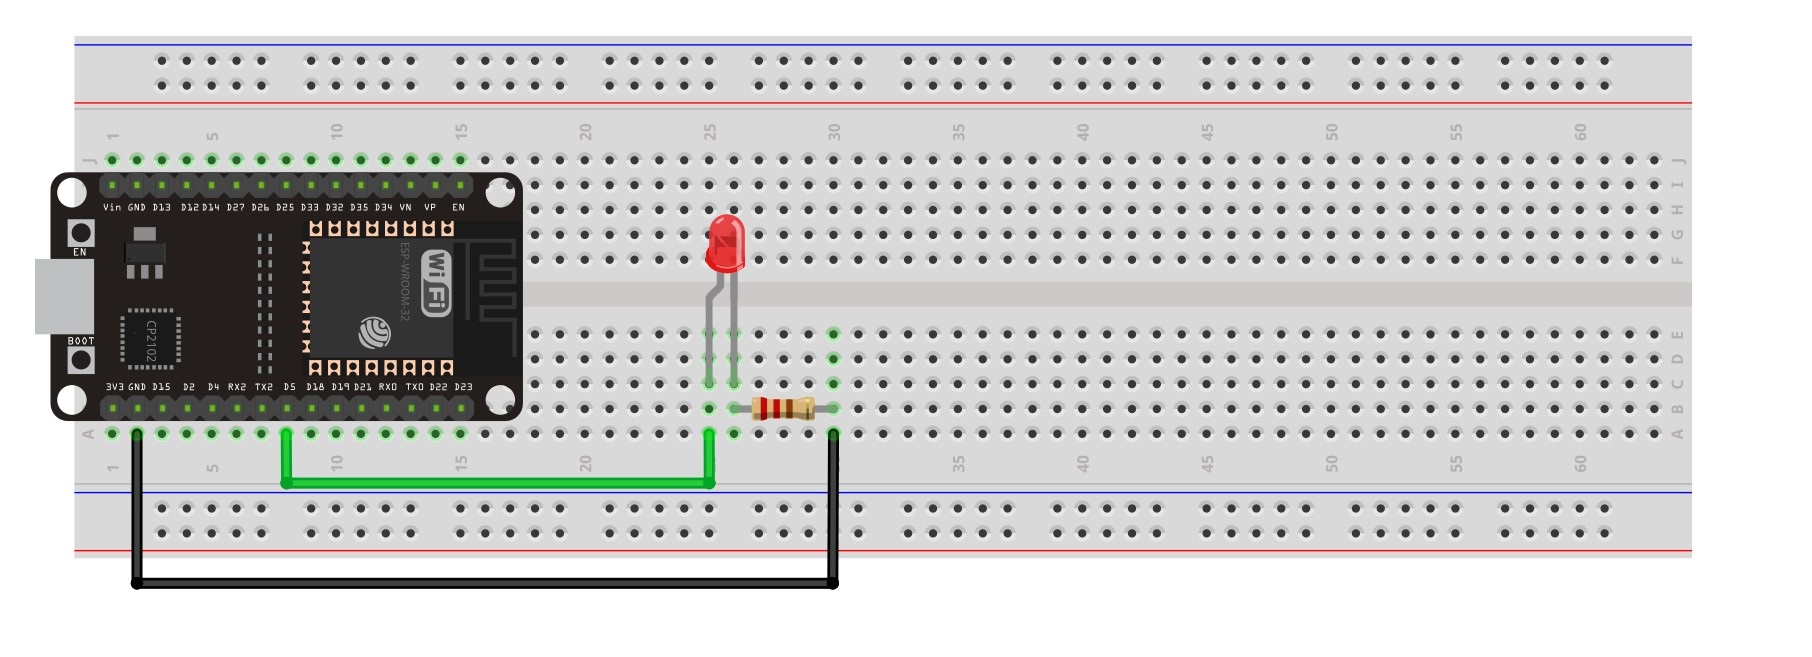
Hardware Connections for Tuya Link SDK
The ESP32 board is placed on a breadboard. The positive terminal of the LED is connected to digital pin 5 of the ESP32 board and the negative terminal is connected to the ground pin via the ballast resistor as shown in the following circuit diagram.
Software Setup: Tuya IoT Platform
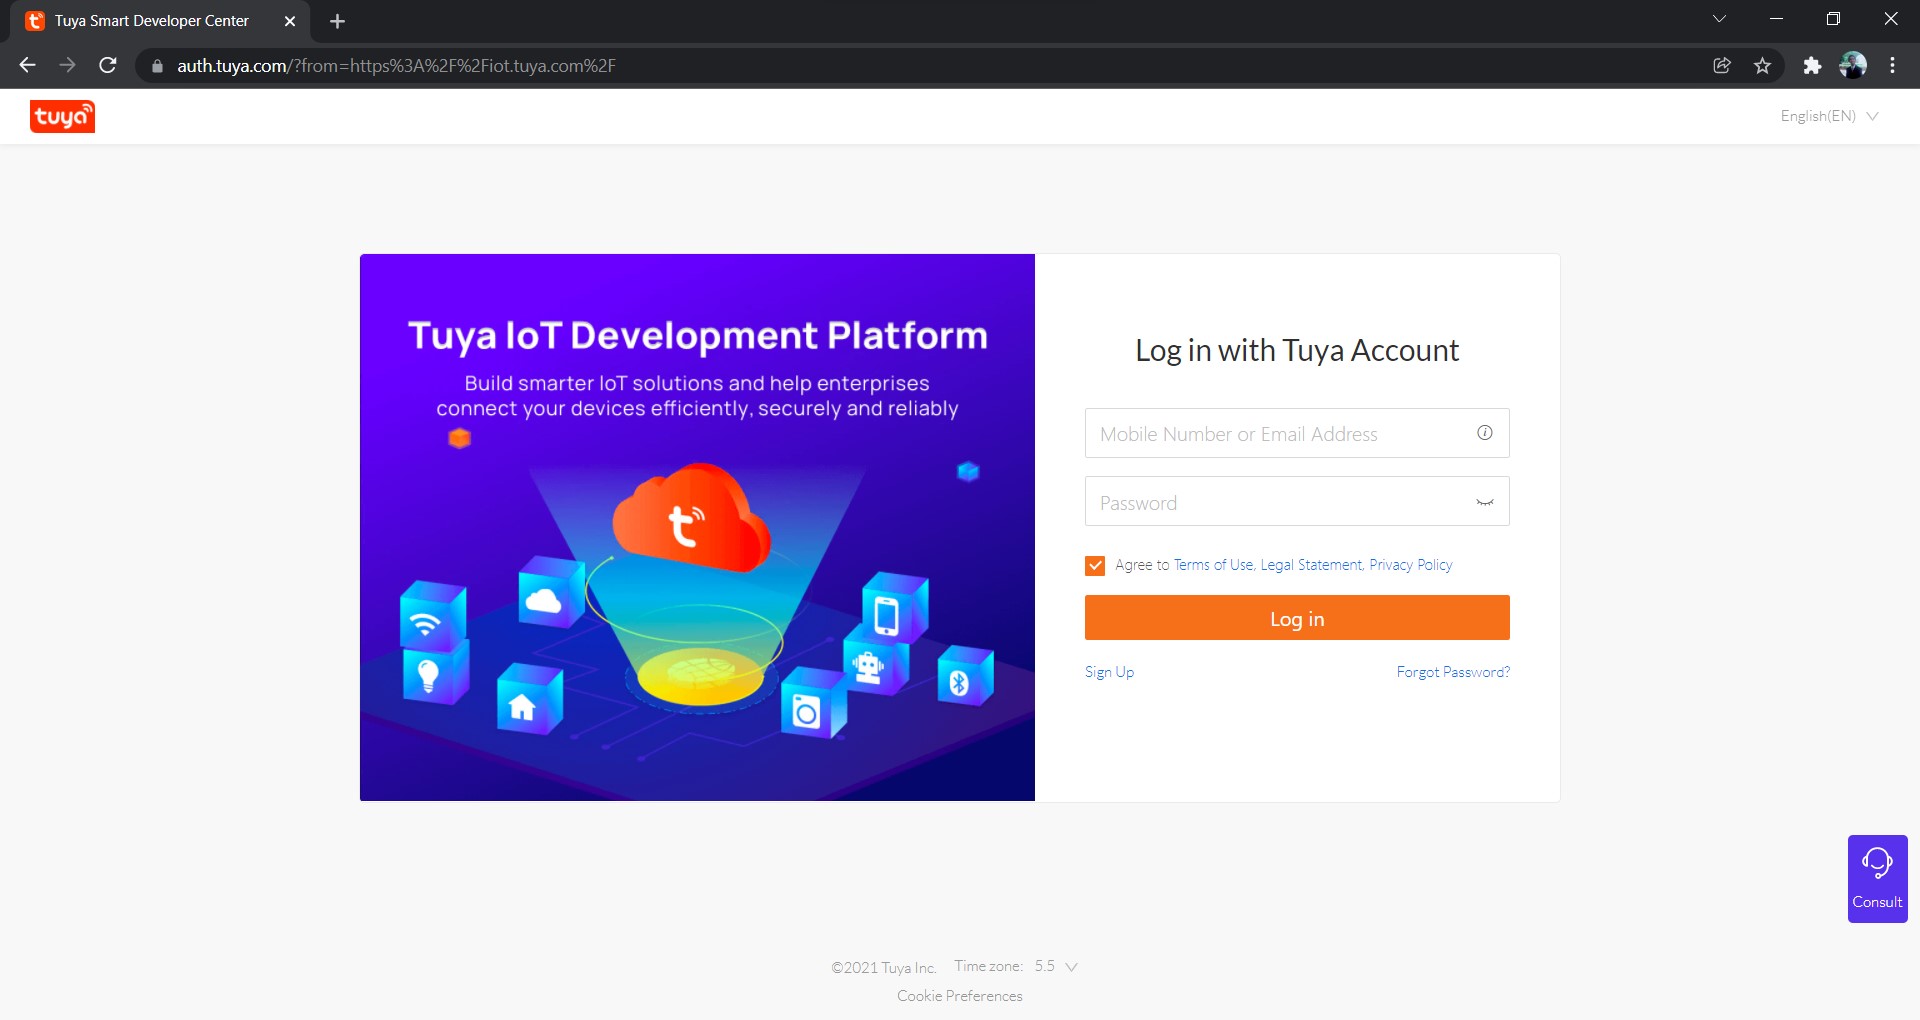
Login to your Tuya Account or if you don’t have an account then create one using the SignUp option.
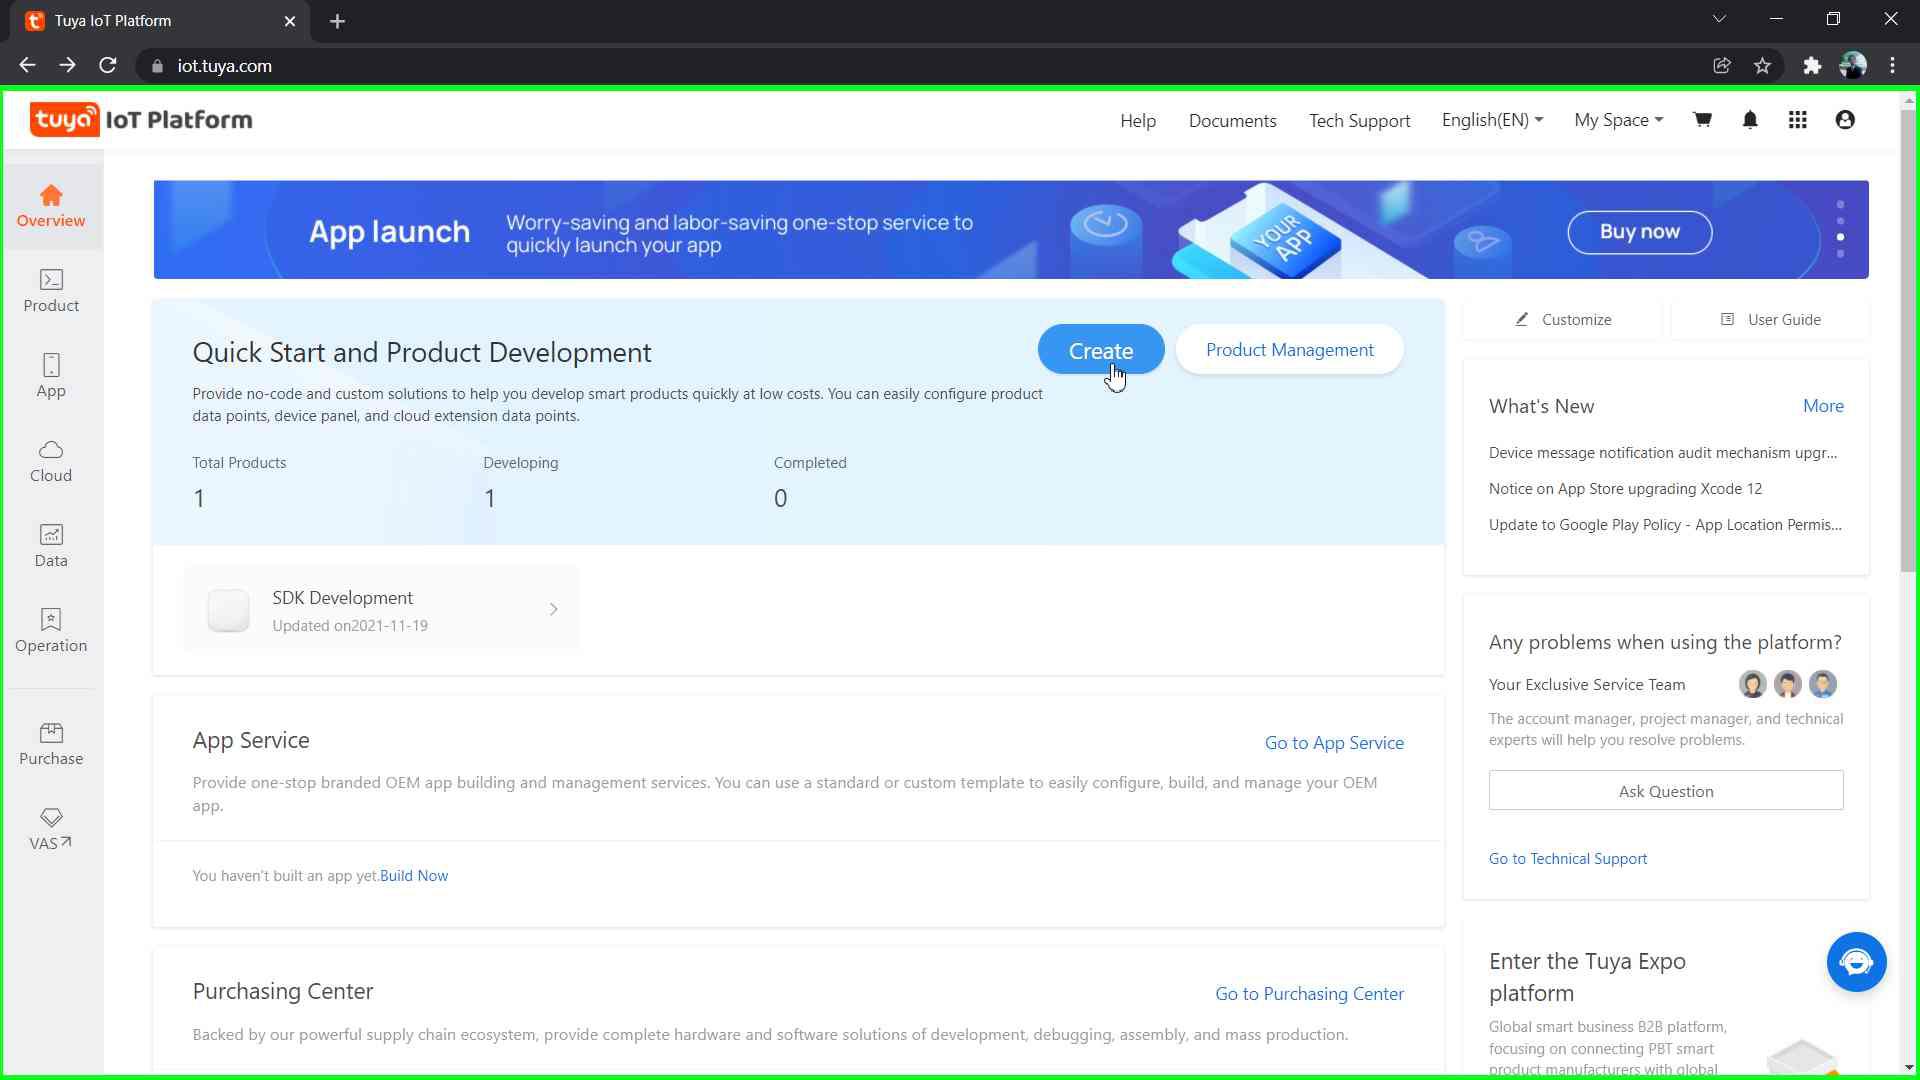
Once Logged In, an overview of the platform is visible. Click the Create button to start a new Project.
To develop the application for ESP32 click on ‘Can’t find the category?’. The following custom creation menu should appear.
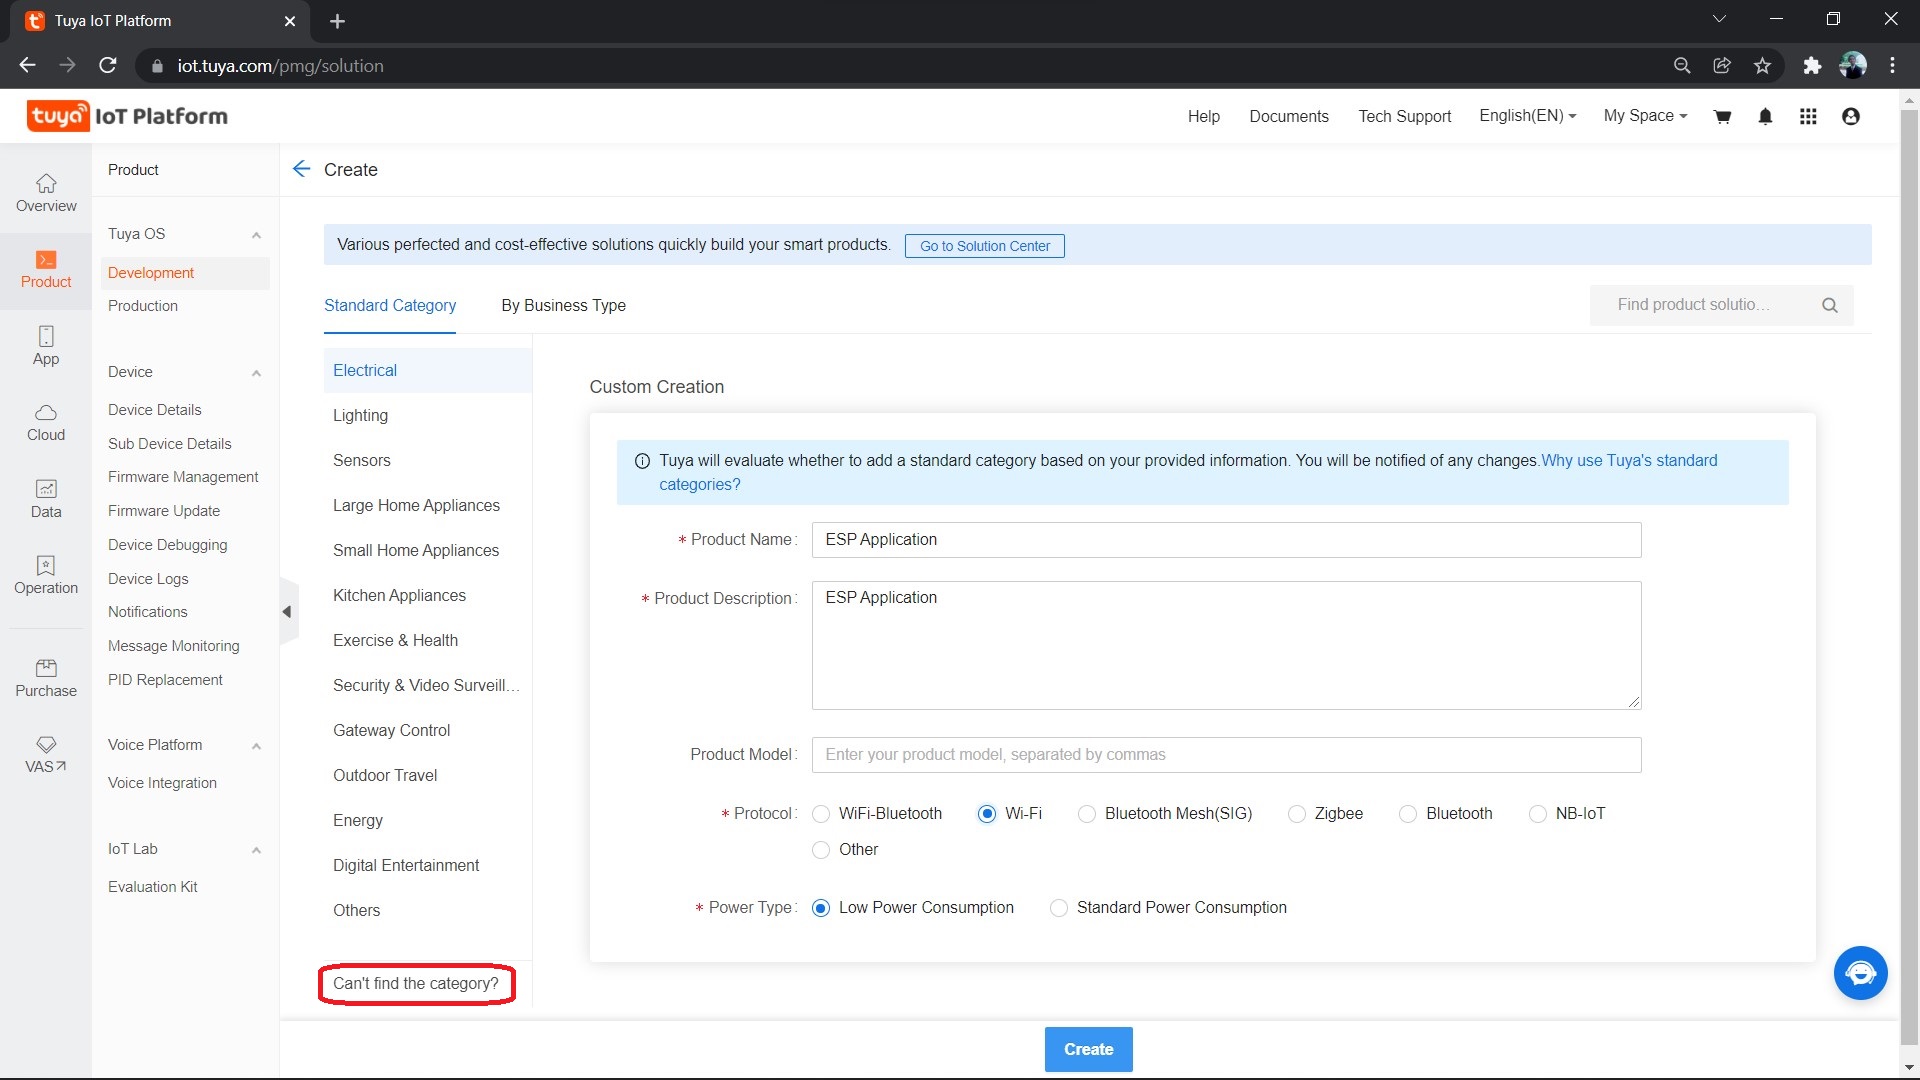
Fill the required fields as done above and click Create. A pop-up box will appear, just close it to get the following screen.
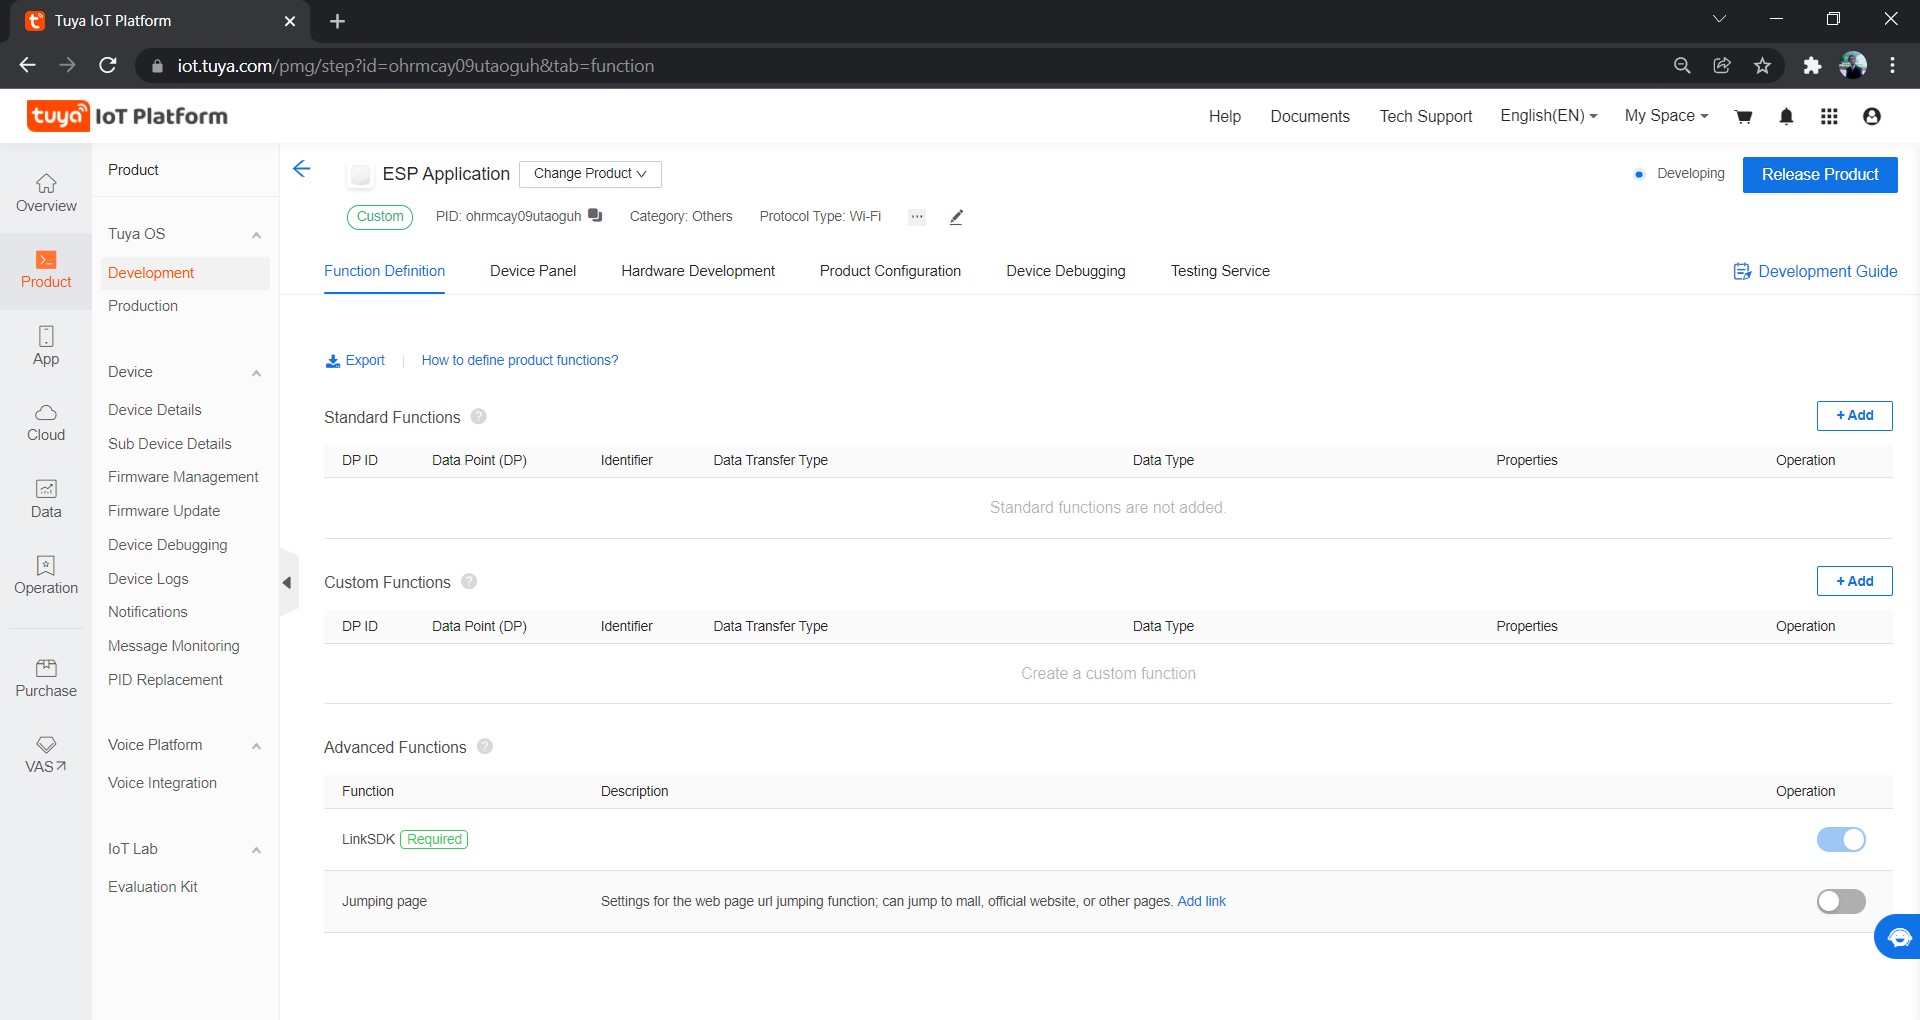
Here, we’ll add a custom function of the following settings.
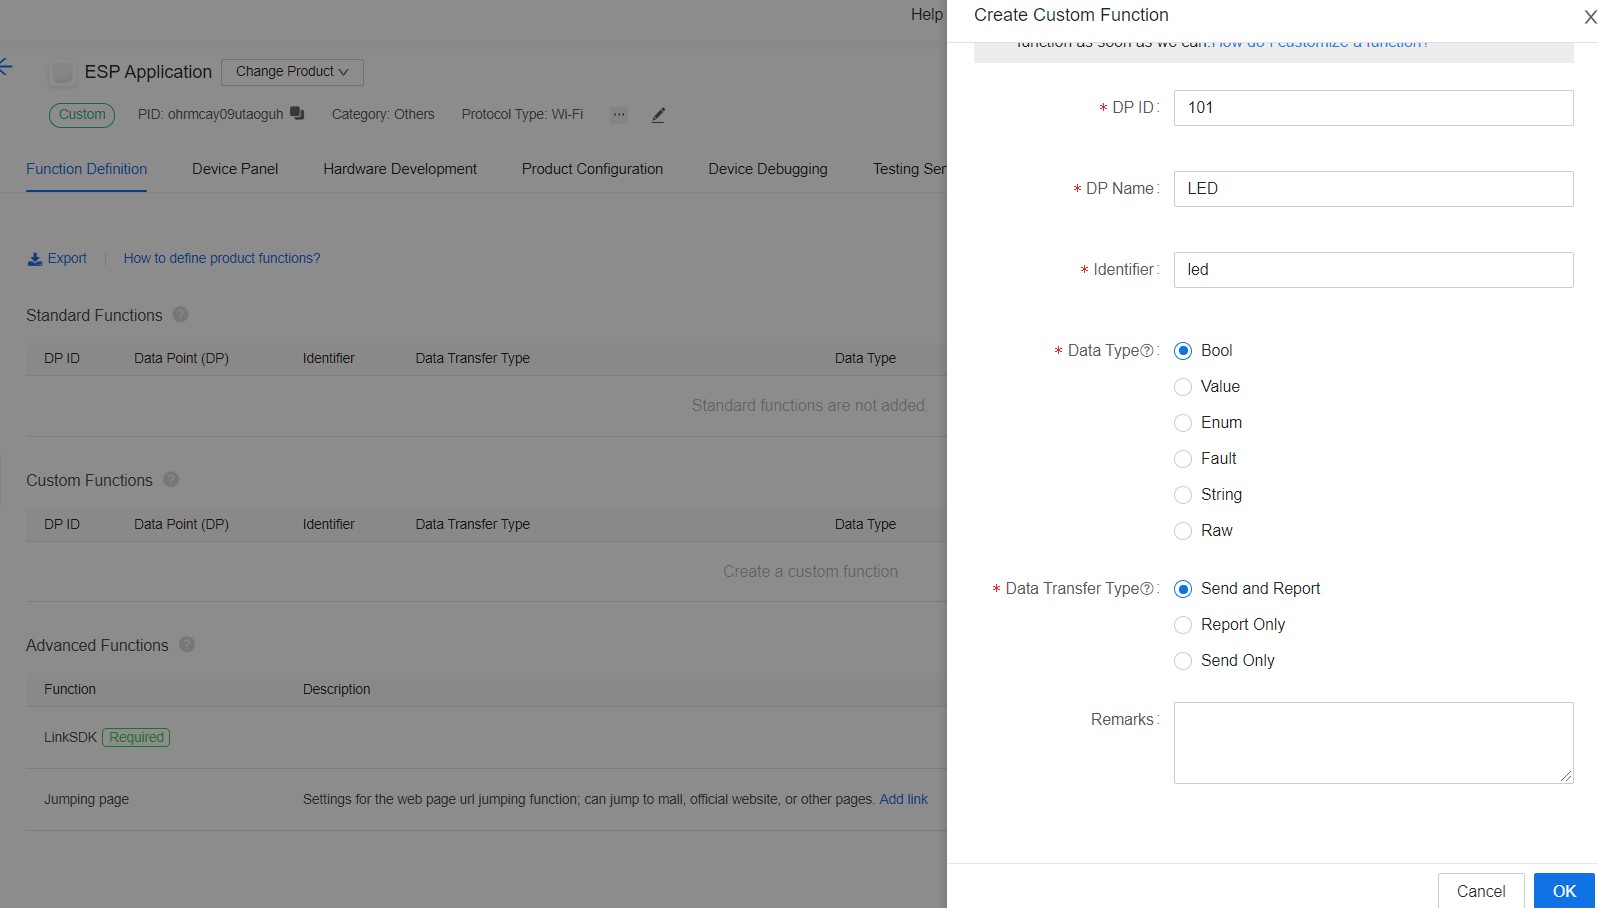
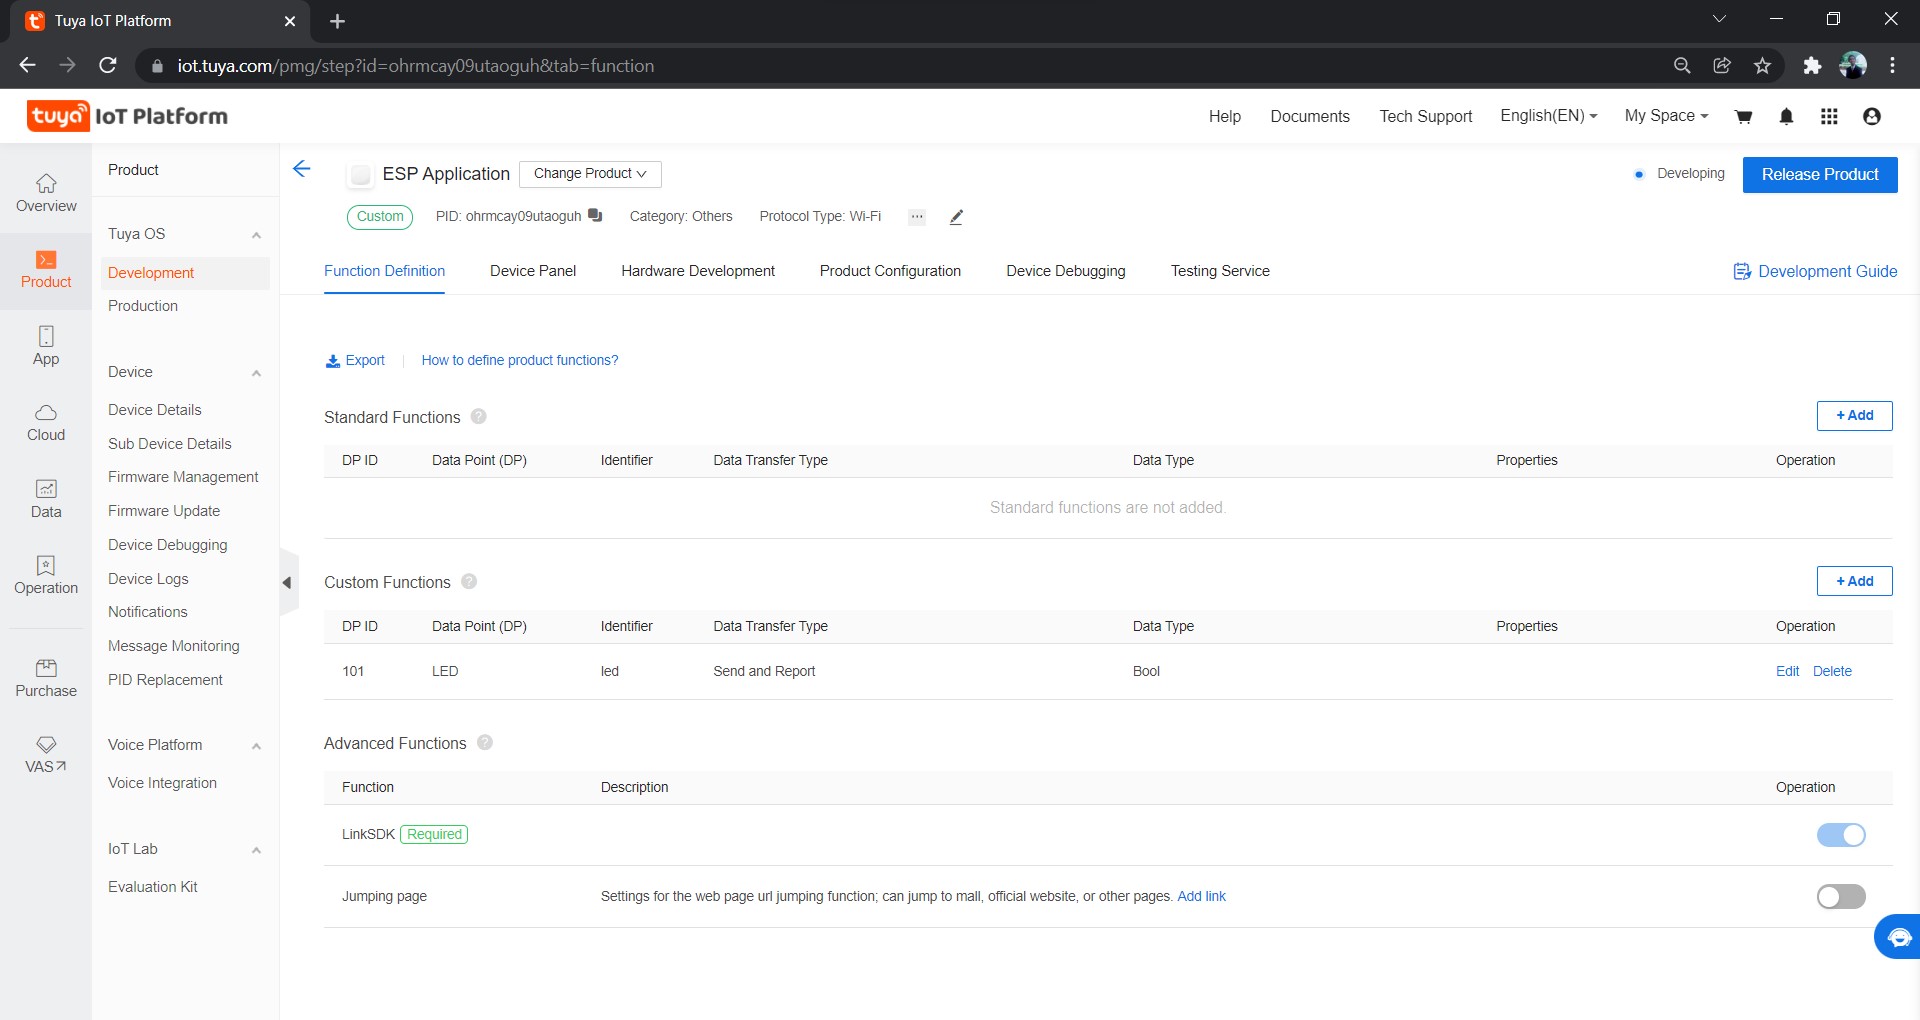
Click OK. The function will now be visible.
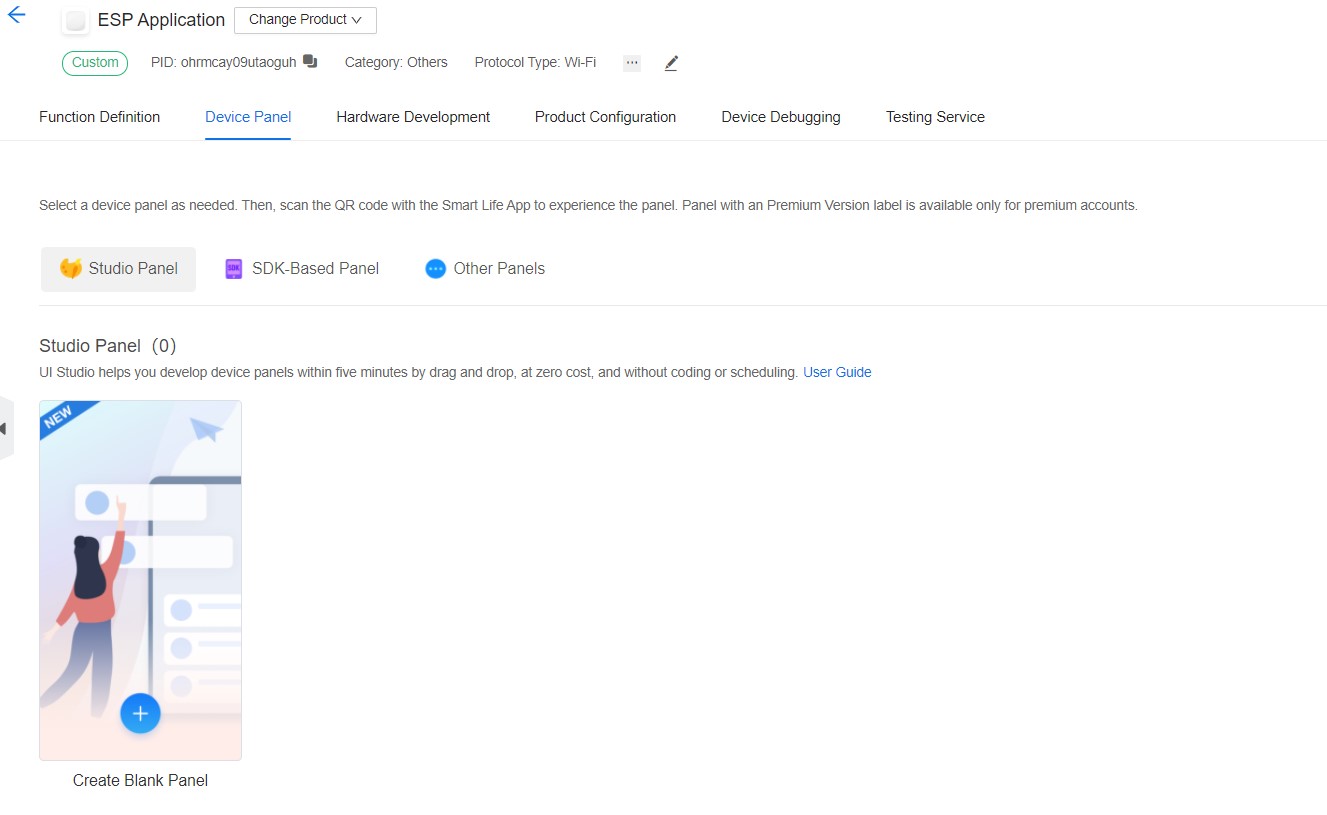
Tuya Smart Application Graphical User Interface (GUI) now needs to be developed. For that, simply switch to the Device Panel tab and select ‘Create Blank Panel’.
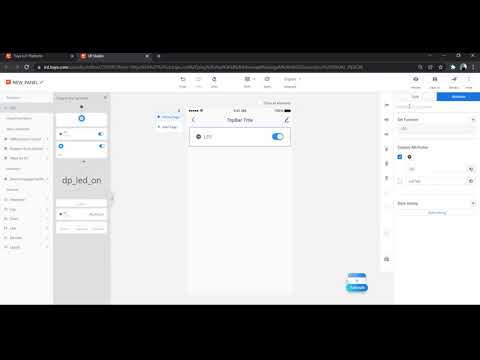
Following are the steps to complete the UI Studio procedure.
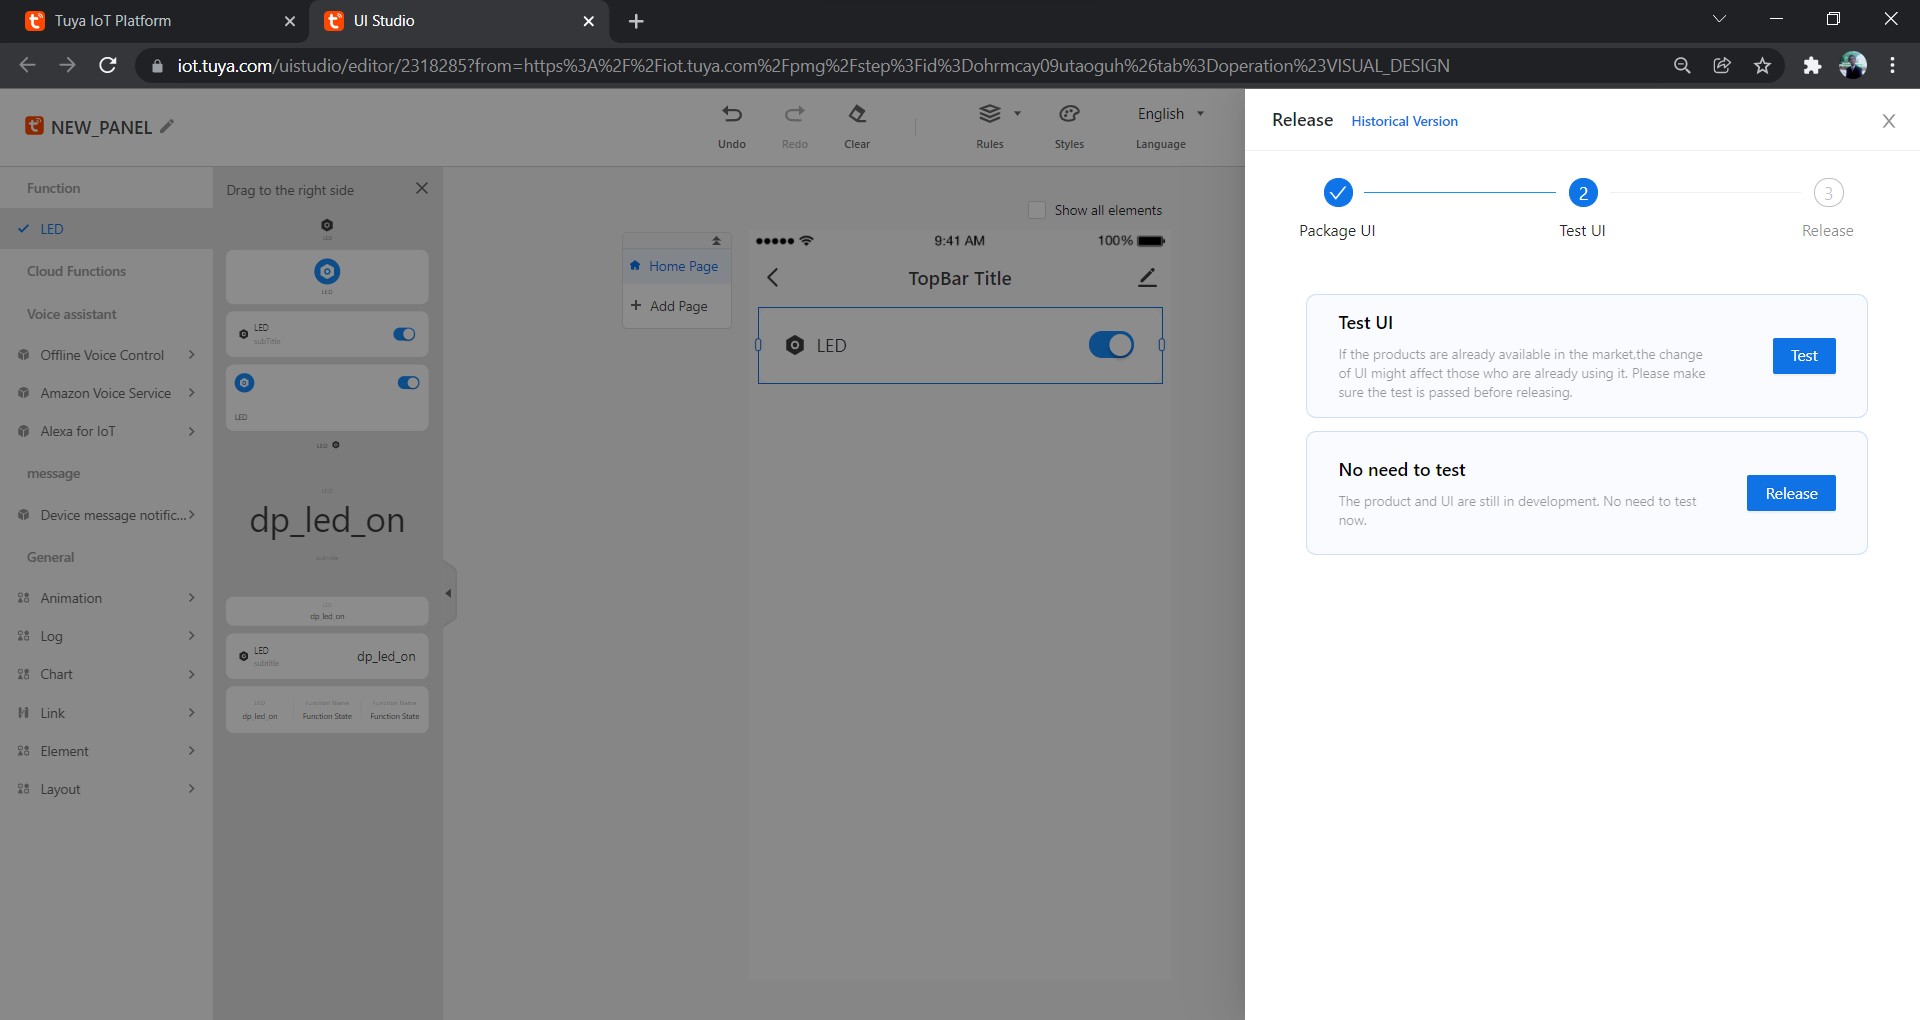
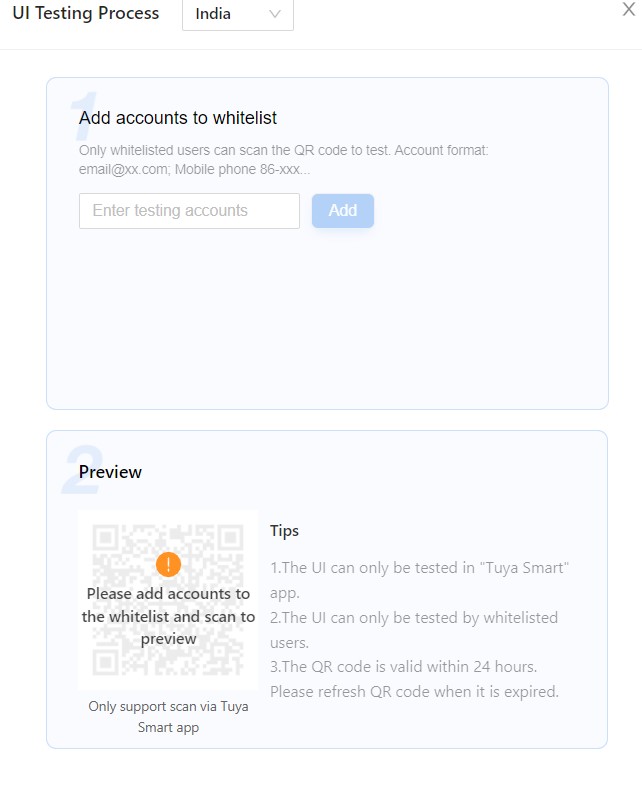
You can always test and release the application before moving further. You can also visit this article to know more about the Tuya platform for designing and manufacturing smart home solutions.
Note: The testing procedure requires you to install and login to the Tuya Smart Application on your Android and enter the same login email id here.
 Once back to the Tuya IoT platform, it’s now time to generate a license for Link SDK.
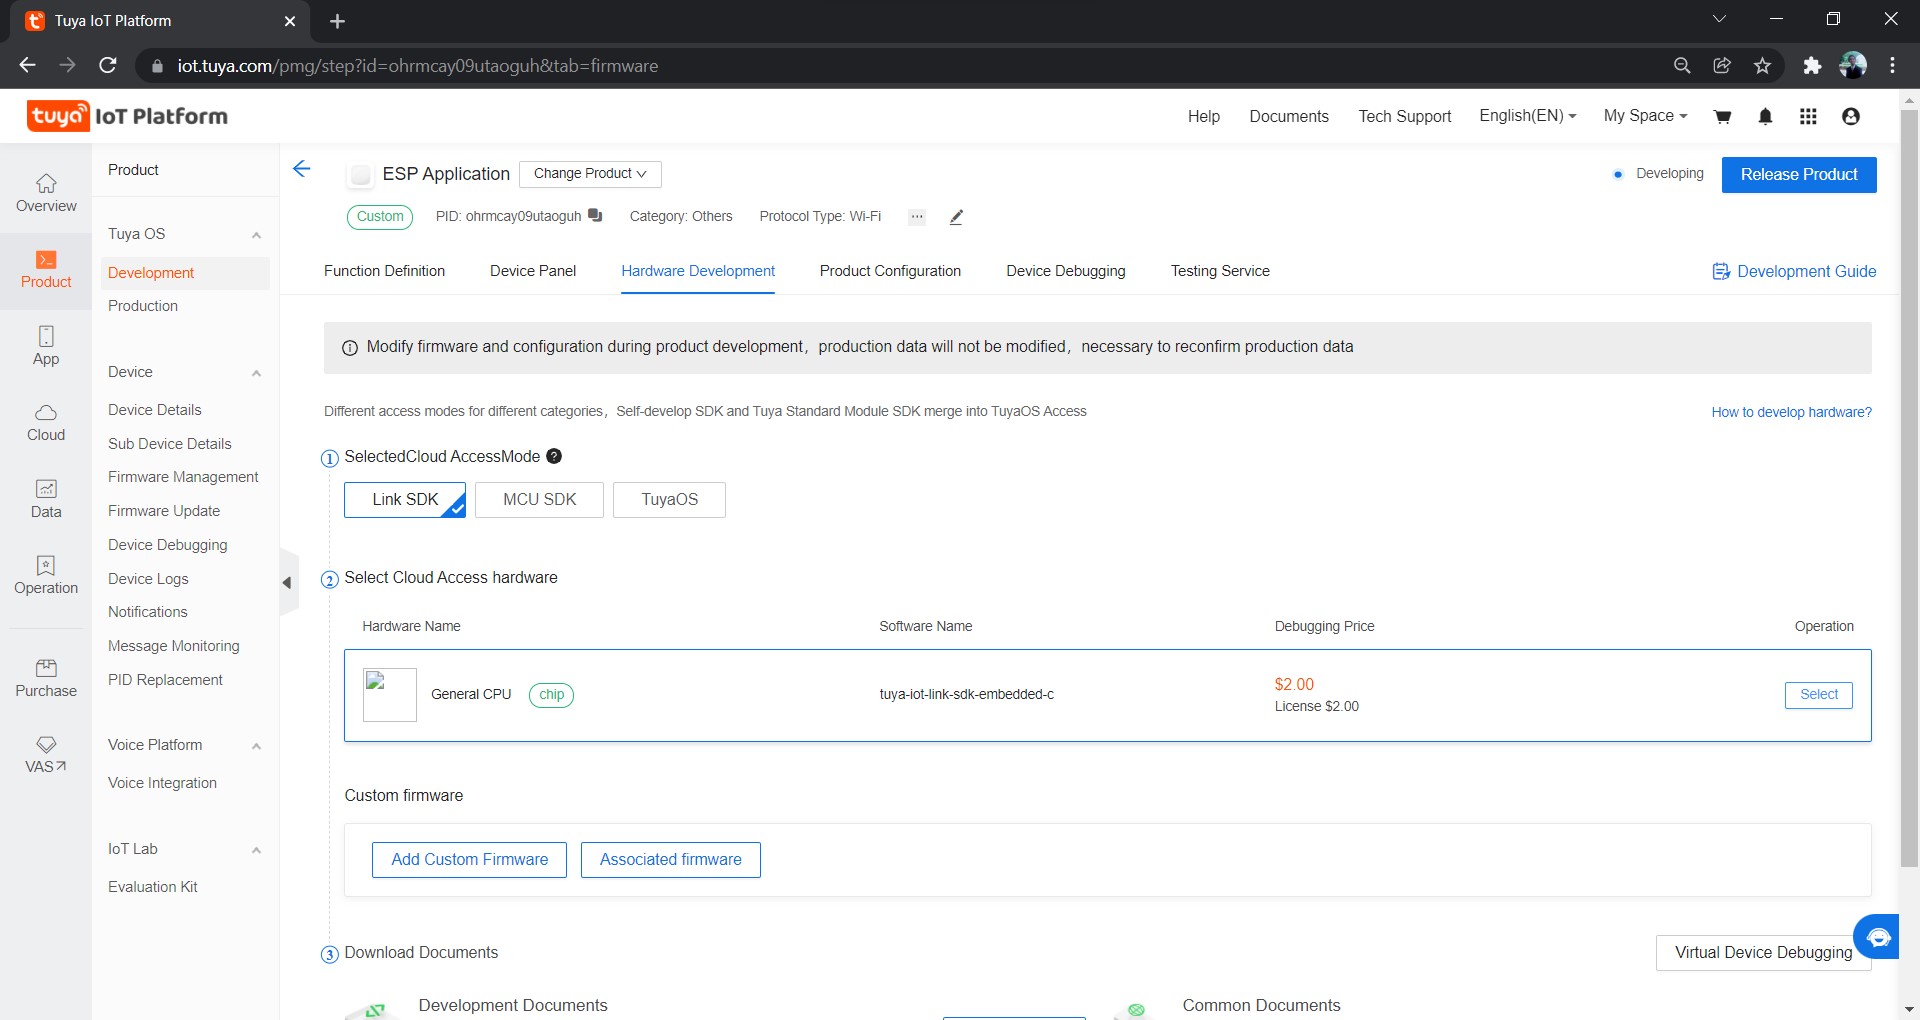
Select Link SDK Cloud Access Mode from the Hardware Development Tab. Click on the ‘Select’ button provided to place the License order. Click ’Get 2 Free Licenses’ and complete the steps to finally download a .xlsx file with uuid and key.
Now it’s time to install tuyaos-link-sdk to avail connectivity to Tuya Smart Application via Python 3.x. On your Windows PC run the following commands to clone the GitHub repository and install the tuyaos-link-sdk.
|
1 2 |
git clone https://github.com/tuya/tuyaos-link-sdk-python.git python -m pip install ./tuyaos-link-sdk-python |
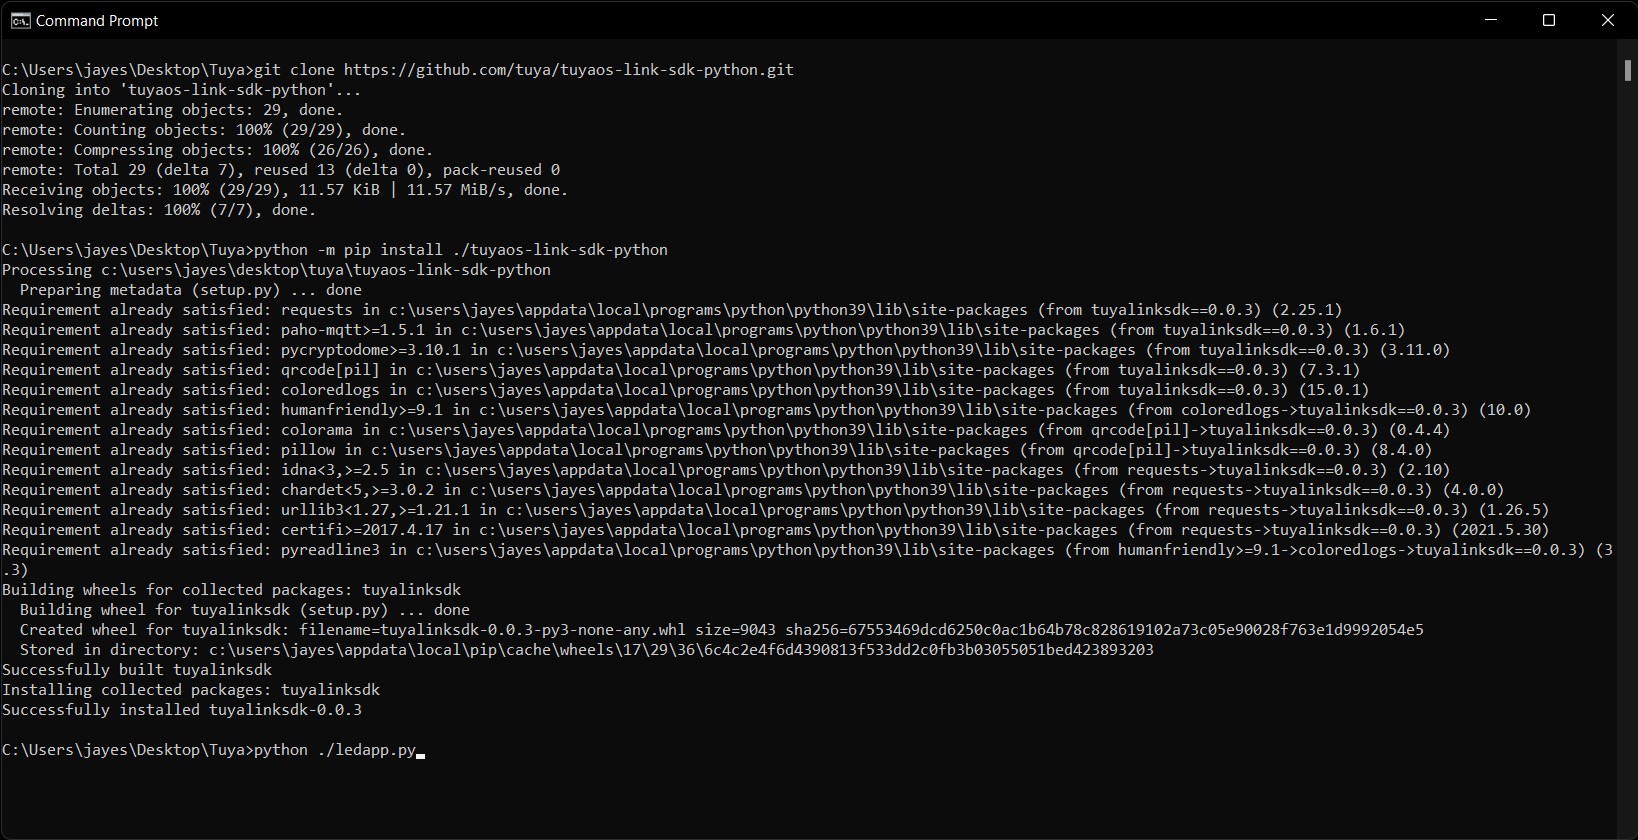
Open the ledapp.py file from the GitHub repo in the editor. Edit and change the productid, uuid, authkey and the COM port of your connected ESP32 device in the file. We’ll further use this file in the output section of this article.
Software Setup: Tuya Smart Application
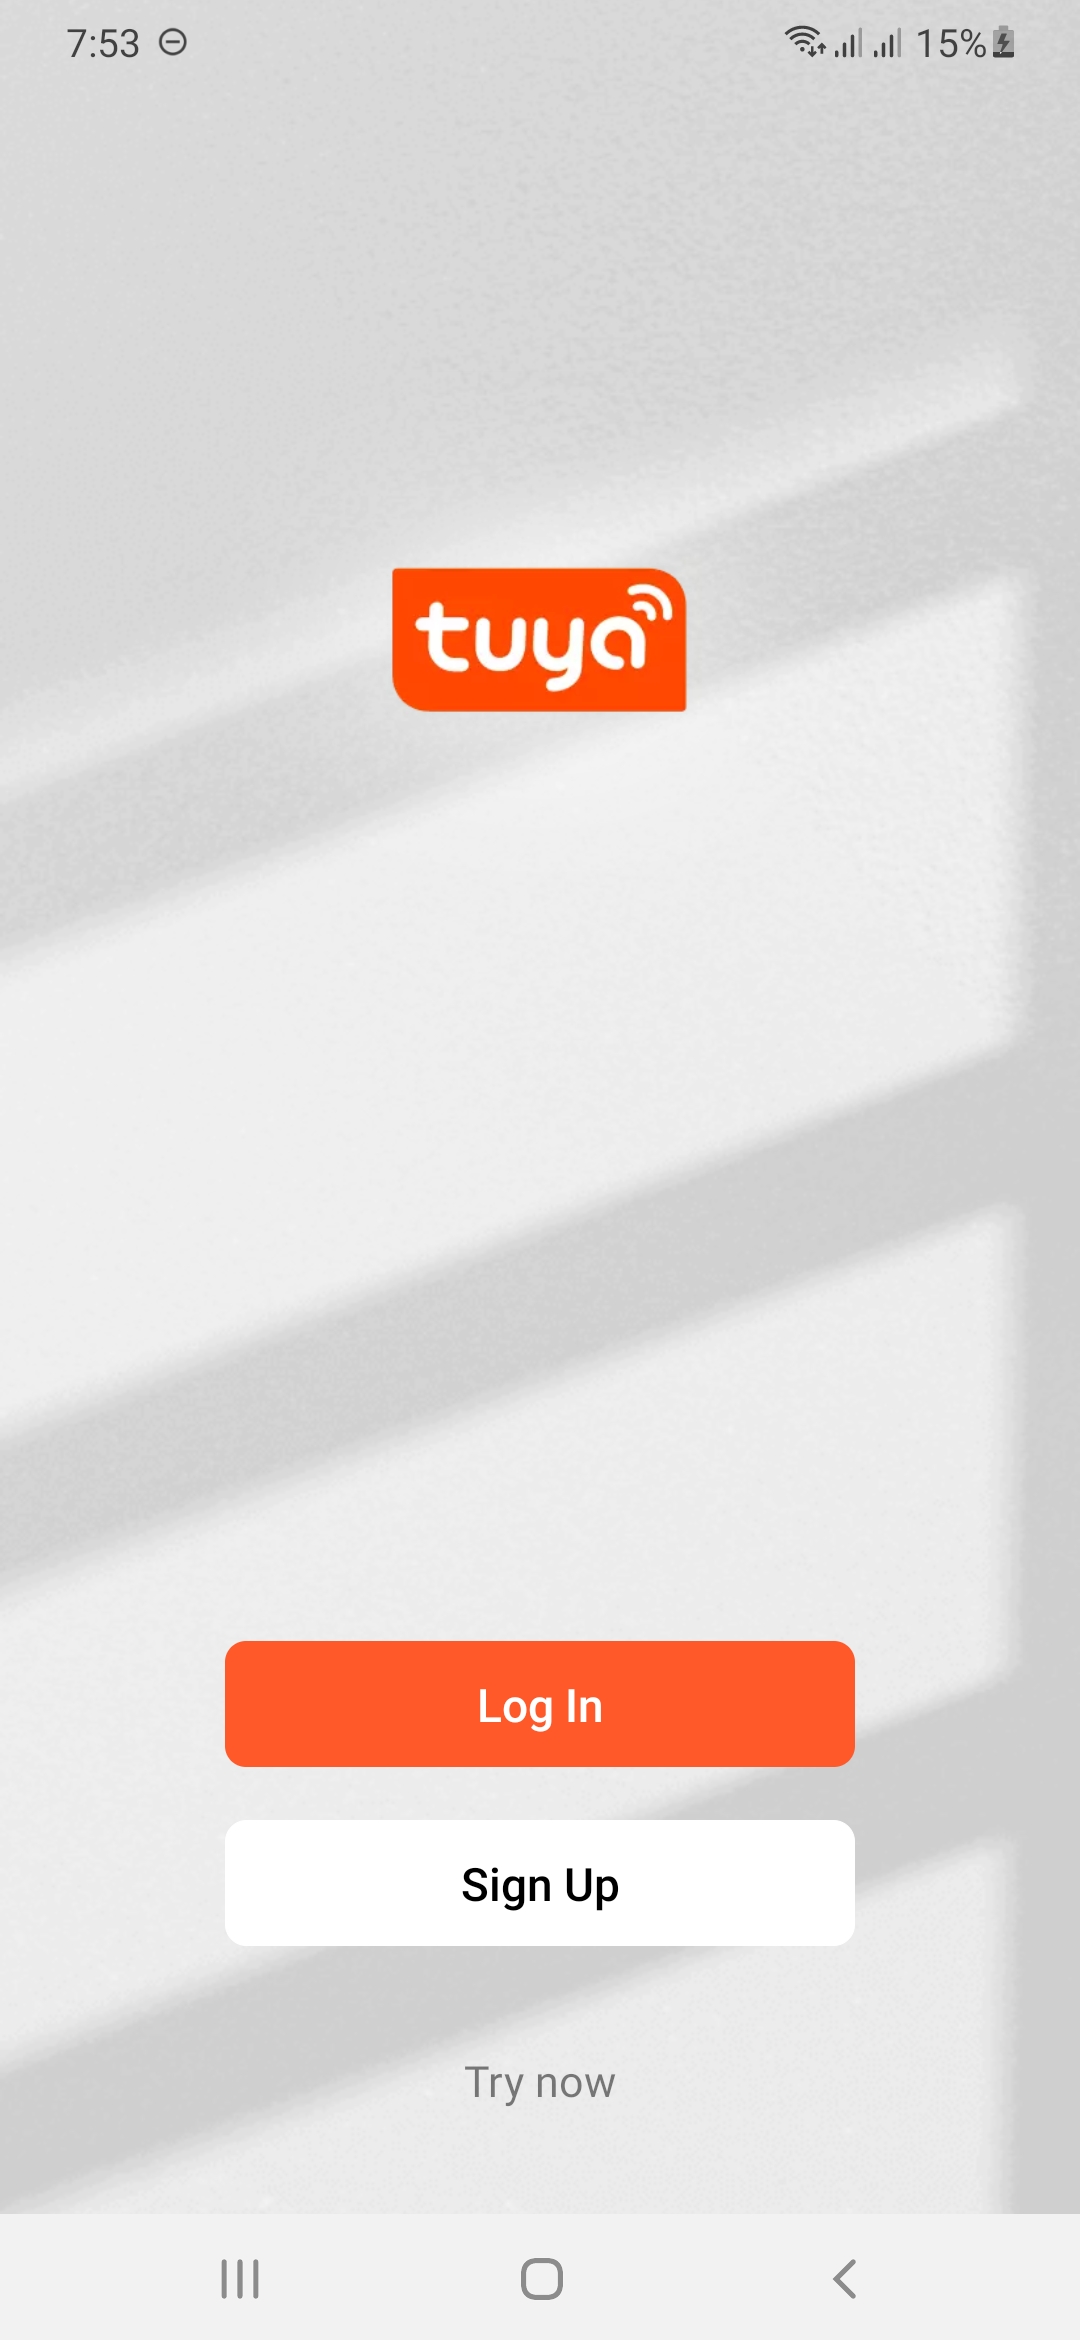
Install the Tuya Smart App from the Google Play Store of your Android Device.
Login to your Account or if you don’t have one create one!
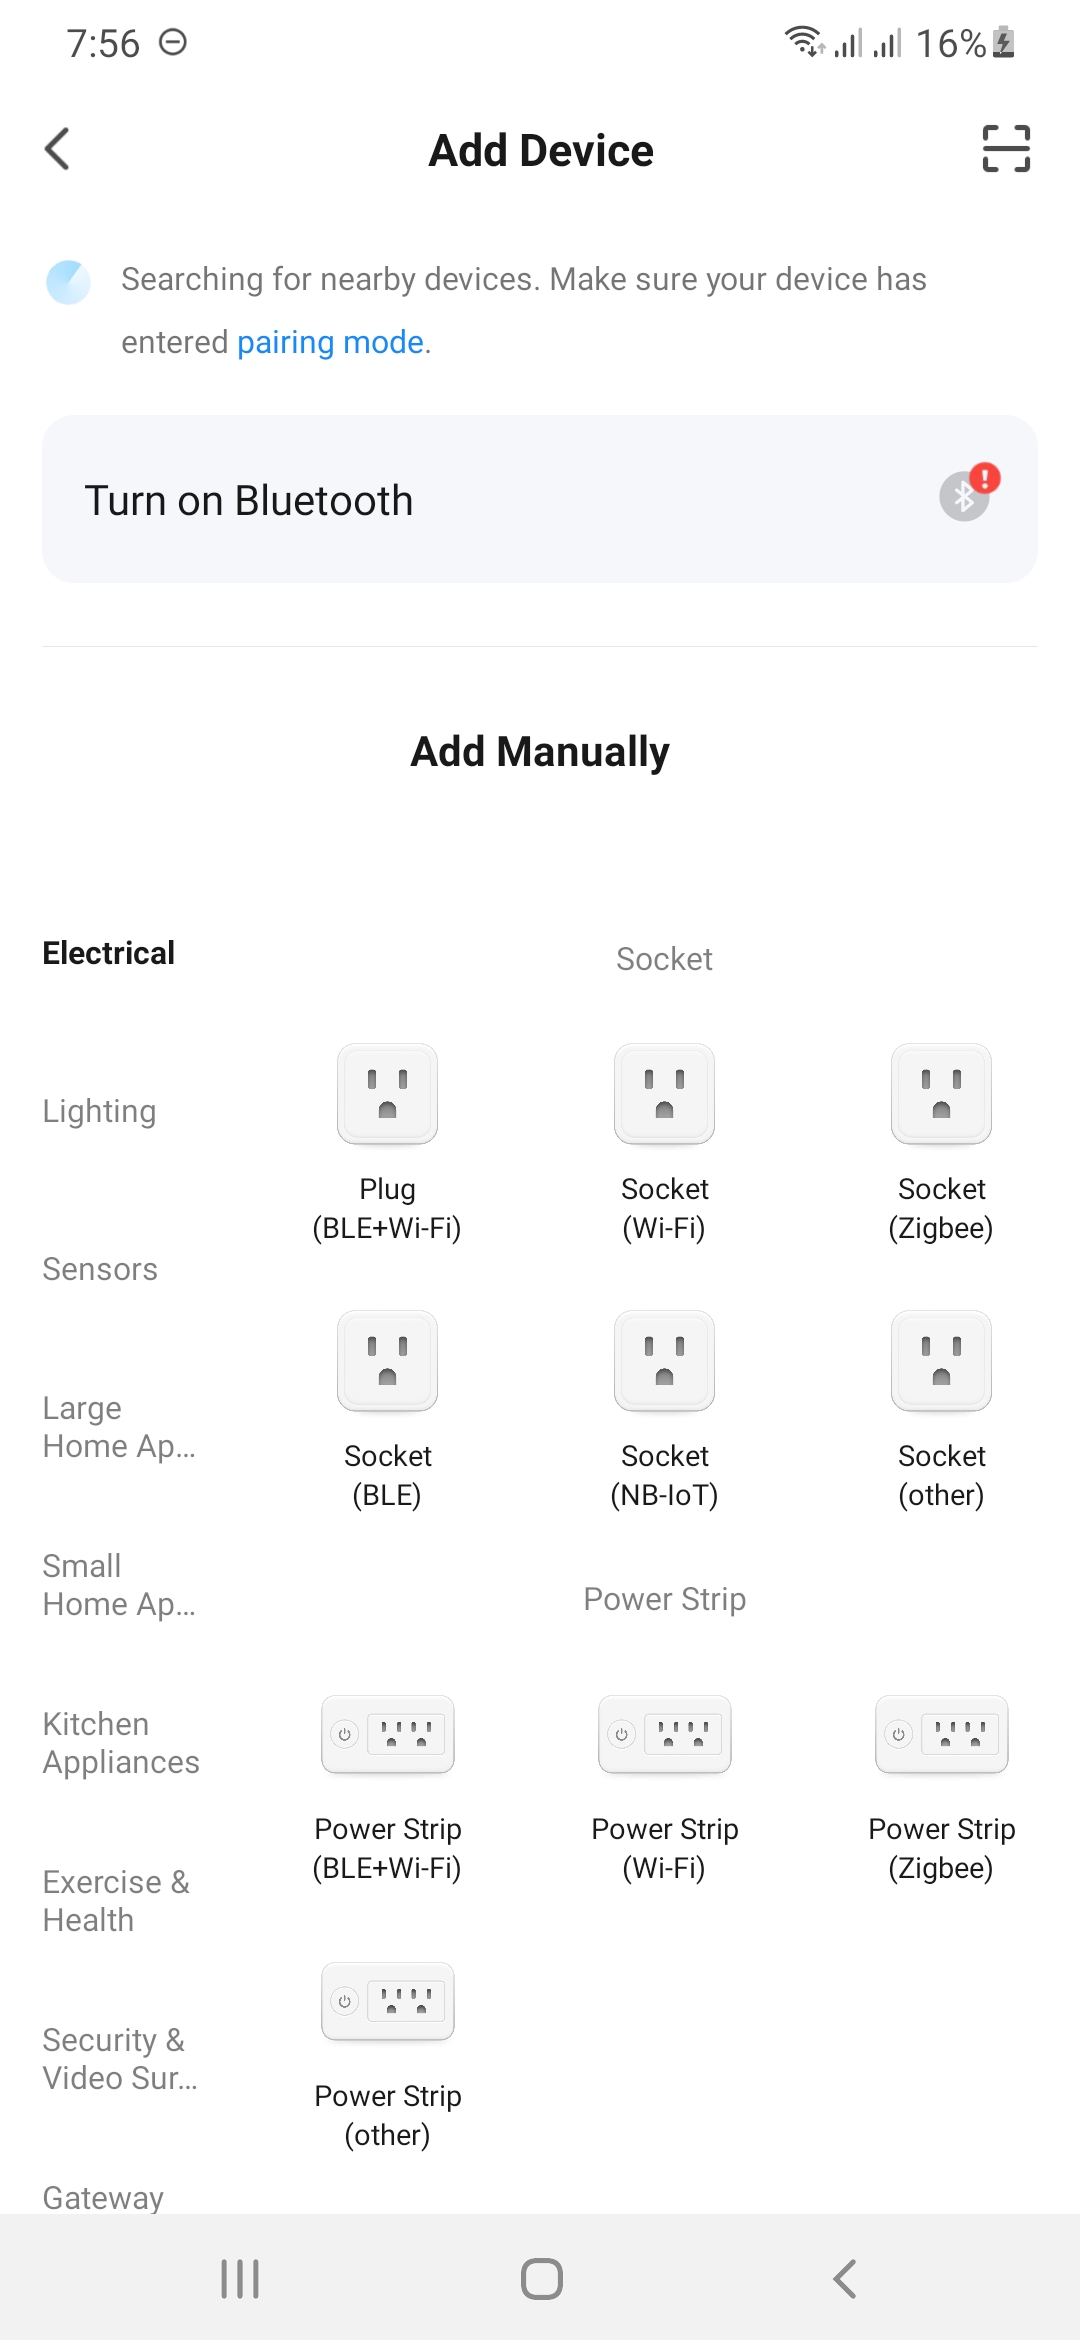
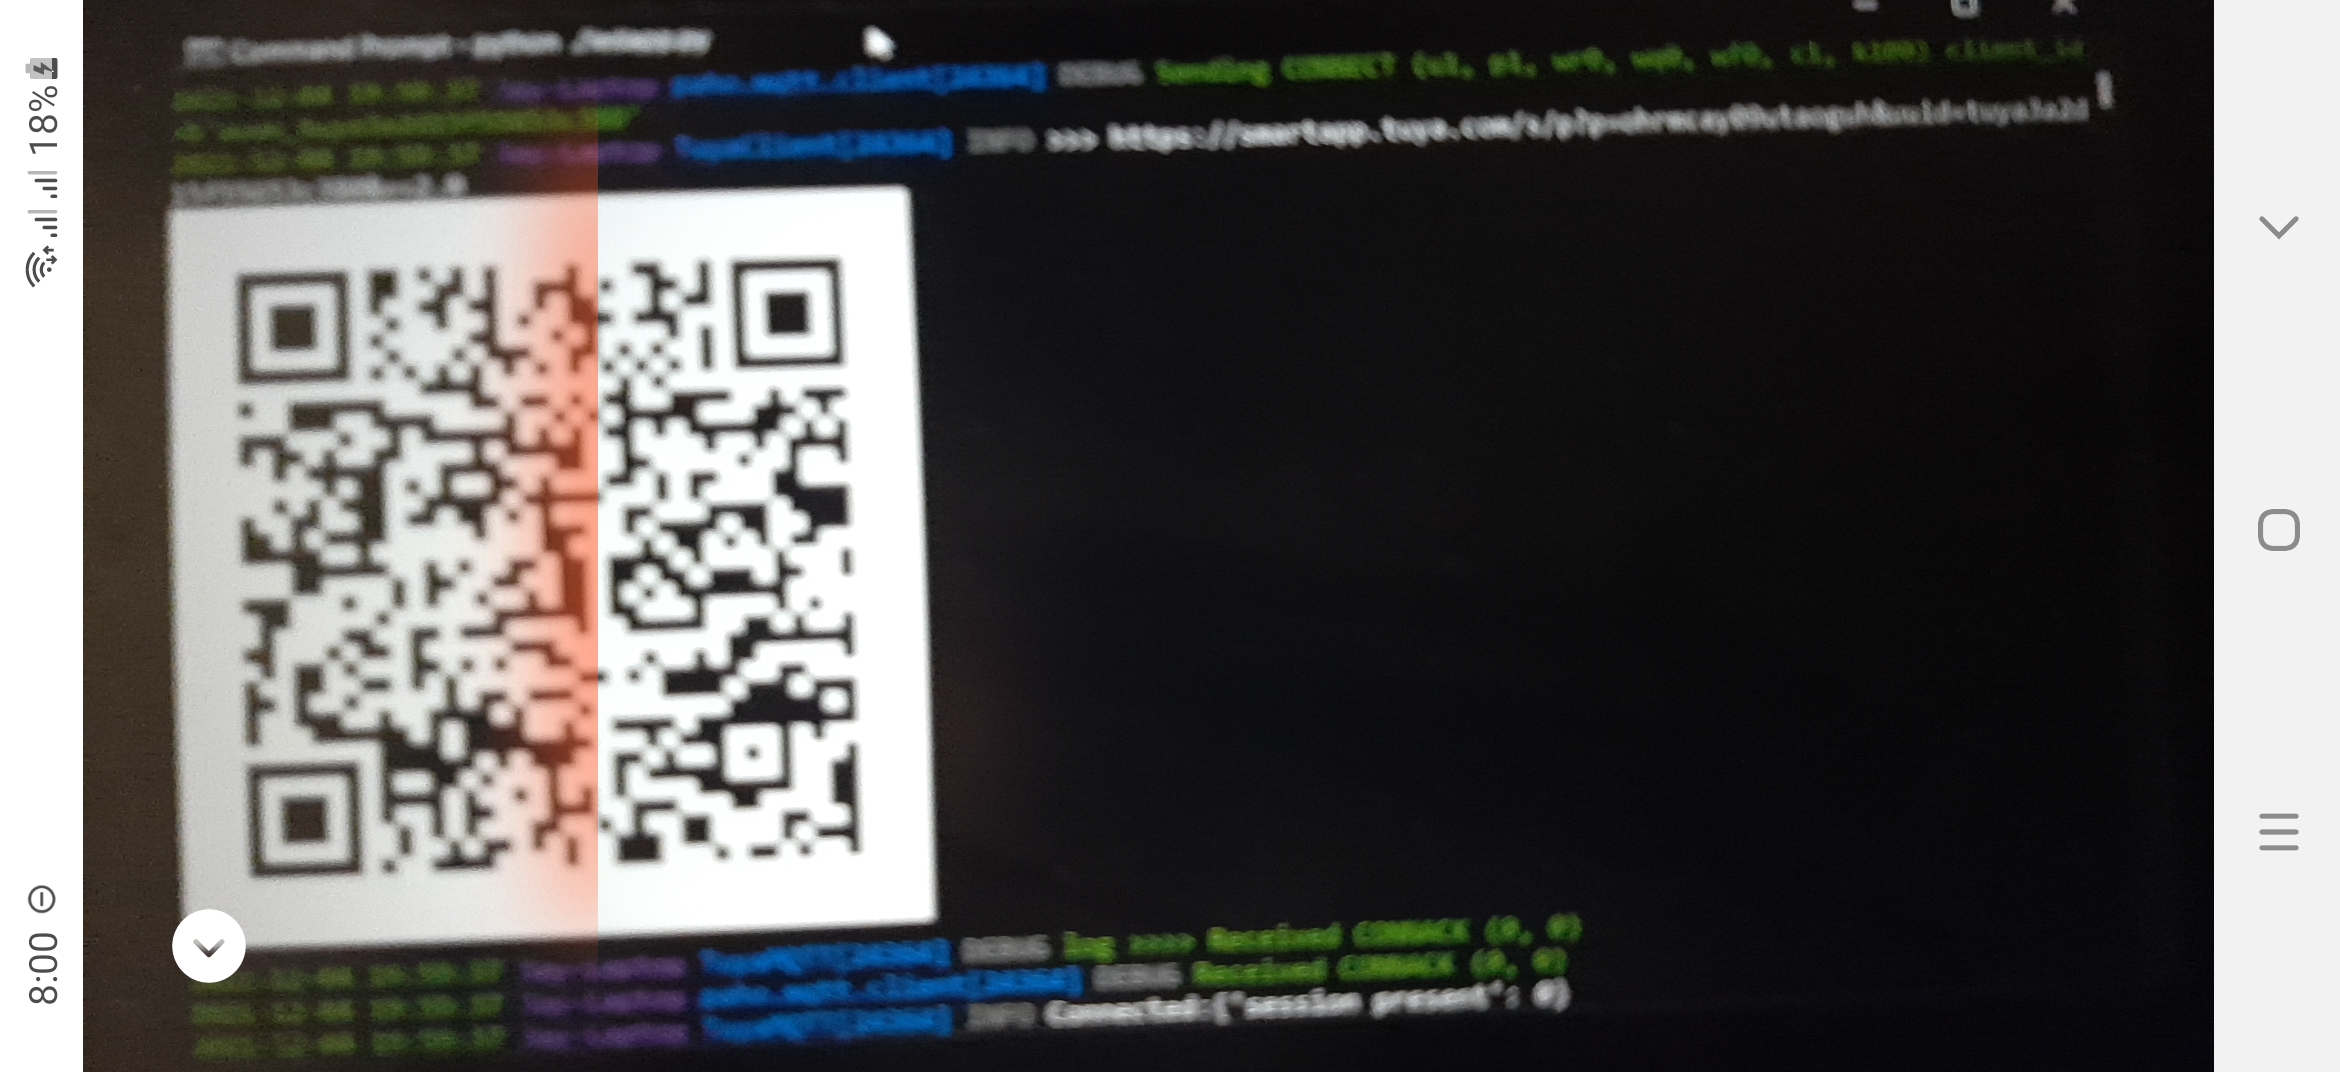
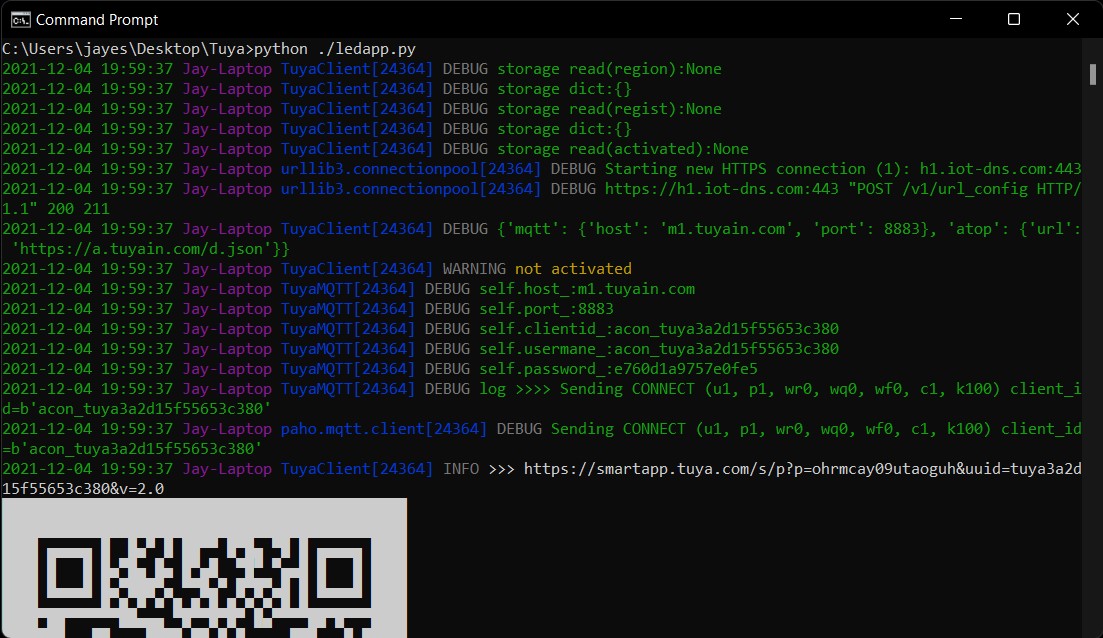
Now from the add device section click the scanner button to scan the QR code generated by the ledapp.py file.
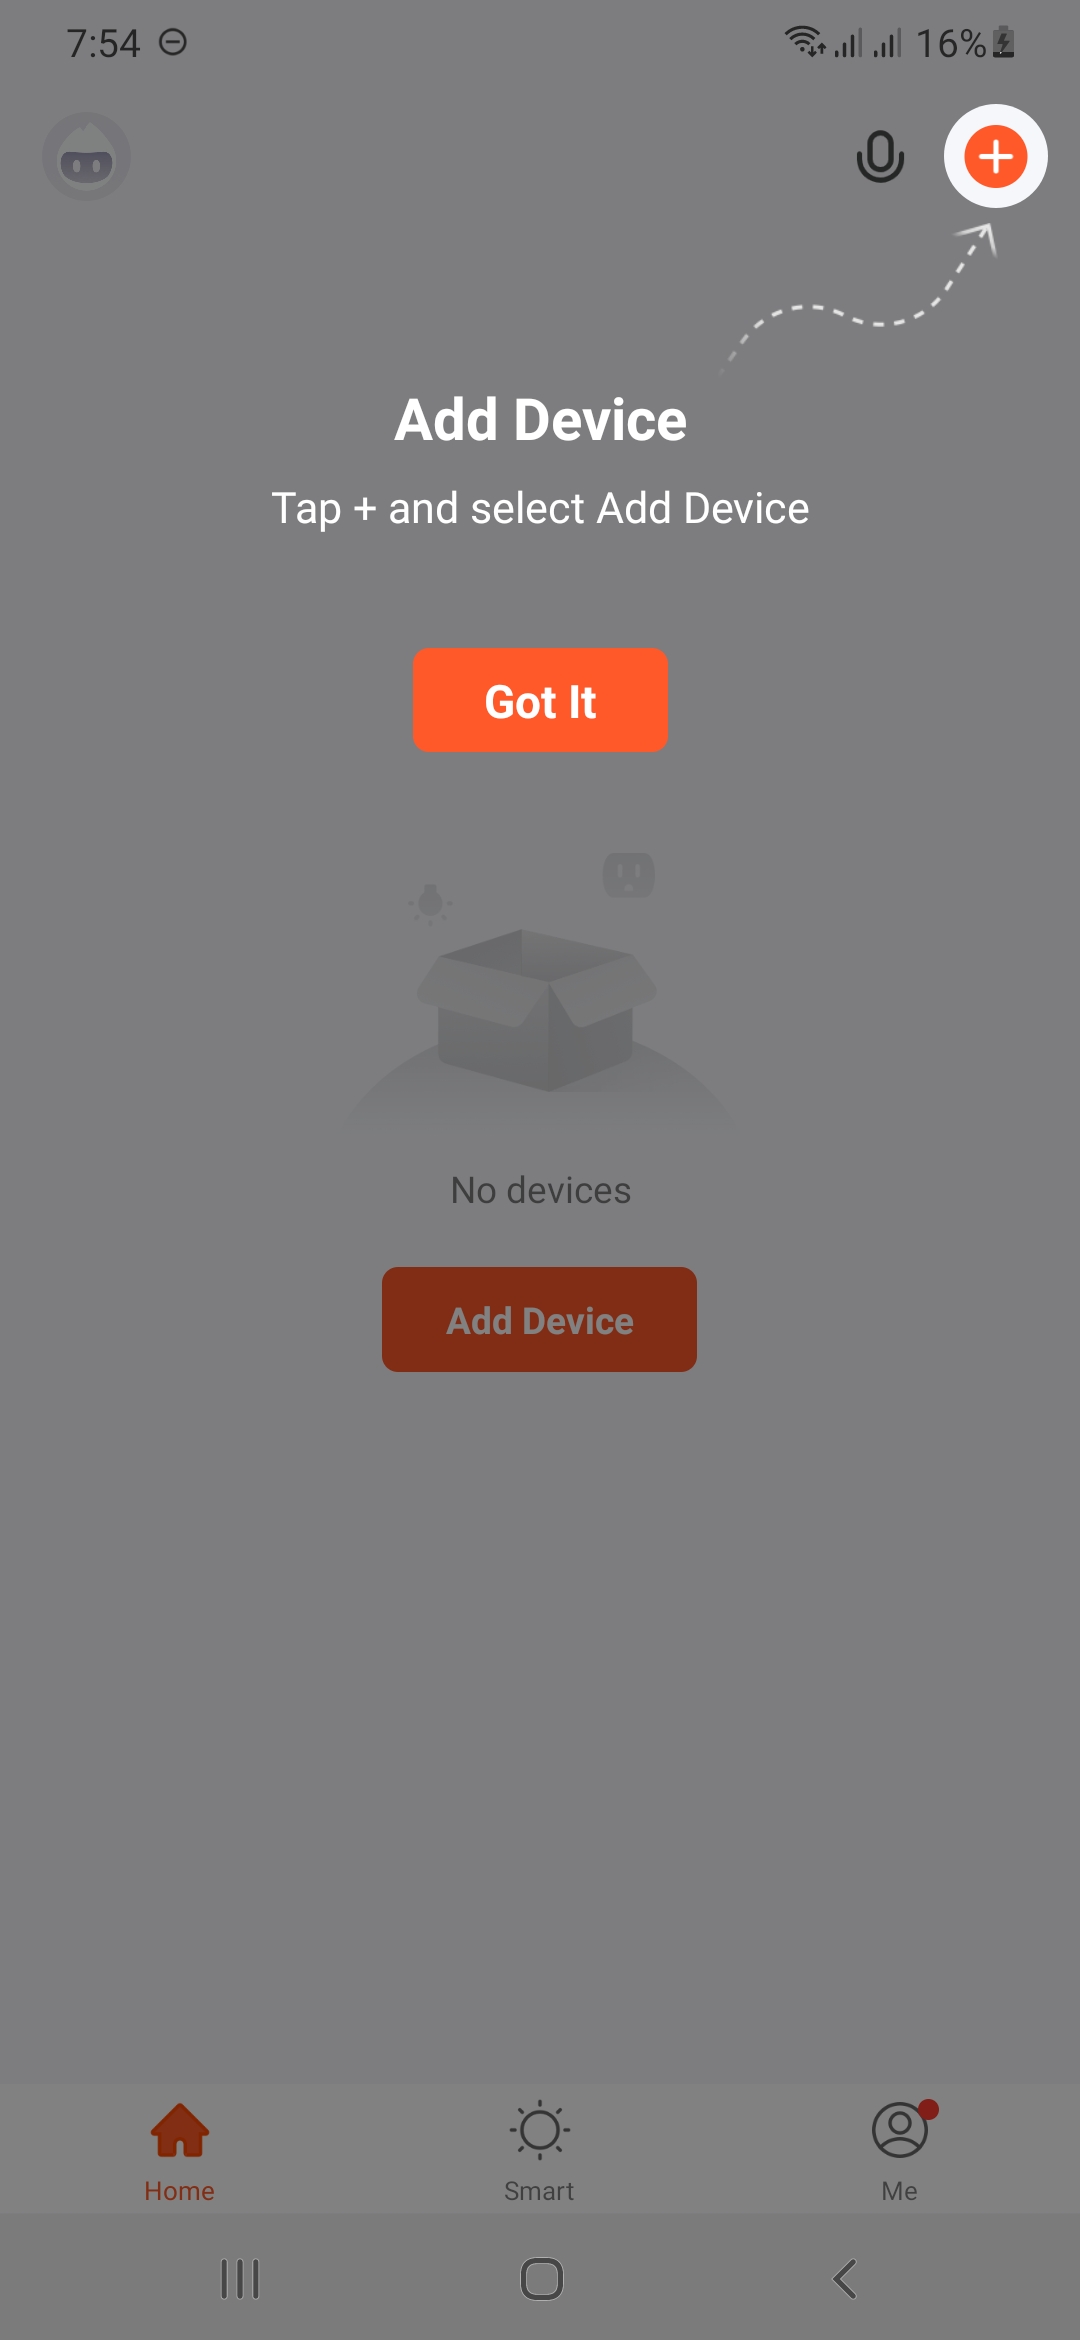
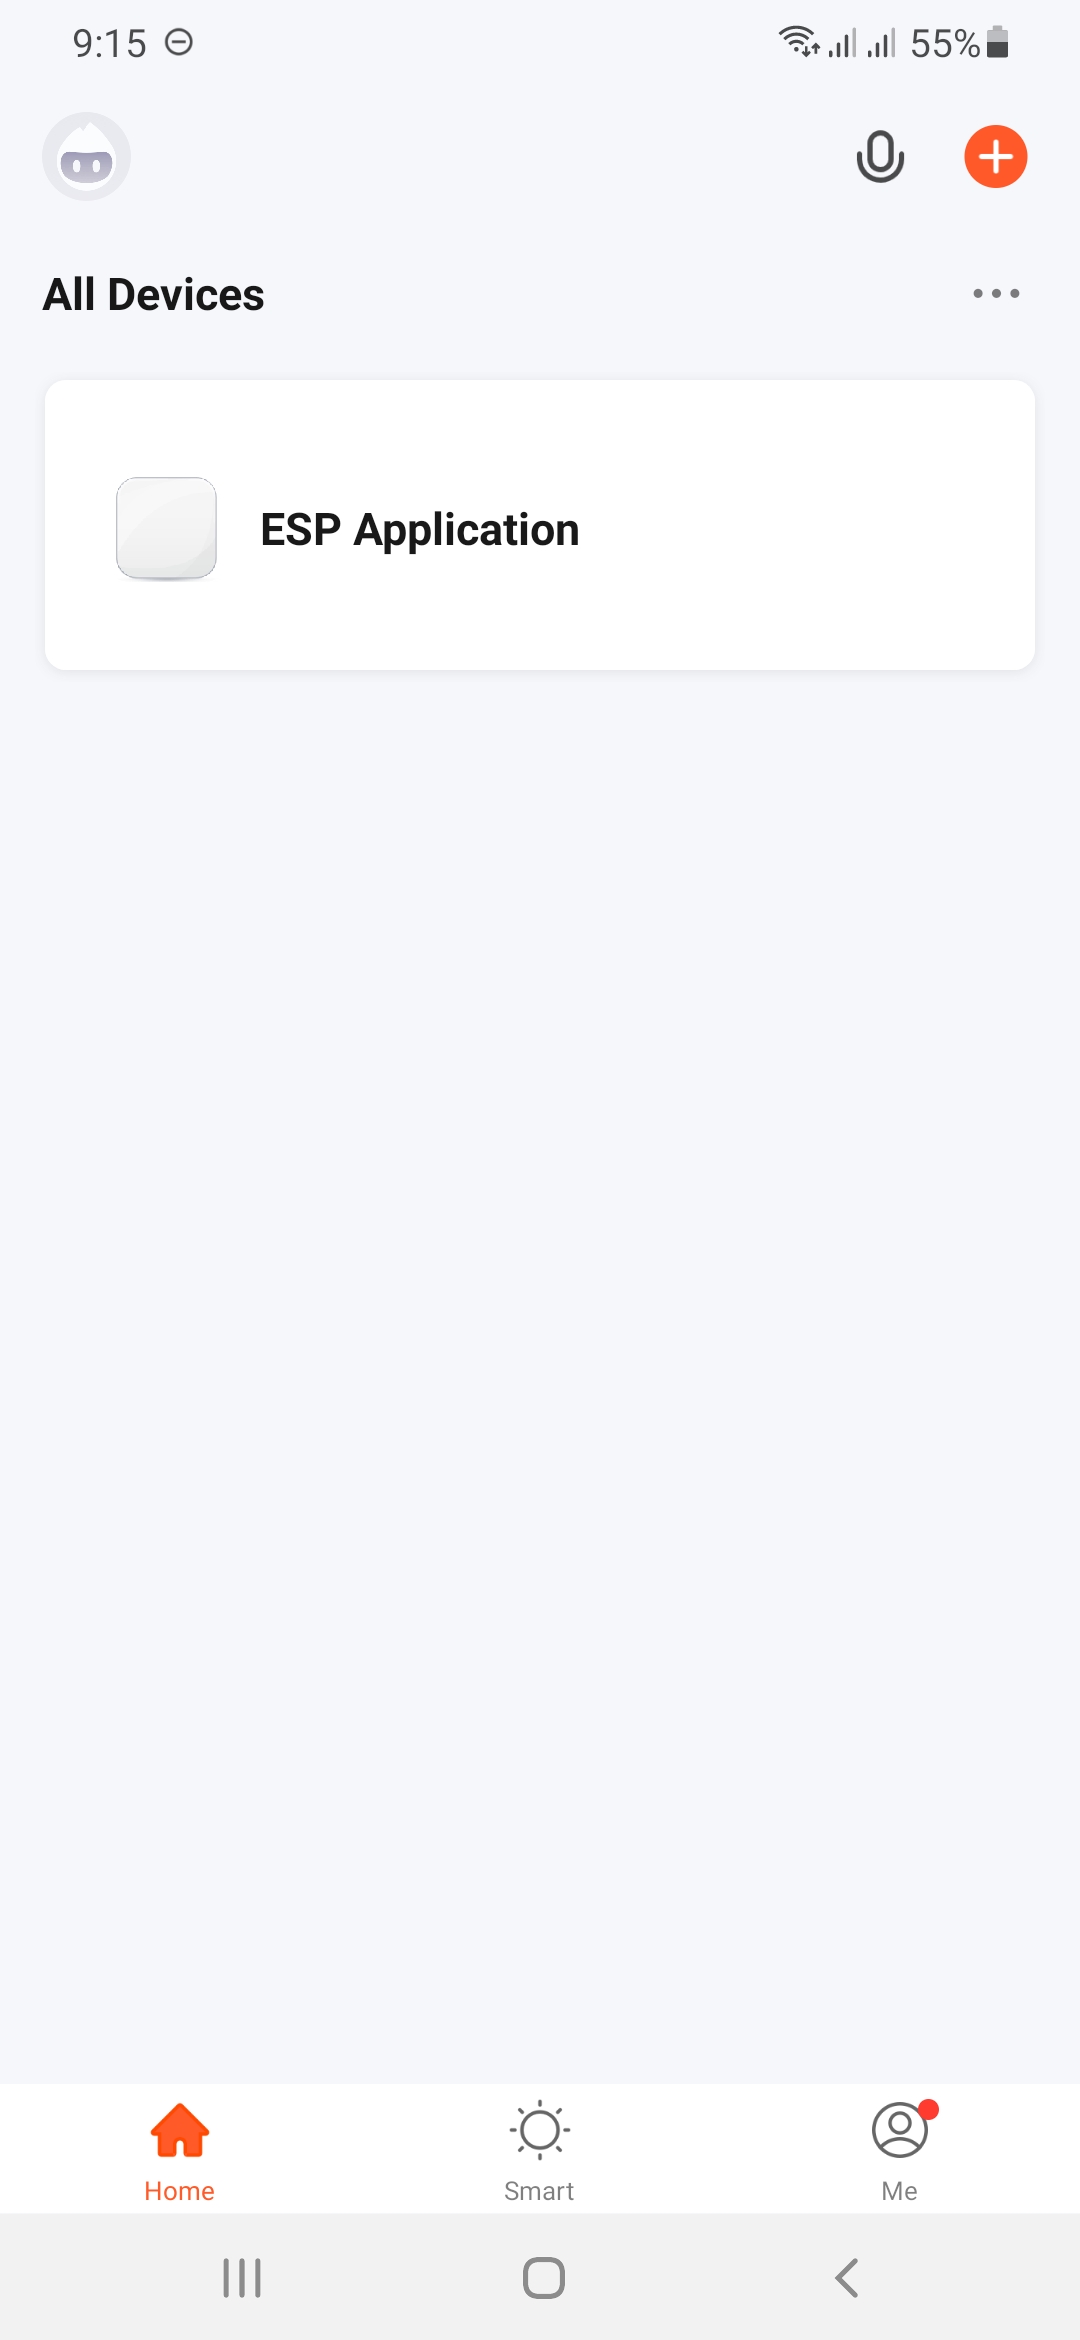
Now the ESP Application will be added to the All Devices section of the Tuya Smart App.
Software Setup: Arduino IDE for Configuring Tuya Link SDK
The Arduino IDE here is used to process the serial message from the desktop Python on the ESP32 board similar to the PhysicalPixel Built-in Example.
Add the ESP32 board in the Arduino IDE
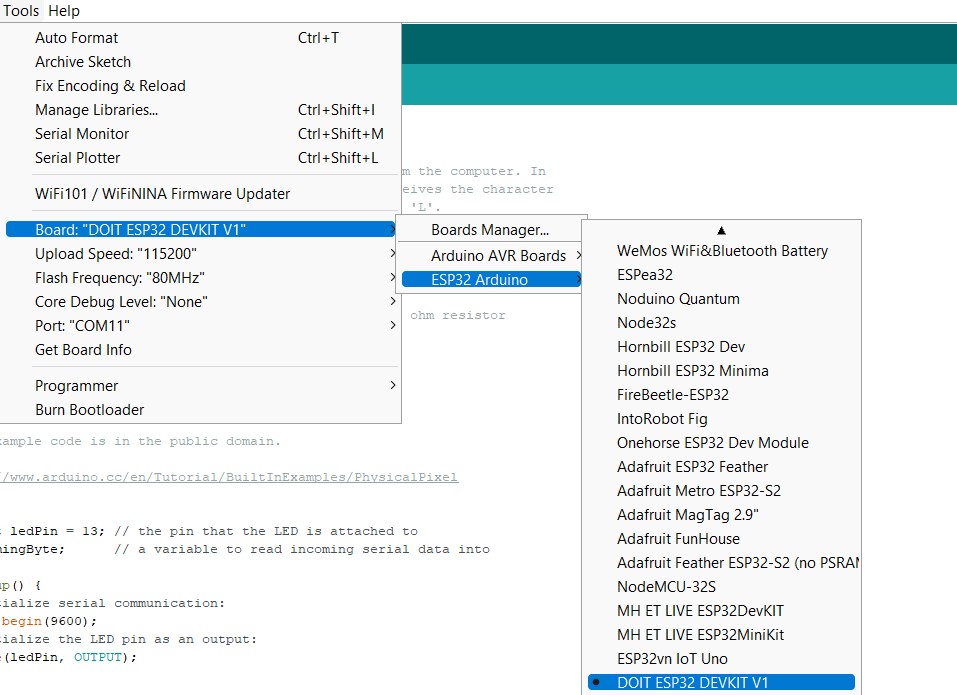
Board Manager URL: https://raw.githubusercontent.com/espressif/arduino-esp32/gh-pages/package_esp32_dev_index.json
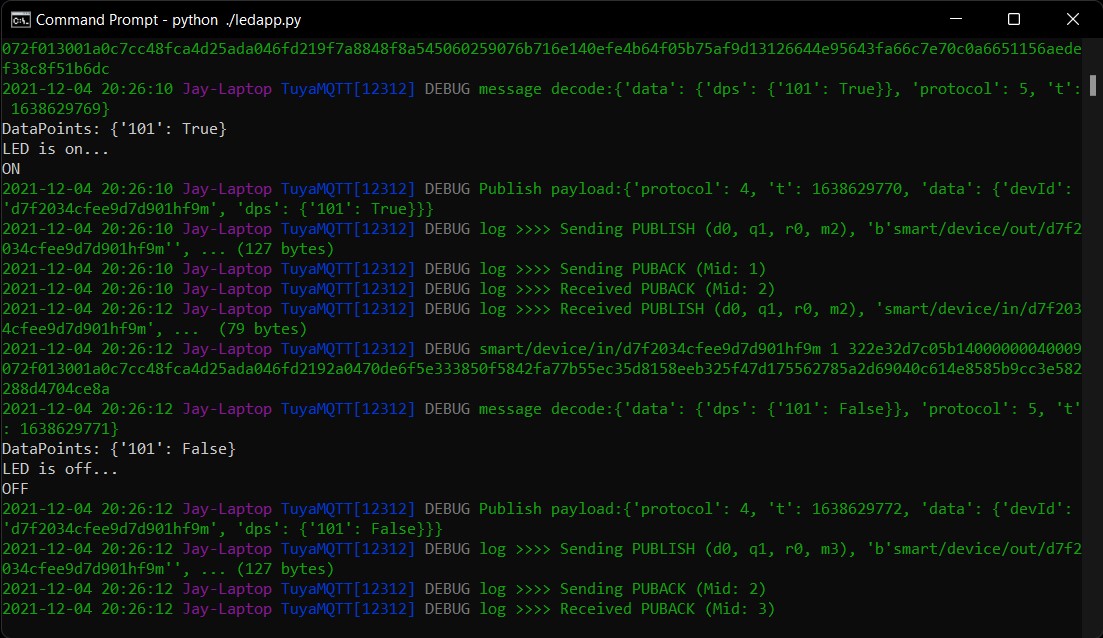
When the incoming Byte over serial is ‘H’, the program turns the LED on. The LED is turned off when the incoming Byte is ‘L’. Remember to set the proper GPIO pin to which the LED is connected.
Output
Run the ledapp.py file using the command
|
1 |
python ./ledapp.py |


Team of young engineers writing tutorials and developing projects related to embedded systems, IoT, edge AI, and more.
Support CNX Software! Donate via cryptocurrencies, become a Patron on Patreon, or purchase goods on Amazon or Aliexpress. We also use affiliate links in articles to earn commissions if you make a purchase after clicking on those links.


I’m not sure how secure Tuya really is but I hope it is at least minimally secure as I have a bunch of devices which use SmartLife/Tuya.
Thanks for the article, it’s interesting seeing how it can be used on personal devices.
Can check the docs anytime for Tuya Security and Compliance
https://www.tuya.com/rule#:~:text=privacy%20and%20compliance%20requirements
Hi,
thanks for the article.
That is a good starting point for homr-brew application to add within the TUYA-space.
But what are te restrictions of ’Get 2 Free Licenses’ ?
How many devices (same/different) can I develop.
Note: Only for my home, not commercial use…
Regards Alex
Its just a Generic License
Hope, this answers your query.
Good luck building your network infrastructure based on some anonymous cloud provider somewhere in a communist country.
Hi there !
Maybe it is interesting for you to have a look at this video first:
https://media.ccc.de/v/35c3-9723-smart_home_-_smart_hack
This talk was primarily held in German language, but:
This Talk was translated into multiple languages. The files available for download contain all languages as separate audio-tracks. Most desktop video players allow you to choose between them.
Please look for “audio tracks” in your desktop video player.
And maybe you then want to use this SW-tool:
https://github.com/ct-Open-Source/tuya-convert
Best regards
Rainer
Thanks
No problem.
Your welcome.
Whenever possible I, for myself, try to use TASMOTA.
And I also will prefer devices, that are supported by TASMOTA.
https://github.com/arendst/Tasmota
https://www.cnx-software.com/?s=tasmota&post_type=post
Regards
Rainer
Have a Link at tuyas Cookie information. You ganz 813 companies to deal with your data. I am not talking against guys, but in a should have a closer look at this before accepting cookies or opening an account
Hello alltogether
does the system work also with zigbee devices? This is a real jungle with all the smart home devices.
A Tuya Zigbee page is available at https://www.tuya.com/solution/communication/zigbee
It can be explored.
Hey!
do you help me regarding “how to send sensor bool data to the tuya sdk with esp32 to link it with the respecting datatype”
thanks..
I don’t understand, what code should I flash on the ESP32?
BTW, could I use ESP8266?
hello,
I am interested in a cloud IoT system called Smartlife (tuya), and I am researching various things.
Is it possible to write the function of the “ledapp.py” part to the ESP32 module in the above article?
On the tuya IoT platform site, once you get the PID, you get the firmware automatically generated on the psm site along with the UUID etc. and download it to the module. Can you make this firmware yourself?
Hello good morning from Spain.
I think I have everything, although it is a bit tangled.
when executing the ledapp.py it gives an error.
import serial
ModuleNotFoundError: No module named ‘serial’
Thank you.
That probably means you need to install the Python serial module first:
Good morning;
Thanks for the help, it ends well and the QR code appears.
The sw is already uploaded to the ESP32 through Arduino.
When scanning the code to register the device says that it cannot be found, check if the device is connected or the QR code is correct.
any ideas ??
Thank you very much for your help.
Sorry for my english is with google.
Try to check the serial console on the ESP32 device to make sure there aren’t any error messages.
Hi,
Thanks for your interesting article. When I try to run the ledapp.py it gives me the following error.
File “C:\Users\Desktop\tuyaos-link-sdk-python\ledapp.py”, line 7
<!DOCTYPE html>
^
SyntaxError: invalid syntax
Would you know why that is?
It looks like you may have downloaded the web page hosting ledapp.py instead of the raw file.
I recently followed your article on blinking an LED with an ESP32 using the Tuya Link SDK. I appreciate the time and effort you put into creating and sharing this guide.
However, after completing the steps, I realized that the LED is actually controlled via the computer, which acts as an intermediary, sending serial commands to the ESP32. This significantly limits the value of the project since one of the main advantages of using an ESP32 is its ability to operate autonomously and connect directly to cloud services like Tuya Cloud.
I believe the article would be far more impactful if it demonstrated how to connect the ESP32 directly to Tuya Cloud, removing the dependency on a computer.
I hope you’ll consider this suggestion for future updates to the article. Thank you again for contributing to the community!