
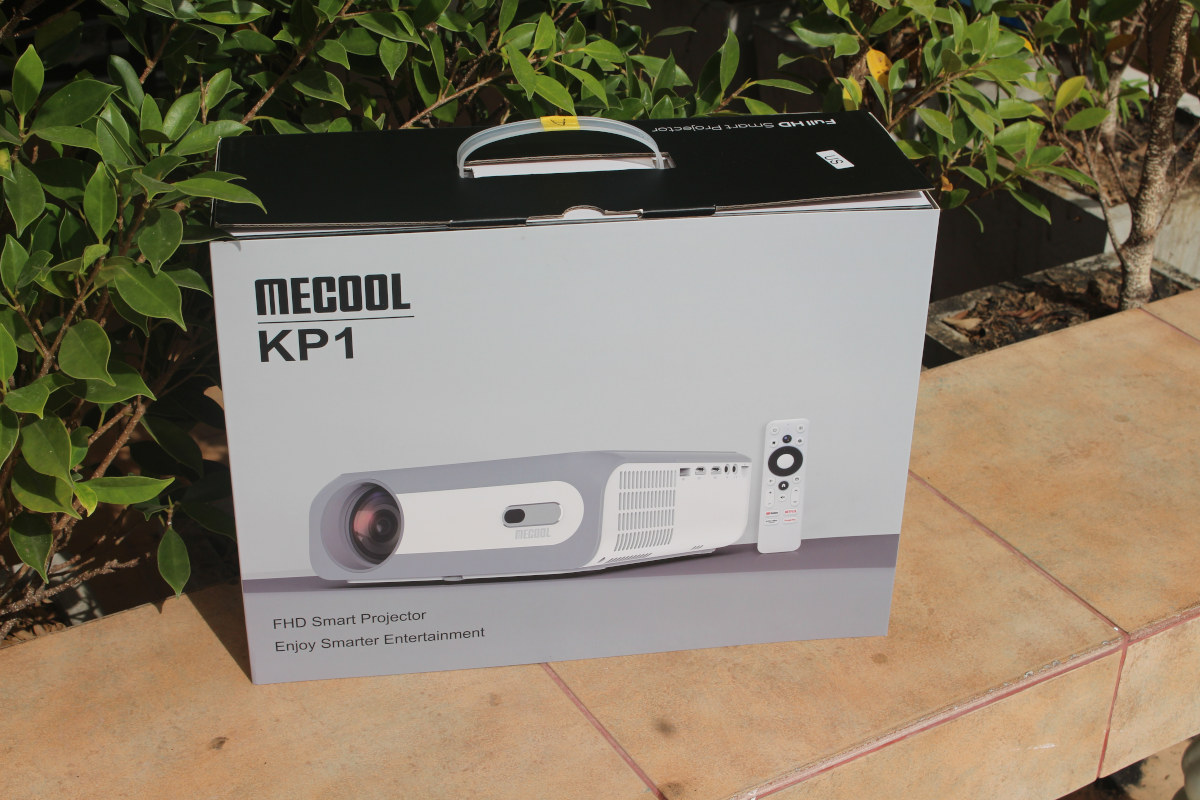
I’ve just received a review sample of the MECOOL KP1 smart projector with Full HD resolution that ships with an integrated “MECOOL KD5” Android 11 for TV HDMI stick powered by an Amlogic S805X2 processor. The company sent me a sample for review, and in this first post, I’ll check out MECOOL KP1 hardware and give it a first try, before reporting my experience in more detail in the second part of the review.
MECOOL KP1 unboxing
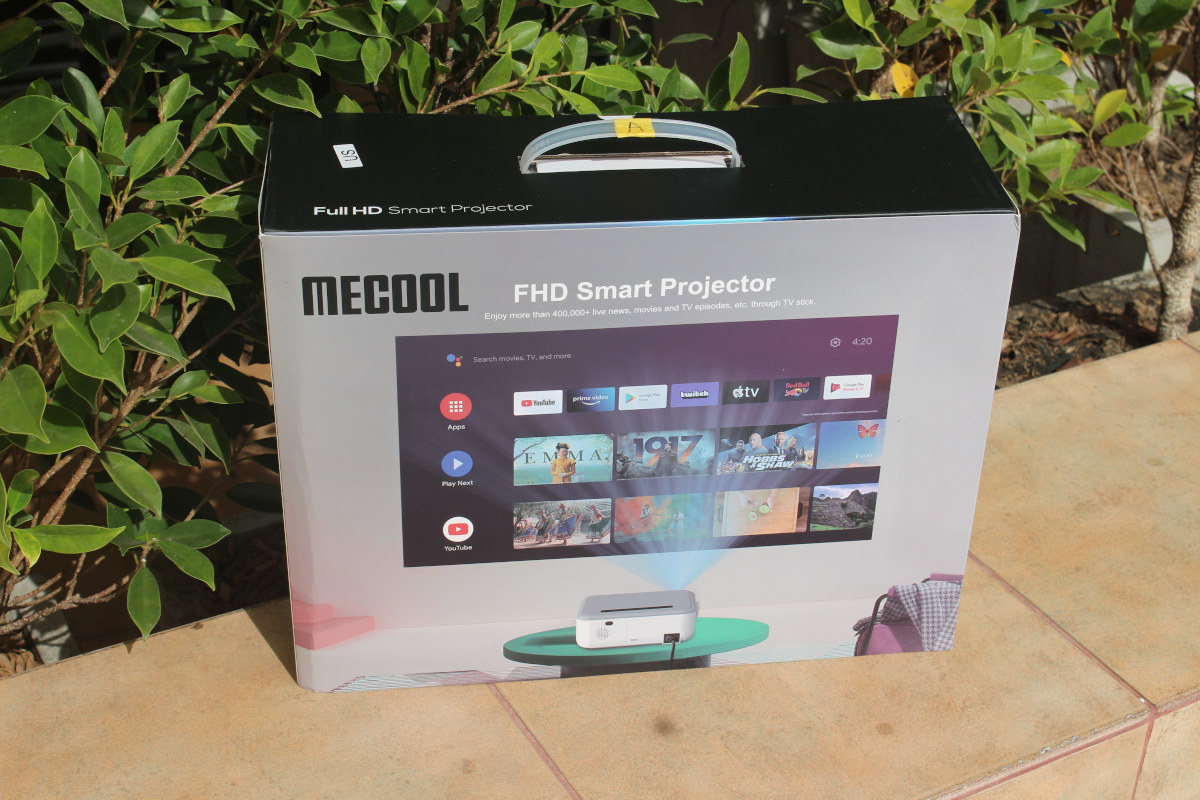
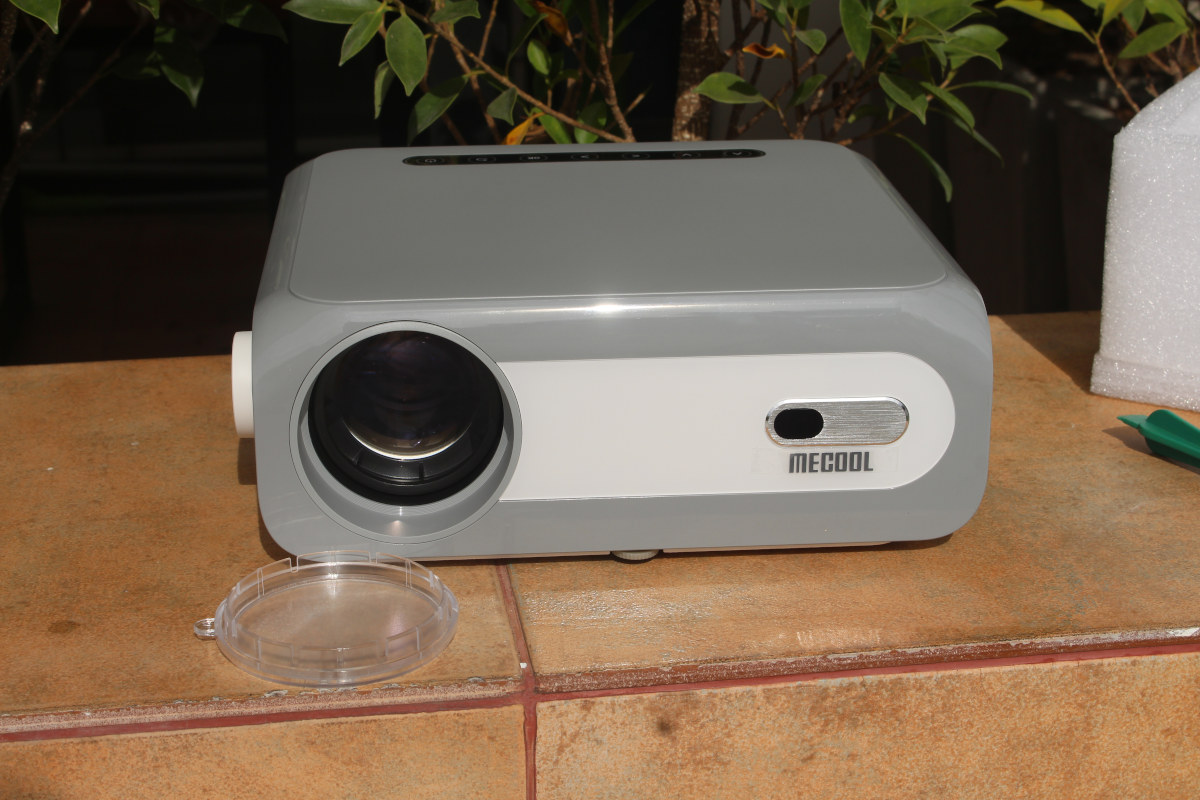
First, it’s not one of those mini projectors, as the package is fairly large…
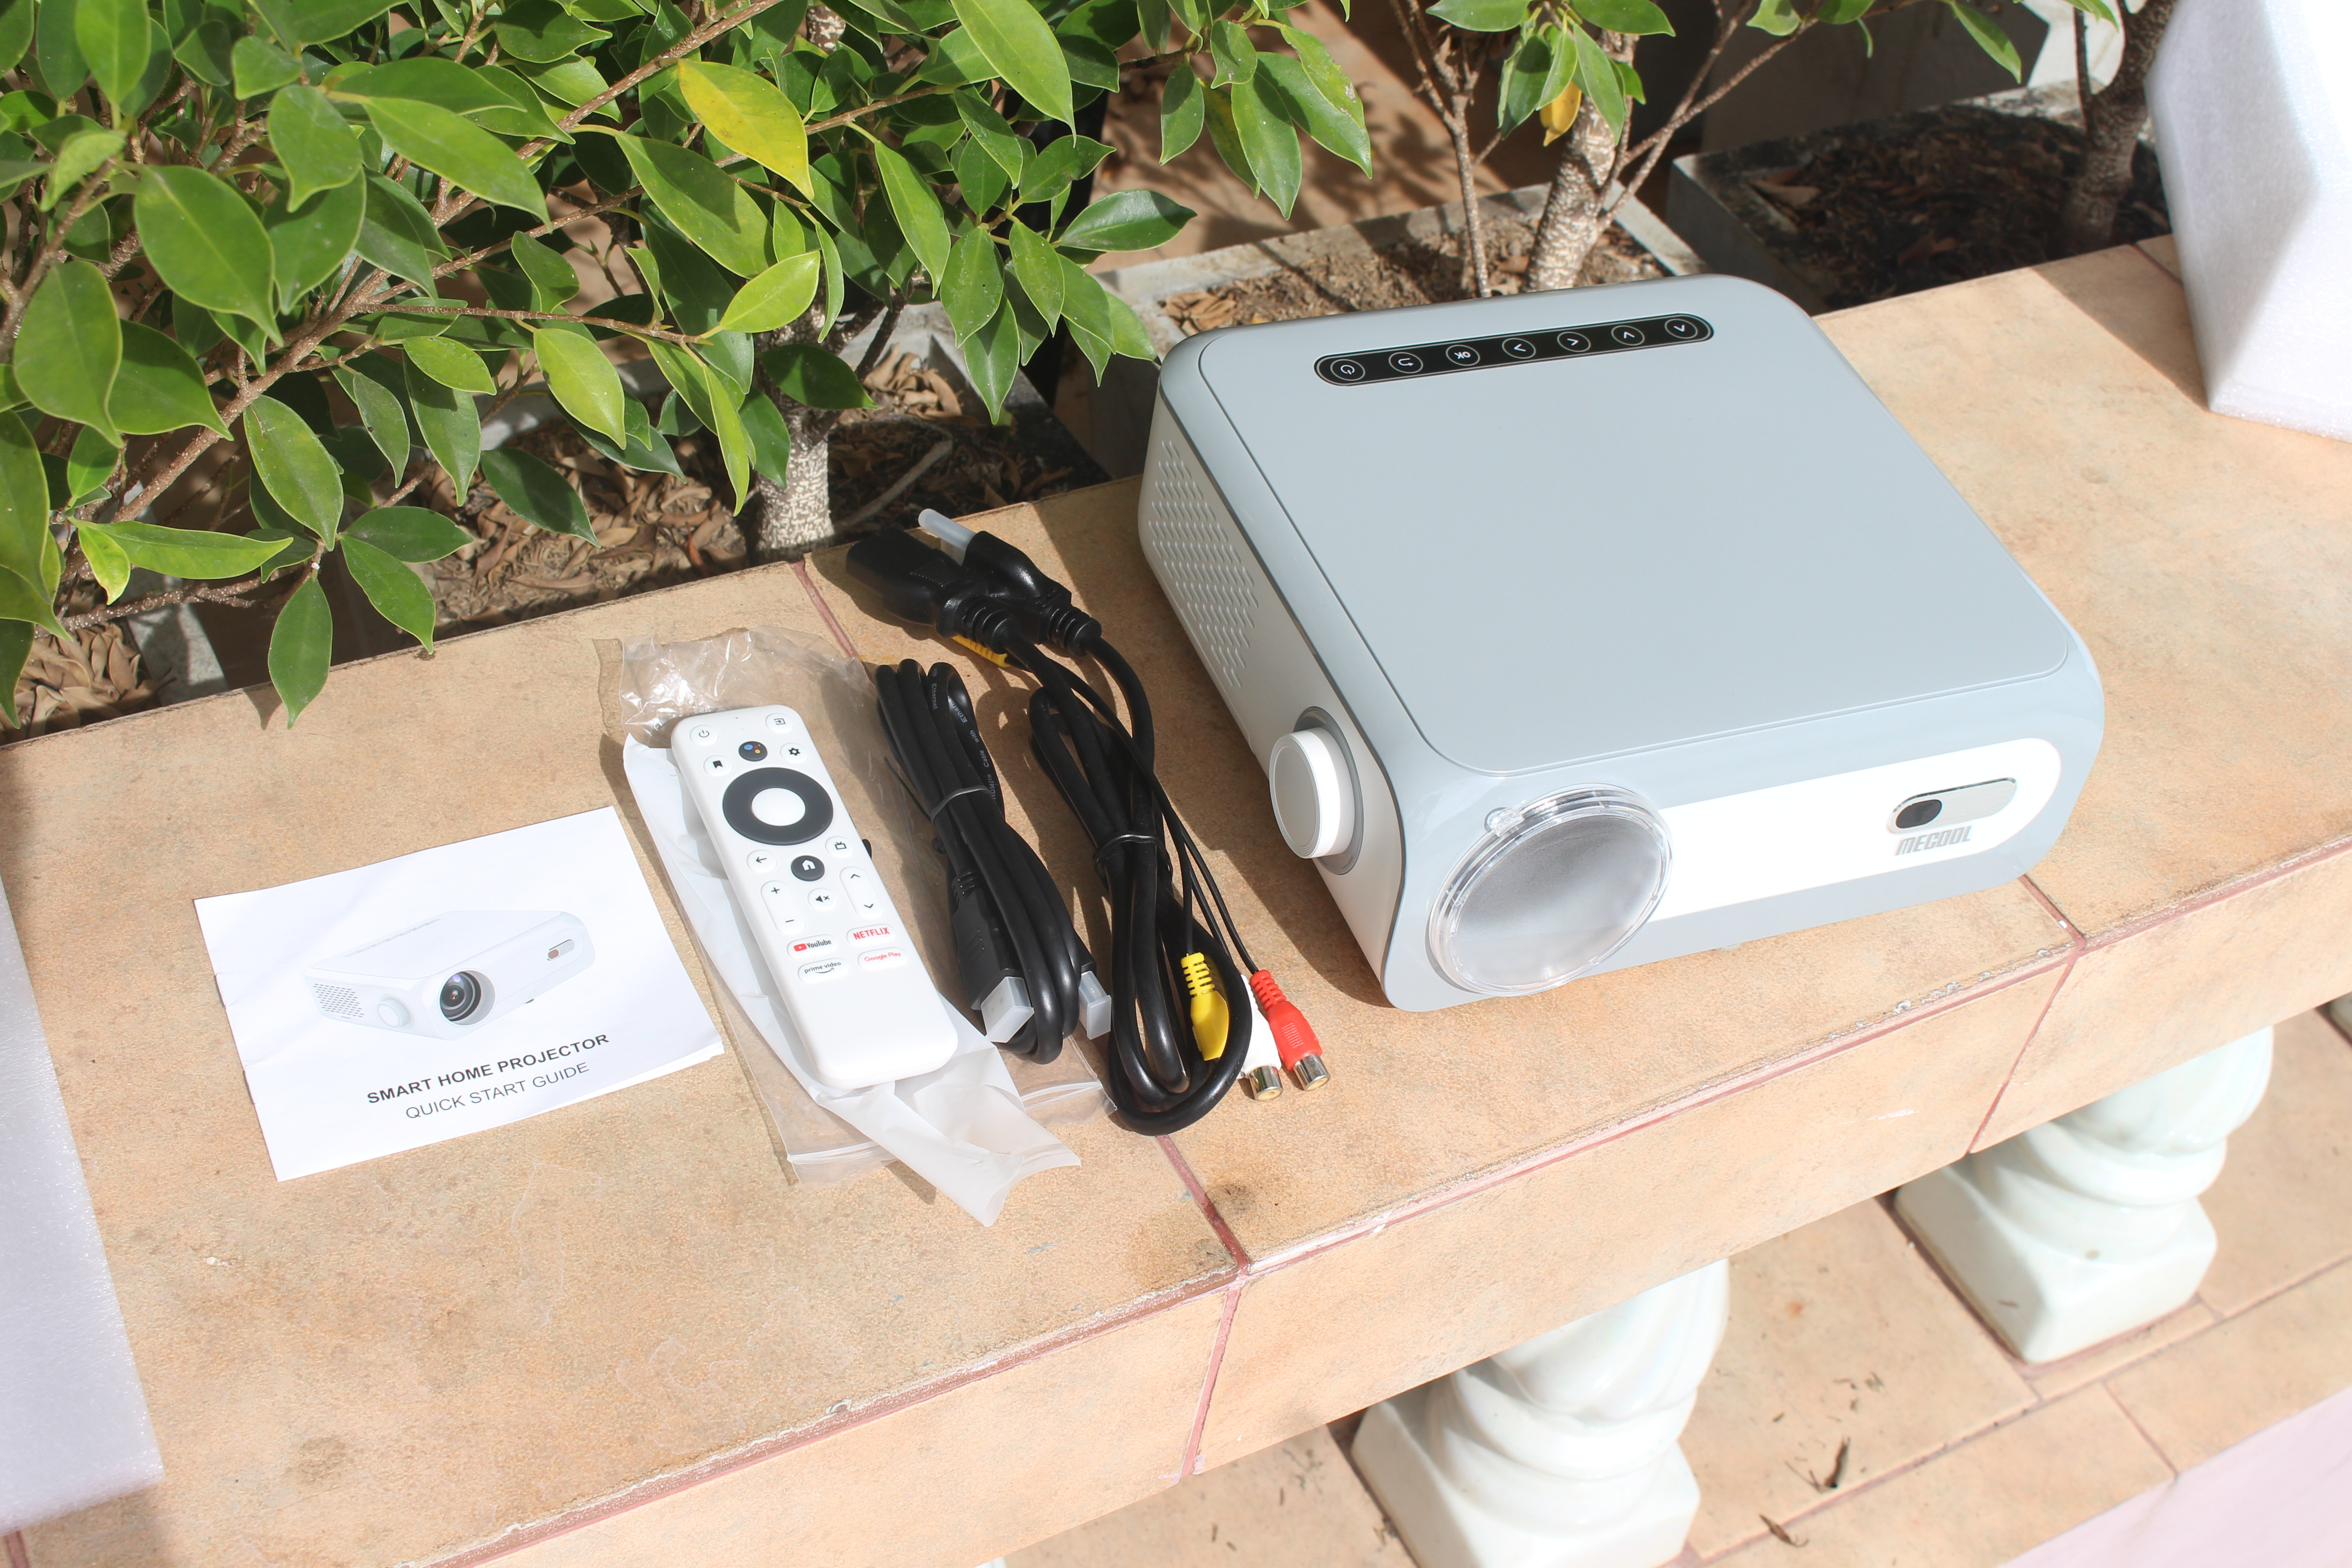
The device with with HDMI and AV (RCA composite + stereo audio) cables, a remote control, the power cord, and a quick starter guide.
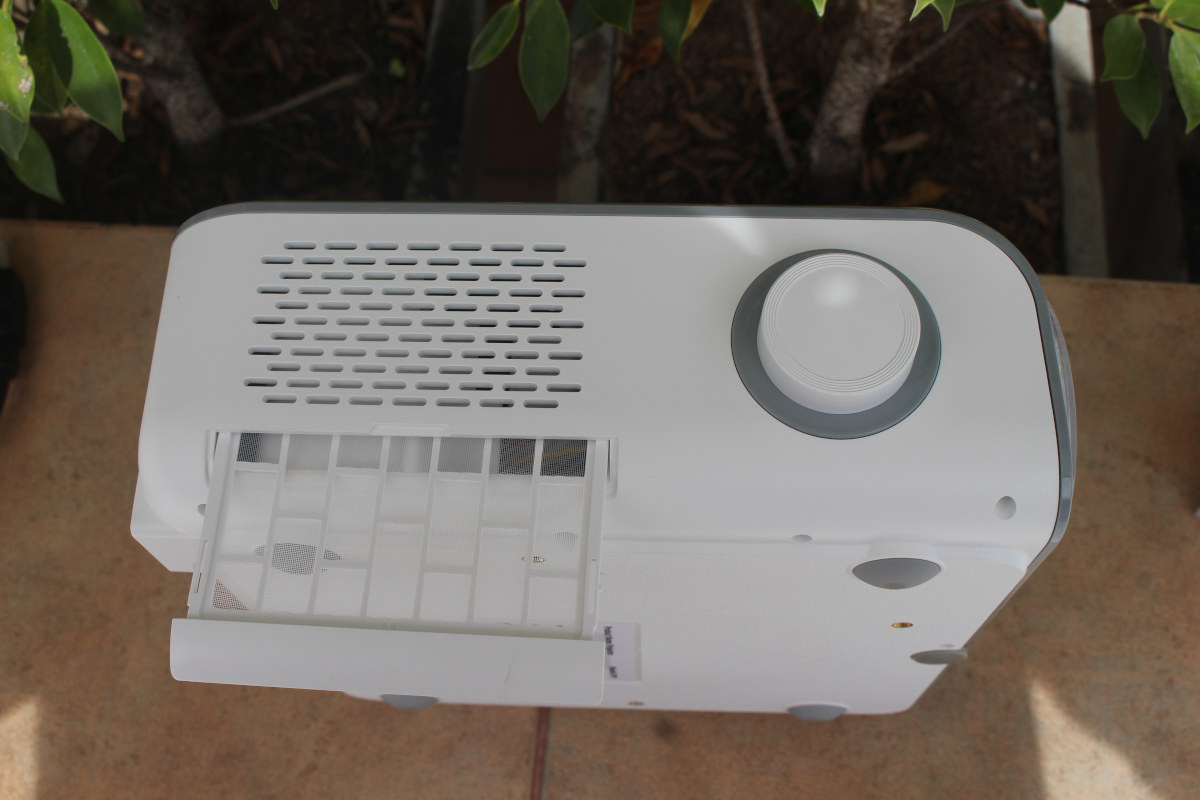
The right side of the side comes with the focus wheel and a dust filter.
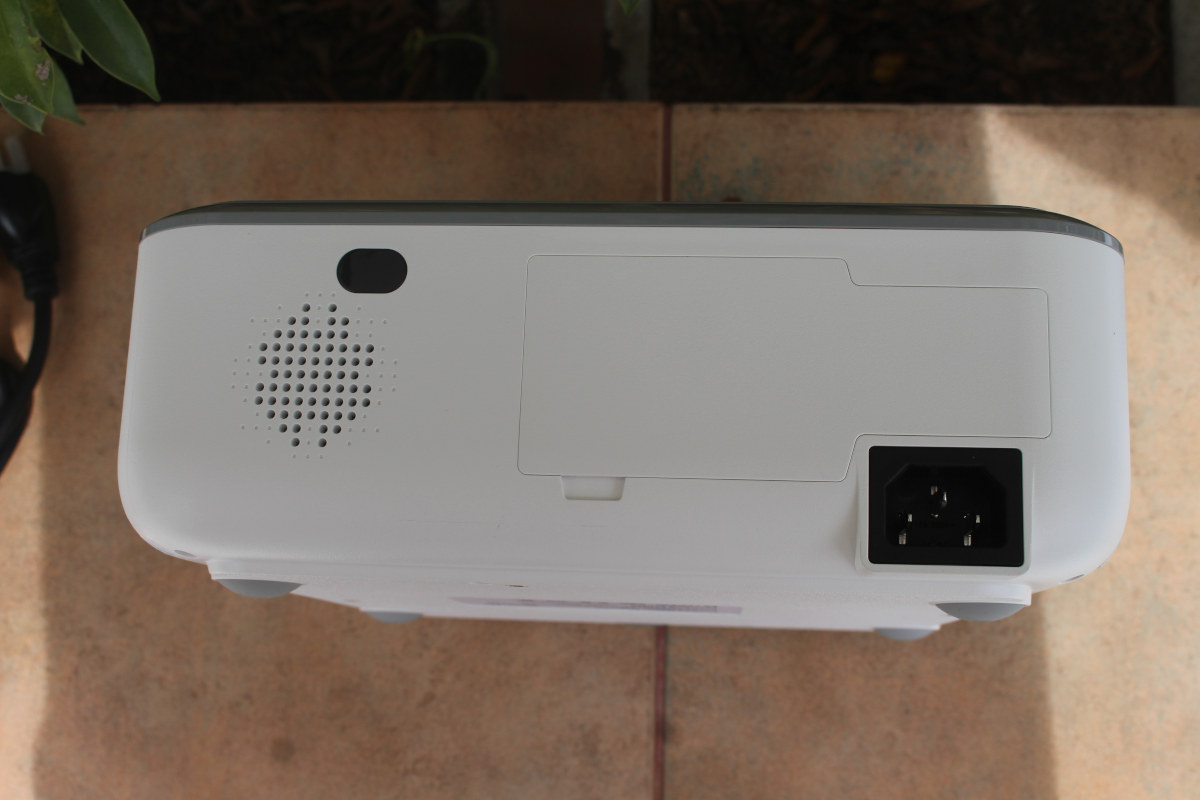
The rear panel includes one IR window, what should be holes for a speaker, and the power input.
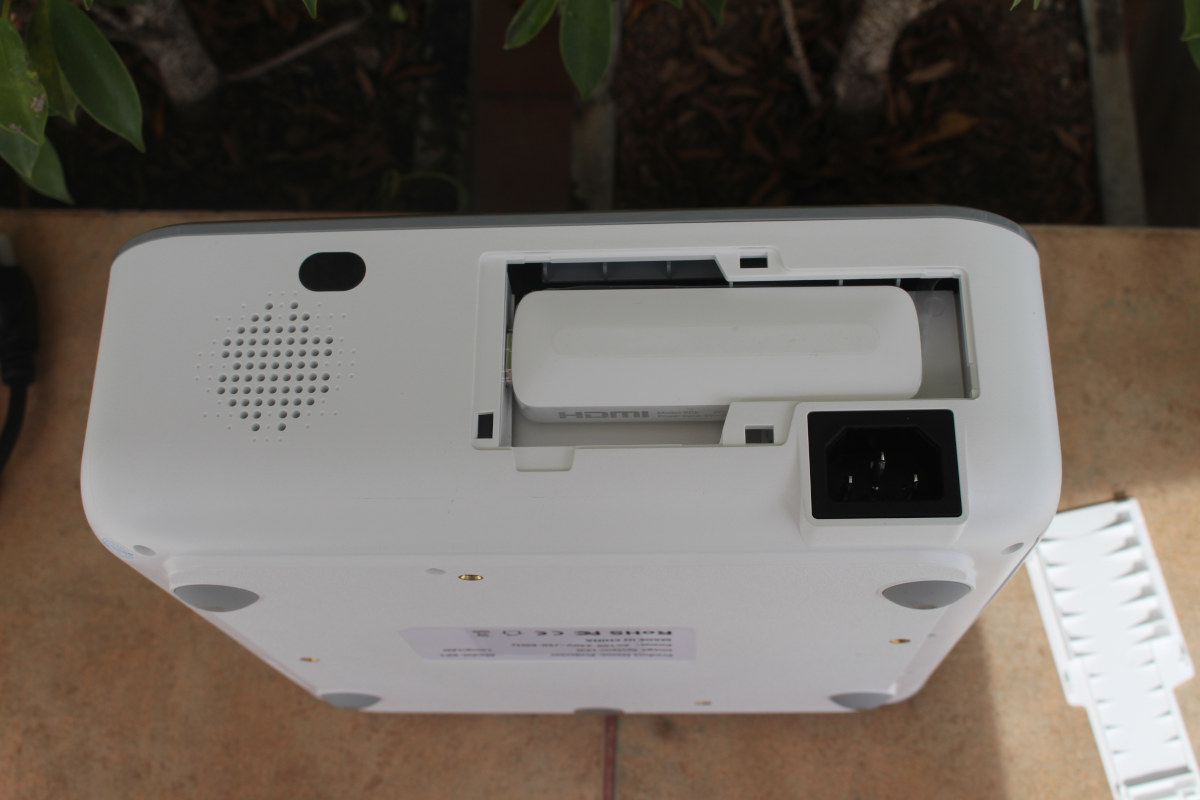
There’s also a cover we can remove to reveal the HDMI TV stick.
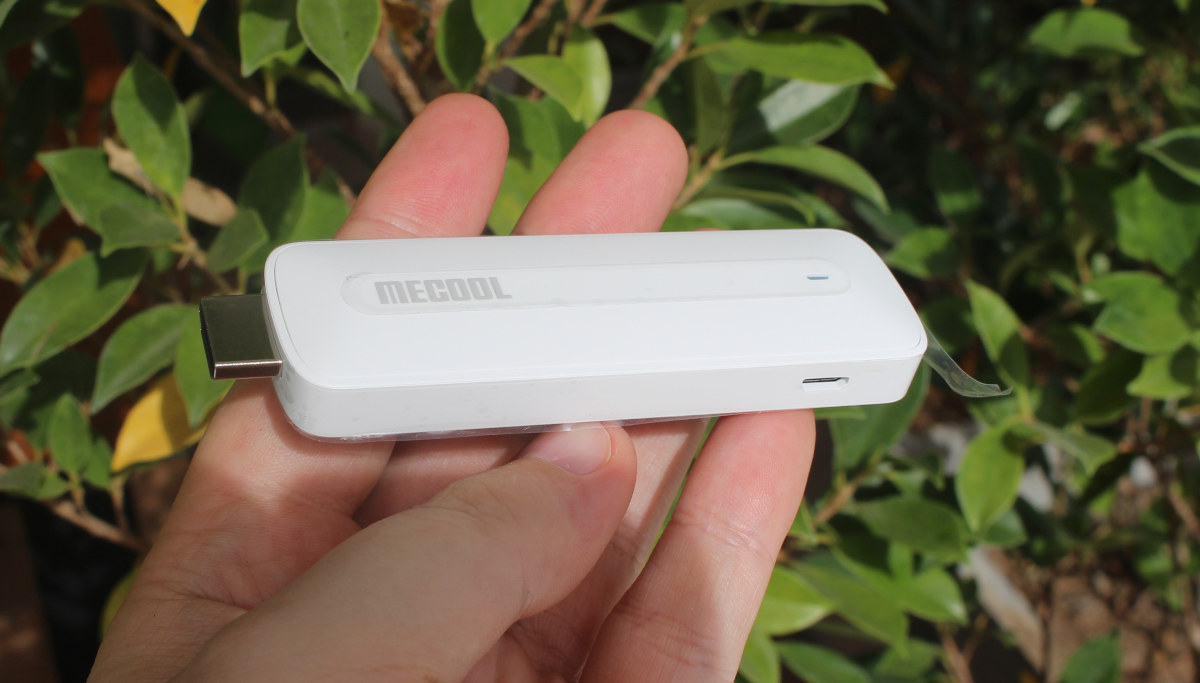
That’s the MECOOL KD5 which comes with a male HDMI port and a micro USB port for power. Note that the micro USB port is not used at all with the project, so I’d assume the TV stick supports MHL for video and power.
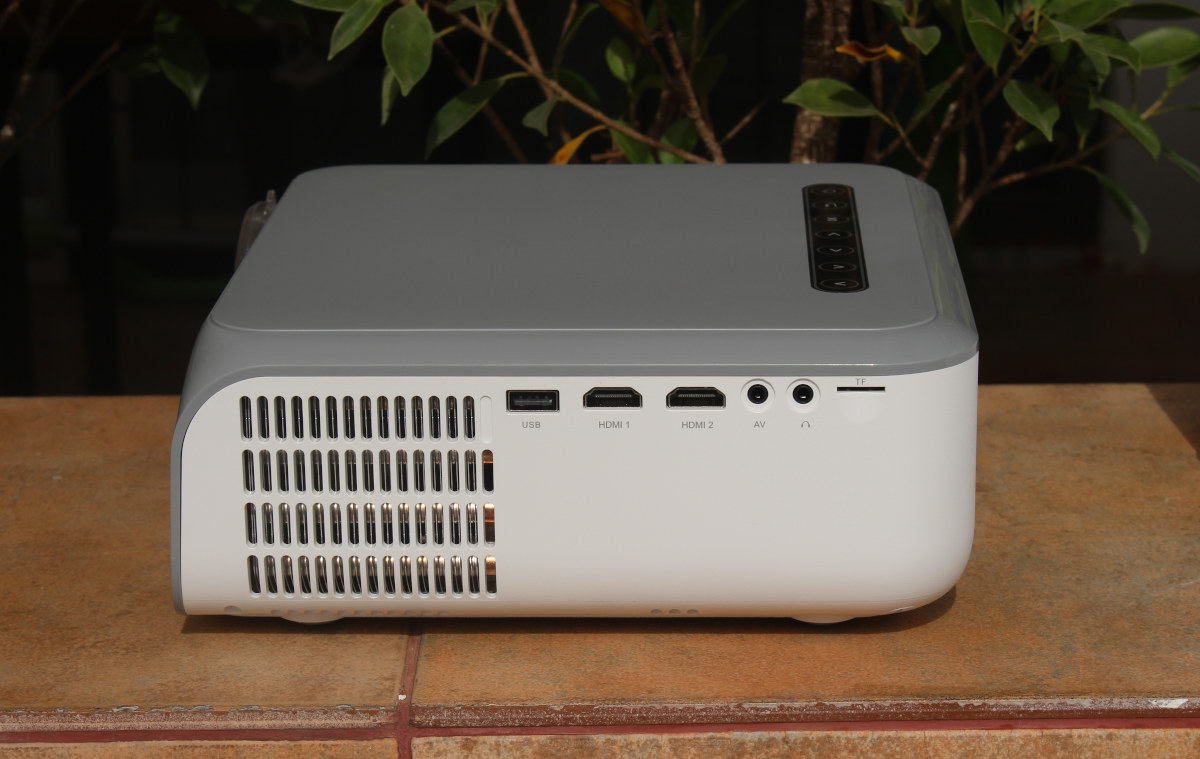
The rear panel comes with a USB port, two more HDMI input ports, 3.5mm AV and headphone jacks, as well as a MicroSD card socket, plus plenty of ventilation holes.
The front of the device features the lense and another IR receiver window.
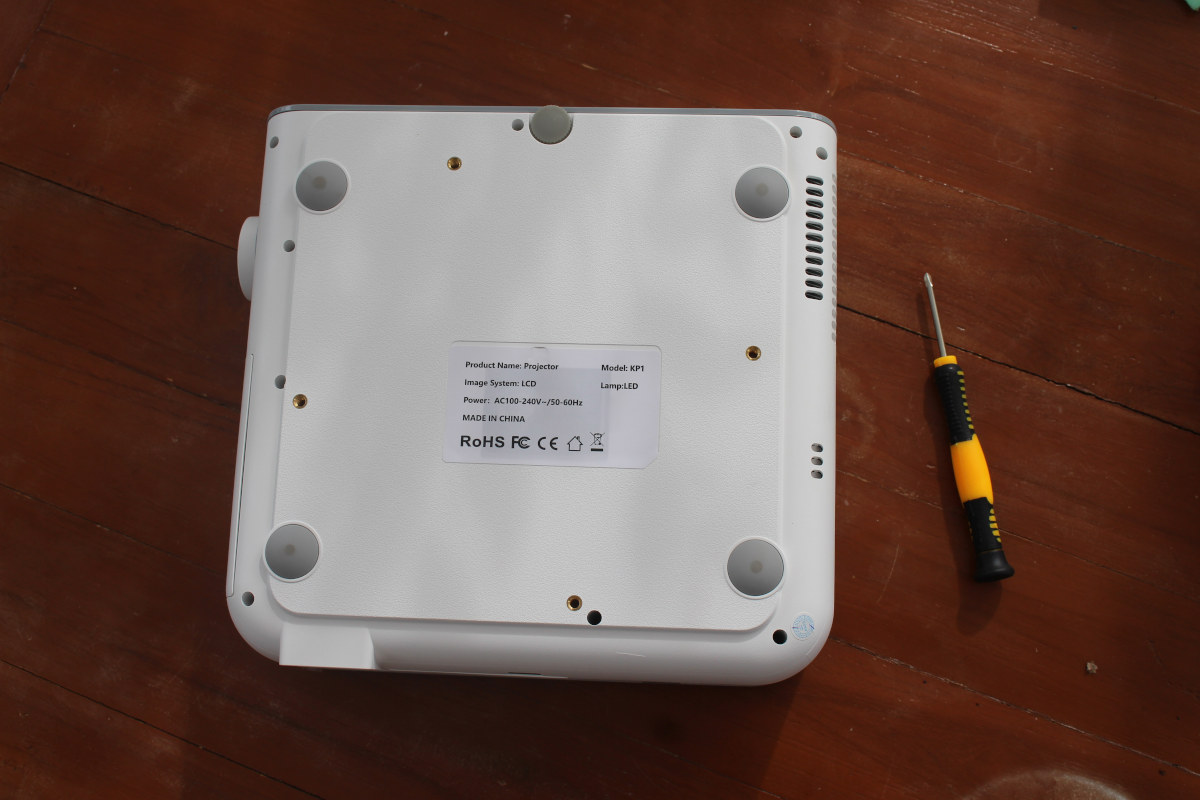
I’ve also tried to tear down the device, but sadly none of my screwdrivers are thin or long enough. We can also see four threads on the bottom that should allow for ceiling mounting. The gray circle on the center top is a “screw” projection another larger mounting thread.
First try and initial setup
Let’s connect MECOOL KP1 smart projector to the mains and press the power button on top of the device to get started. First remark: the fan is quite noisy, it almost entirely covers the noise from my air conditioner. But after adjusting the focus, I was impressed as the text is much clearer than on my older mini projector.
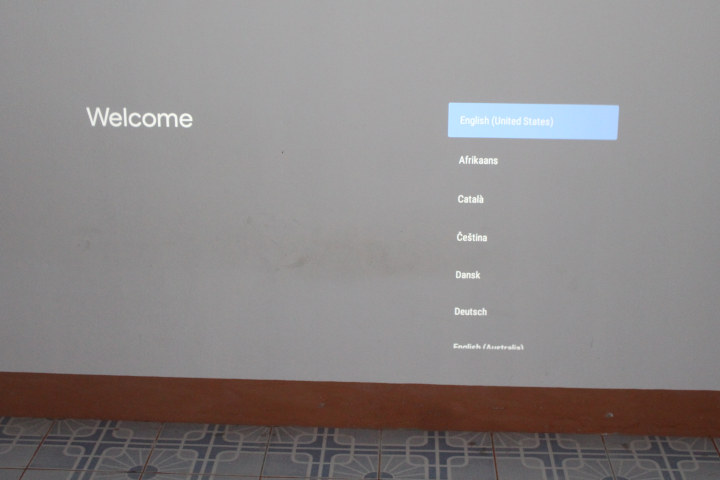
The room was dark, but I had to use the flash while taking photos during the text, or the text would not be as clear as in reality. The first step is to select the language with the remote control.
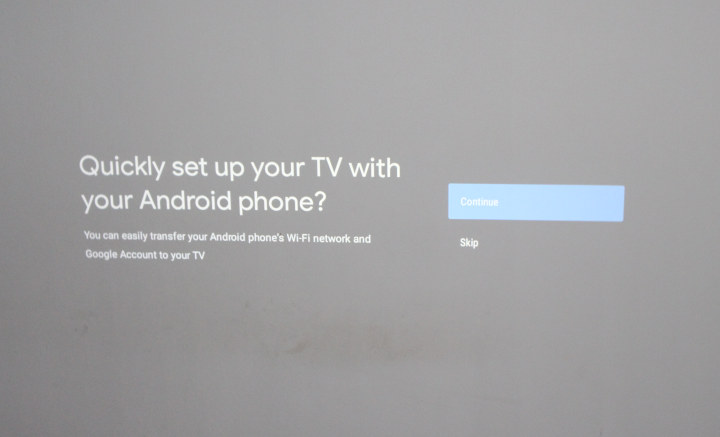
We’re then offered to pair the “TV”, in this case, your smart projector, with our Android phone in order to transfer WiFi settings and accounts.
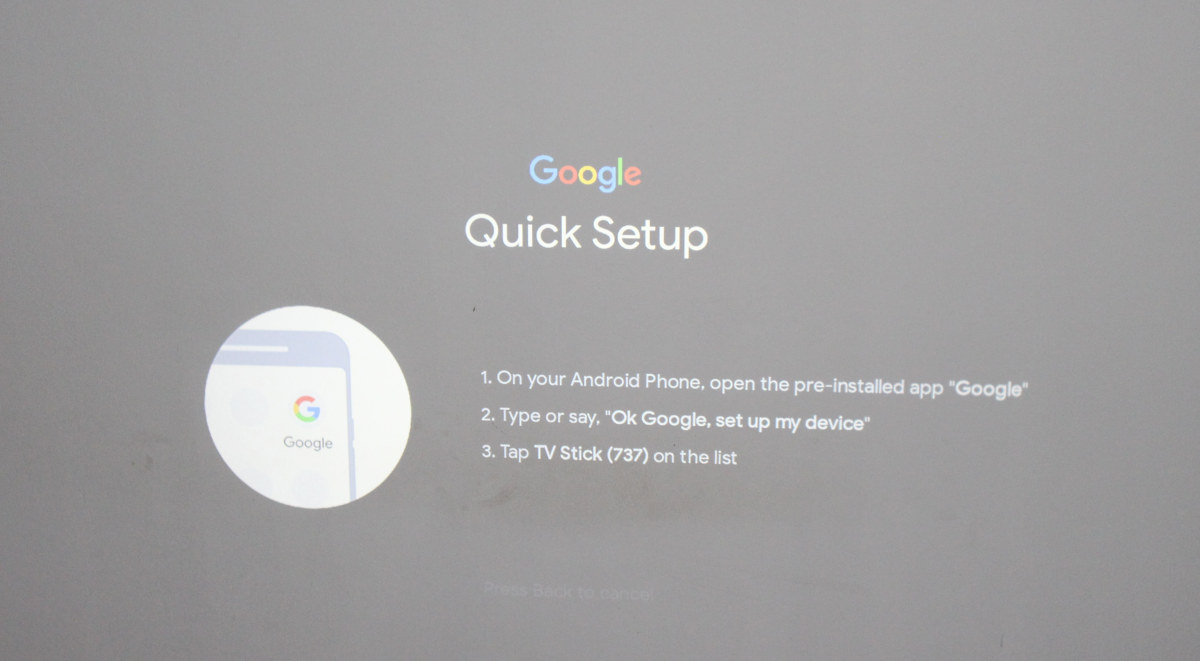
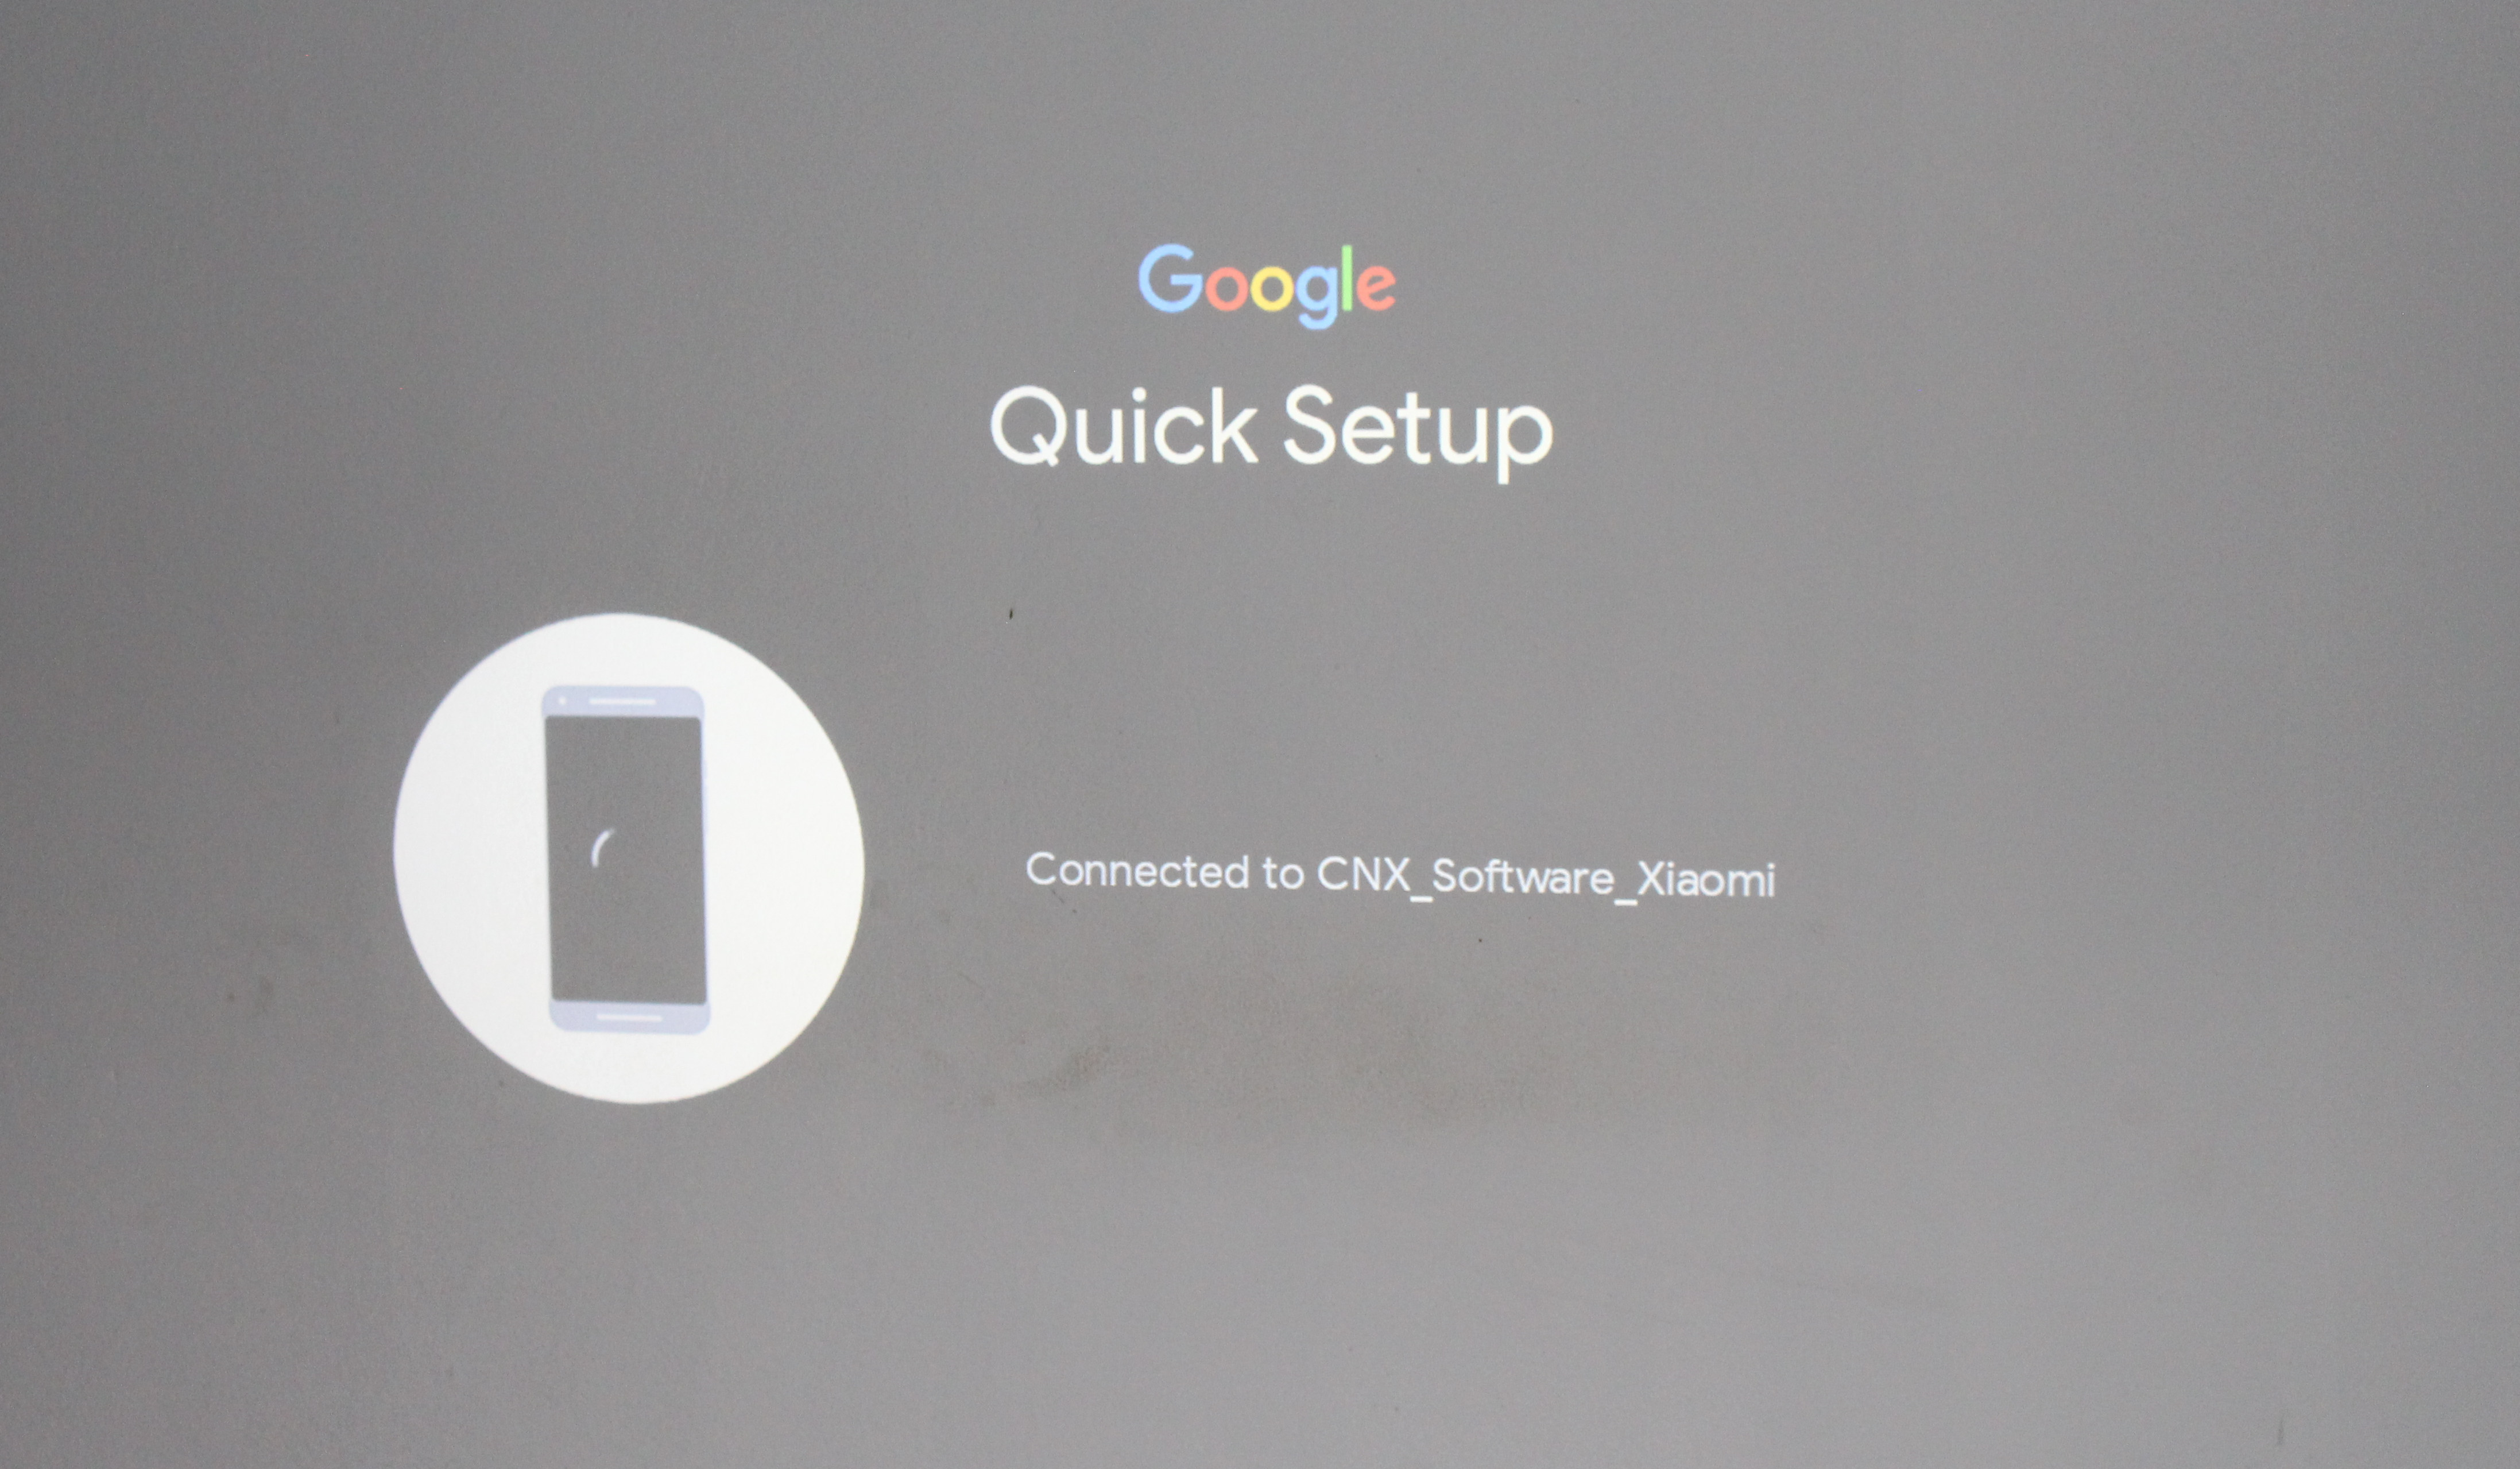
I went through the setup on my phone using Google Assistant without issues, and WiFi settings and accounts were indeed automatically transferred so I could just use the projector out of the box without having to configure WiFi or login again to my Google account.
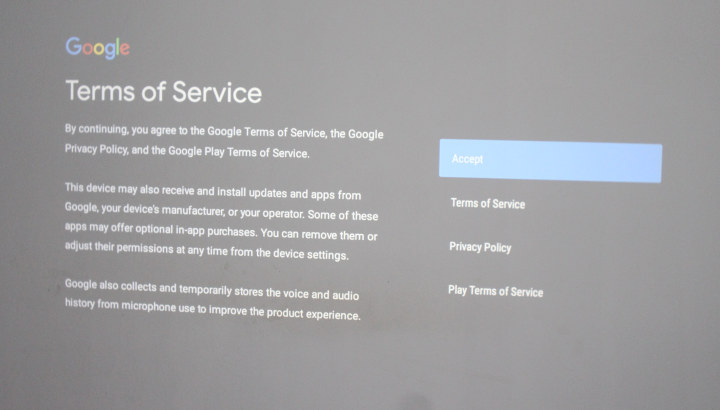
Once this is done, you still have to go through maybe 8 steps to accept Google ToS, set privacy settings, and go through a wizard explaining the main features of Android TV..
But eventually, we get the the main launcher that will be familiar with anyone having used Android TV.
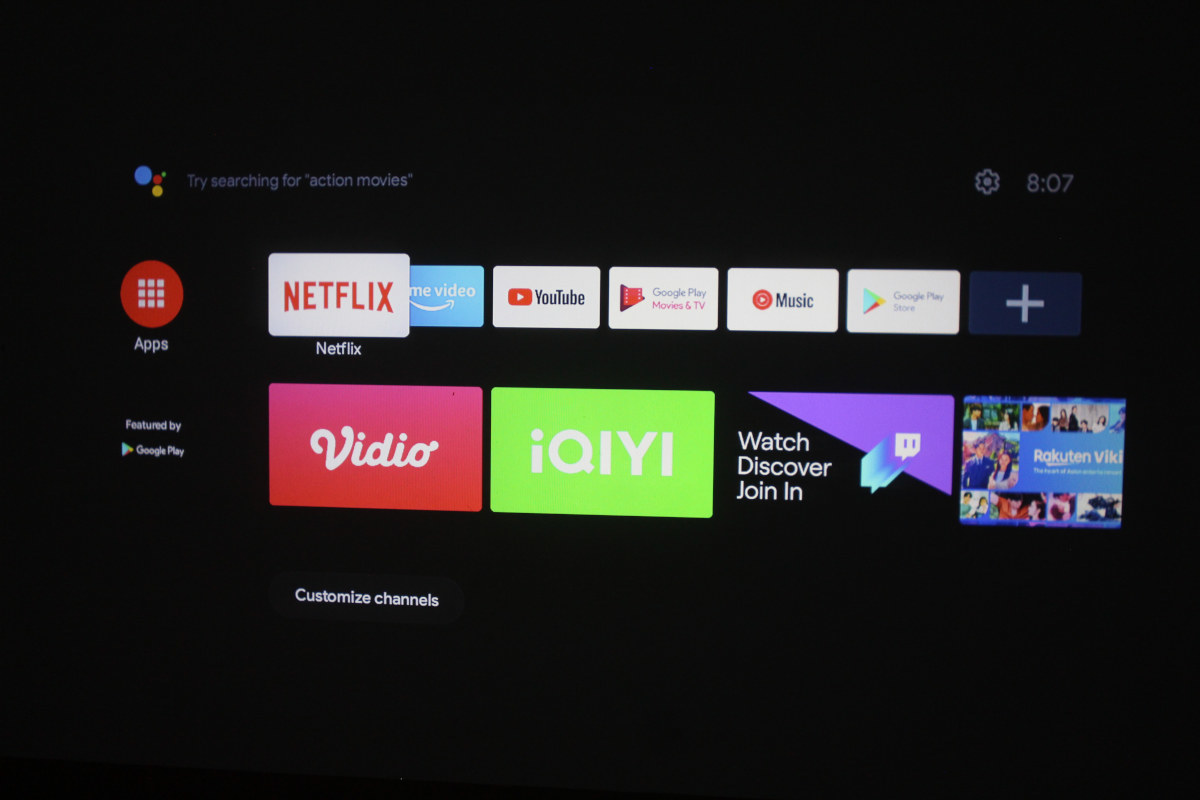
As you may have guessed the photo above was taken without flash, and it represents fairly well what I could see., except the text on the right was not blurry on the wall, only when I took a photo.
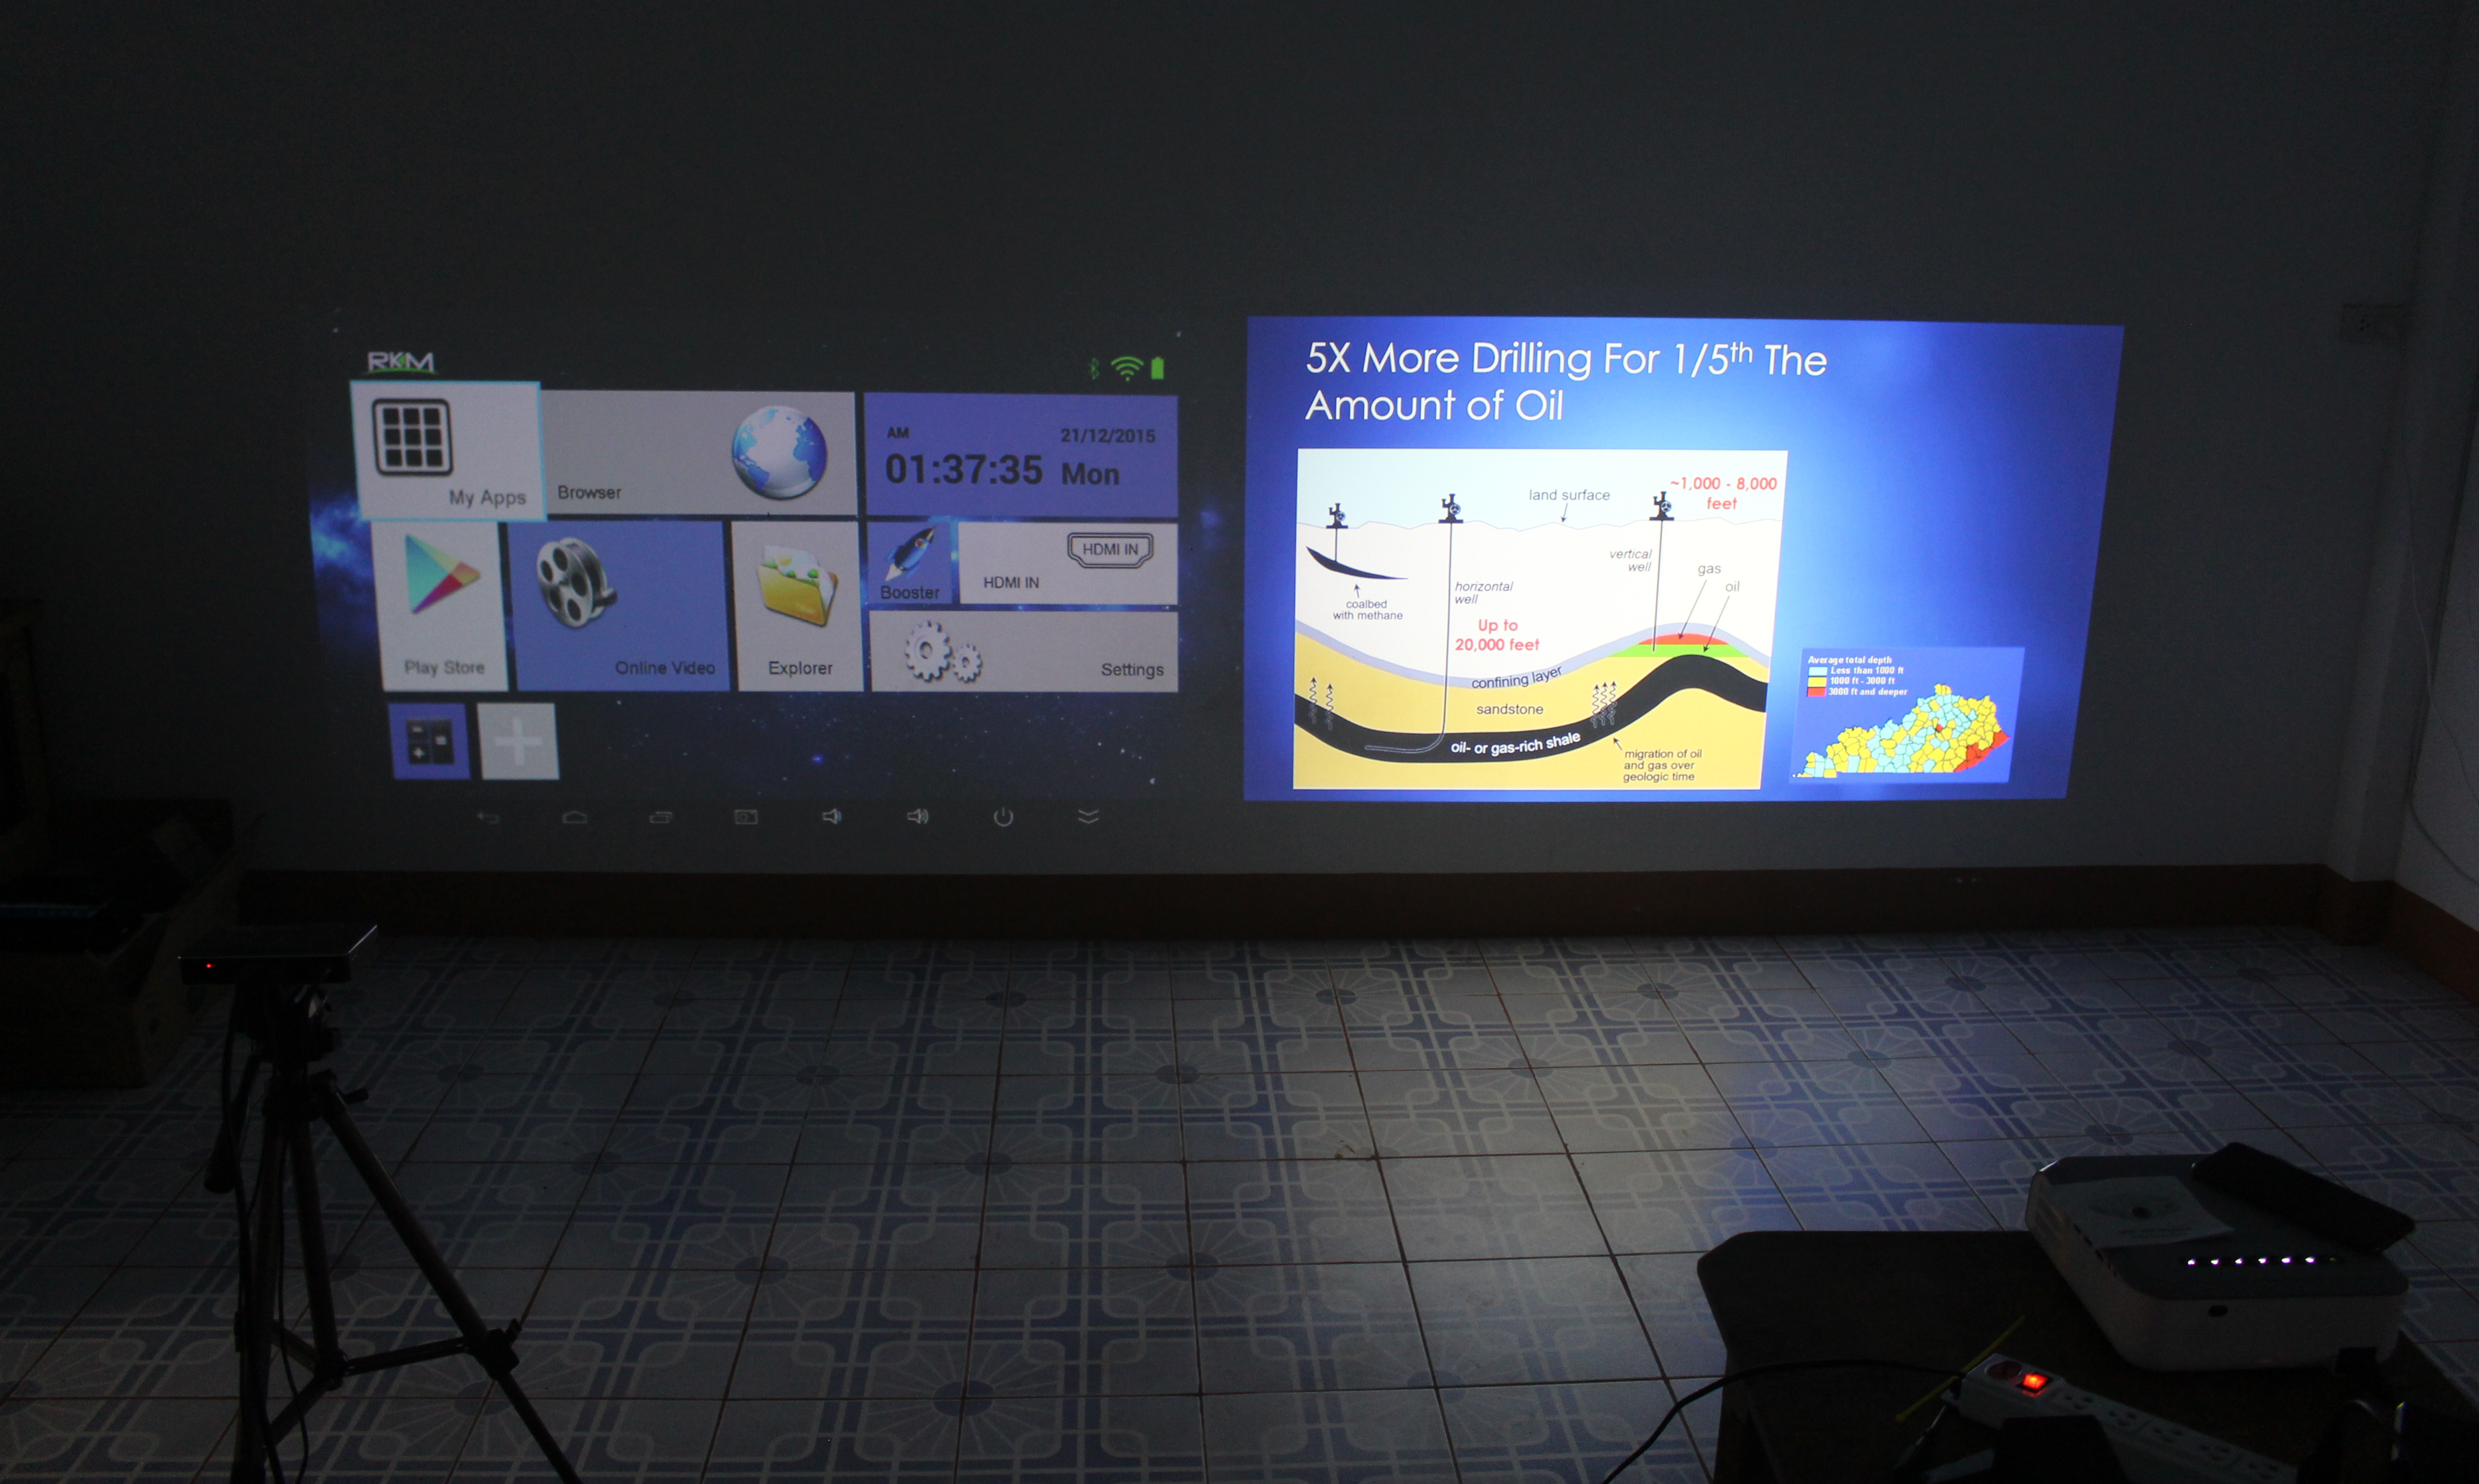
I’ve done a little comparison against my current Rikomagic RKM R1 mini projector which I used every two weeks or so to watch sporting events, and which I love with its touchpad and built-in battery, but with Android 4.4.4 on Rockhcip RK3128 processor, it is a bit dated. There’s also a small problem with focus as the left or right side would be blurry. I can’t just make both side clear, I do not have this problem with MECOOL KP1 with the output very sharp and bright all around.
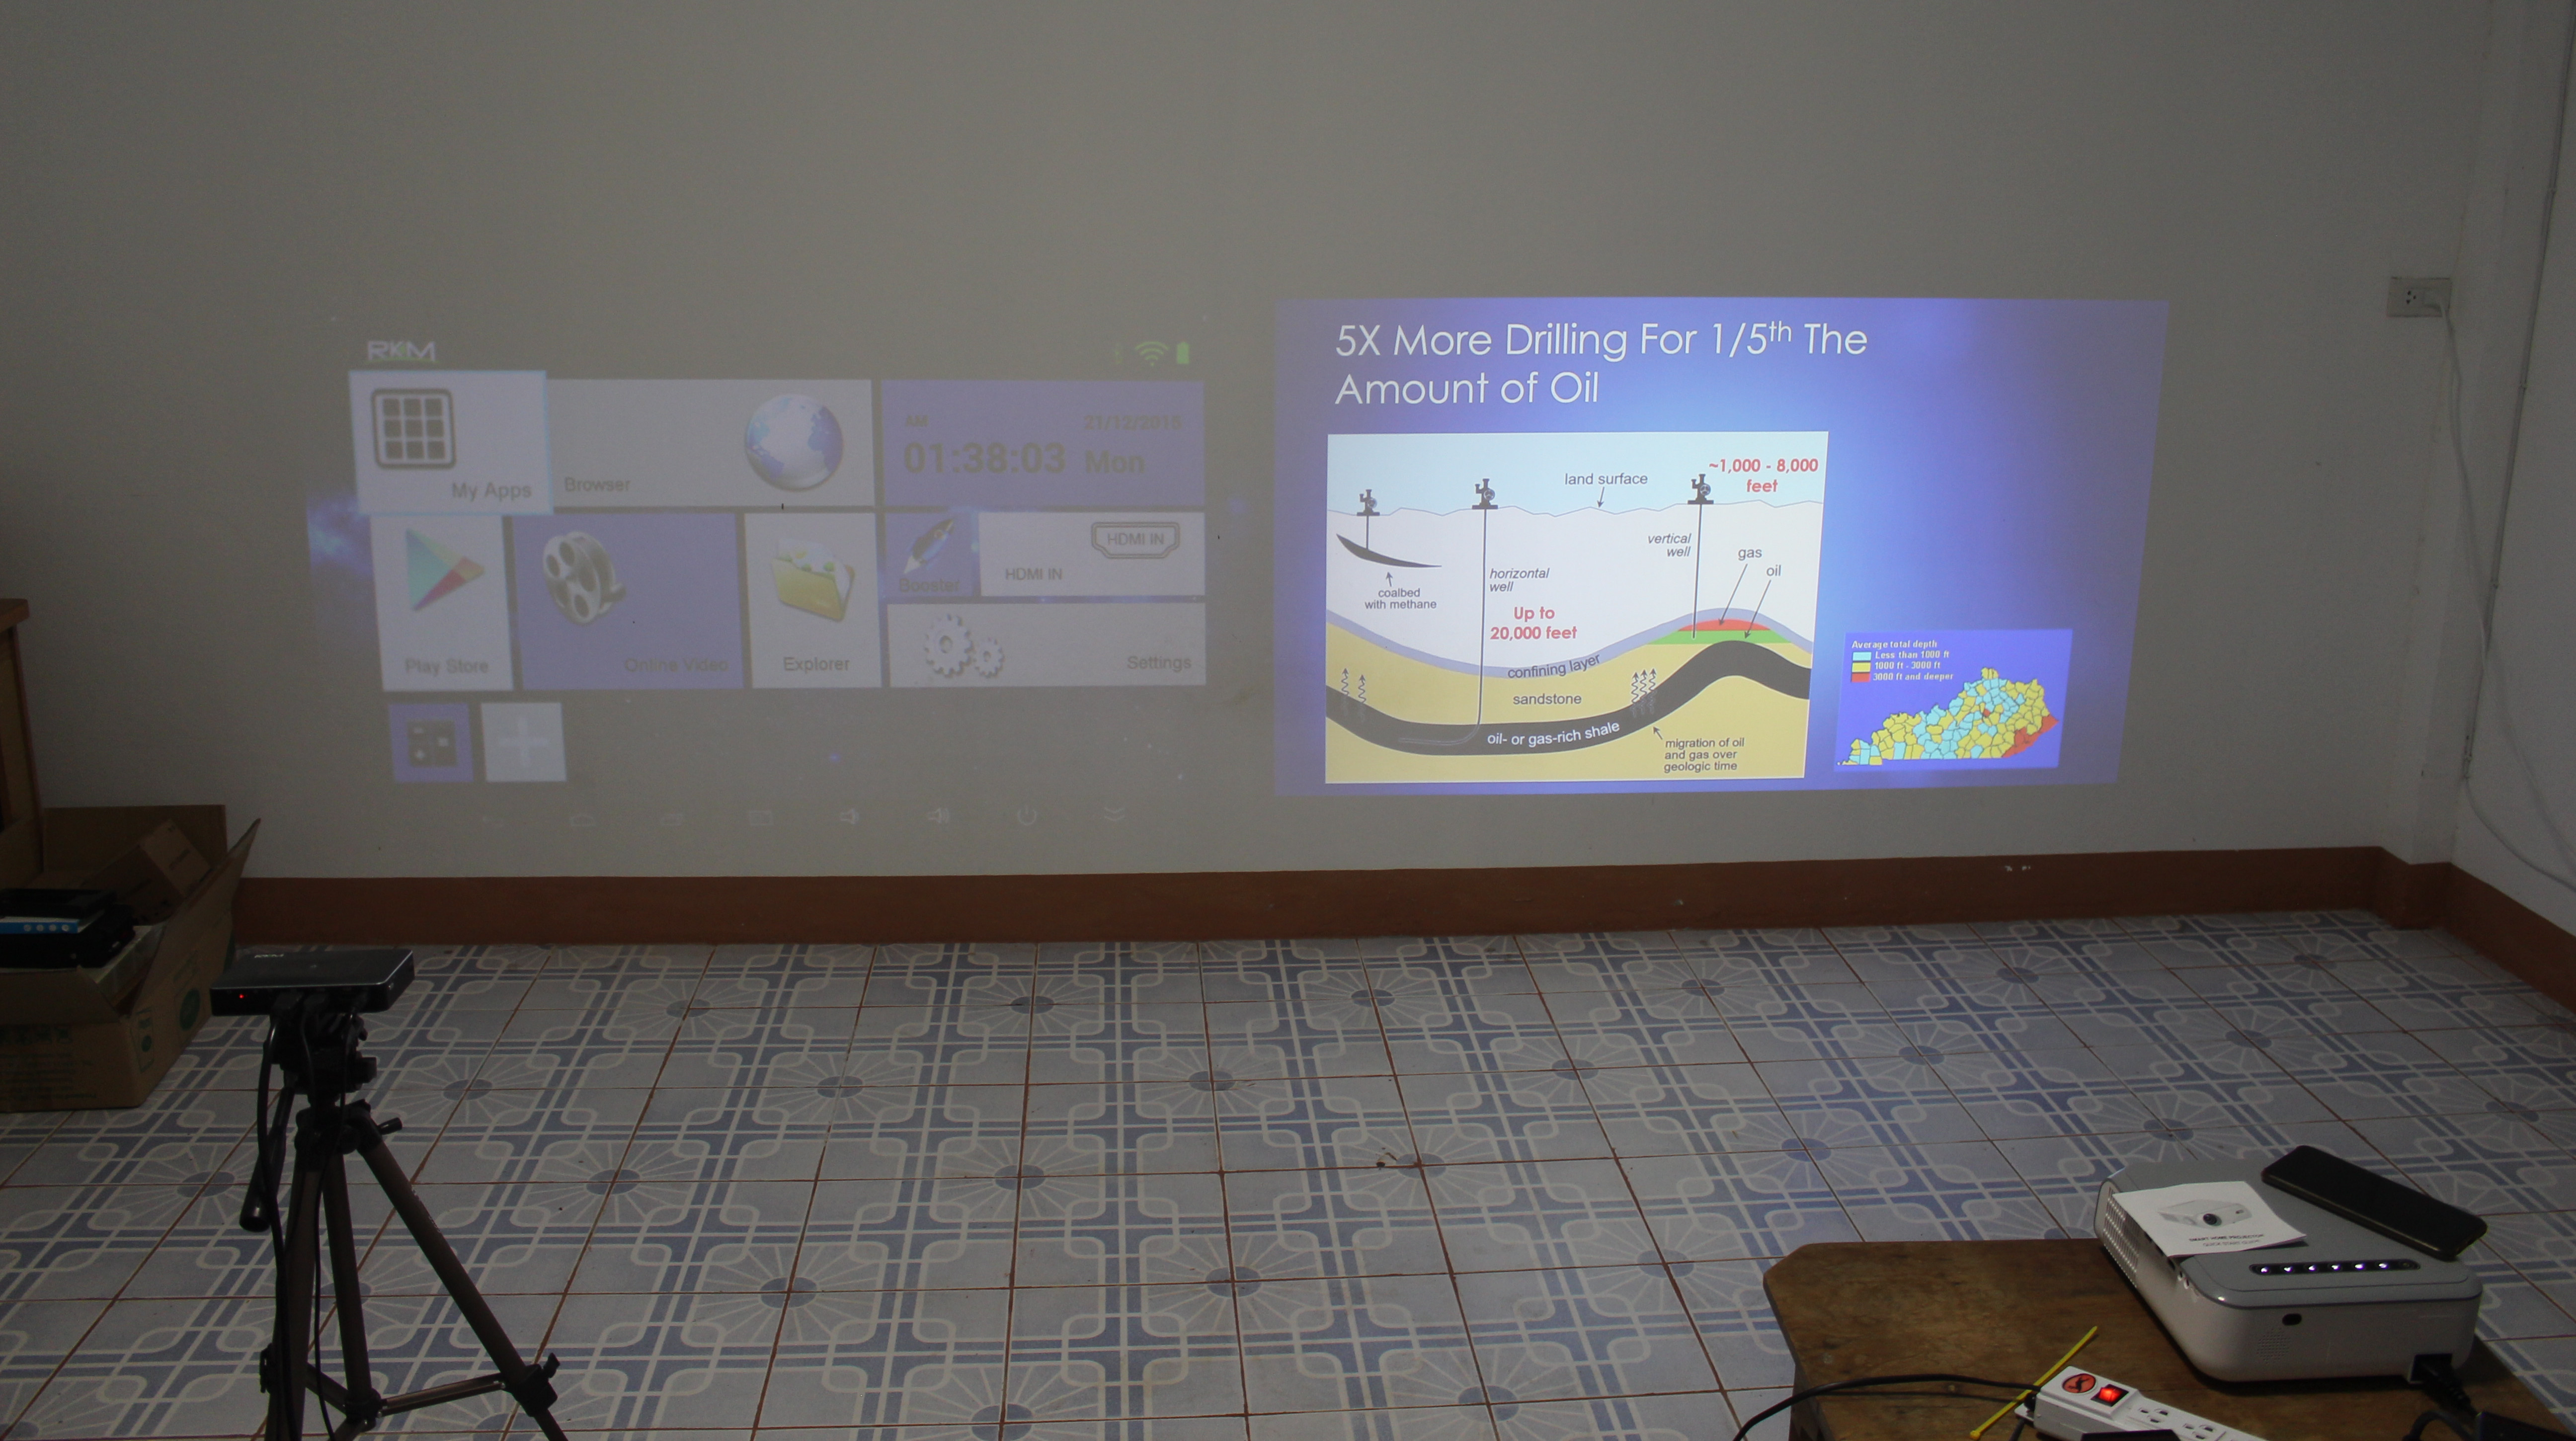
If I turn on the lights, the “display” on the Rikimagic projector is a bit washed out, but it’s still fairly clear with the MECOOL KP1. Both devices certainly serve different use cases, as the Rikomagic device is more portable, and can even easily be used outdoors, but the MECOOL KP1 offers a better experience, but is bigger and reserved for indoor use.
I’d like to thank MECOOL for sending KP1 for review. It is sold for $349 on the company’s online store. If one model is sold out, check out other plug types (e.g. EU or UK).

Jean-Luc started CNX Software in 2010 as a part-time endeavor, before quitting his job as a software engineering manager, and starting to write daily news, and reviews full time later in 2011.
Support CNX Software! Donate via cryptocurrencies, become a Patron on Patreon, or purchase goods on Amazon or Aliexpress


I got this projector yesterday and I could find some major issues with it:-
1. Corners are not sharp. If you try to fix corners then the central part becomes blurry.
2. I have a 550 ANSI Lumens projector (Fengmi Smart Dice) which is twice as much brighter as the claimed 700 ANSI lumens of this projector.
3. The seller on Alibaba claimed HDR support which it doesn’t support, unfortunately.
4. Weak WiFi connection which results in poor image quality or it will start buffering.