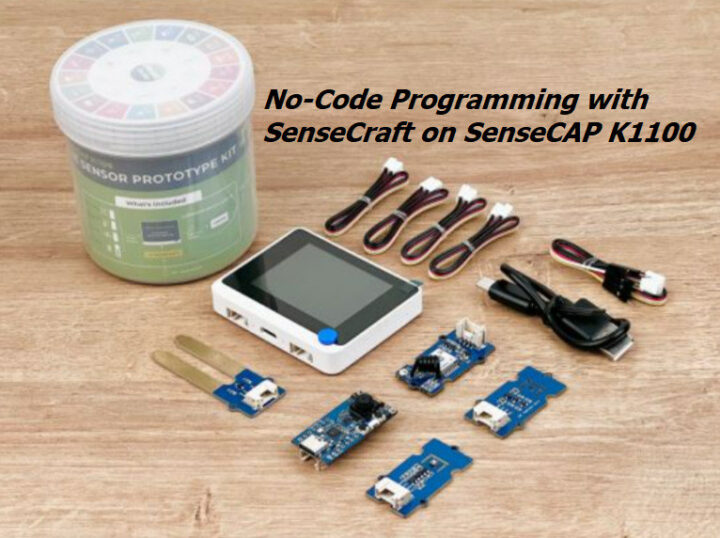
In the conclusion of our SenseCAP K1100 Sensor Prototype kit review with LoRaWAN and Vision AI, the author suggested that it would be great if SeeedStudio could develop a new firmware that can connect without coding instead of using Arduino programming:
I had to rely on my knowledge and experience with LoRaWAN to transmit data wirelessly over long distances. That’s because LoRaWAN has a more complicated connection process than Wi-Fi or Bluetooth. It would be great if Seeed Studio could develop a new firmware that can connect without any coding
It did not take long, as SeeedStudio very recently released the first version of SenseCraft open source smart sensor software for no-code sense, process, and uplink that happens to be compatible with the Wio Terminal part of the SenseCAP K1100 development kit. So let’s test the new SenseCraft firmware together.
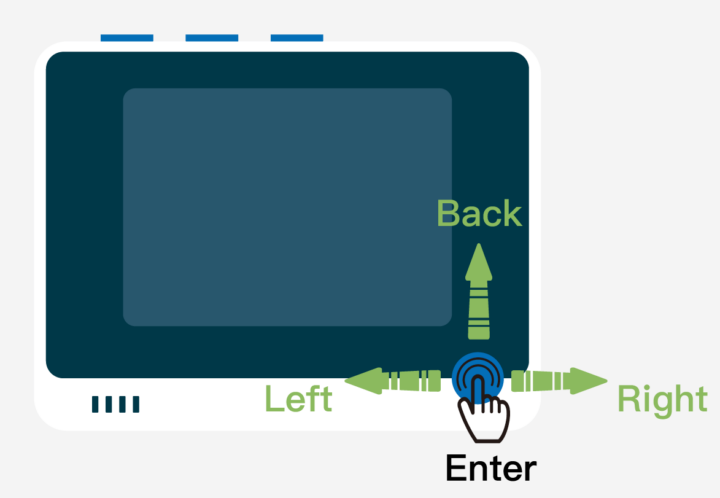
SenseCraft navigation keys
We can use Wio Terminal’s joystick as follows:
- Left: navigate to the left.
- Right: scroll to the right.
- Up: returns to the previous list.
- Enter: select an item.
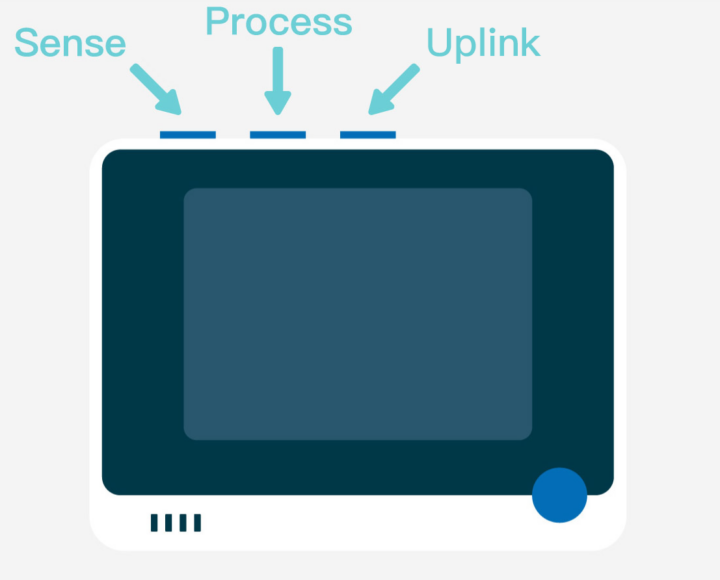
SenseCraft function keys
The three buttons on the top of the device are used for three specific actions:
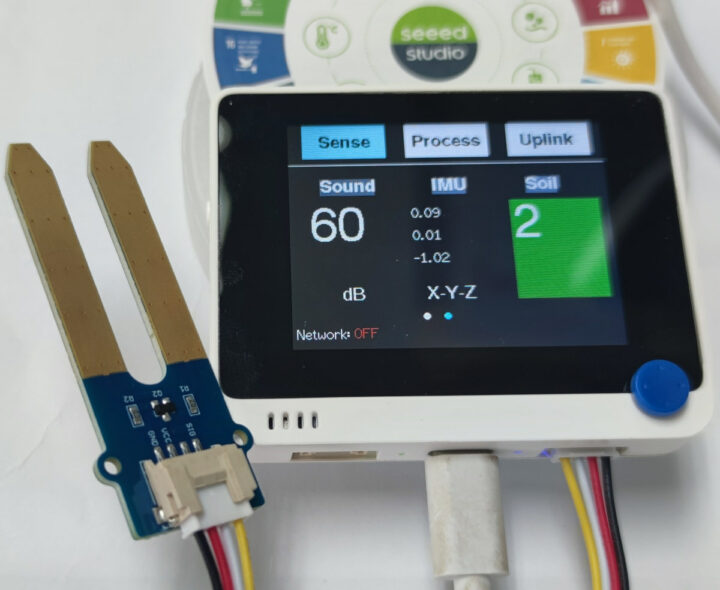
- Sense: display various values from the sensors inside the Wio Terminal board namely light, sound, and IMU, as well as external Grove sensor modules. The Wio Terminal board will automatically display the values according to the sensor type.
- Process: handle data processing. For example, The Grove Vision AI camera module can be connected to the Wio Terminal which will process the images with Machine Learning algorithms.
- Uplink: takes care of the wireless connection through LoRa and/or WiFi, and sends data from the sensor to the cloud.
Installing SenseCraft on Wio Terminal
I’ve installed SenseCraft no-code firmware on Wio Terminal as follows:
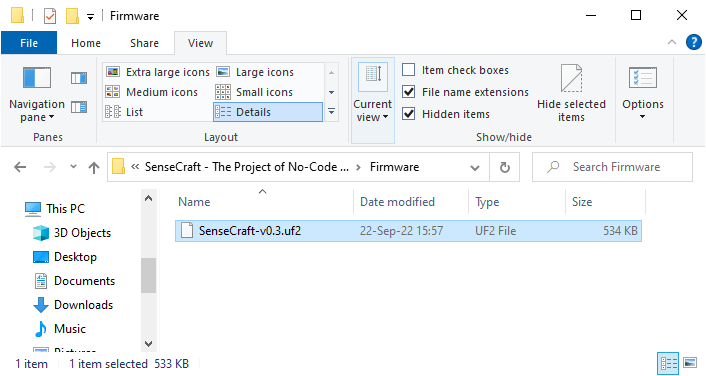
- Download the latest firmware version, currently “SenseCraft-v0.3.uf2”
- Connect the USB Type-C cable between the Wio Terminal board and the host computer.
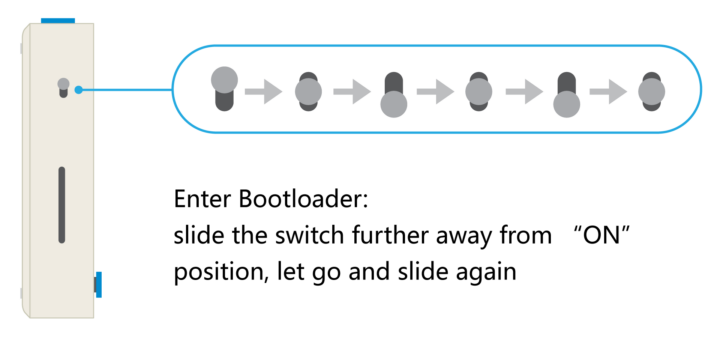
- Slide the switch to the “ON” position, and then quickly switch between ON and OFF at least twice in order to enter Bootloader Mode.
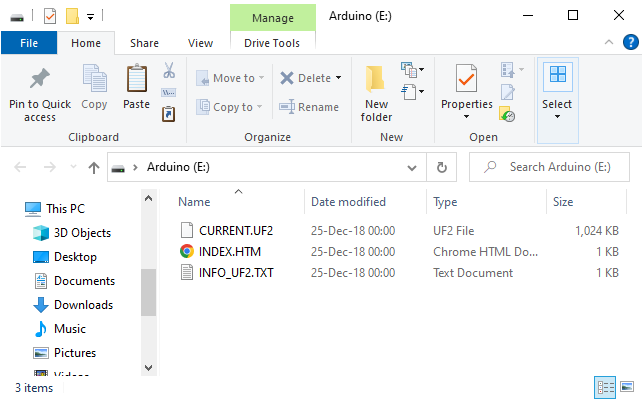
- A new “Arduino” USB drive should show up on your computer.
- Copy “SenseCraft-v0.3.uf2” file to the USB drive
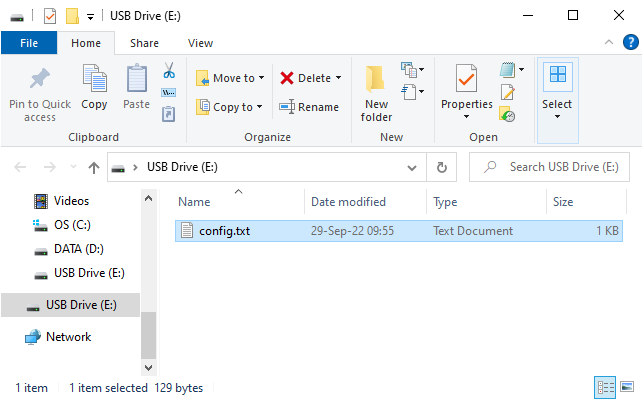
- Wio Terminal will then automatically flash the “No-code” firmware and restart. You should just see “config.txt” file on the USB drive at this stage.
Testing SenseCraft with various sensors
We tested four different scenarios with the SenseCAP K1100 prototyping kit in the “Sense” menu.
First, we displayed the light intensity, sound level, and IMU sensor data from the sensors built into the Wio Terminal.
The Grove Soil Moisture Sensor was next…
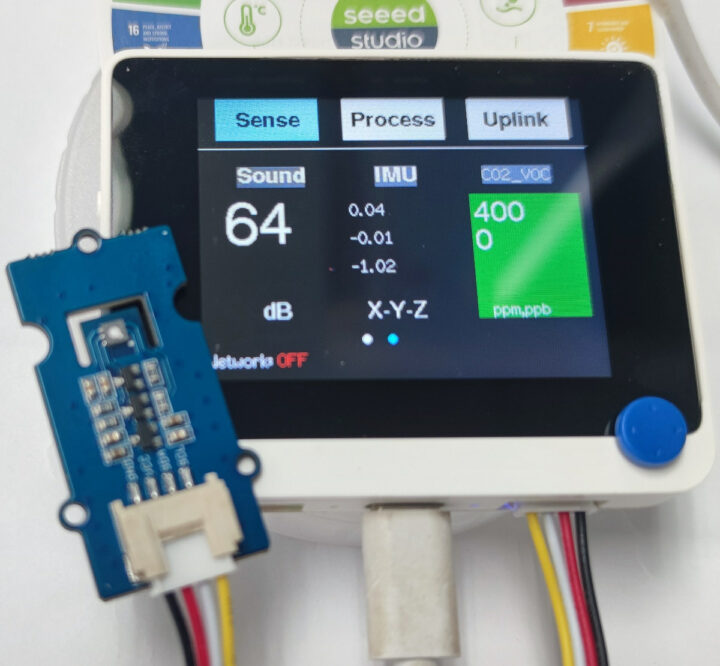
.. followed by the Grove VOC and eCO2 Gas Sensor …
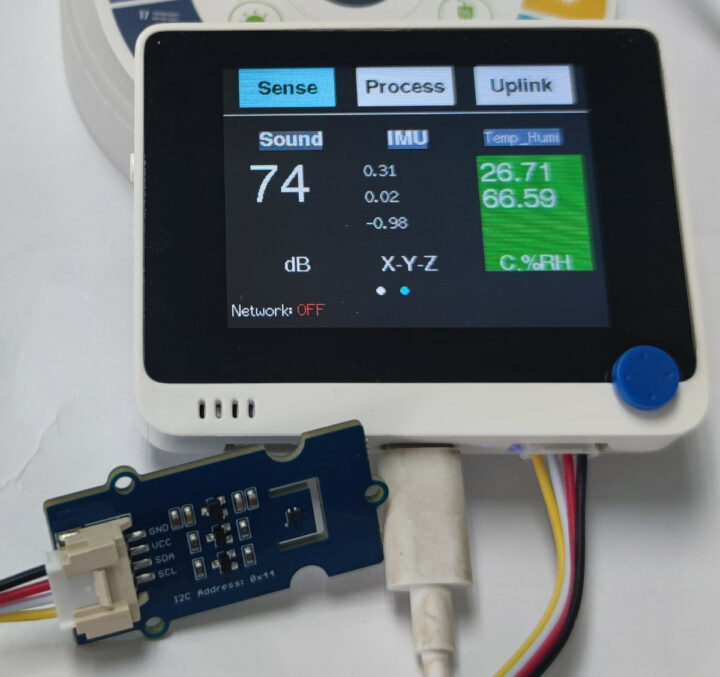
… and finally the Grove Temperature & Humidity Sensor.
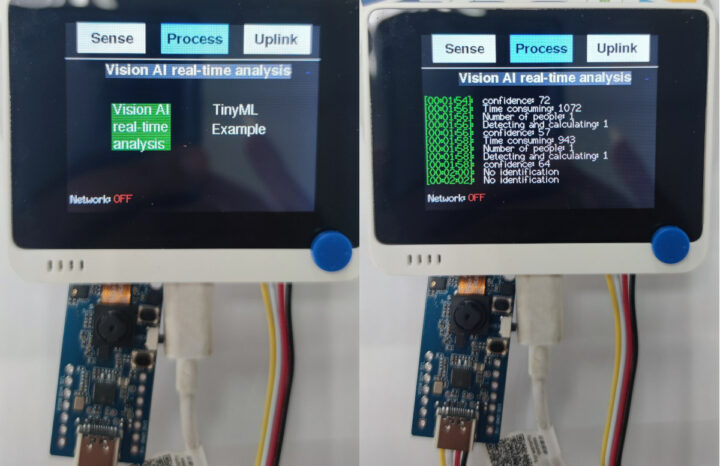
Connection the Grove Vision AI module enabled face detection (Vision AI real-time analysis) in the Process menu.
We only tested the SenseCraft function with the Sense and Process sections. We did not test the Uplink function because:
- The firmware only supports the US915, EU868, AU915 bands, and it’s not possible to select the AS923 band used in Thailand at this time.
- Private LoRaWAN network servers are not supported just yet, and only Cloud services such as SenseCap and Ubidots.
Conclusion
The SenseCraft project eliminates the need to write any code. Just connect a sensor to Wio Terminal, or use the internal sensors, and it will automatically display the data. SenseCraft is ideal for those who are not good at coding. We hope the project team will push a new release for more functions soon. SenseCraft should soon add support for M5Stack hardware and XIAO series boards with displays, as well as additional Grove sensors.
This article is a translation (with some changes) of the tutorial written by Ninephon Kongangkab on CNX Software Thailand.

Jean-Luc started CNX Software in 2010 as a part-time endeavor, before quitting his job as a software engineering manager, and starting to write daily news, and reviews full time later in 2011.
Support CNX Software! Donate via cryptocurrencies, become a Patron on Patreon, or purchase goods on Amazon or Aliexpress






That’s excellent, they’ve done a great job! They should have done this when they released the device, it’s a way better demo than the stupid “game” that was on it. It measures light, sound, acceleration, it demonstrates buttons, graphics and network access, and even makes a pretty usable device as-is.
It’s another option for those who don’t want to write code.
I’m legit impressed, since the Wio Terminal only costs 37$ and has maintained availability .. I wonder if they’ll make it work with the cool m5stack thermal camera display 😀
I agree with you, many people are looking forward to the next update that supports the M5 Stack, XIAO and MCU.
Please update the .uf2 link for the firmware. It sends you to the Python program.
I downloaded from here: https://files.seeedstudio.com/wiki/K1100-quick-start/SenseCraft-v0.2-20220907.uf2