I’ve just received my first Rockchip RK3566 platform with Zidoo M6 Arm mini PC that supports Ubuntu 18.04, Android 11, and Station OS.
I was sent the standard version with 4GB RAM and 32GB eMMC flash that will be suitable for most applications. I’ll start Zidoo M6 review with an unboxing and a teardown to check the hardware design and “hidden” features before reviewing with the device with Android 11 and/or Ubuntu 18.04.
Zidoo M6 Unboxing
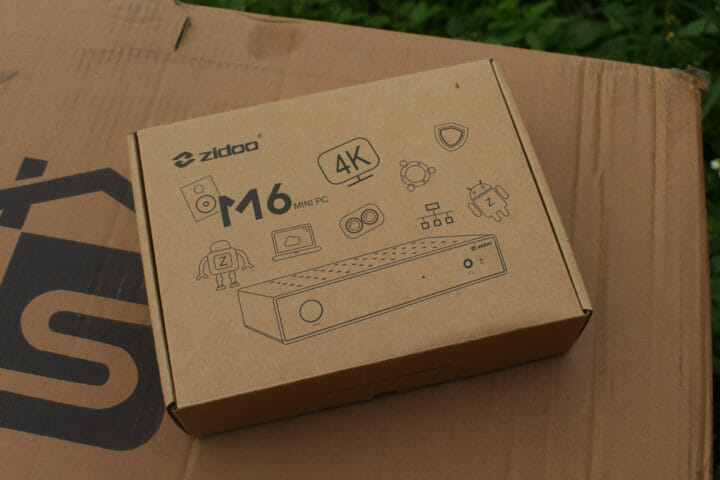
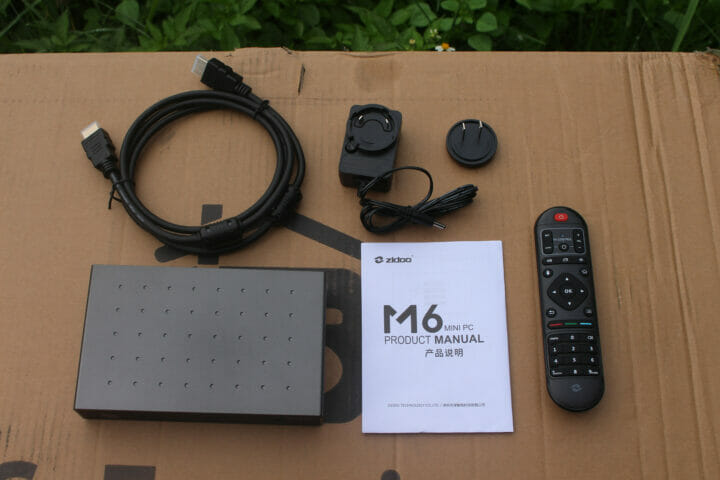
There’s nothing special about the package (and that’s a good thing in order to go more easily through customs), so let’s check out the package content.
Beside the box, it’s there’s an HDMI cable, a 5V/2A power adapter with a removable US plug, an IR remote control, and a user manual.
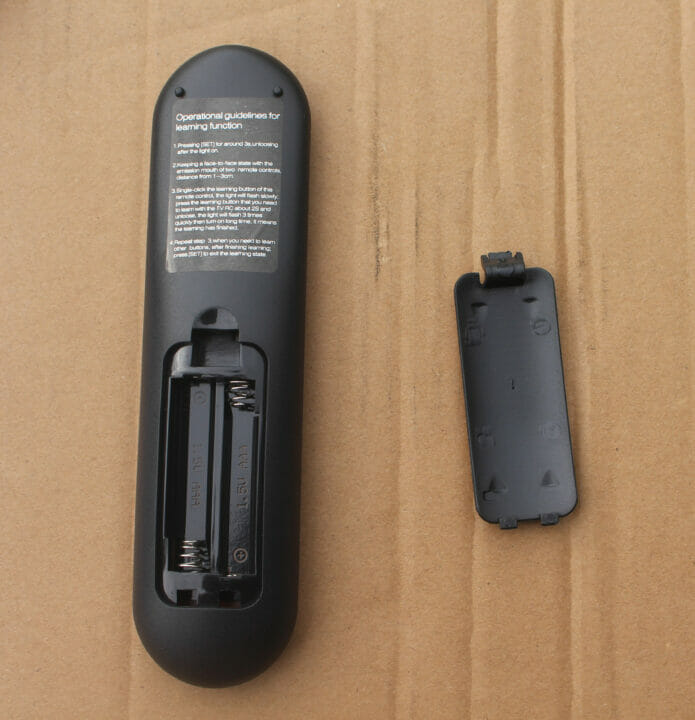
The remote control comes with an IR learning function to record some of your TV keys like volume, power, and source selection without having to rely on HDMI CEC, although it might be supported. You’ll need two AAA batteries to power the remote.
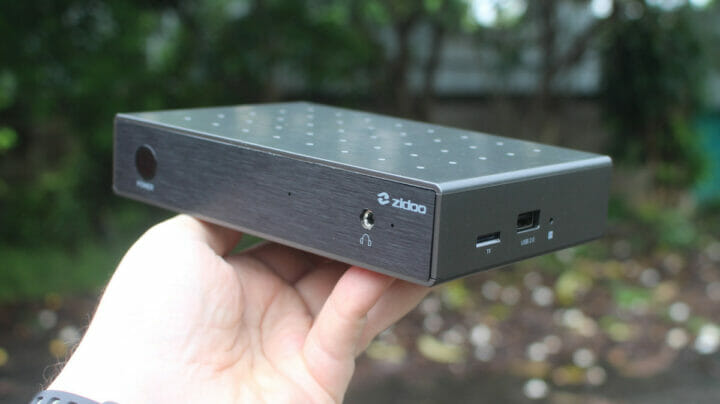
The device itself has a metal look, but it’s quite light and the enclosure made of plastic. The front panel comes with a power button, a 3.5mm audio jack, with on the side a MicroSD card slot, a USB 2.0 port, and a reset pinhole.
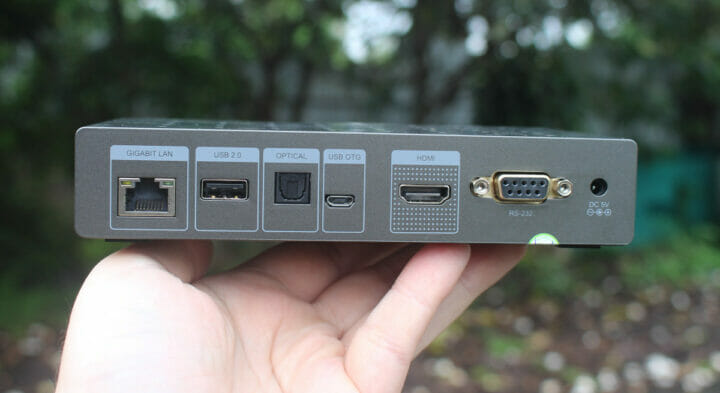
The rear panel includes Gigabit Ethernet, USB 2.0, optical S/PDIF, a Micro USB OTG port, HDMI 2.0a video output up to 4Kp60, an RS232 DB9 serial port, and the DC jack. Sadly, there’s no external USB 3.0 port exposed despite the processor supporting it, because the board has some internal features, such as a mini PCIe socket for a 5G/4G modem, that make use of the USB 3.0 interfaces for other purposes.
Zidoo M6 Teardown
As we noted during the announcement, Zidoo will offer M6 either as a fully assembled mini PC or a standalone SBC. So let’s open the enclosure.
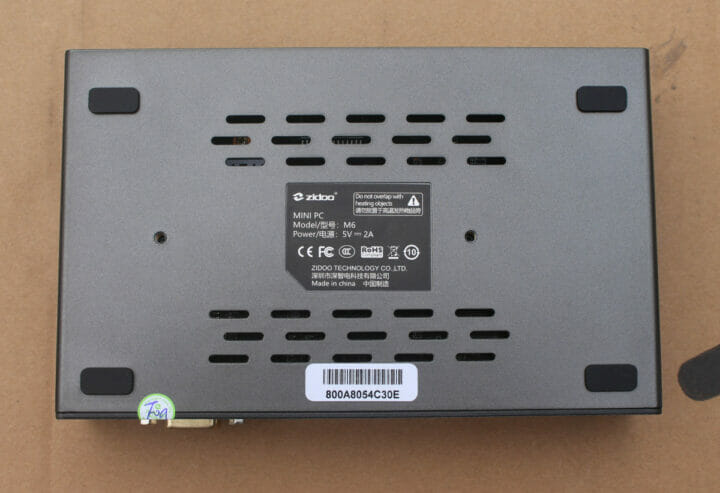
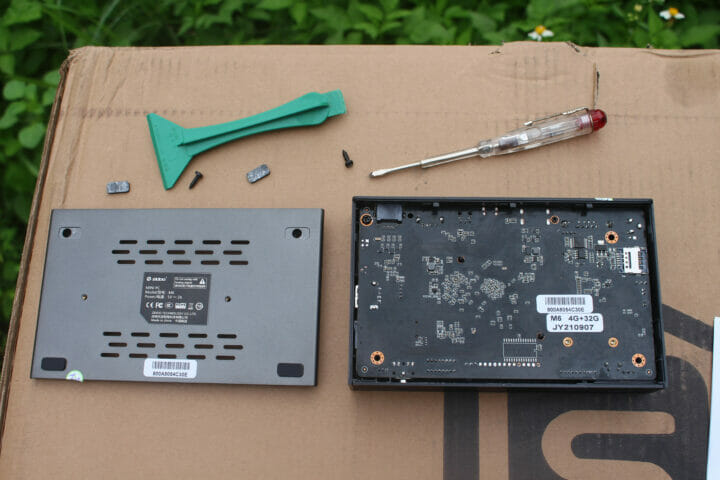
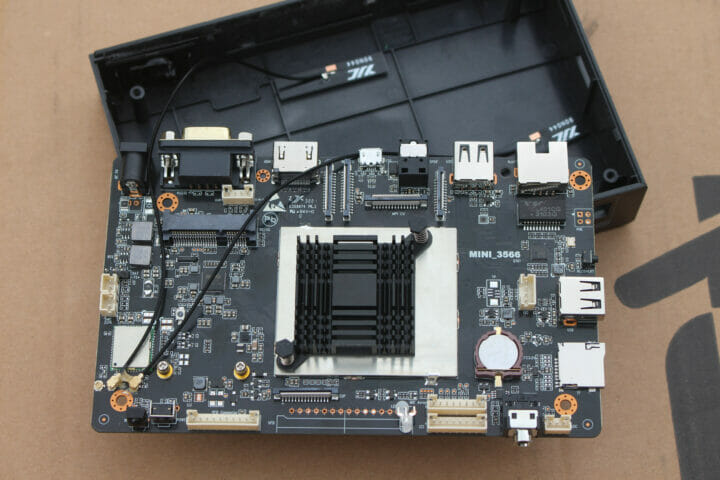
First, you’ll notice the “warranty void” sticker on the bottom right, despite having a mini PCIe socket, Zidoo M6 mini PC is not designed to be opened. This is confirmed once I try to open it. You’ll need to remove the two rubber bands at the top to loosen two screws, and then use a tool or old credit card to take out the bottom cover.
There’s not much to see on the bottom of the board apart from the SIM card slot. The chip at the bottom is not soldered, maybe because it’s used for the LED connector that can’t be used with the mini PC. We can remove two more screws to take the board out.
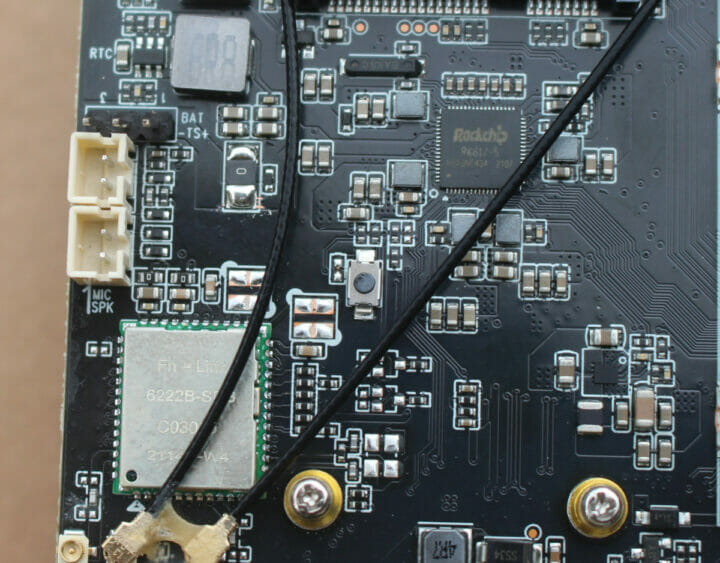
We can see plenty of internal connectors that can be used for commercial and industrial applications like LVDS, MIPI DSI and CSI connectors, an I2C header, a VFD display header, mic array header, RTC battery, etc… The processor, memory, and storage and all cover by a soldered-on shield plus a heatsink.
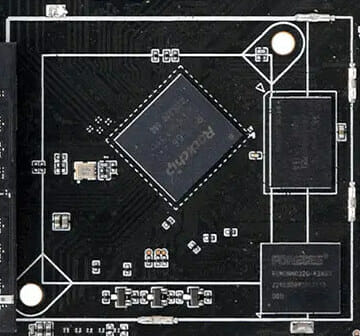
Gigabit Ethernet relies on the usual RTL8211F transceiver, while WiFi 5 & Bluetooth 4.2 connectivity is enabled through a less common Fn-Link 6222B-SRB module based on Realtek RTL8822BS chip which means the mini PC/board does not support 802.11ax WiFi 6 by default as listed in the preliminary specs.
Two internal antennas are connected to the wireless module and stuck to the plastic case. The board also features Rockhip RK817 PMIC that doubles as an audio codec.
Zidoo M6 does not appear to be for sale right now, or at least not directly to consumers, but businesses should be able to enquire Zidoo for the board or the mini PC on the company’s website.
Continue reading “Zidoo M6 preview with Android 11“.

Jean-Luc started CNX Software in 2010 as a part-time endeavor, before quitting his job as a software engineering manager, and starting to write daily news, and reviews full time later in 2011.
Support CNX Software! Donate via cryptocurrencies, become a Patron on Patreon, or purchase goods on Amazon or Aliexpress. We also use affiliate links in articles to earn commissions if you make a purchase after clicking on those links.




@CNXsoft
Now this always causes my to consider. Should you do the tests and benchmarks, with hardware untouched. Then do the teardown or should you do the teardown first, but does that risk compromising the results or introducing errors?
Not much you can damage on a device like this.
Zidoo, whose firmware release strategy has often been fix one, break two.