
I’ve recently started experimenting with IoT projects, and the first hurdle is to select the hardware and software for your projects are there are simply so many options. For the hardware your first have to choose the communication protocols for your sensors and actuators, and if you are going to go with WiFi, ESP8266 is the obvious solution, used together with your favorite low cost Linux development board such as Raspberry Pi or Orange Pi to run some IoT server software locally or leveraging the cloud. But the most difficult & confusing part for me was to select the server software / cloud services as there are just so many options. I prefer having a local server than something running only in the cloud, as my Internet goes a few hours a month, so I started with a solution combining ThingSpeak with MQTT gathering data from Sonoff power switches running ESPurna firmware and vThings CO2 monitor. This works OK, but while ThingSpeak.com cloud service is continuously update, its open source version has not been updated since mid 2015. Among the many service and software framework available, one seems to have come more often than other, is supported by vThings air monitoring platforms, and recently been added to ESPurna. I’m talking about Domoticz described as:
a Home Automation system that lets you monitor and configure various device like lights, switches, various sensors/meters like temperature, rain, wind, UV, Electra, gas, water and much more. Notifications/Alerts can be sent to any mobile device.
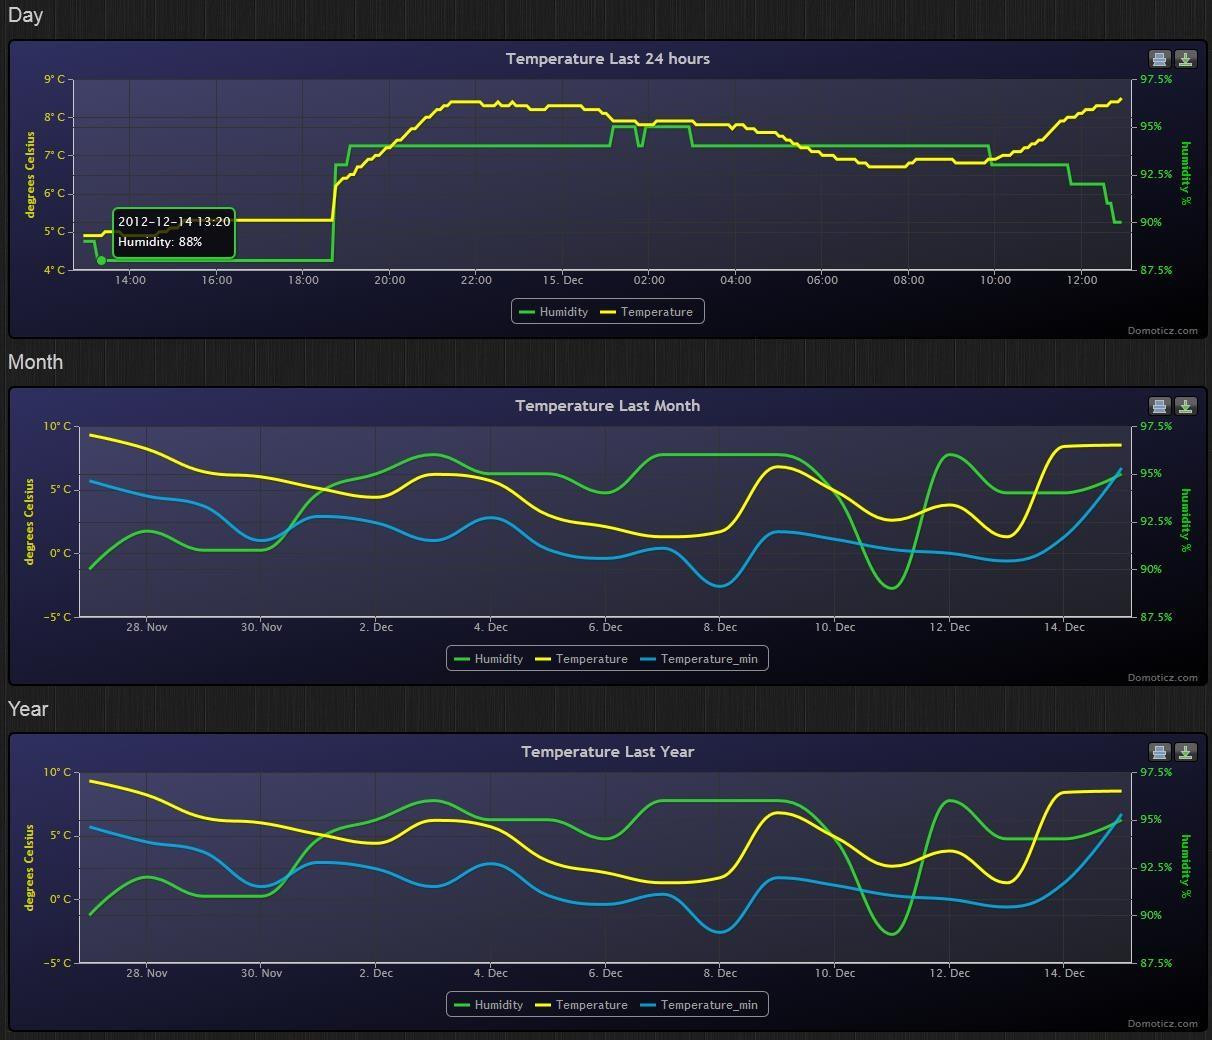
The system can run on Linux, Mac OS, Windows on x86 platform, but also on 32-bit and 64-bit ARM Linux boards such as Raspberry Pi and Cubieboard with just 256MB memory recommended, and 200MB free hard disk space. It can also generate charts from the data like the ones below.
On top of that, the forums appear to be very active, and the last stable version was released in November 2016, and the last beta release yesterday according the download page.
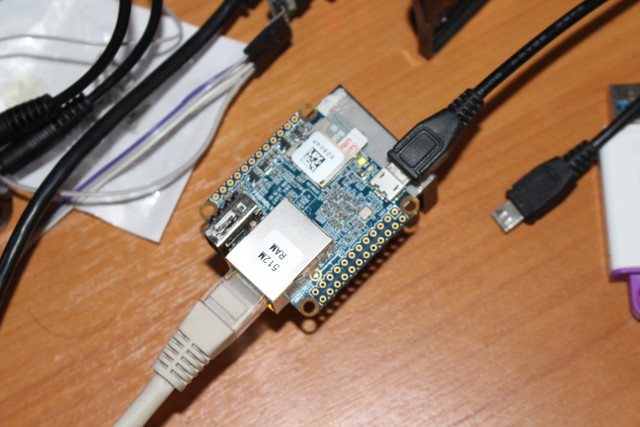
I’m going to take it slow, so today I’ve just tried to install it on NanoPi NEO since it’s compact and runs Linux. However, it does not appear to be officially supported by Domoticz, so we’ll have to see whether it’s possible to install it on the board.
 Domoticz is not a Linux distributions but a framework, so first we need to install a Linux distributions on the board, and the obvious choice for NanoPi NEO is to use the latest Armbian release either Debian Jessie or Ubuntu Xenial.
I downloaded Debian, extracted the image, and flashed it to a micro SD card on a Ubuntu computer:
|
1 2 3 4 |
sudo apt install p7zip-full pv 7z x Armbian_5.24_Nanopineo_Debian_jessie_3.4.113.7z sudo dd if=Armbian_5.24_Nanopineo_Debian_jessie_3.4.113.img | pv | sudo dd of=/dev/sdX bs=16M sync |
Replace /dev/sdX with your own SD card device, which you can find with lsblk command. If you are a Windows user, you can flash the firmware like you’d do for a Raspberry Pi using Win32DiskImager after uncompress Armbian firmware.
Now we can insert the micro SD card into the board, and connect the power to start the board. If you have not connected the serial console to your board, please be patient for the first boot as the system may take around 3 to 4 minutes to boot before you can login to it, as it expands the micro SD card to full capacity, and creates a 128MB emergency SWAP file.
Once it’s done we can login through the serial console or SSH using root / 1234 credentials. The first time, you’ll be asked to go through the first setup, changing the root password, and creating a new user with sudo privileges.
|
1 2 3 4 5 6 7 8 9 10 11 12 13 14 15 16 17 18 19 20 21 |
ssh root@192.168.0.110 Warning: Permanently added '192.168.0.110' (ECDSA) to the list of known hosts. root@192.168.0.110's password: You are required to change your password immediately (root enforced) _ _ ____ _ _ _ | \ | | __ _ _ __ ___ | _ \(_) | \ | | ___ ___ | \| |/ _` | '_ \ / _ \| |_) | | | \| |/ _ \/ _ \ | |\ | (_| | | | | (_) | __/| | | |\ | __/ (_) | |_| \_|\__,_|_| |_|\___/|_| |_| |_| \_|\___|\___/ Welcome to ARMBIAN Debian GNU/Linux 8 (jessie) 3.4.113-sun8i System load: 0.26 Up time: 50 sec Memory usage: 8 % of 494Mb IP: 192.168.0.110 CPU temp: 39°C Usage of /: 14% of 7.2G New to Armbian? Check the documentation first: docs.armbian.com Changing password for root. (current) UNIX password: |
So now that we have Linux running on the board, and after login again as the new user, we can follow the instructions for Raspberry Pi board and other ARM boards to install domoticz with a single command line that works on systems running Debian/Ubuntu:
|
1 |
sudo curl -L install.domoticz.com | bash |
After a minute or two, as the system update the packages, and download domoticz, the setup wizard should start.
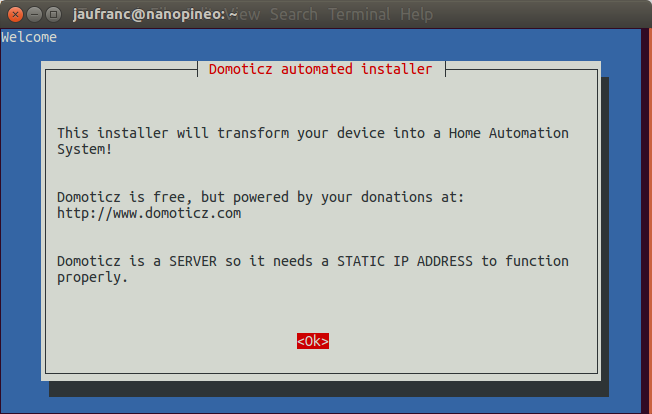 At some points we’ll need a fixed IP address, either by configuring Linux with static IP, or setting a permanent IP linked to the board MAC address in the router. The second option is usually my favorite option. Nevertheless, let’s click on OK to proceed.
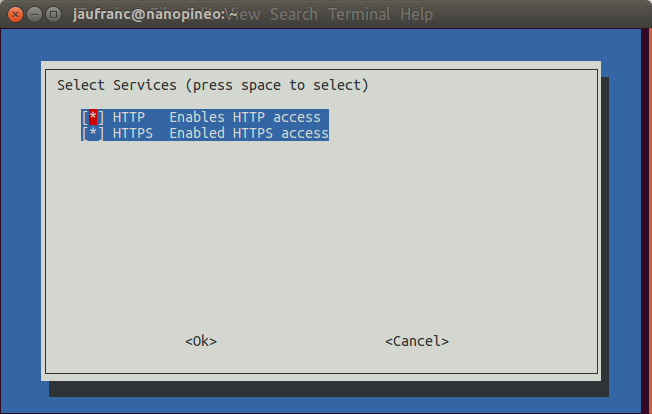
You’ll be asked whether you want to enabled HTTP or/and HTTPS access. I selected both for now, but it’s probably a good idea to only select HTTPS for better security.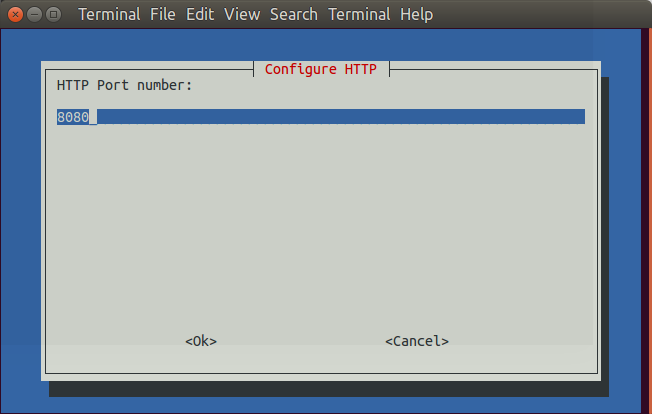 Next is the HTTP port number set to 8080 by default, followed by the HTTPS port number to 443 by default (no screenshot), and finally the installation folder which defaults to ~/domoticz. You should now have reached the Installation Complete! window, and you can click Ok to exit the installation wizard.
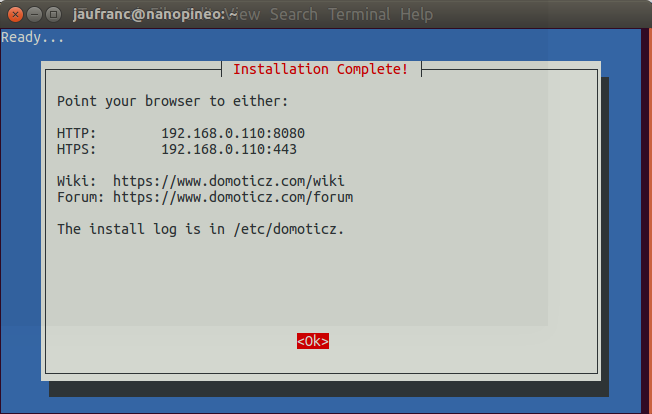 Wow.. That was easy, and no errors. But does it work? Let’s access https://192.168.0.110:443 from a web browser.
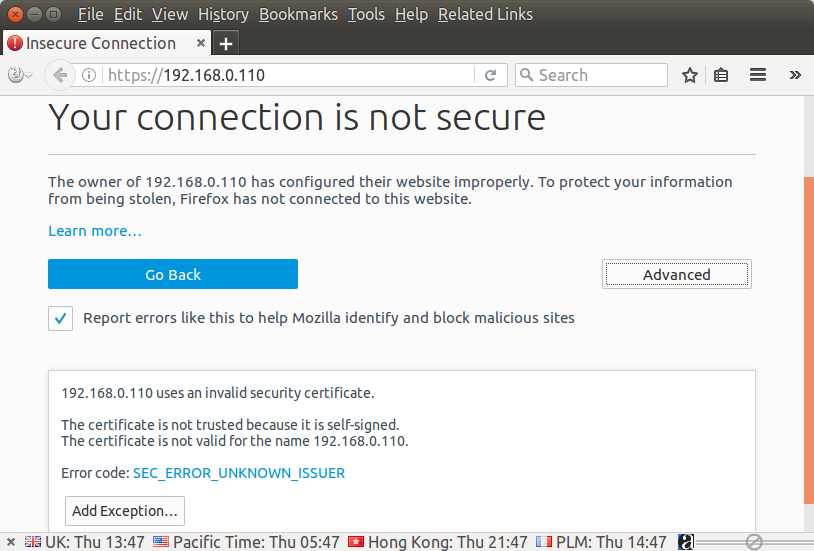
We have a “Your Connection is not secure” error, but it’s expected as Domoticz simply generated a self-certificate, you can safely add exception to your browser to avoid this issue next time. Your data will still be encrypted, but if you plan to access your Domoticz setup from the Internet, you should probably install an other certificate using Let’s Encrypt certificate authority for example.
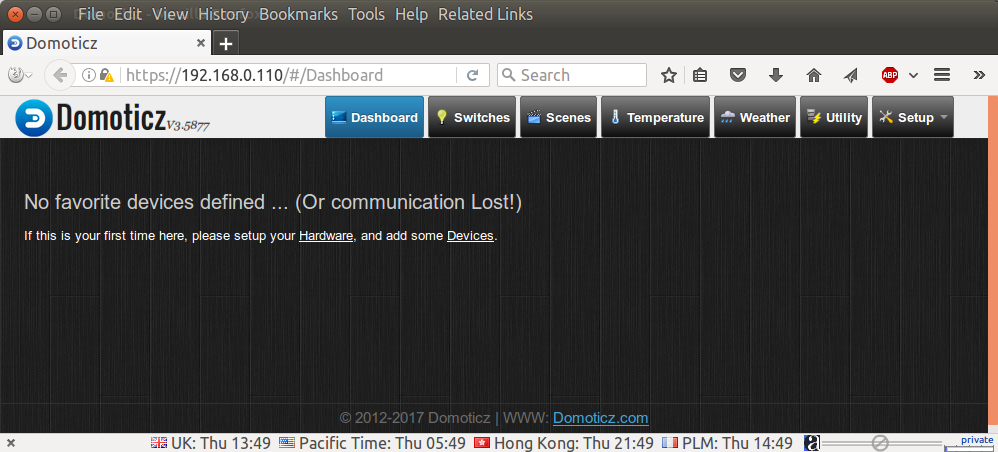 Once we have added an exception to the web browser we can indeed access Domoticz web interface, so the installation worked, but it will only show “No favorite devices defined…” Again that’s normal, because we need to configure it for example by clicking on the Hardware link.
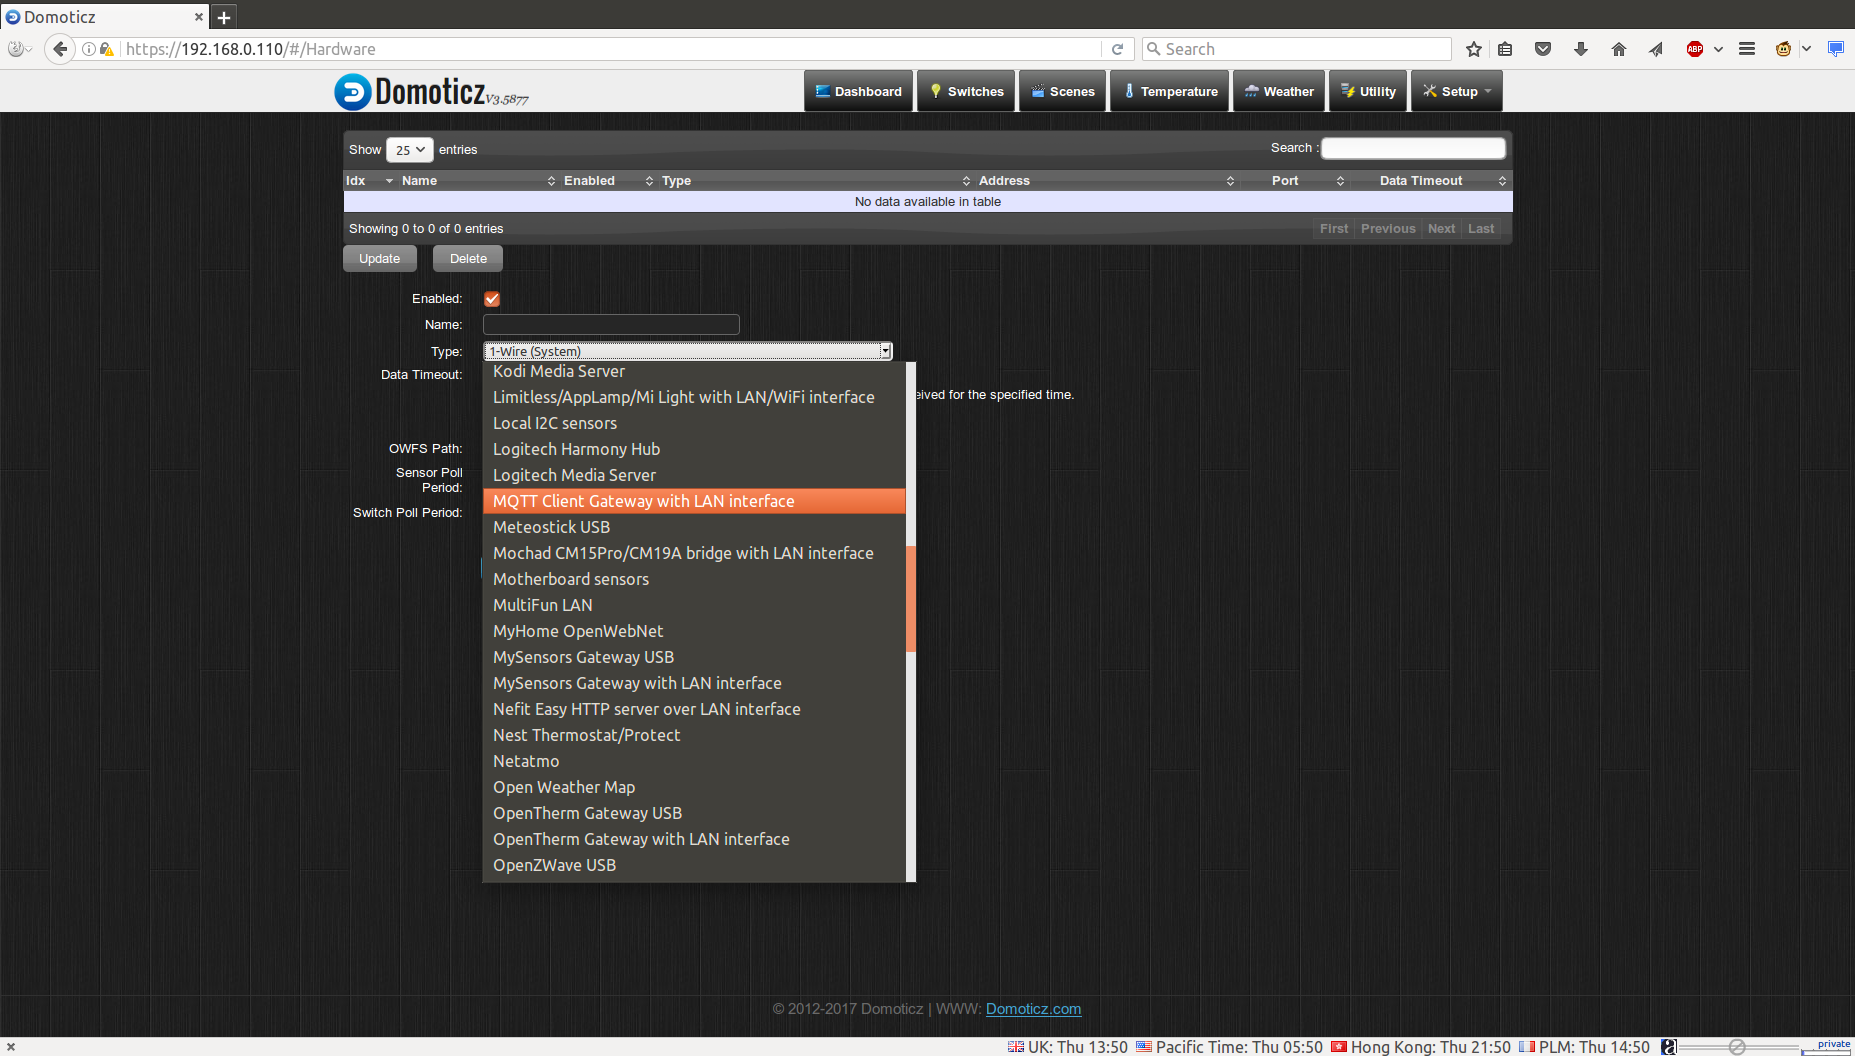
This will allow you to configure the system with MQTT, local I2C sensors, all sort of gateways, and even Kodi Media Center. I’m pretty sure all devices working over the network or USB should work, but things like “Local I2C Sensors” which may be connected directly to the board may or may not work. Anyway, that looks promising, but I’ll stop here for today, as I have a lot more to study before going further, including upgrading Sonoff firmware, and configuring vThings CO2 monitor for Domoticz.

Jean-Luc started CNX Software in 2010 as a part-time endeavor, before quitting his job as a software engineering manager, and starting to write daily news, and reviews full time later in 2011.
Support CNX Software! Donate via cryptocurrencies, become a Patron on Patreon, or purchase goods on Amazon or Aliexpress. We also use affiliate links in articles to earn commissions if you make a purchase after clicking on those links.


For getting started with IoT recommend using Domoticz with RFLink Gateway hardware and firmwarw for cheap 315/433/868MHz RF devices and with Easy ESP for ESP8266 devices.
You probabably already know about Easy ESP, but you might not know about RFLink so suggest that you check it out:
https://www.domoticz.com/forum/viewtopic.php?t=7573
http://www.nemcon.nl/blog2/devlist
https://www.nodo-shop.nl/en/21-rflink-gateway
Looking forward to your findings. But I’m a bit concerned about the setup since as I understand you’re running the main Domoticz instance (which means SQLite databases stored here) on this small board off an SD card?
It would be interesting if you keep that in mind or even better watch what’s happening once you add sensors to the setup (remotely or local). You could run in one shell ‘iotop’ and in another ‘iostat 5’ to get the idea how often SD card is accessed (all necessary packages installed and kernel setup done to do this kind of monitoring). Armbian’s defaults are an ext4 commit interval of 10 minutes but I would assume SQLite databases might get flushed with every change. In case you see permanent write activity better switch to a better quality SD card or even USB storage.
@tkaiser
Do you mean I may lose some data in case of power failure due to ext4 commit internal?
Otherwise if you worry about the load on the server, it will be very low, so even if I/Os are not that fast, it won’t be a problem.
@cnxsoft
I’m not worried about the load, I just wanted to get an idea whether Domoticz initiates a ‘flush changes to disk’ each time sensor data gets updated in its SQLite database(s) or not (which is something the two tools can easily answer). Since in case it constantly flushes write amplification increases a lot and SD card might wear out faster (shouldn’t be an issue with any quality SD card bought recently but people sometimes tend to use crappy/old SD cards they find in their drawer and there are even morons around actively promoting using less than at least ‘class 10’)
And yes, in case you use an insufficient power supply the high commit interval might result in data losses (which is something we don’t care really about since the fix is easy: improve power supply instead of implementing workarounds)
@tkaiser
iotop shows no activity most of the time:
Some output from iostat:
@cnxsoft
Thanks, that looks good. But did you already configure sensors? Or tried to emulate a sensor change using mosquitto_pub and look then what happens regarding IO activity?
@tkaiser
Yes. I have Sonoff POW sending switch status data every 60 seconds. You can see one write operating in iostat.
I also have Sonoff POW sending power data to mosquito, again every 60 seconds.
Anyone here tried this with the NanoHat motor board and nanopi NEO2?